DINNER
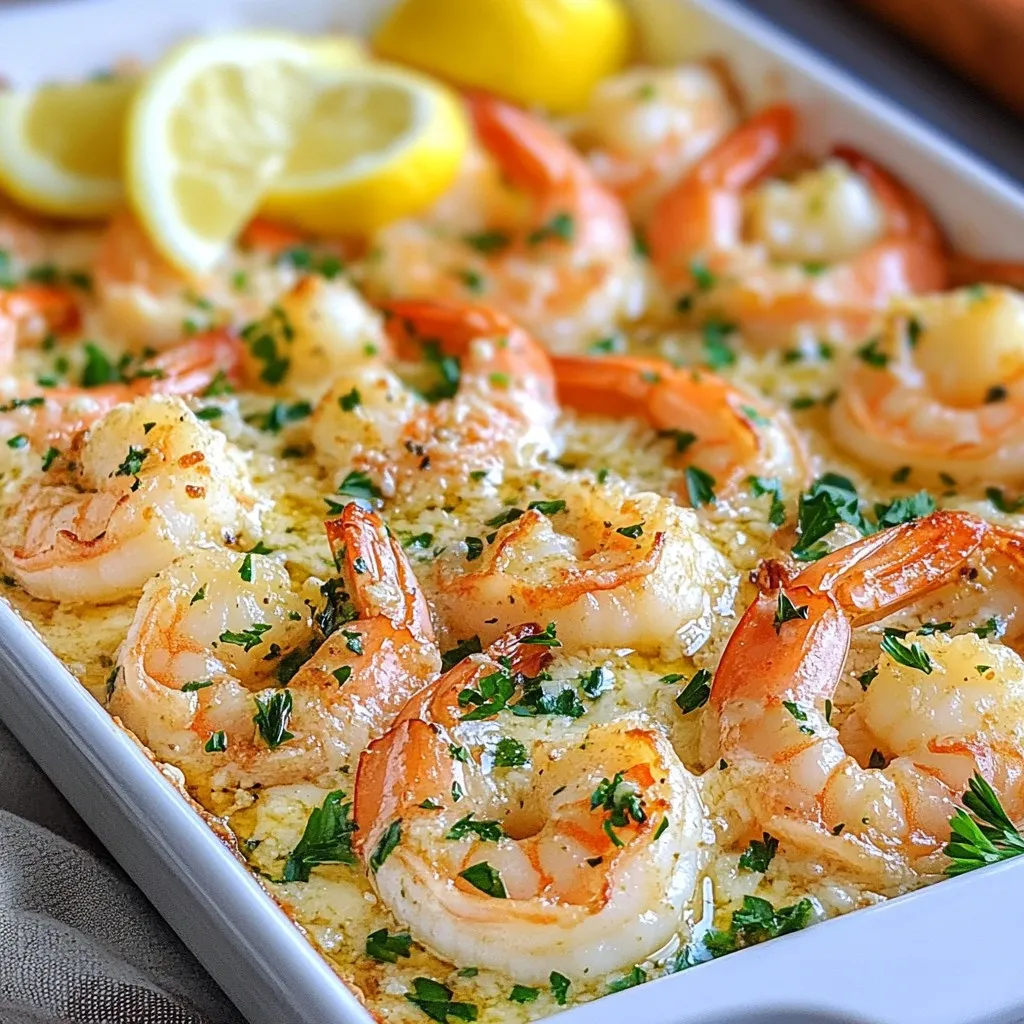
Sheet Pan Garlic Parmesan Shrimp Easy and Quick Meal
Looking for an easy weeknight dinner that’s packed with flavor? Try my Sheet Pan Garlic Parmesan Shrimp! In just a...
READ MORE →Explore our collection of dinner recipes
Looking for an easy weeknight dinner that’s packed with flavor? Try my Sheet Pan Garlic Parmesan Shrimp! In just a...
READ MORE →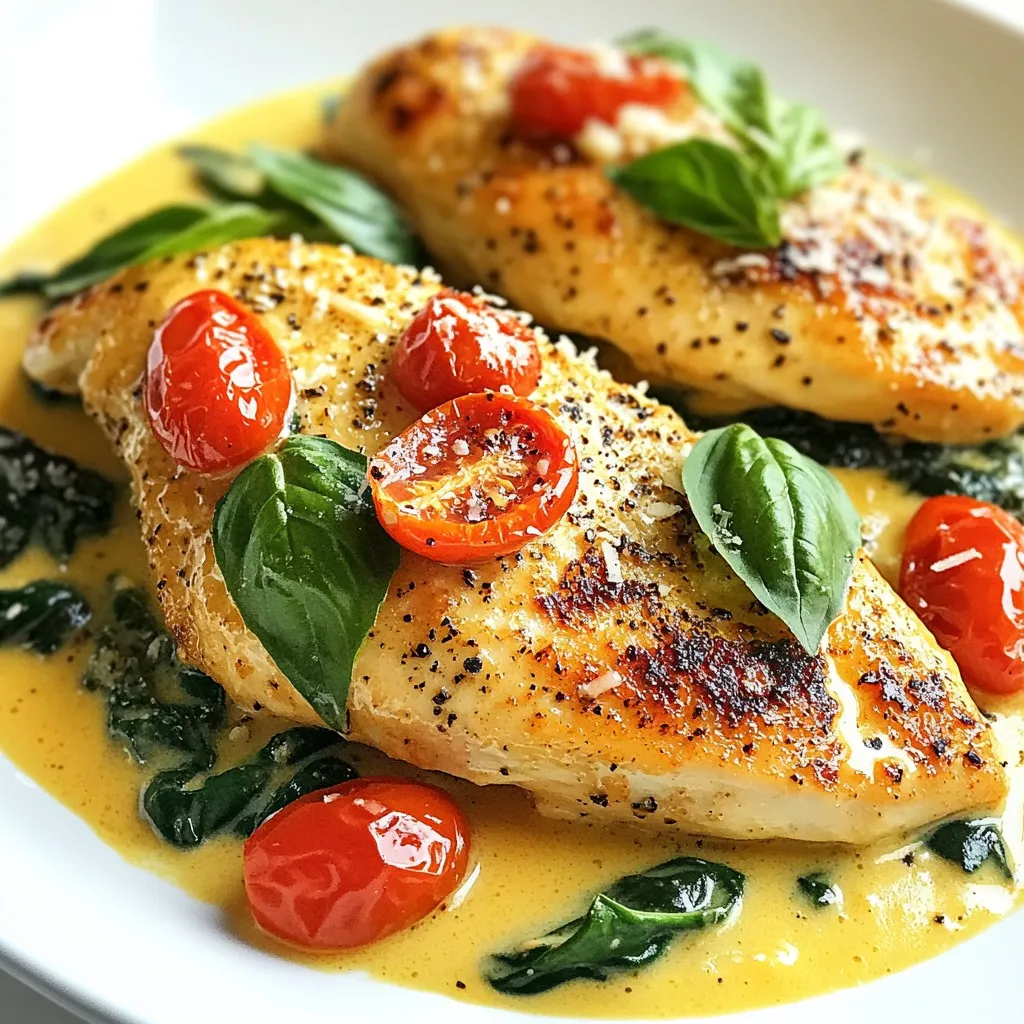
Craving a quick and tasty dinner? Let me introduce you to Creamy Tuscan Spinach Chicken! This dish is packed with...
READ MORE →
Looking for an easy and tasty dinner idea? This Garlic Parmesan Chicken Bake will delight your taste buds! With tender...
READ MORE →
Craving a quick, tasty meal? Try my Creamy Garlic Butter Ramen hack! This simple dish combines rich flavors with easy...
READ MORE →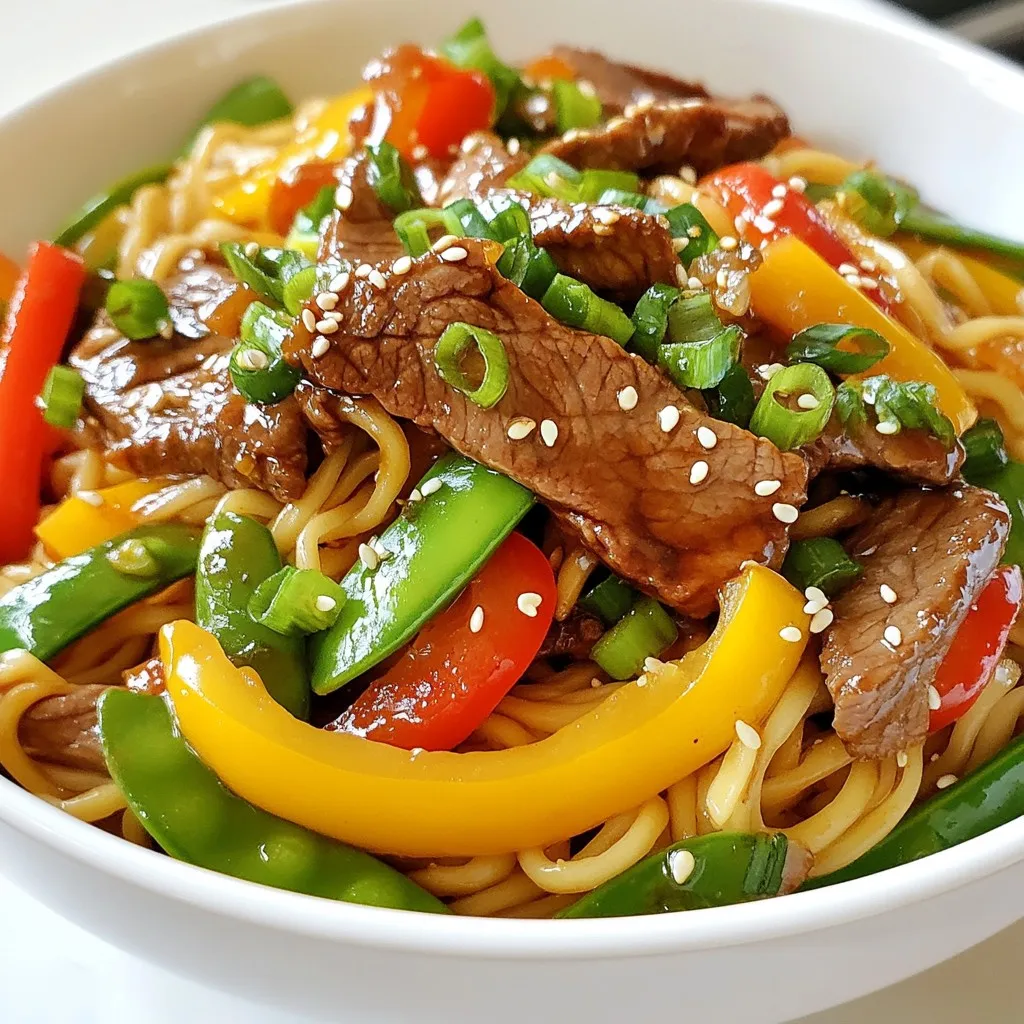
Craving a quick and tasty meal? I’ve got you covered with my Minute Teriyaki Beef Noodles recipe. This dish is...
READ MORE →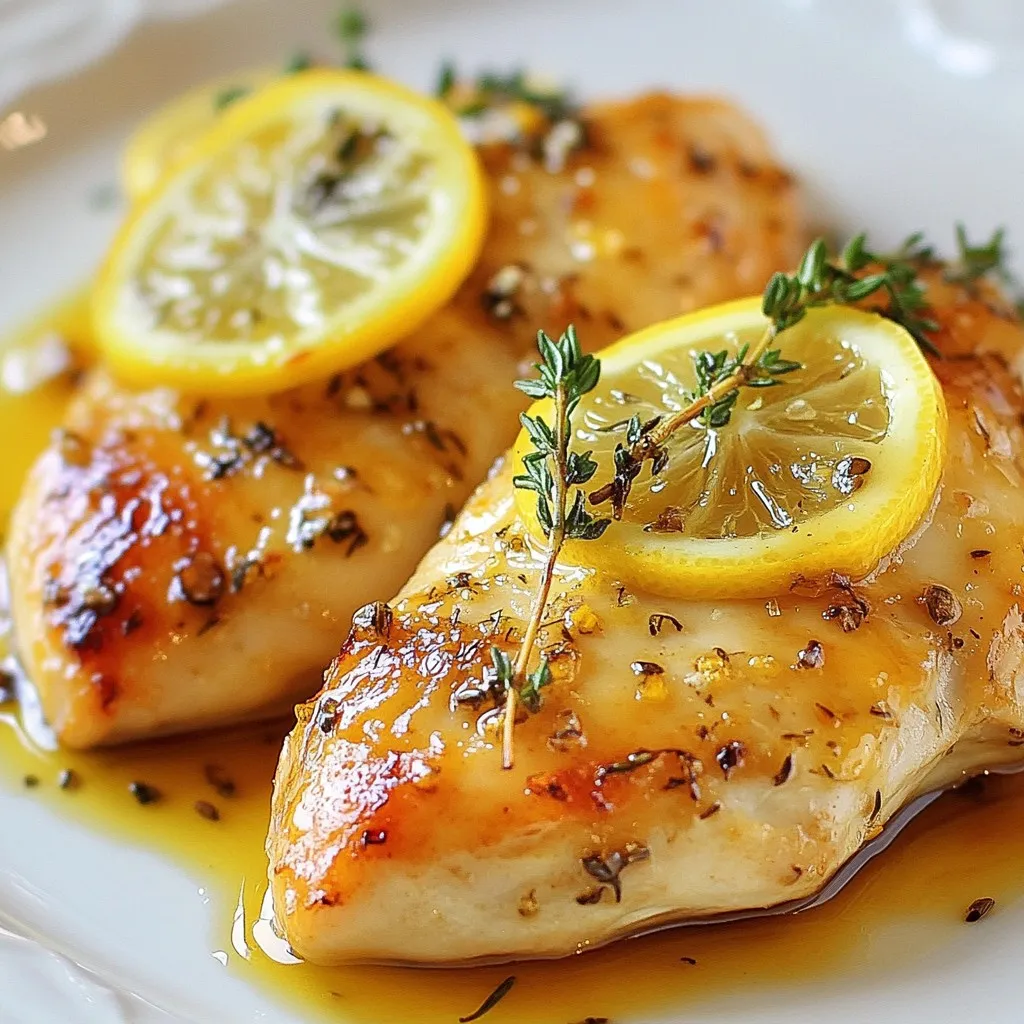
Are you ready to make a delicious Lemon Baked Chicken? This savory dish is simple, quick, and perfect for any...
READ MORE →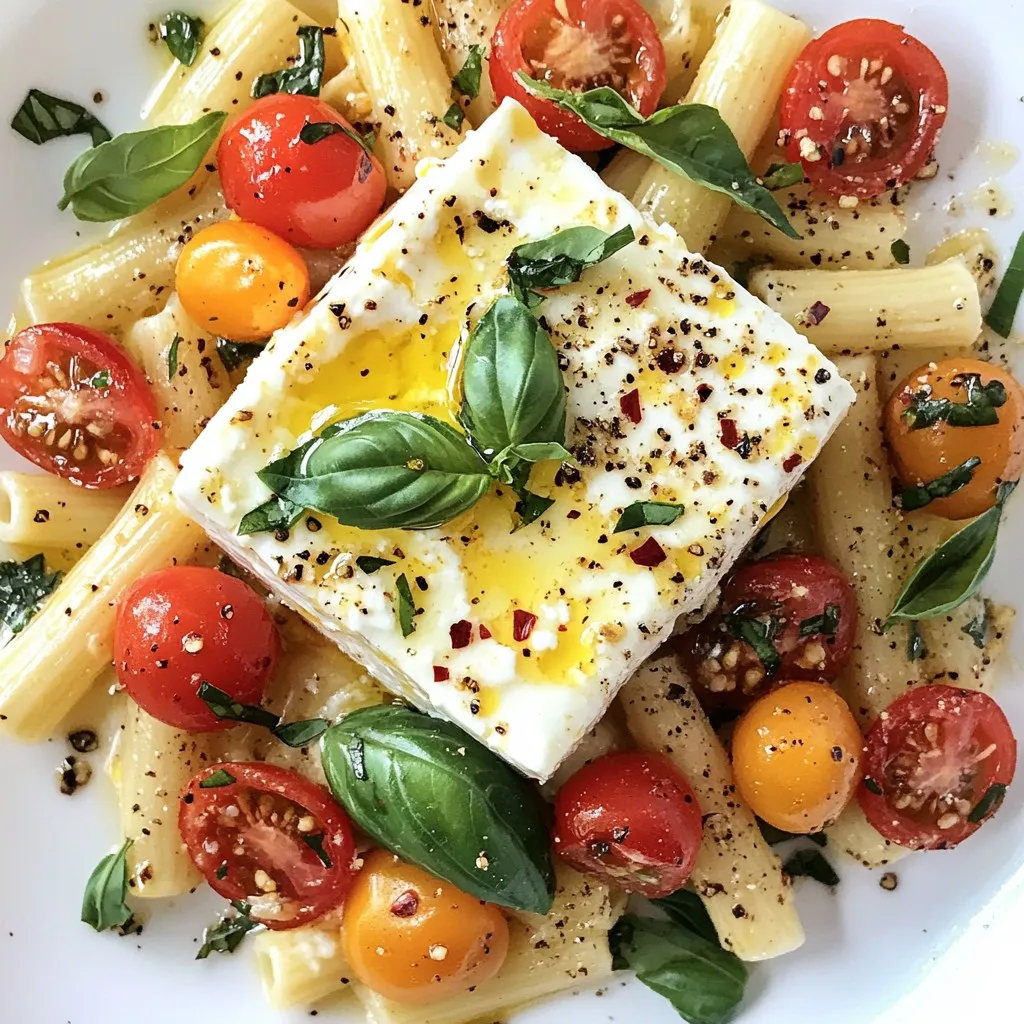
Have you heard of the viral baked feta pasta that took the internet by storm? This simple recipe mixes creamy...
READ MORE →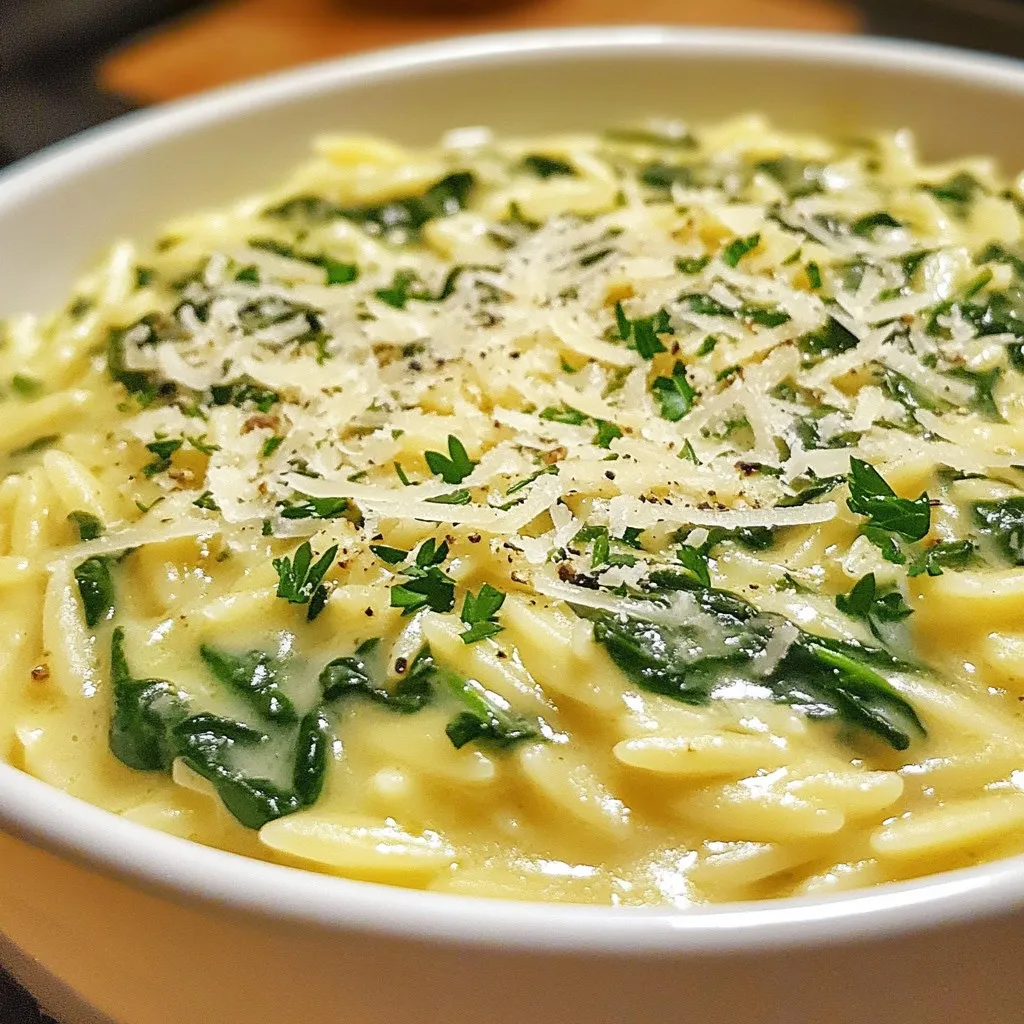
Are you ready to impress your taste buds? In this post, I’ll share a delightful recipe for Creamy Garlic Spinach...
READ MORE →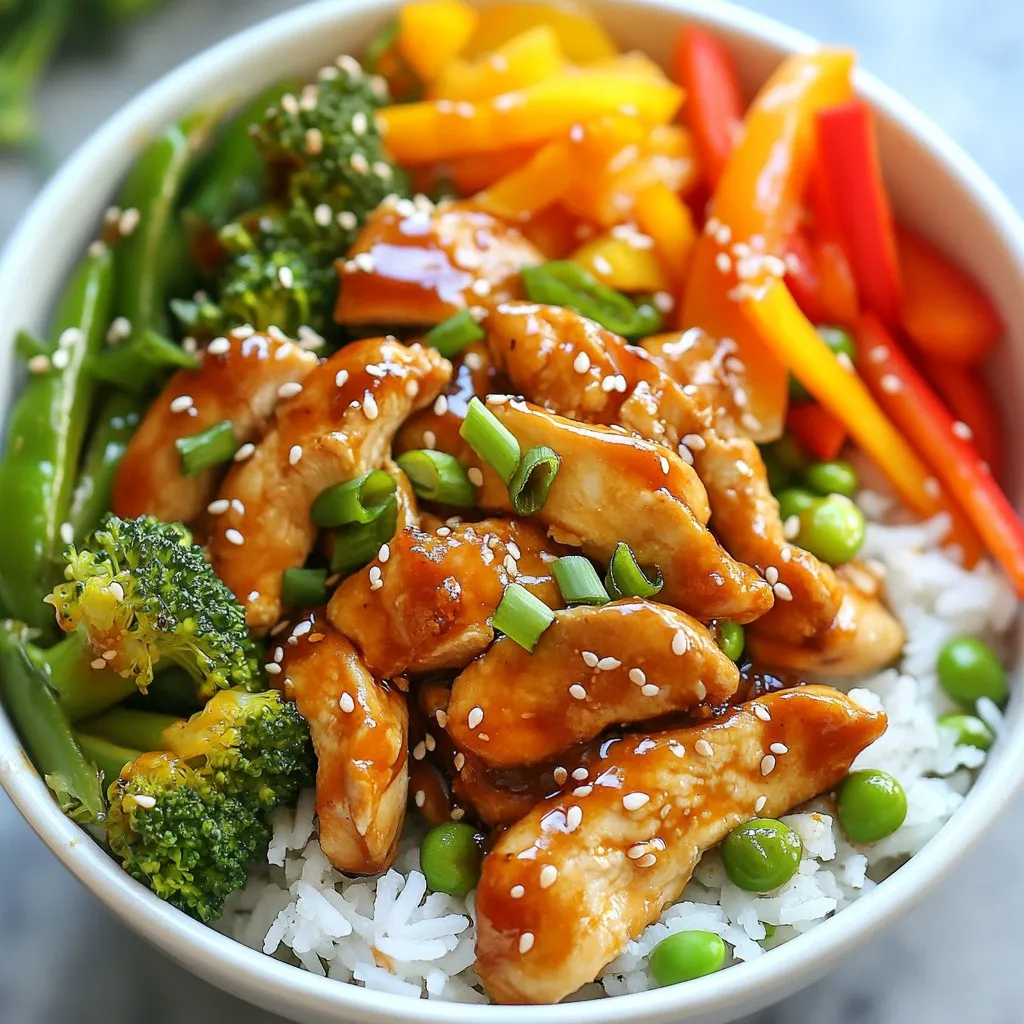
Want a delicious meal in just 20 minutes? Teriyaki Chicken Stir Fry is your answer! This quick dish is packed...
READ MORE →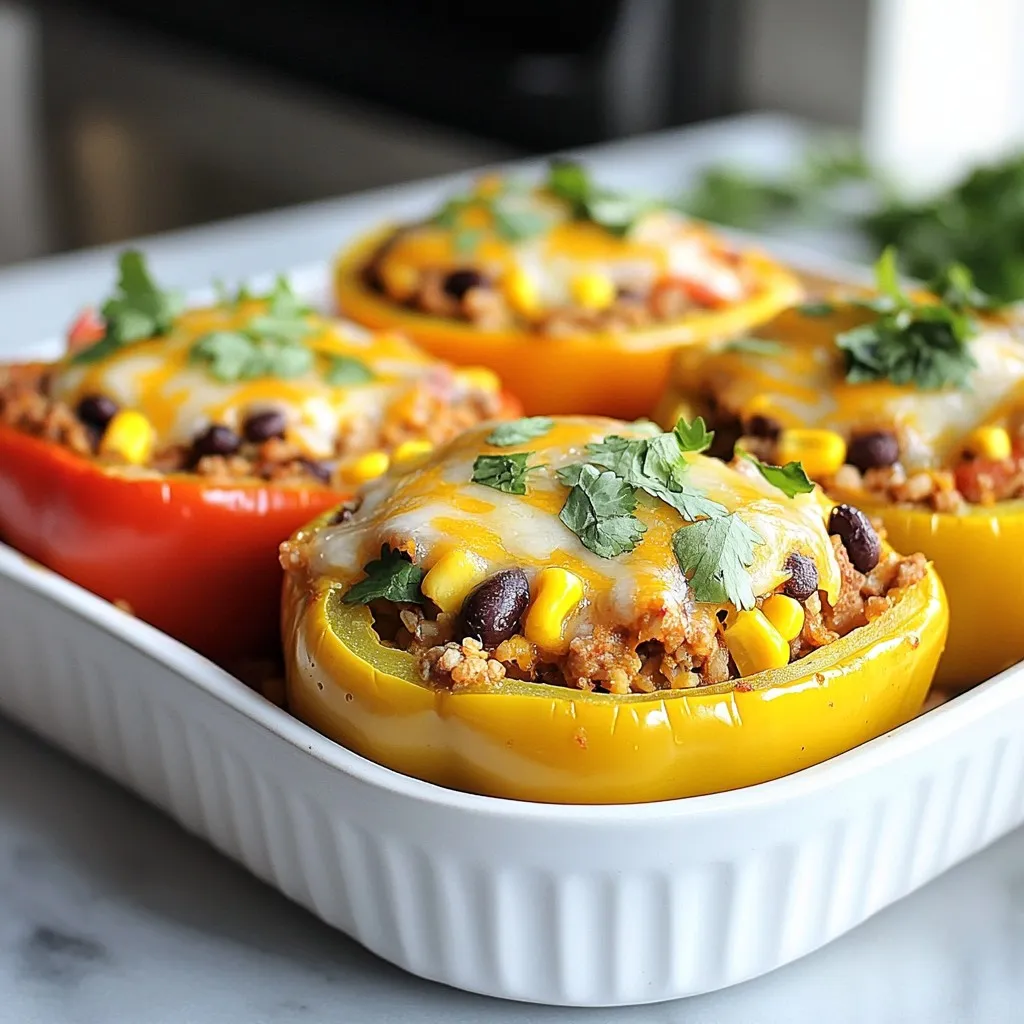
If you’re craving a hearty meal that’s both flavorful and healthy, you’re in the right place. Stuffed Bell Pepper Casserole...
READ MORE →