DINNER
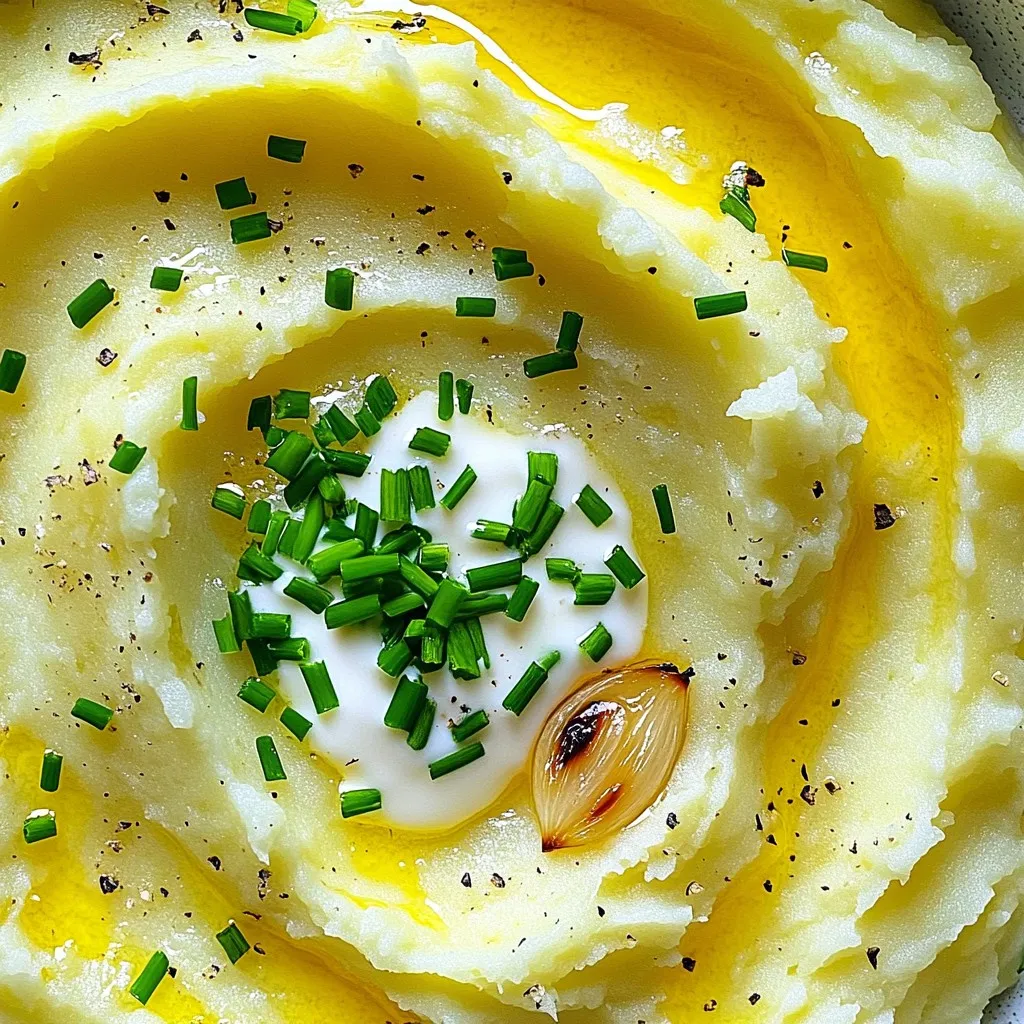
Creamy Roasted Garlic Mashed Potatoes Delight Recipe
Looking for a side dish that steals the show? My creamy roasted garlic mashed potatoes are here to save the...
READ MORE →Explore our collection of dinner recipes
Looking for a side dish that steals the show? My creamy roasted garlic mashed potatoes are here to save the...
READ MORE →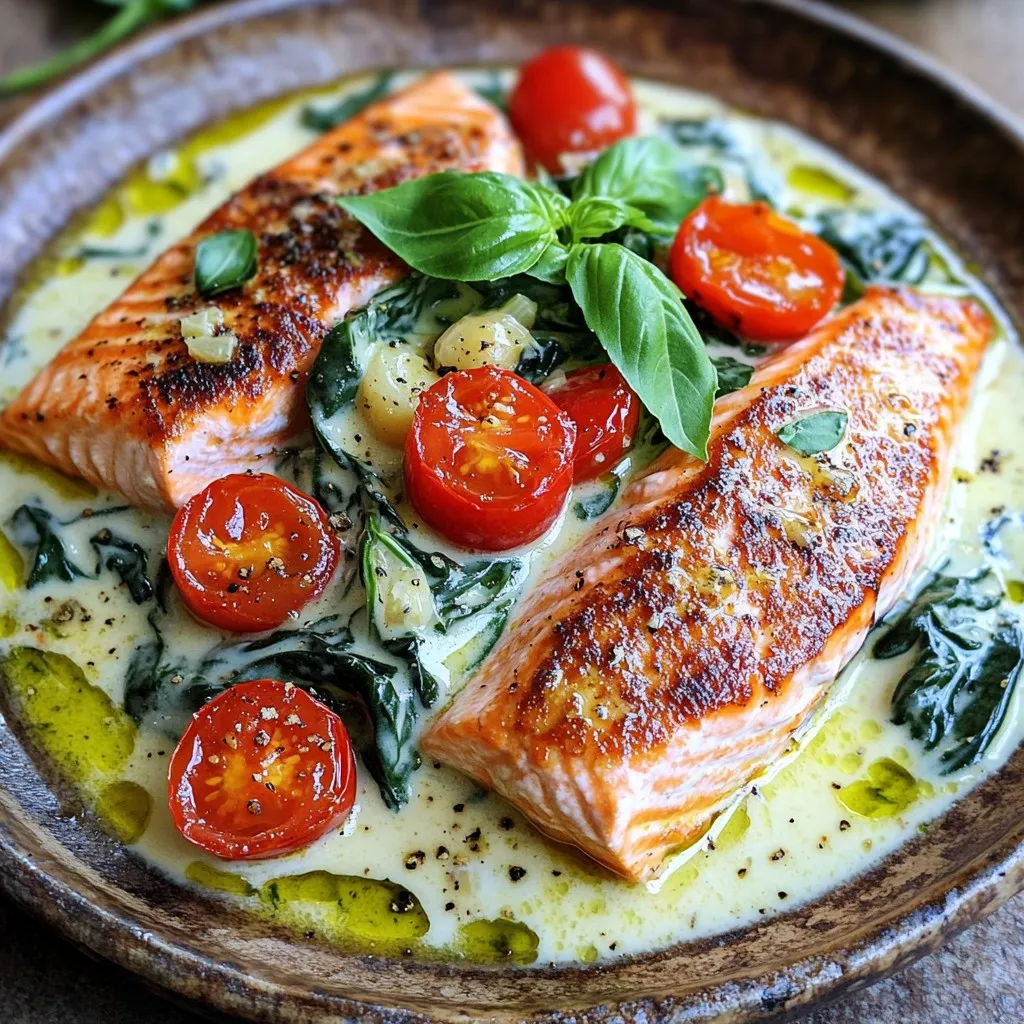
Looking for a quick meal that packs a flavor punch? You’ll love this Minute Creamy Tuscan Salmon recipe! In just...
READ MORE →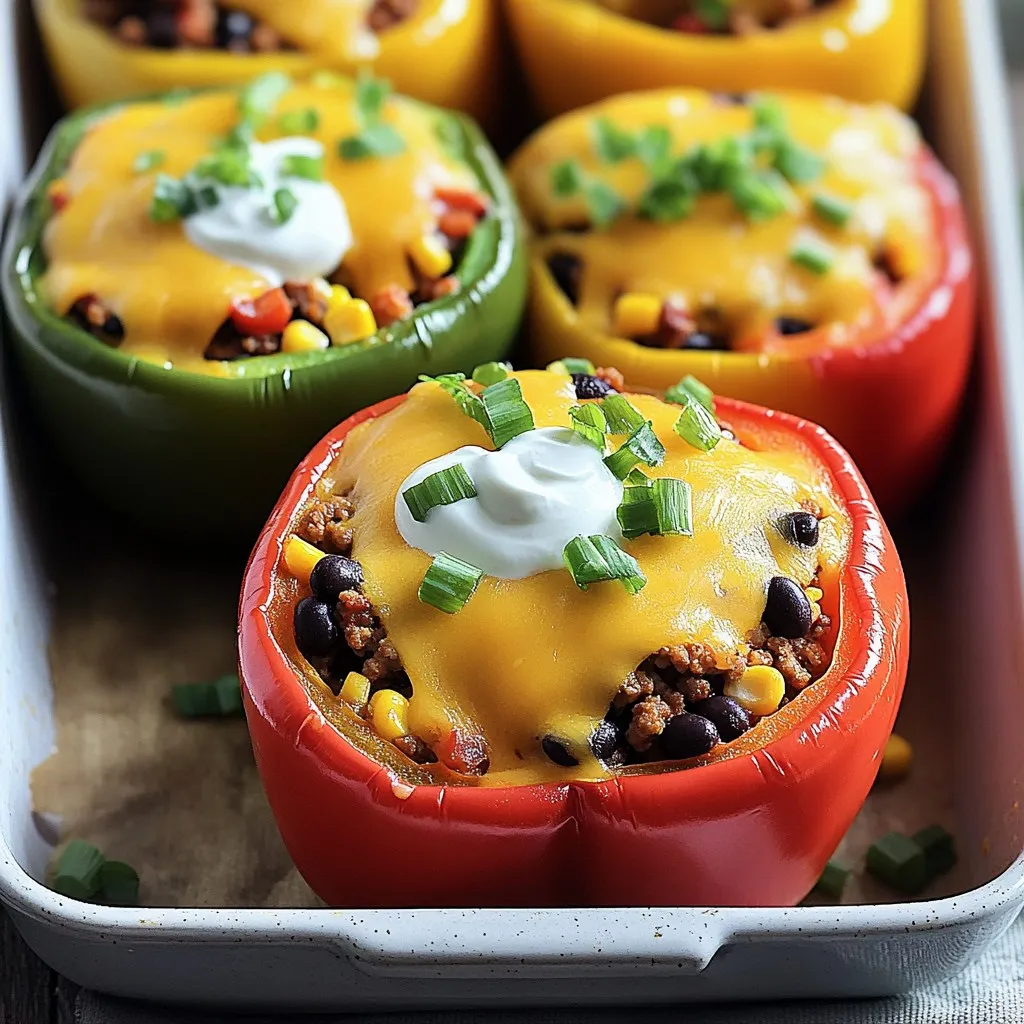
If you’re looking for a fun, easy dinner, I’ve got just the thing: Cheesy Taco Stuffed Peppers! They are loaded...
READ MORE →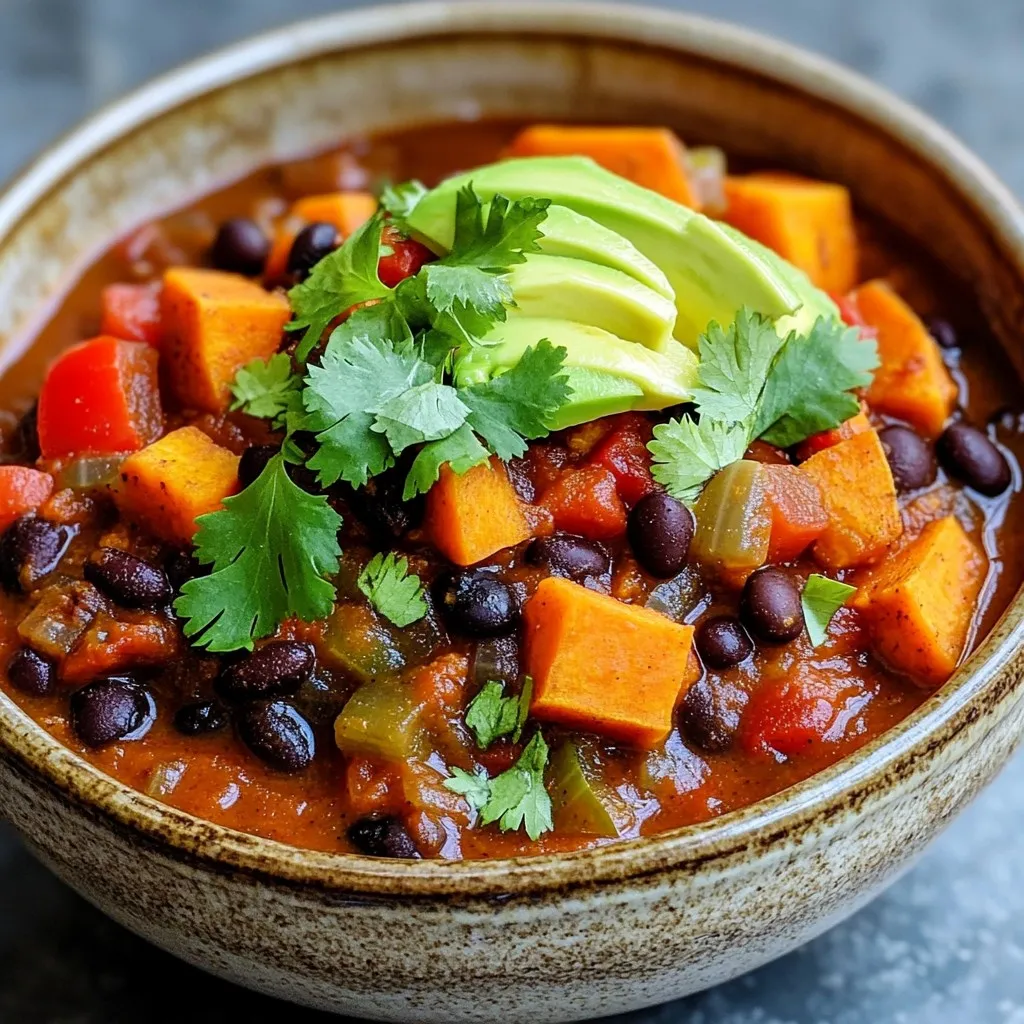
Looking for a warm, hearty meal that’s easy to make? This Slow Cooker Sweet Potato Black Bean Chili is your...
READ MORE →
Are you ready for a quick and tasty meal? My Garlic Butter Shrimp & Asparagus Skillet Delight cooks in just...
READ MORE →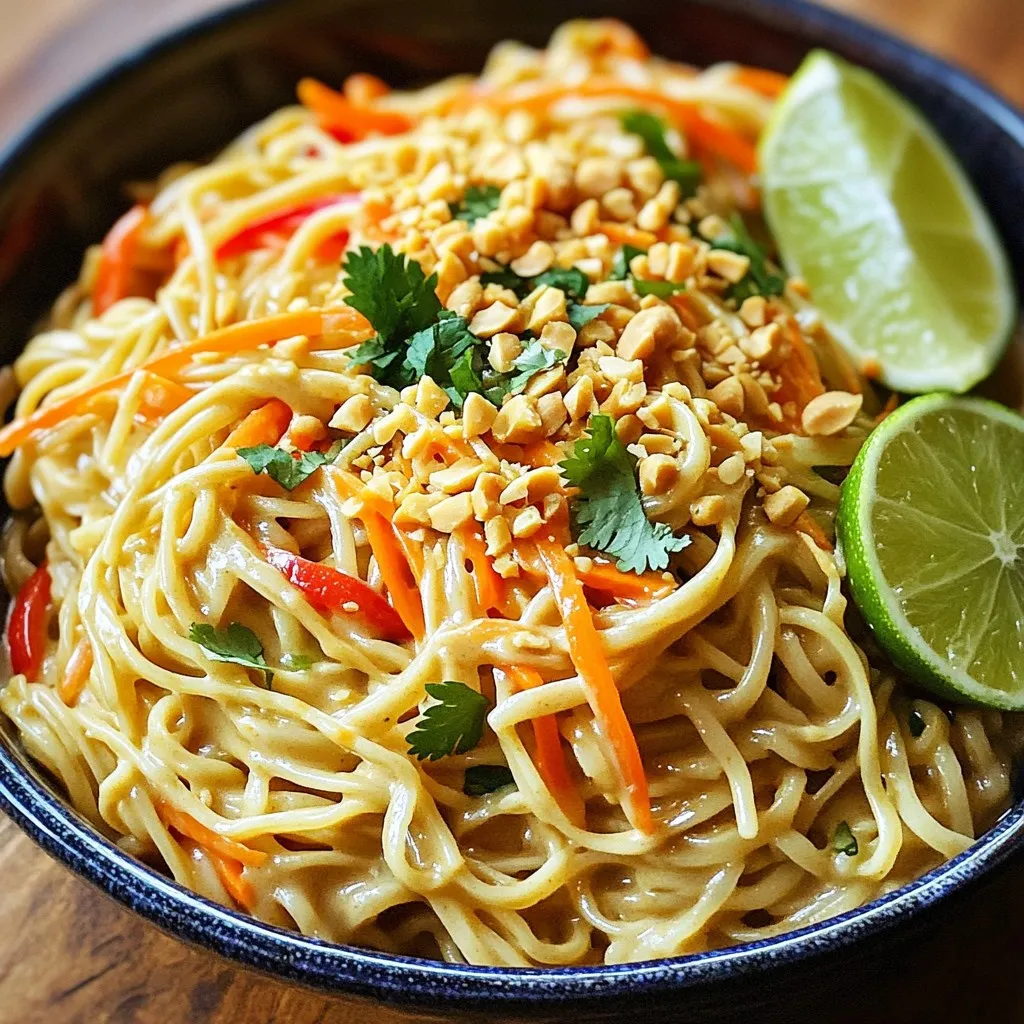
If you’re craving a quick and tasty meal, Minute Thai Peanut Noodles are the answer. With just a few simple...
READ MORE →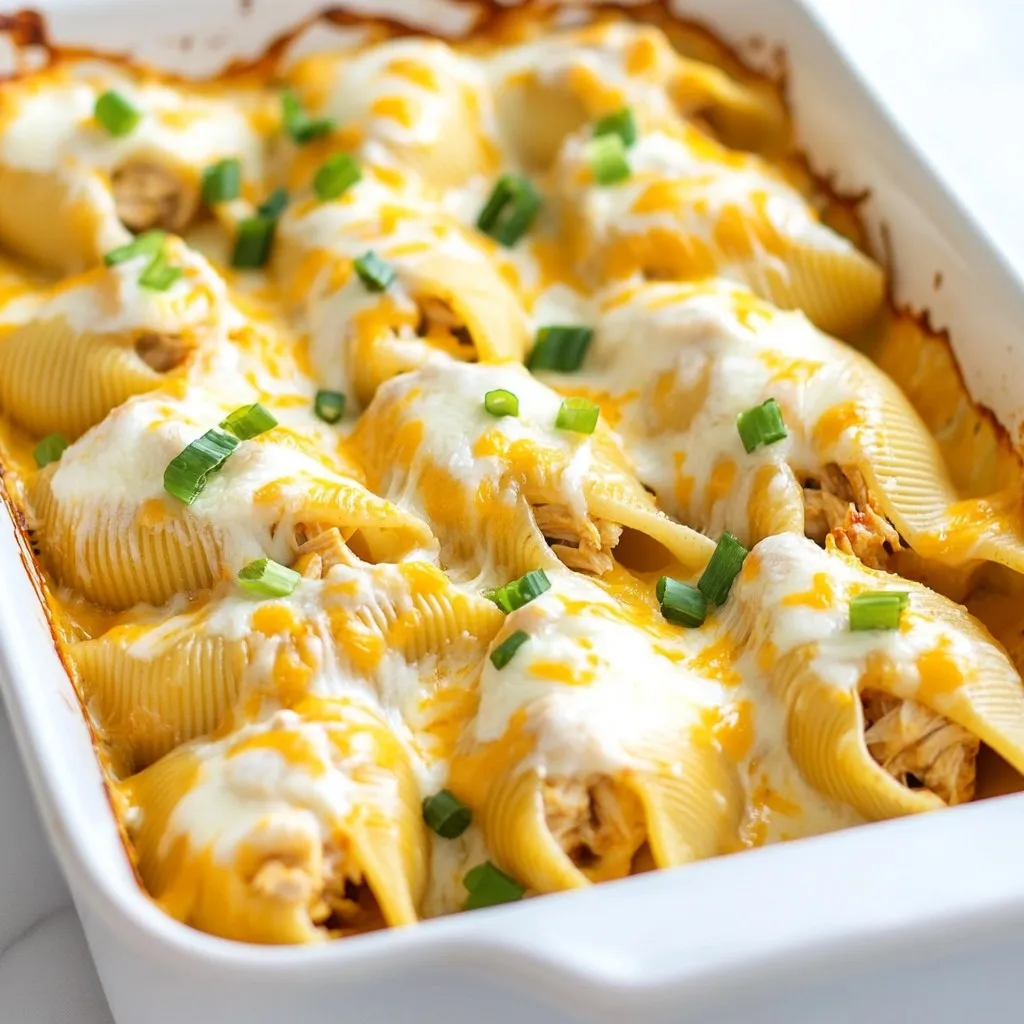
Are you ready to spice up your dinner routine? Creamy Buffalo Chicken Stuffed Shells bring bold flavors and comfort together...
READ MORE →
Craving a quick and delicious meal? The TikTok Feta Tomato Pasta Bake is here to save dinner time! This easy...
READ MORE →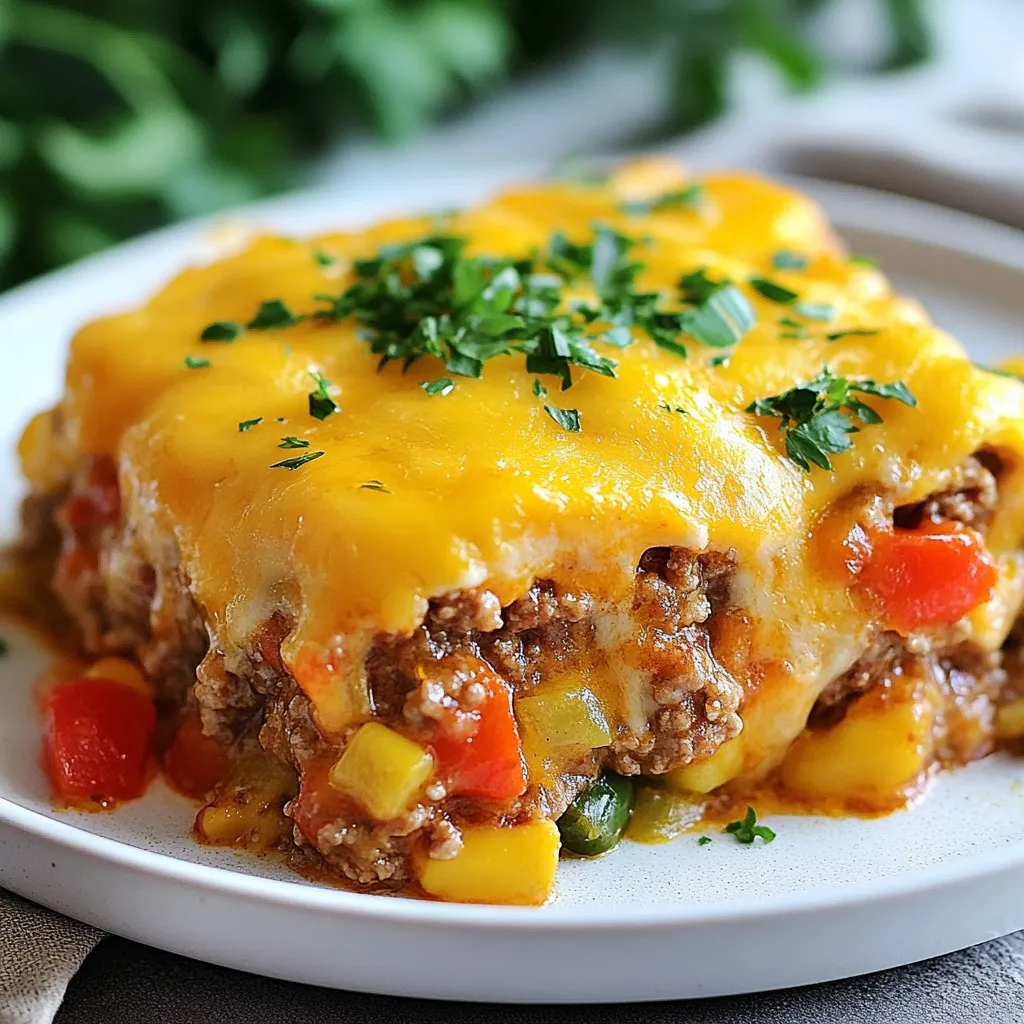
Are you ready for a warm, cheesy hug in casserole form? My Cheesy Meatloaf Casserole is the comfort meal you’ll...
READ MORE →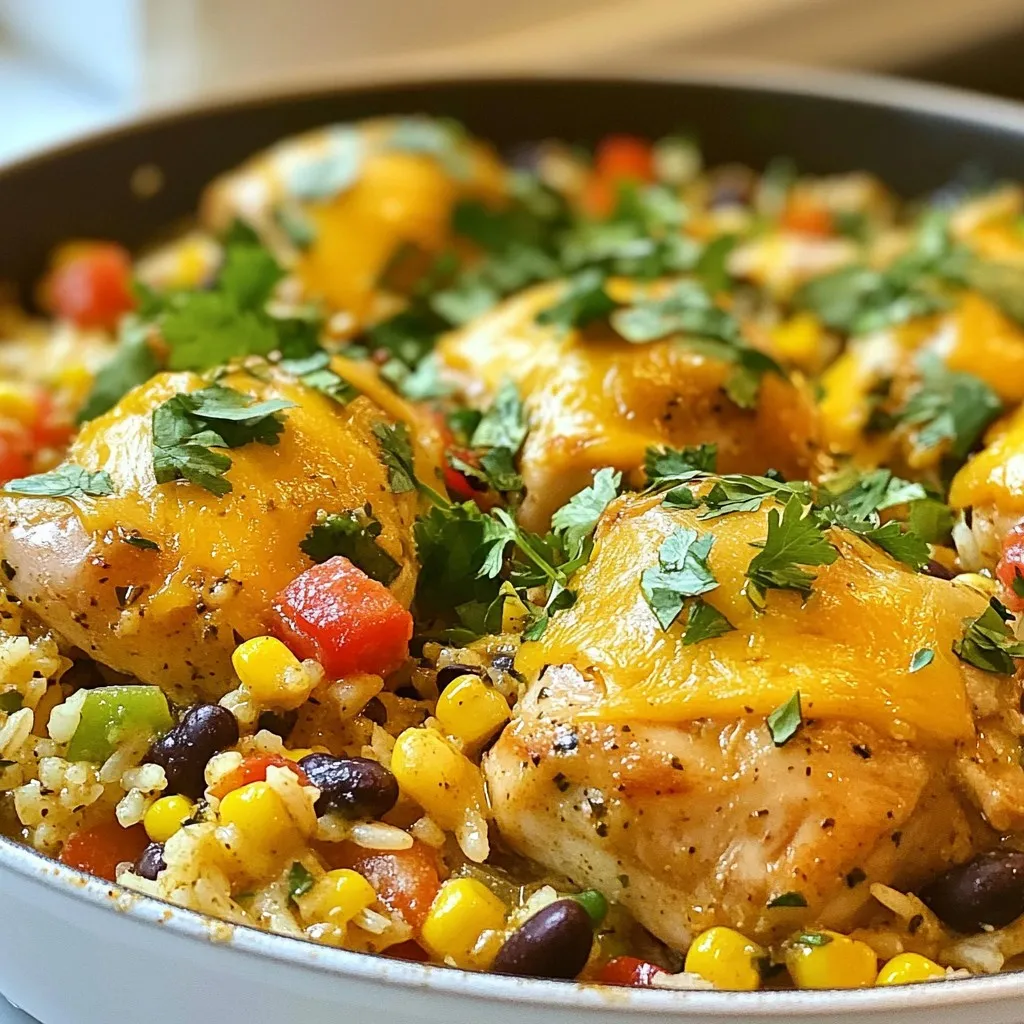
Welcome to your new favorite weeknight meal! This Salsa Verde Chicken and Rice Skillet is packed with bold flavors and...
READ MORE →