DINNER
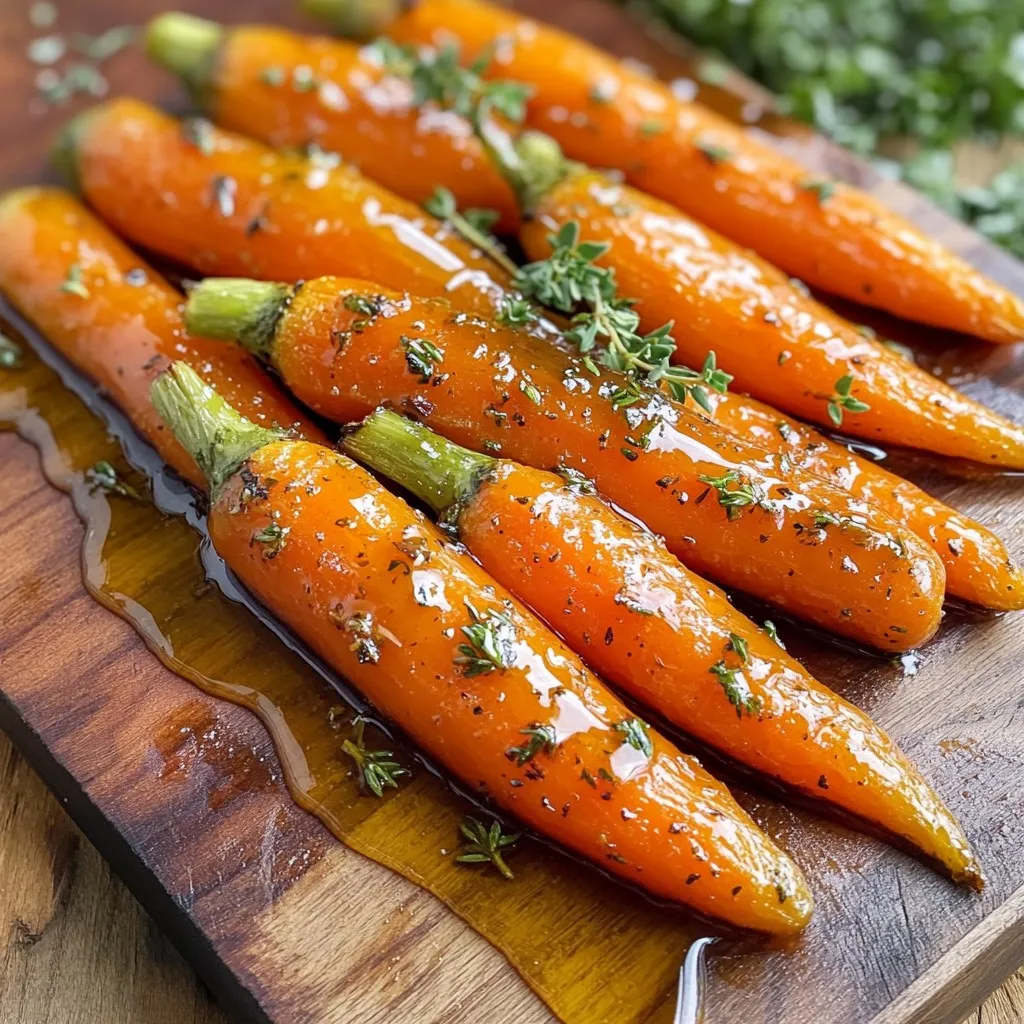
Maple Dijon Roasted Carrots Flavorful Side Dish Tune-Up
Looking for a side dish that packs a punch? My Maple Dijon Roasted Carrots are just what you need! With...
READ MORE →Explore our collection of dinner recipes
Looking for a side dish that packs a punch? My Maple Dijon Roasted Carrots are just what you need! With...
READ MORE →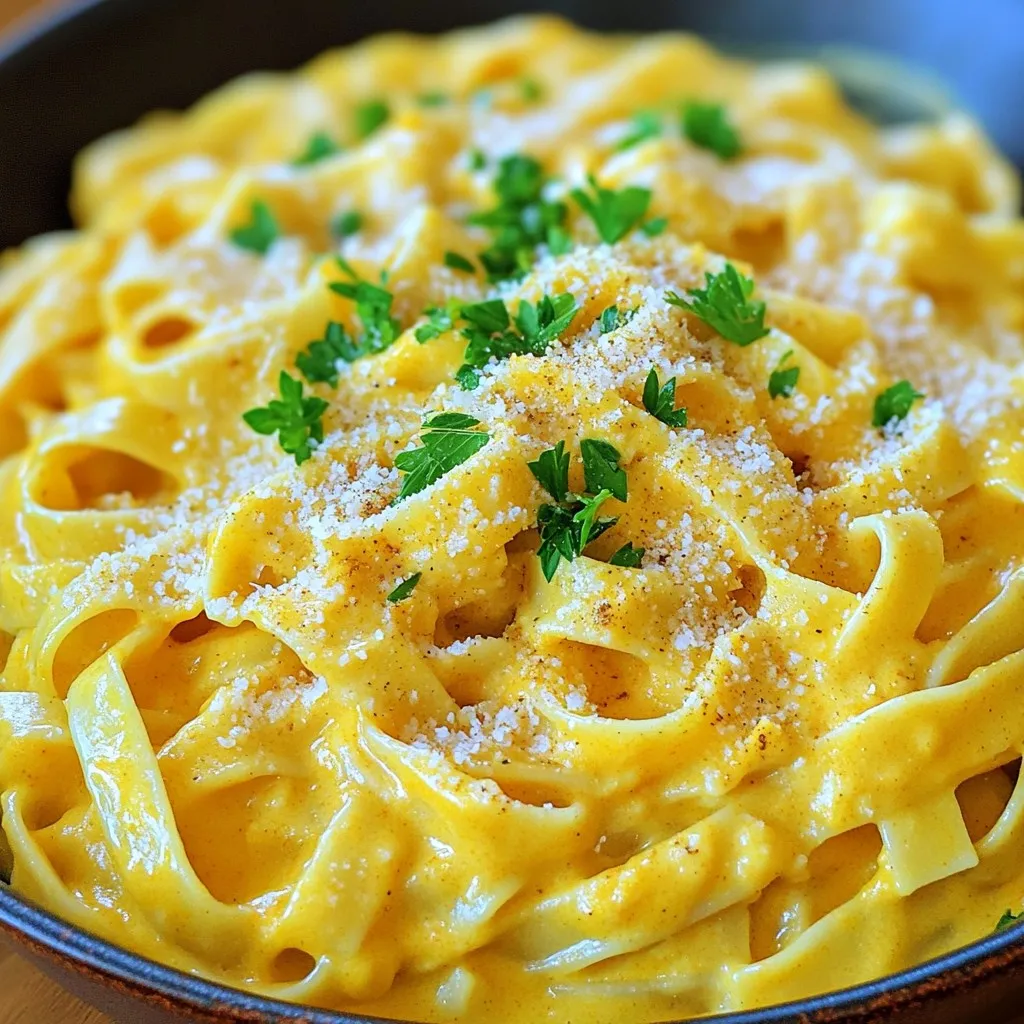
Are you ready to indulge in a bowl of creamy goodness? This Creamy Pumpkin Alfredo Pasta is rich, warm, and...
READ MORE →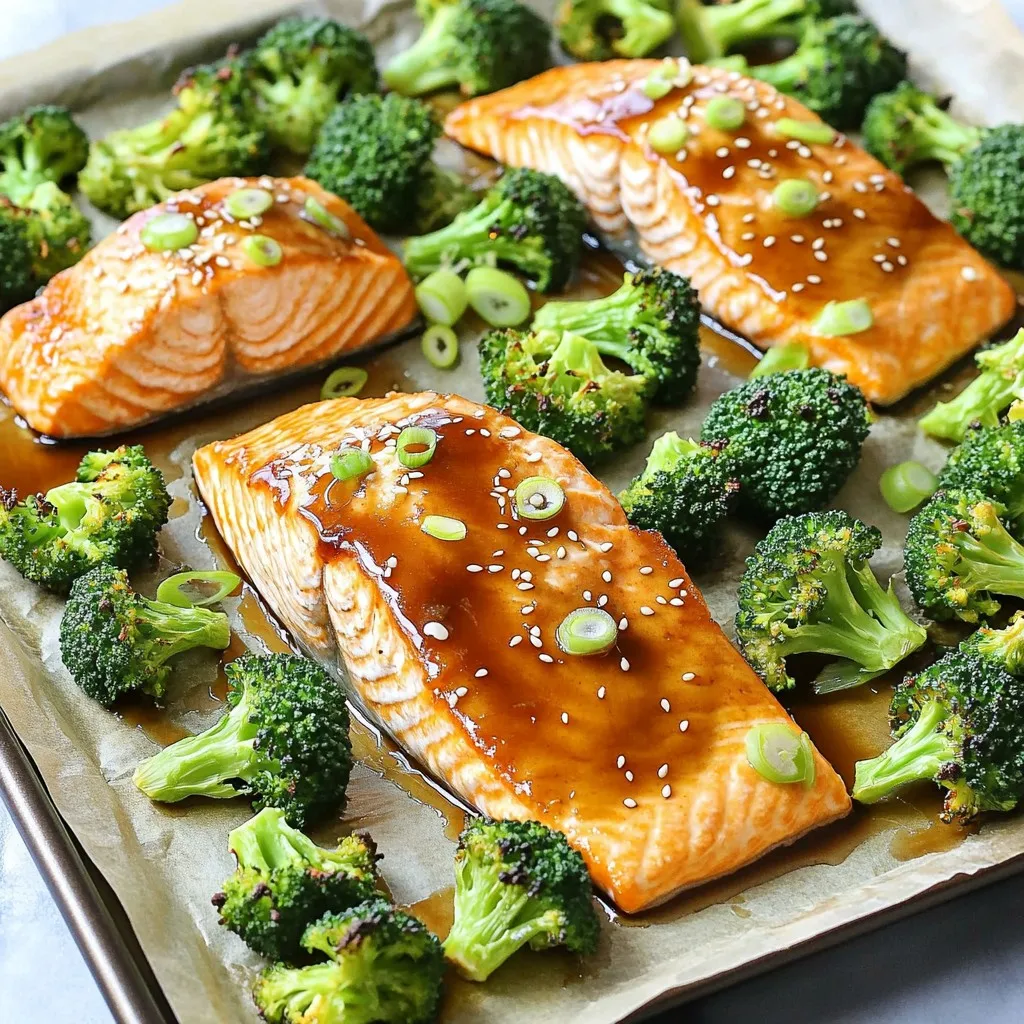
Looking for a quick and tasty dinner? You’re in the right place! My Sheet-Pan Miso Maple Salmon & Broccoli Delight...
READ MORE →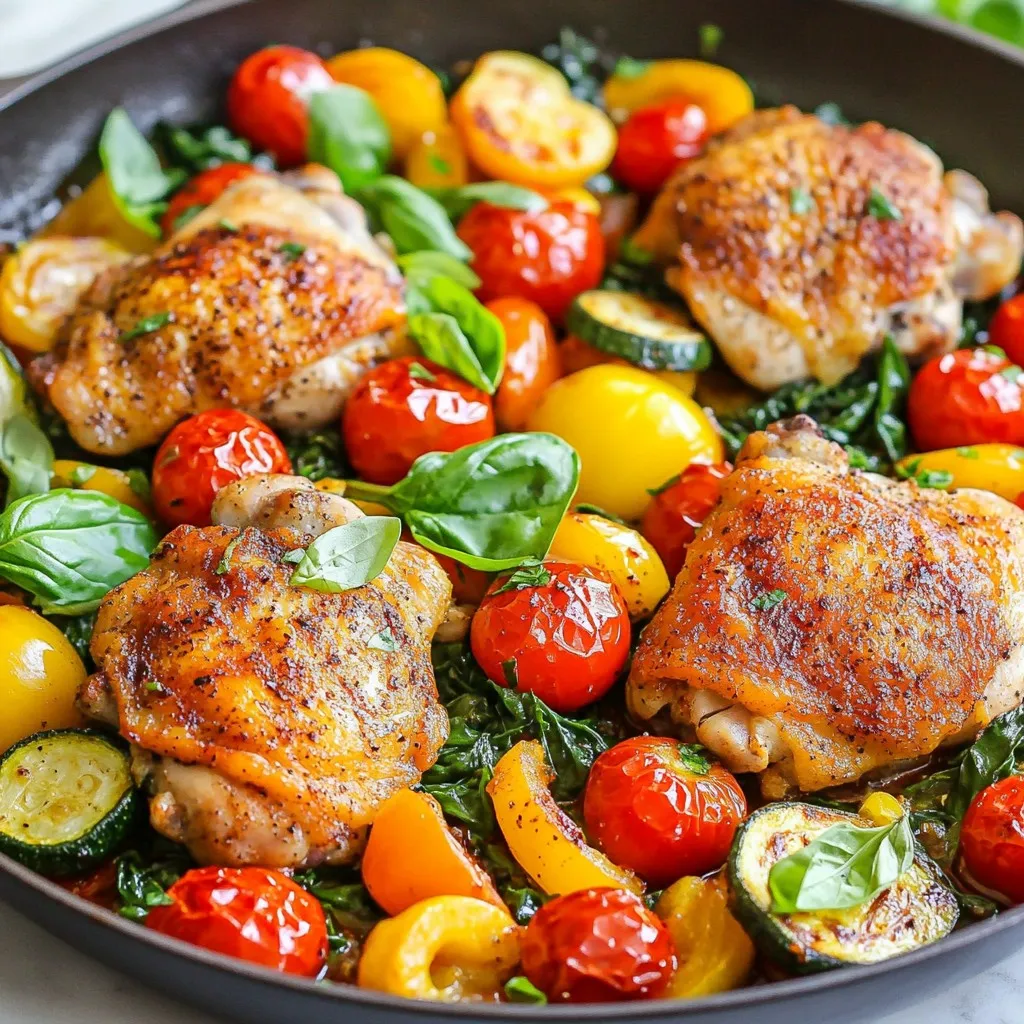
Looking for a quick and tasty dinner? One-Skillet Chicken & Veggies is your answer. This easy weeknight meal combines juicy...
READ MORE →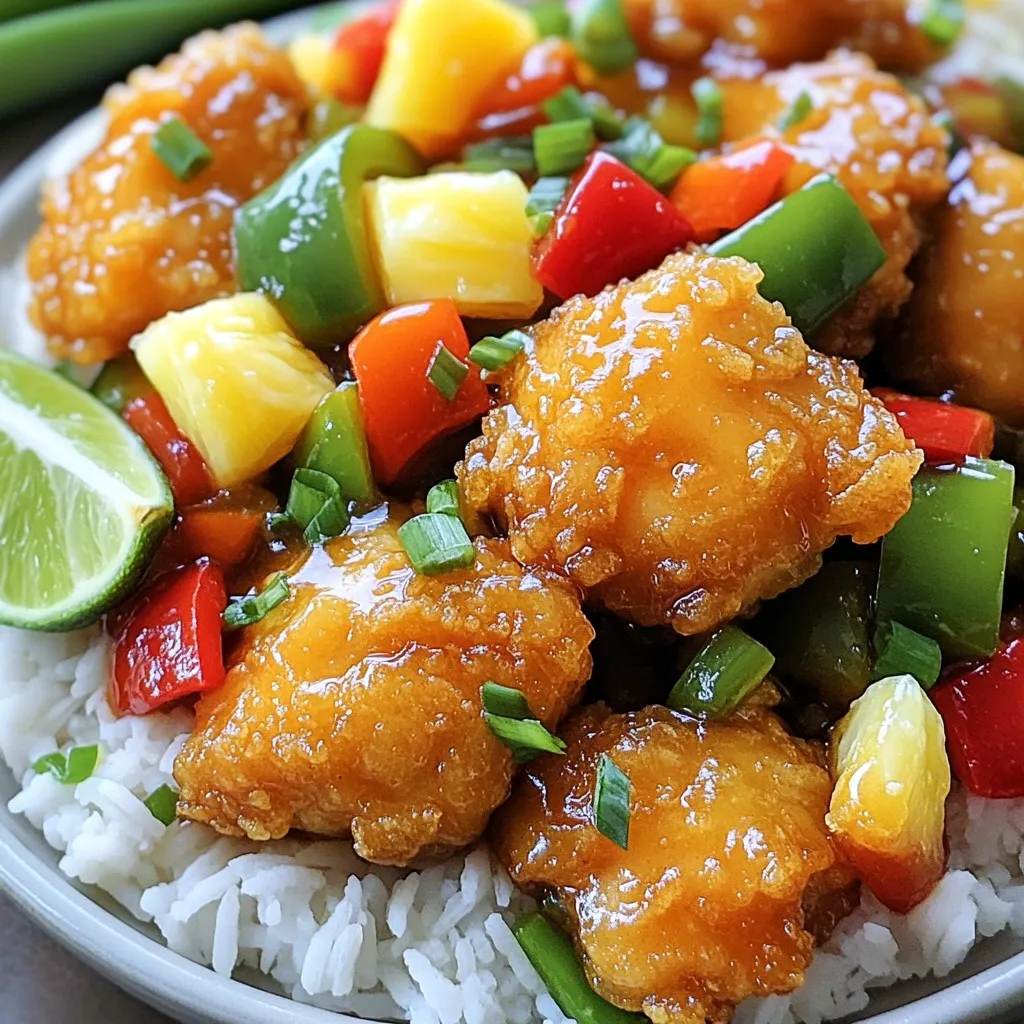
Craving takeout but want something even better? Let’s make Crispy Sweet and Sour Chicken that will wow your taste buds!...
READ MORE →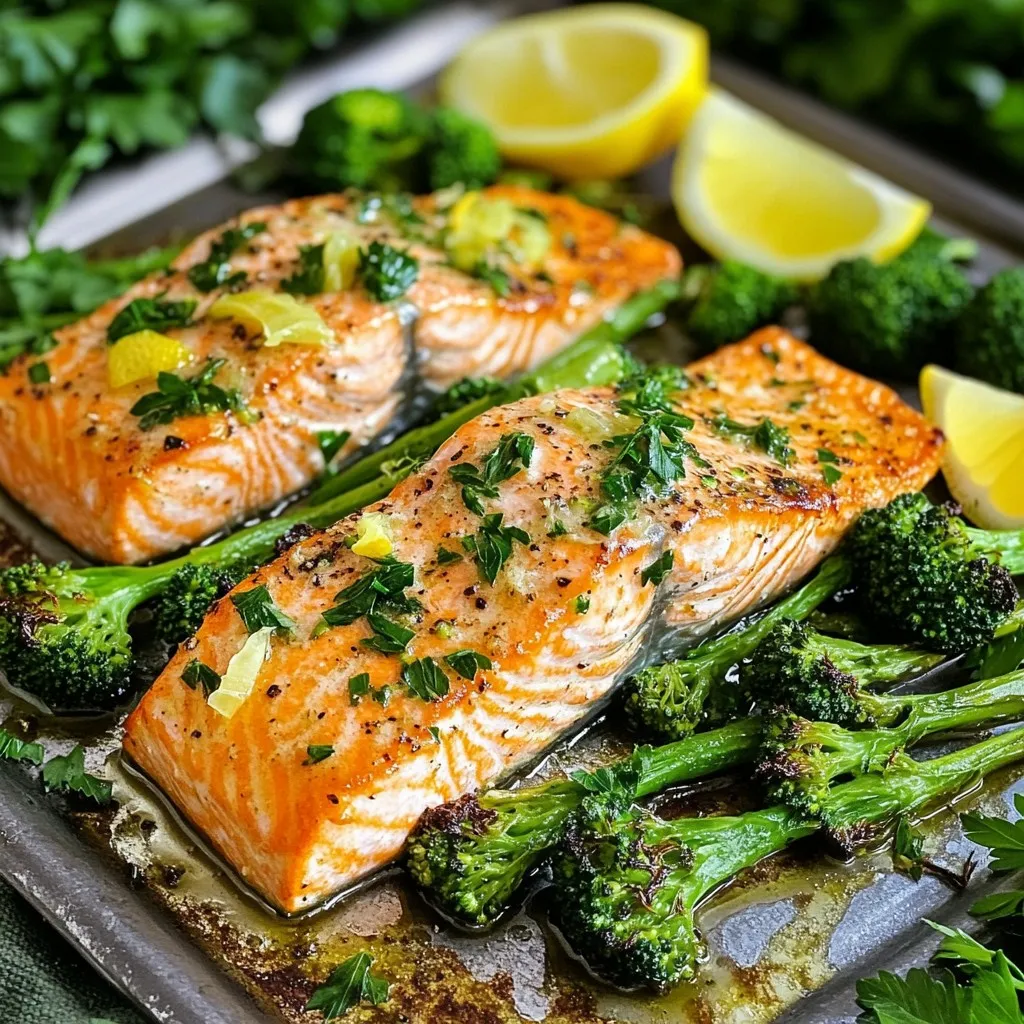
Looking for an easy, tasty meal? You’re in for a treat with Sheet Pan Lemon Garlic Salmon and Broccolini! This...
READ MORE →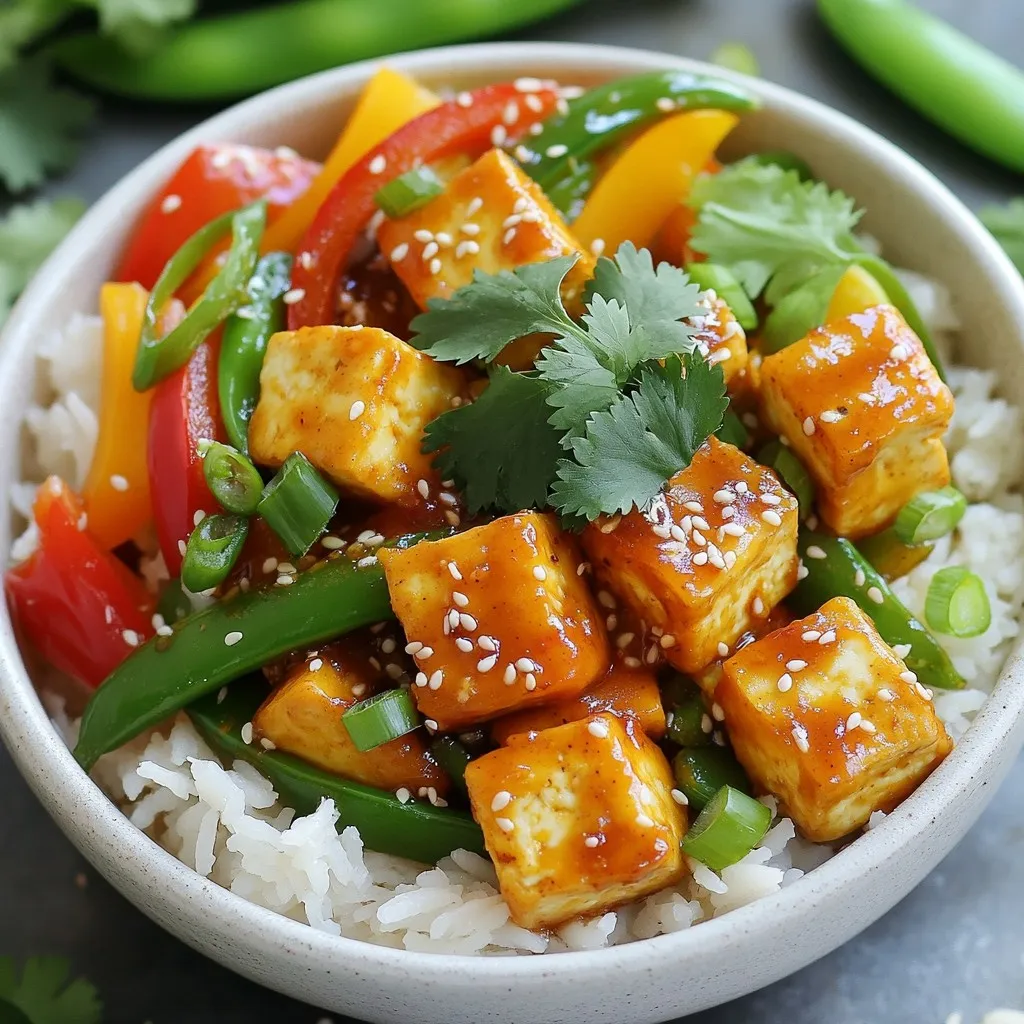
If you want a quick and tasty meal, try my Minute Sweet Chili Garlic Tofu Bowls! This dish is full...
READ MORE →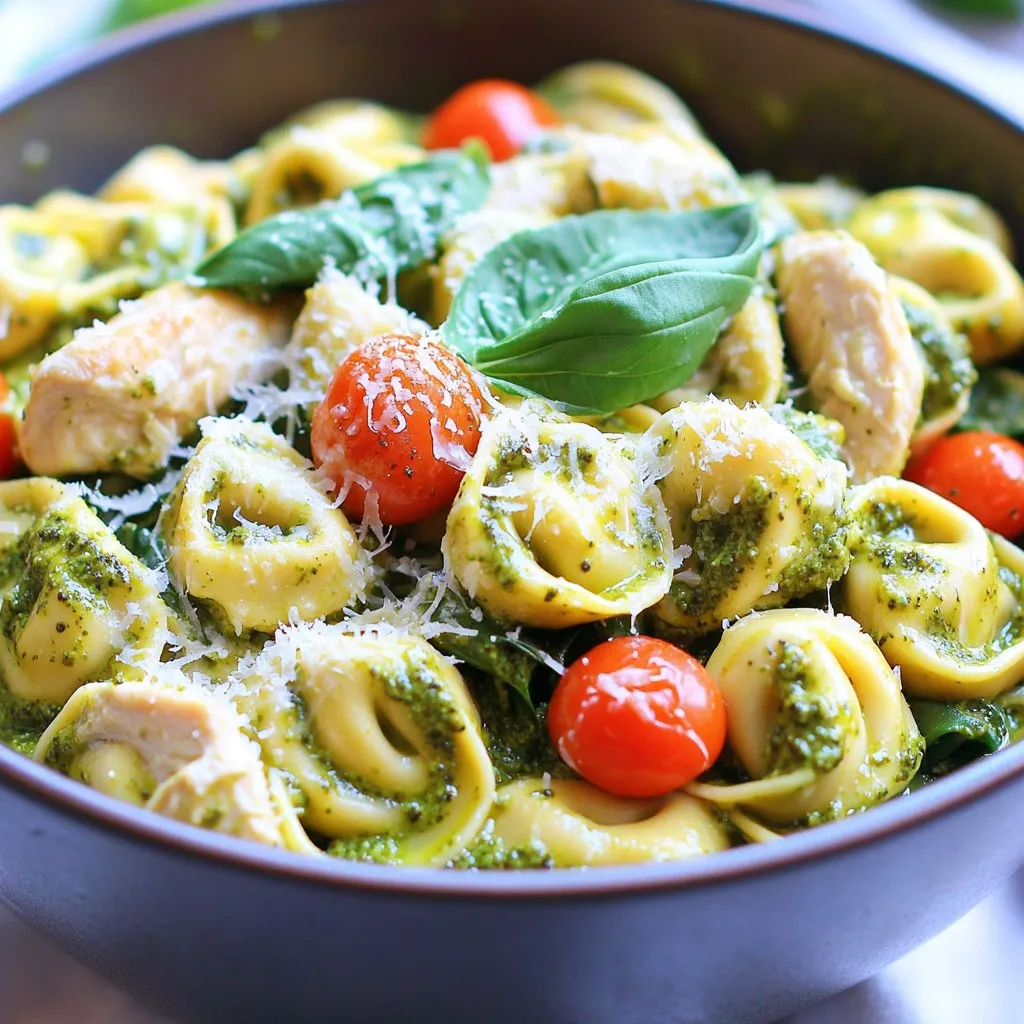
Are you craving a quick, tasty meal that’s easy to make? My Creamy Pesto Chicken Tortellini is the answer! This...
READ MORE →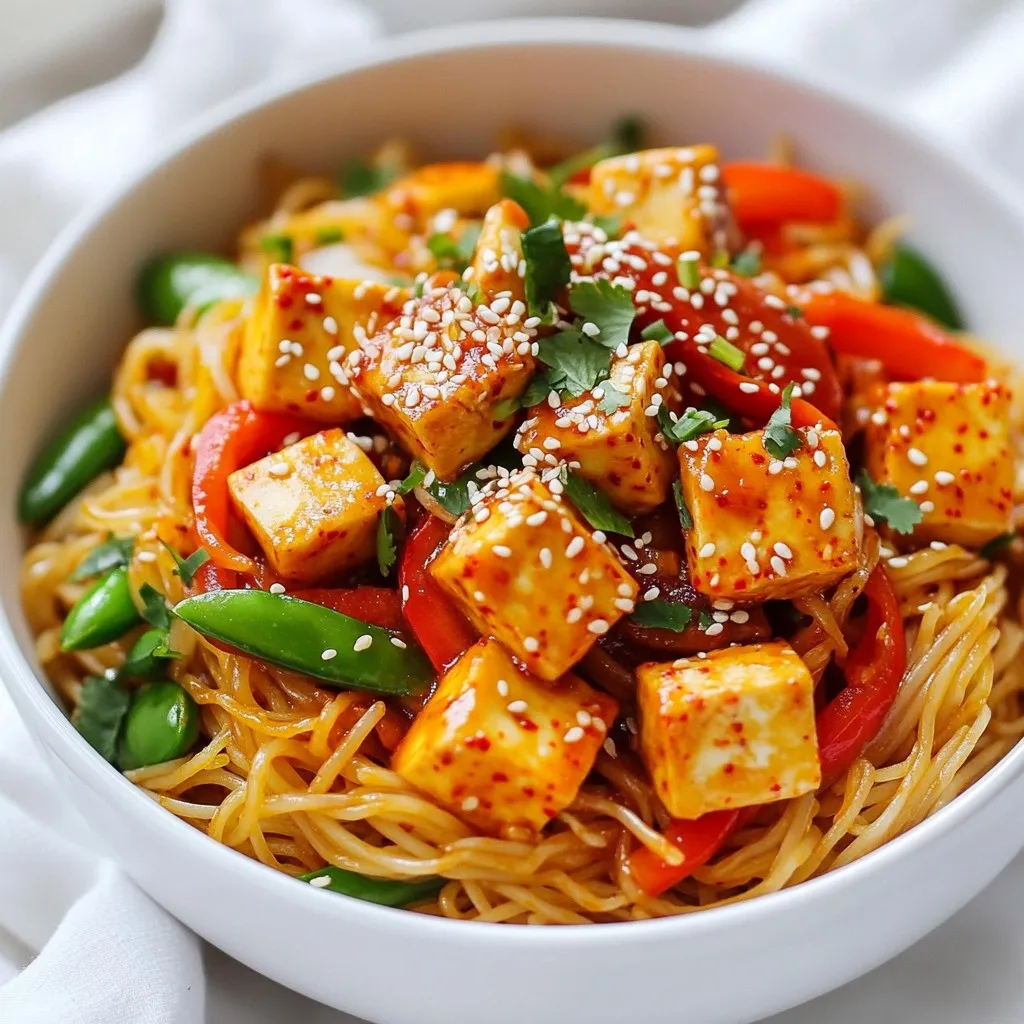
Craving a quick and bold meal? You’ll love these Spicy Gochujang Noodles! With just a handful of simple ingredients, this...
READ MORE →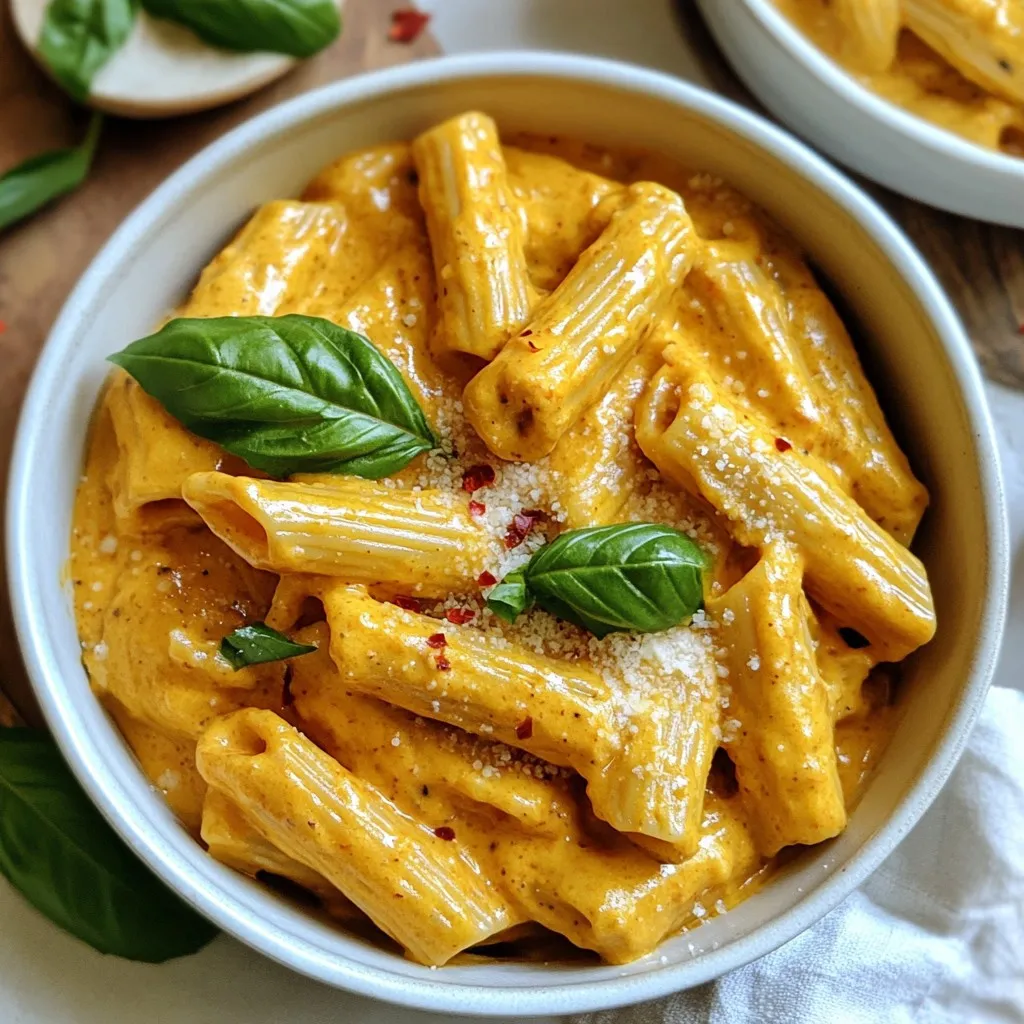
Get ready to elevate your meals with my Roasted Red Pepper Protein Pasta! This dish is not only simple and...
READ MORE →