DINNER
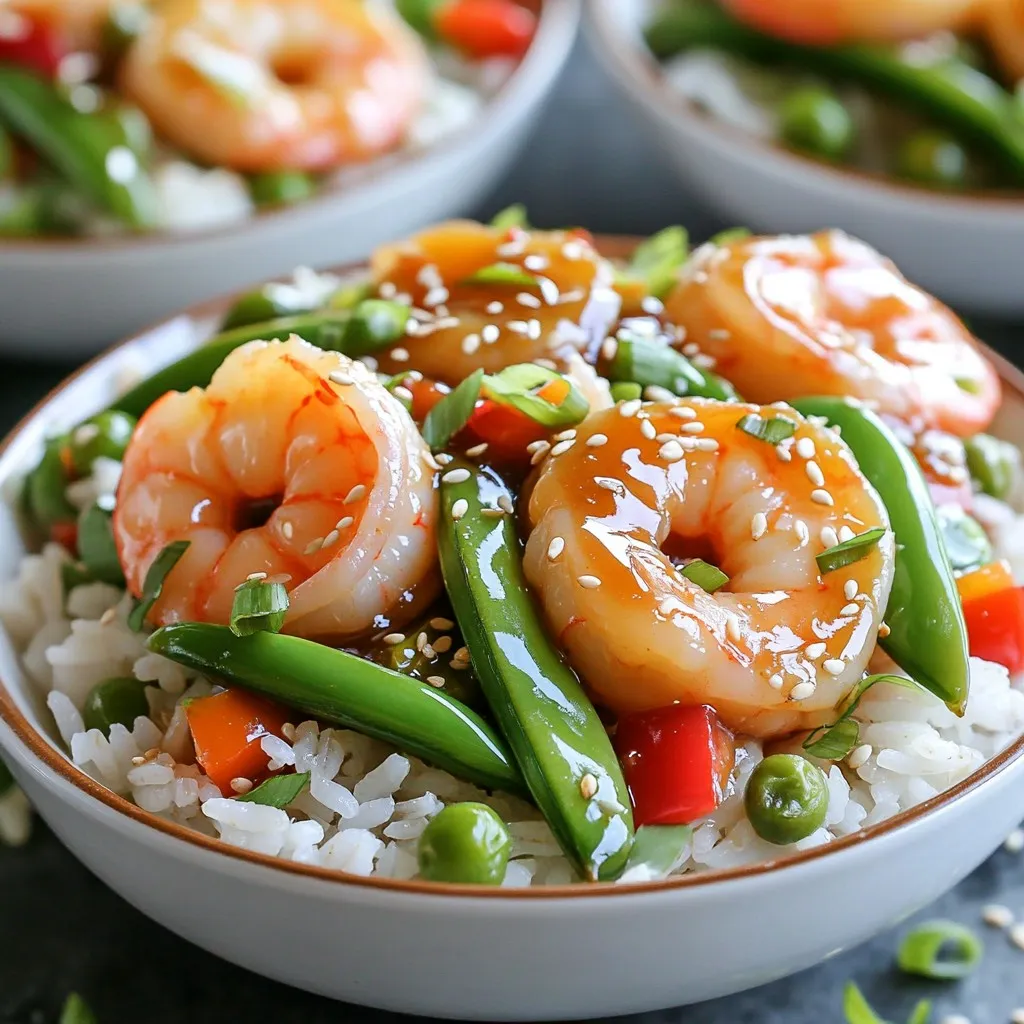
Sweet Soy Shrimp Rice Bowls Quick and Easy Recipe
In just 15 minutes, you can whip up a delicious Sweet Soy Shrimp Rice Bowl. This quick and easy recipe...
READ MORE →Explore our collection of dinner recipes
In just 15 minutes, you can whip up a delicious Sweet Soy Shrimp Rice Bowl. This quick and easy recipe...
READ MORE →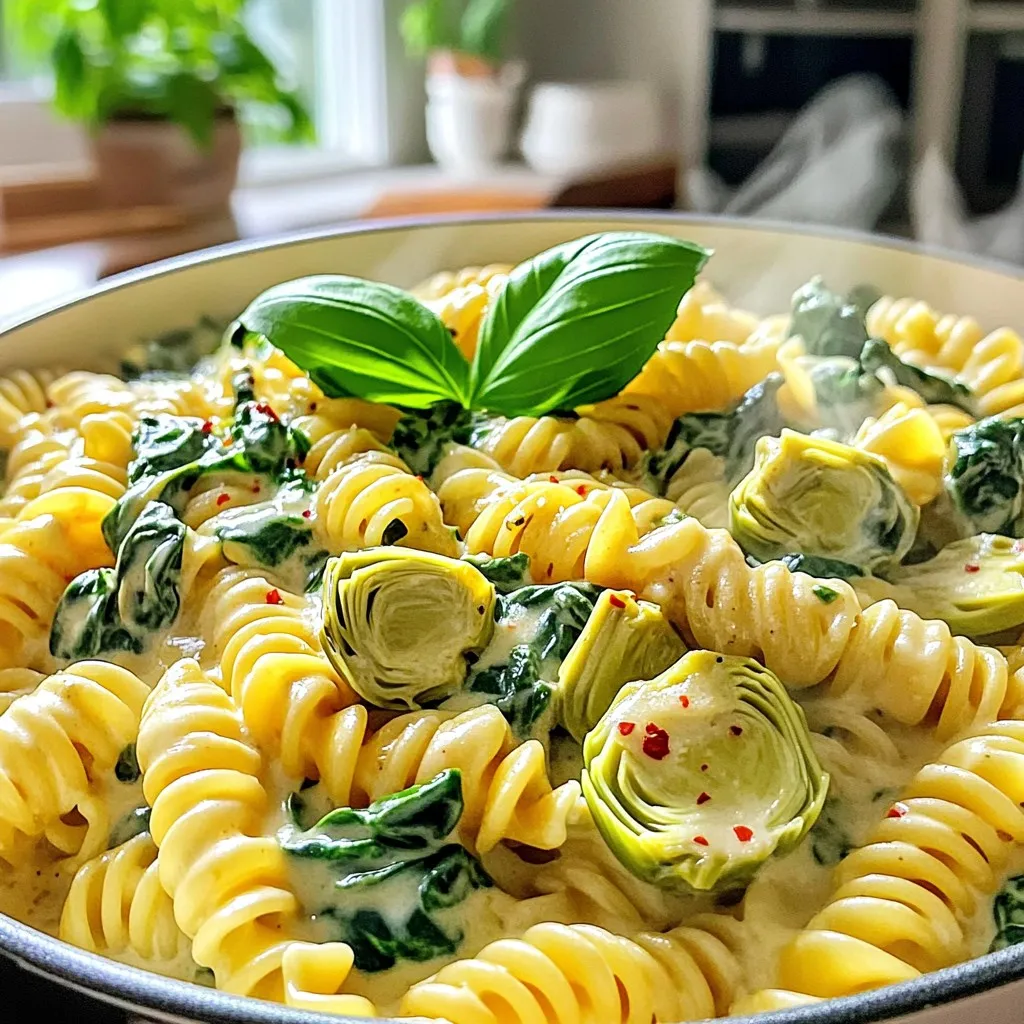
Are you ready for a meal that’s both quick and delicious? This Spinach Artichoke One-Pot Pasta is your new go-to...
READ MORE →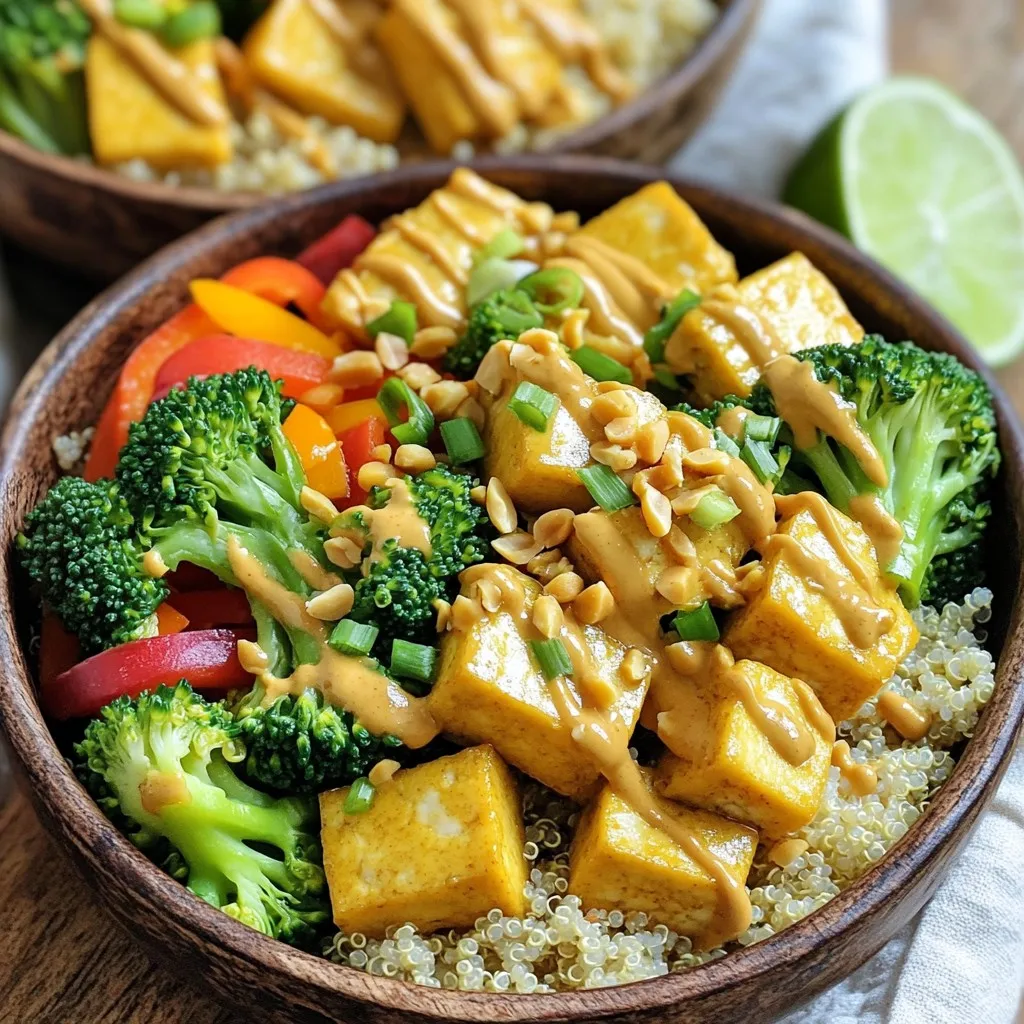
Craving a meal packed with flavor and nutrition? Let me introduce you to Spicy Peanut Tofu Bowls! This dish combines...
READ MORE →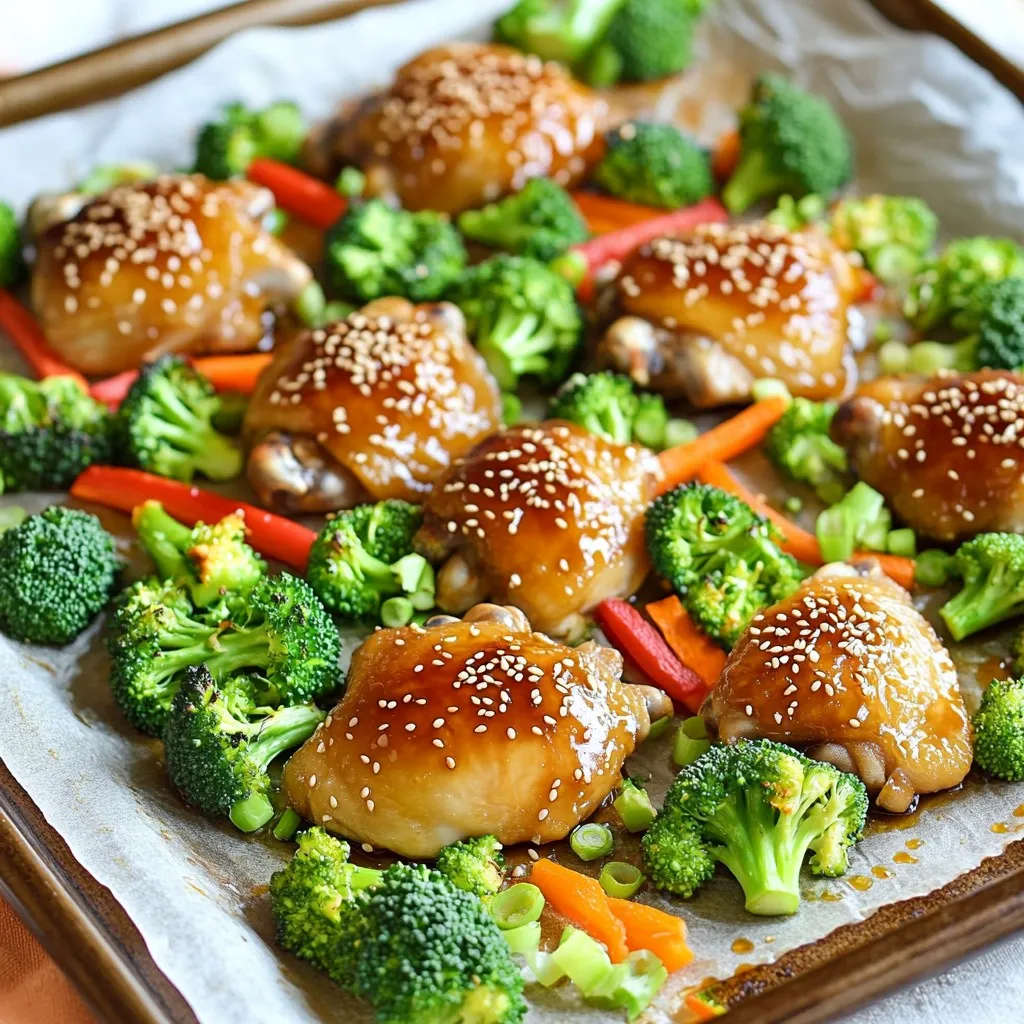
Ready for a meal that ticks all the boxes? My Sheet Pan Teriyaki Chicken & Broccoli Delight is simple, fun,...
READ MORE →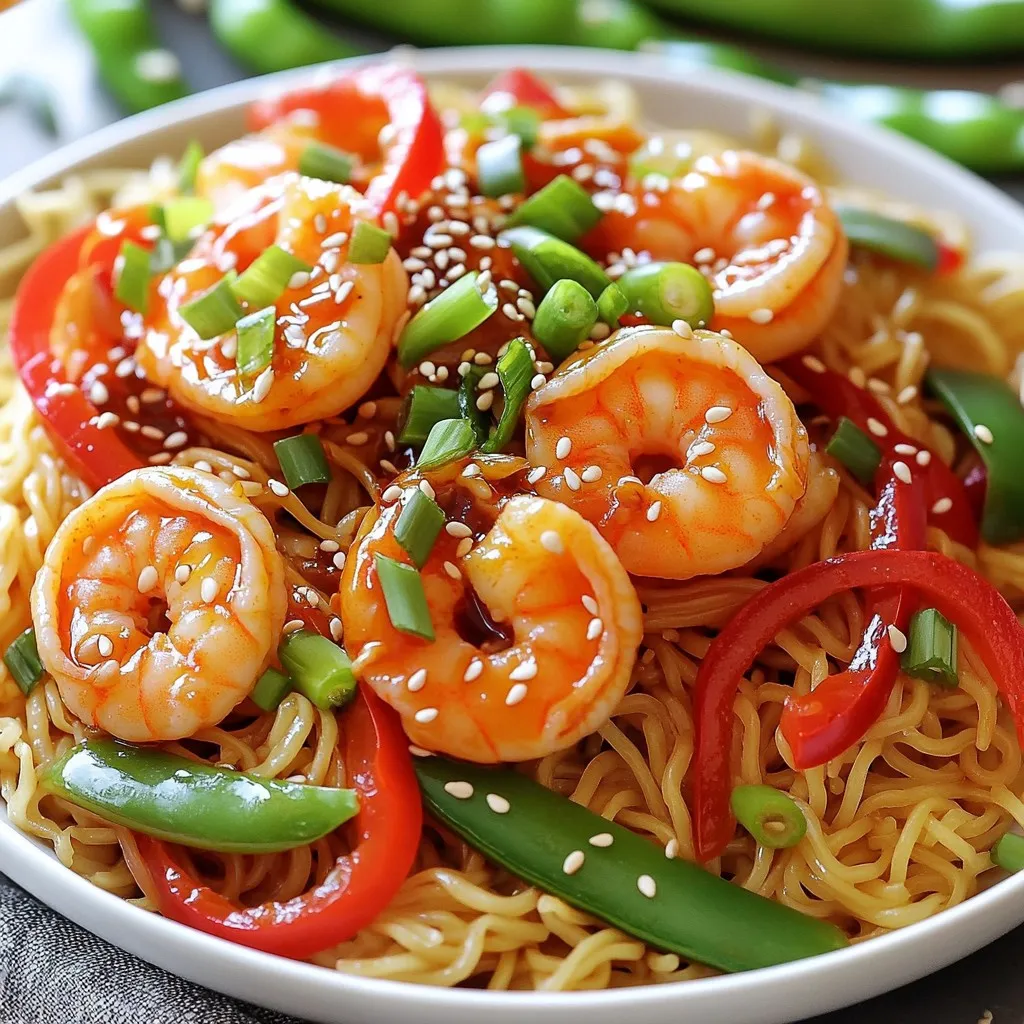
Looking for a quick meal that packs flavor and excitement? Try my Minute Sweet Chili Shrimp Noodles! This dish combines...
READ MORE →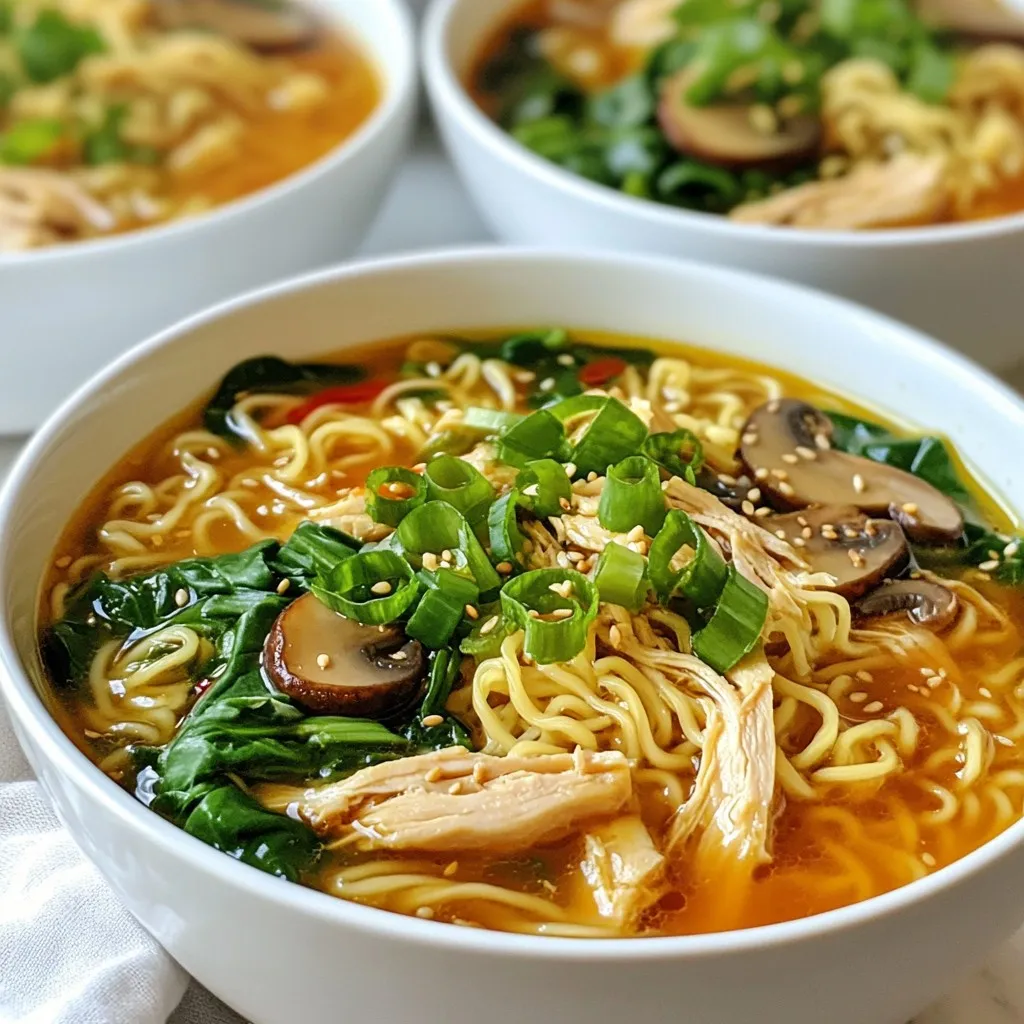
Are you ready to spice up your dinner with a dish that packs a punch? Fiery Garlic Chicken Ramen combines...
READ MORE →
Welcome to your new favorite comfort food: Loaded Baked Potato Soup! This rich and creamy delight warms you up from...
READ MORE →
Craving a warm and hearty meal? Try my Slow Cooker Chicken Enchilada Soup! With tender chicken, black beans, and a...
READ MORE →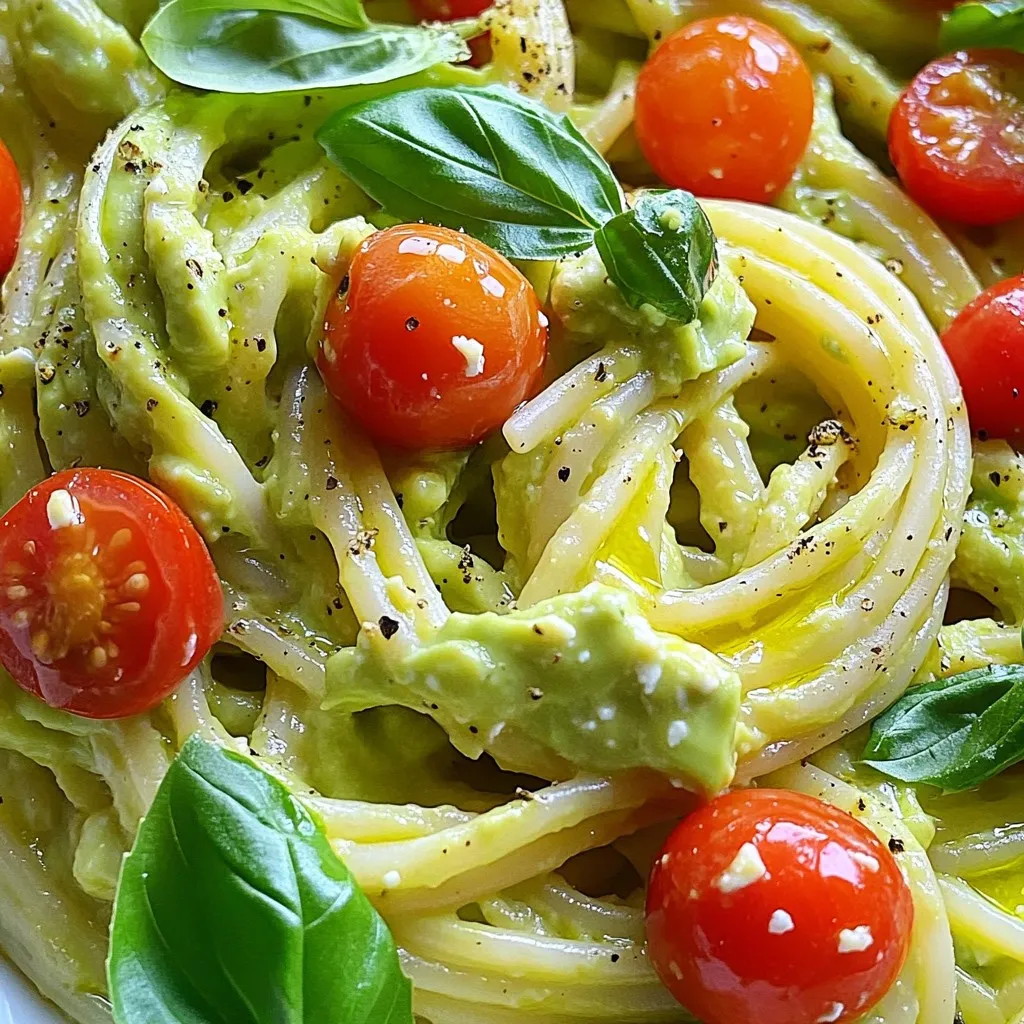
Are you ready to elevate your weeknight dinners? Let me introduce you to Minute Avocado Feta Pasta! This fresh and...
READ MORE →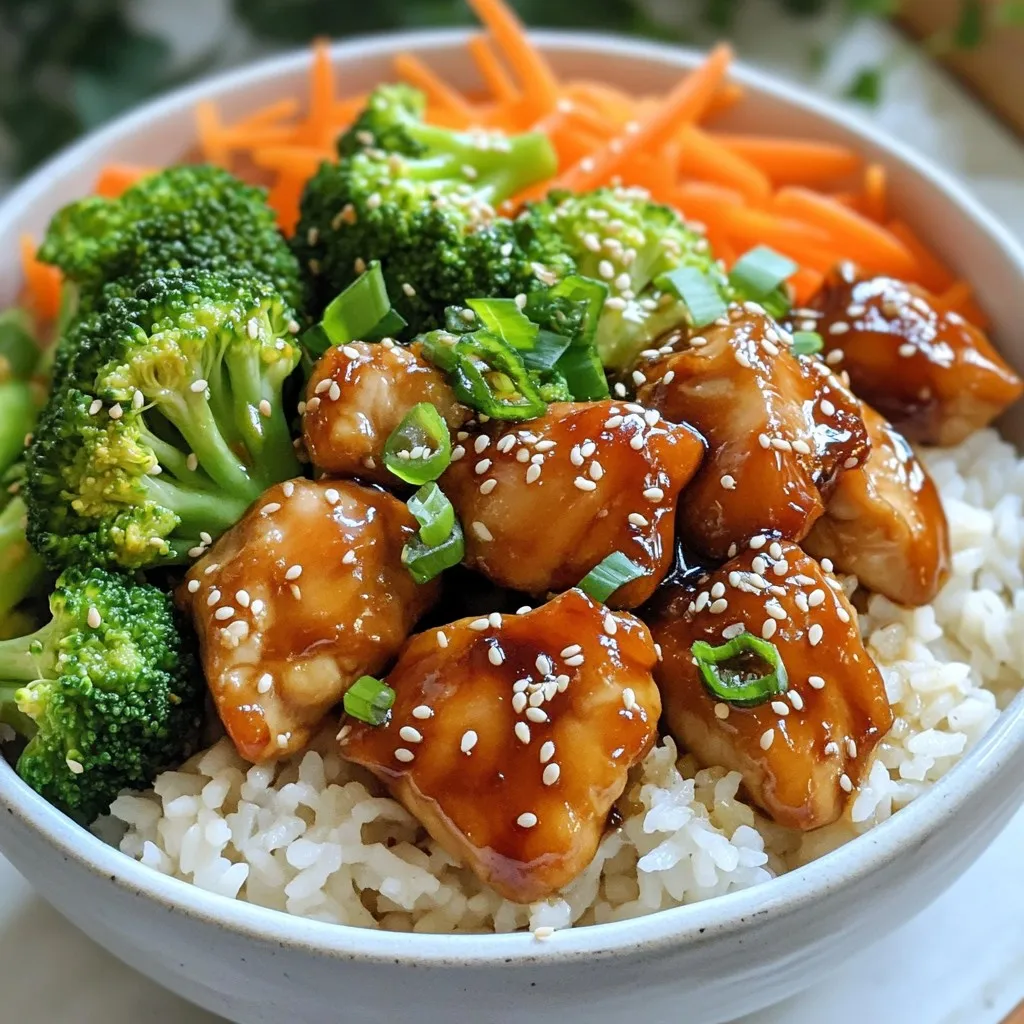
Craving a quick and tasty meal? Let’s dive into making Instant Pot Teriyaki Chicken Rice Bowls. This dish combines tender...
READ MORE →