DINNER
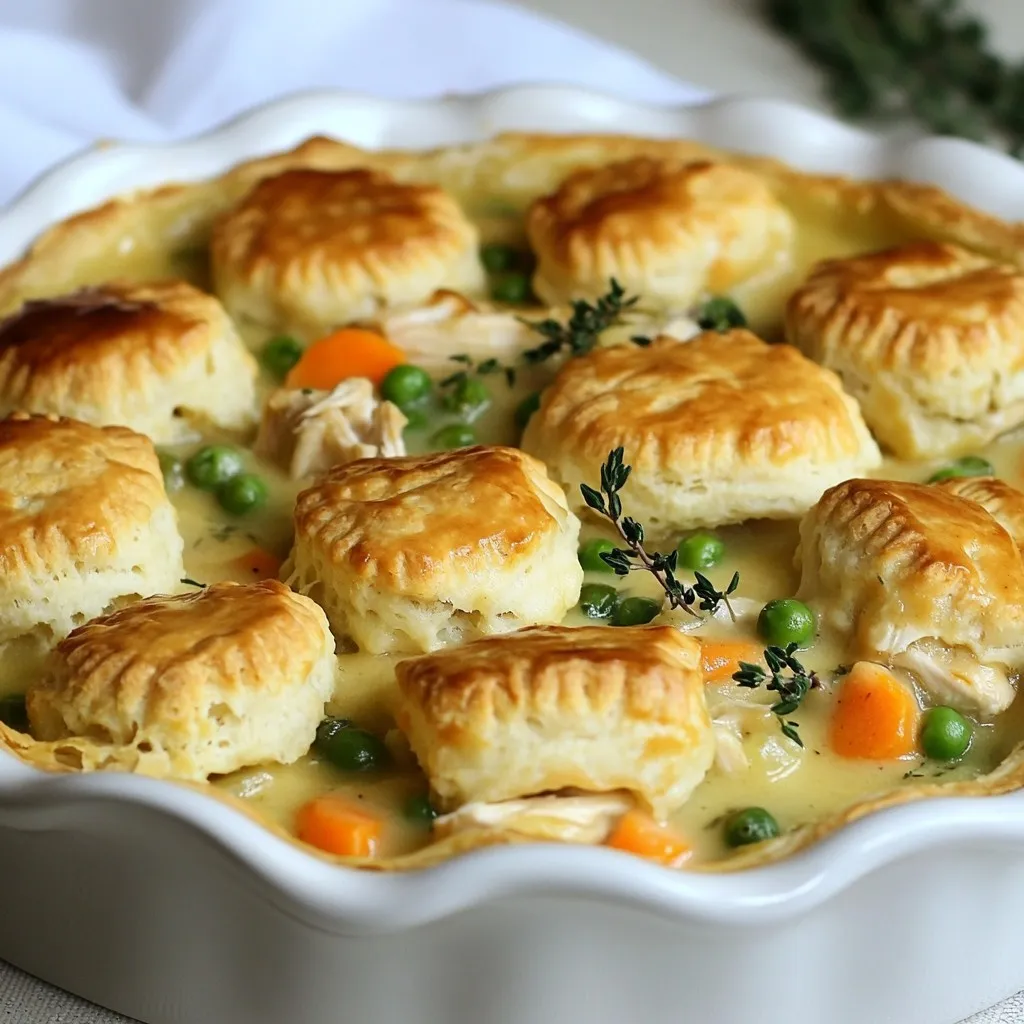
Biscuit-Top Chicken Pot Pie Comforting Family Dinner
Craving a warm, cozy meal? My Biscuit-Top Chicken Pot Pie is the answer! This dish combines tender chicken and fresh...
READ MORE →Explore our collection of dinner recipes
Craving a warm, cozy meal? My Biscuit-Top Chicken Pot Pie is the answer! This dish combines tender chicken and fresh...
READ MORE →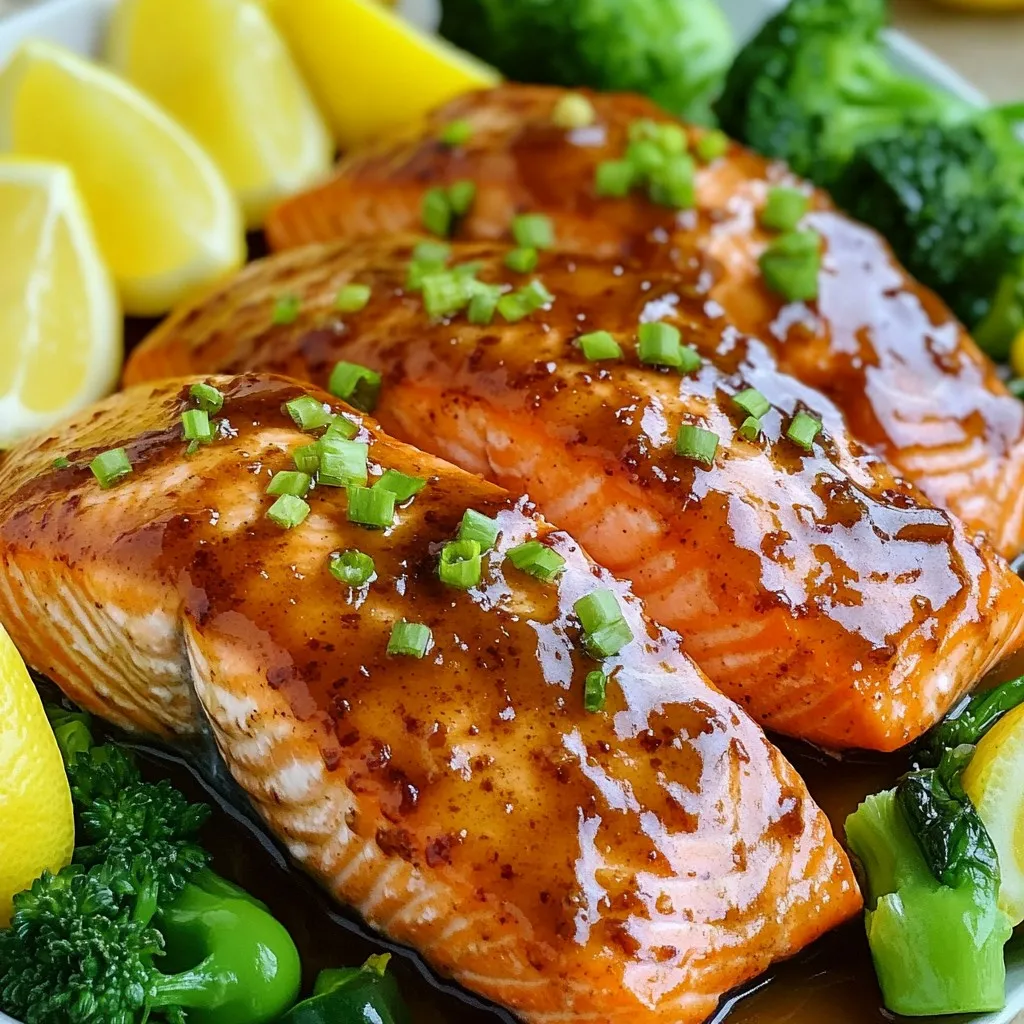
Looking for an easy yet delicious dinner idea? Try my Air Fryer Maple Brown Sugar Salmon! This sweet and savory...
READ MORE →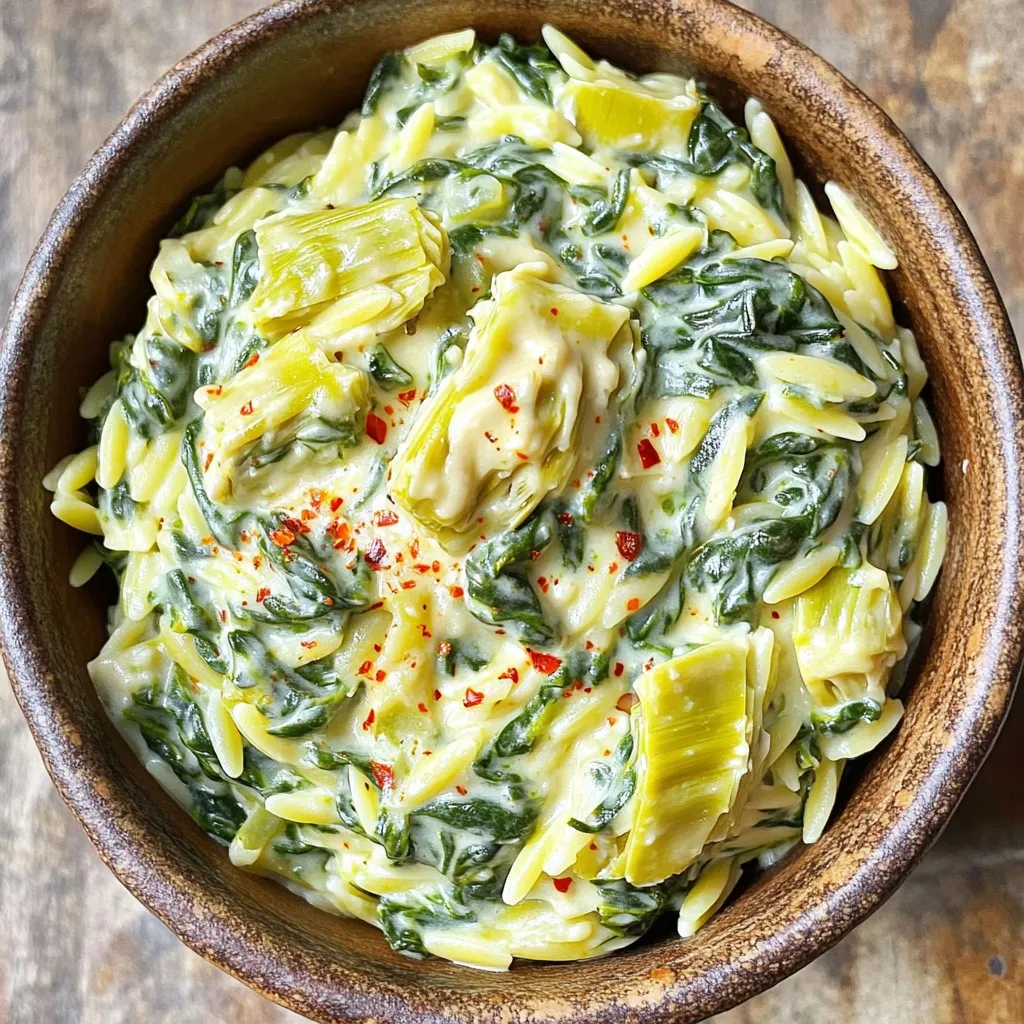
Looking for a quick, tasty dinner that impresses? My Creamy Spinach Artichoke Orzo is the answer! This dish combines tender...
READ MORE →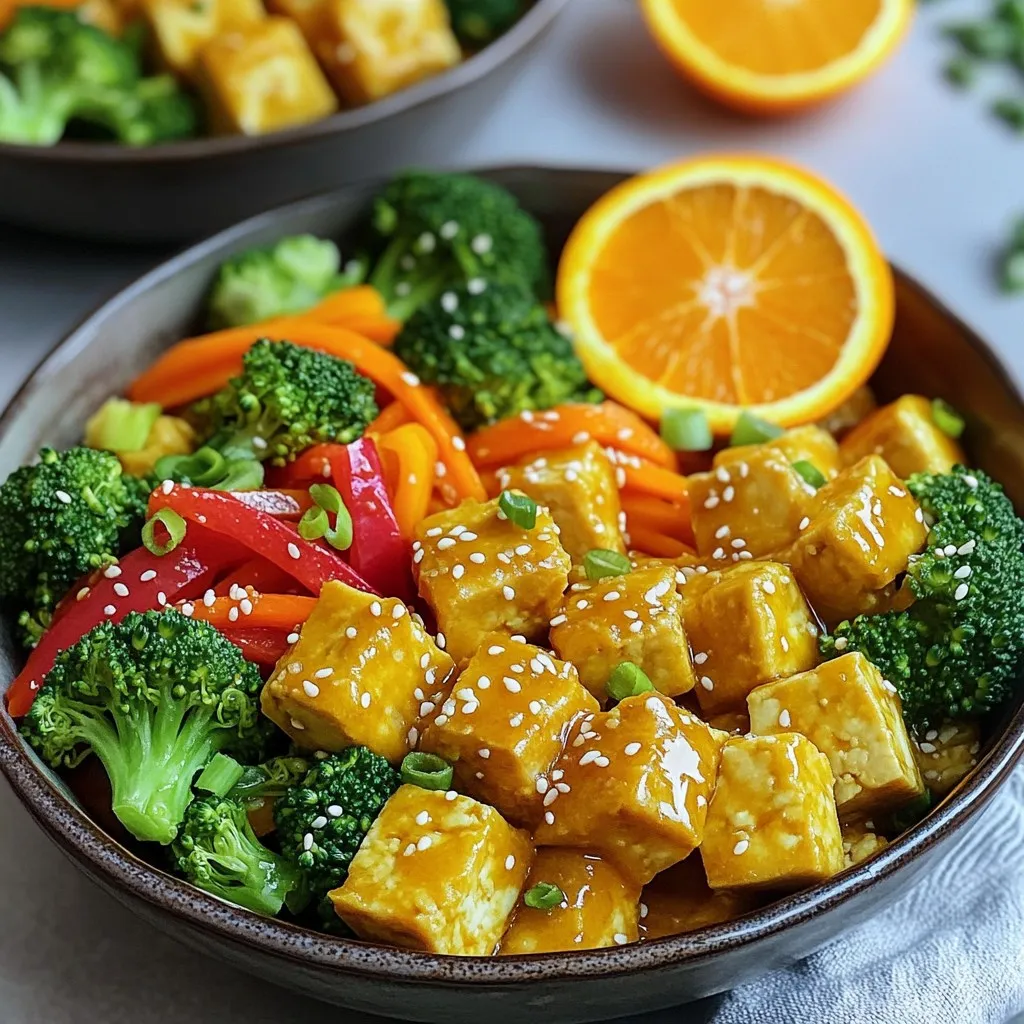
Craving a quick and tasty dinner? Let me introduce you to my Orange Tofu Bowls! This dish packs a punch...
READ MORE →
If you’re craving a quick and tasty dinner, you’re in the right place! My Sheet-Pan Lemon Garlic Chicken & Broccoli...
READ MORE →
Looking for a tasty meal idea that’s quick and easy? Sweet Chili Chicken Noodle Bowls check all the boxes! With...
READ MORE →
Craving a quick and tasty dish? Look no further! This One Pot Creamy Lemon Chicken Orzo Delight is a game...
READ MORE →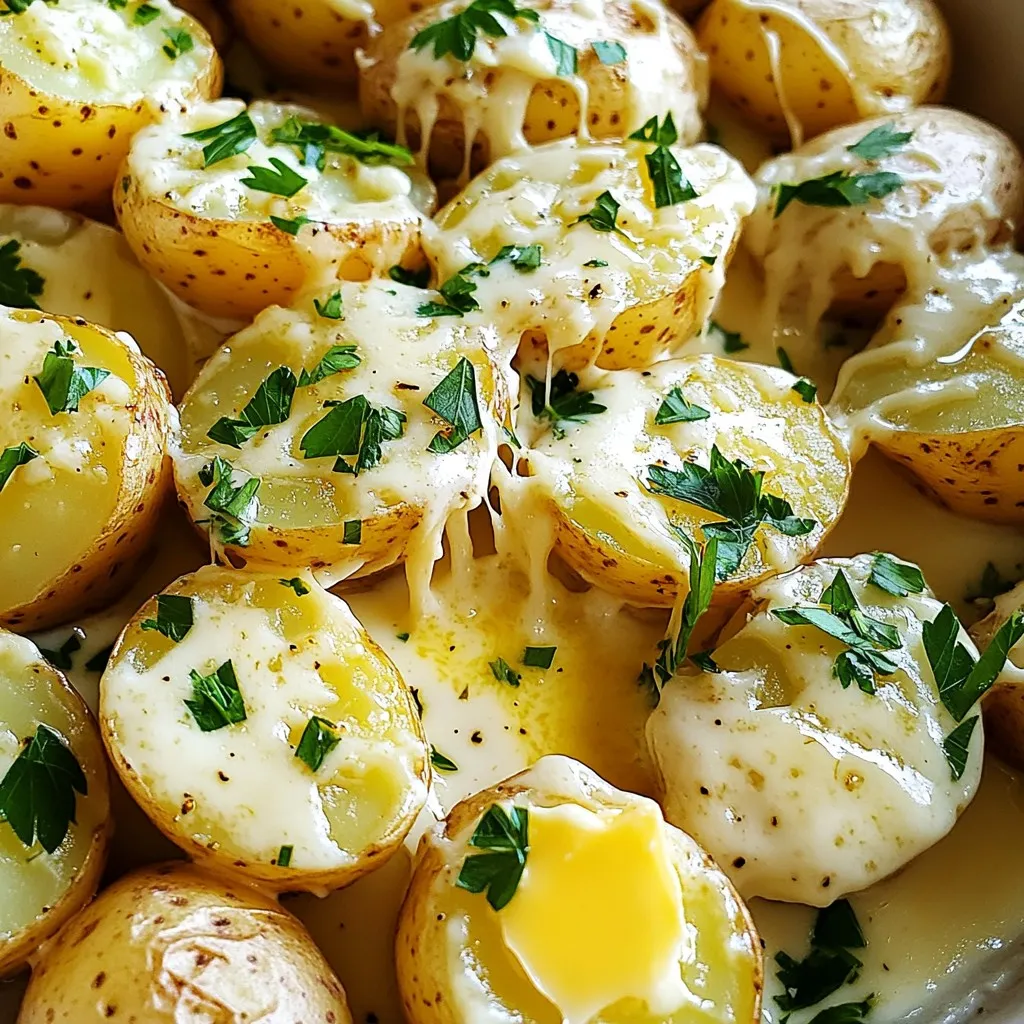
Get ready to indulge in the creamy, rich taste of Garlic Parmesan Potatoes made in your slow cooker! You’ll love...
READ MORE →
Looking for a quick and tasty dish? My Minute Crispy Tofu Chili Garlic Stir-Fry is just the thing! This recipe...
READ MORE →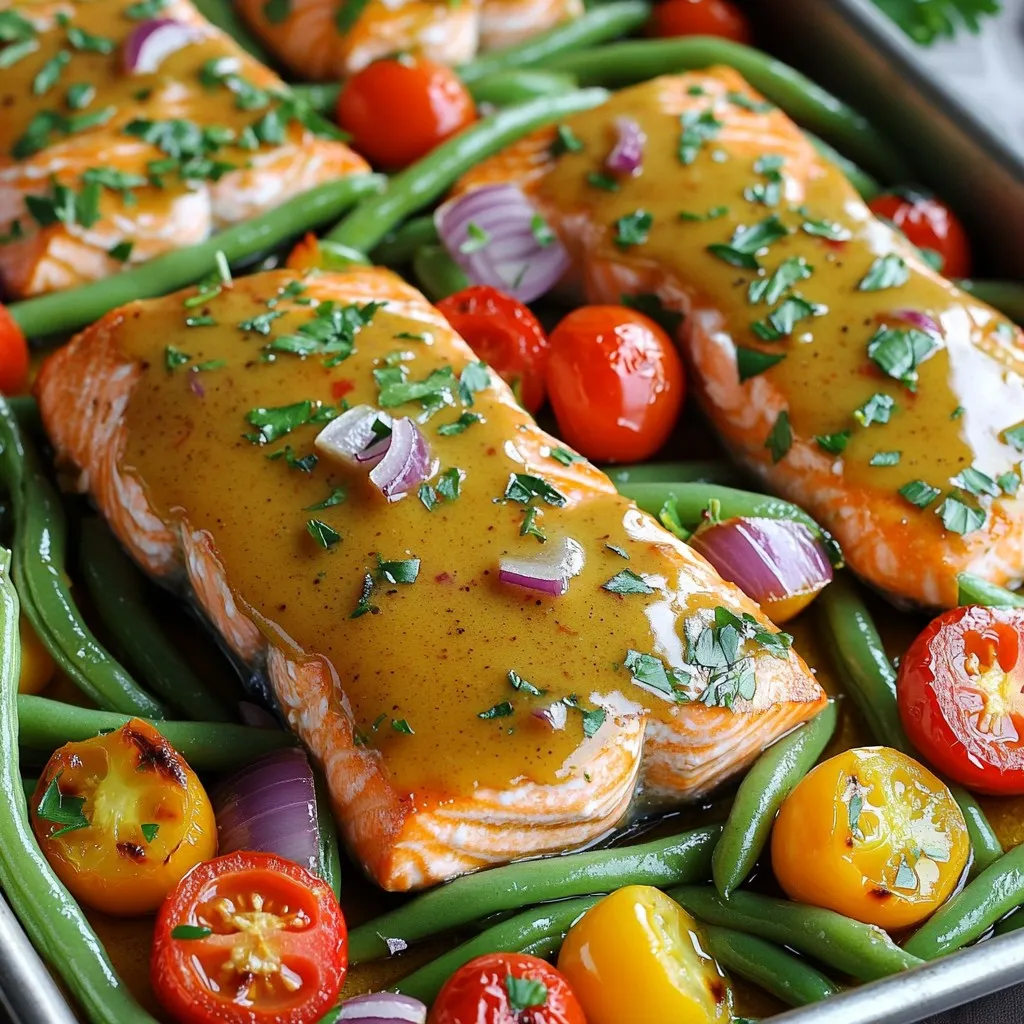
If you’re looking for an easy and tasty dinner, you’ve found it! My Sheet Pan Maple Dijon Salmon & Veggies...
READ MORE →