DINNER
Minute Garlic Butter Chicken & Rice Skillet Delight
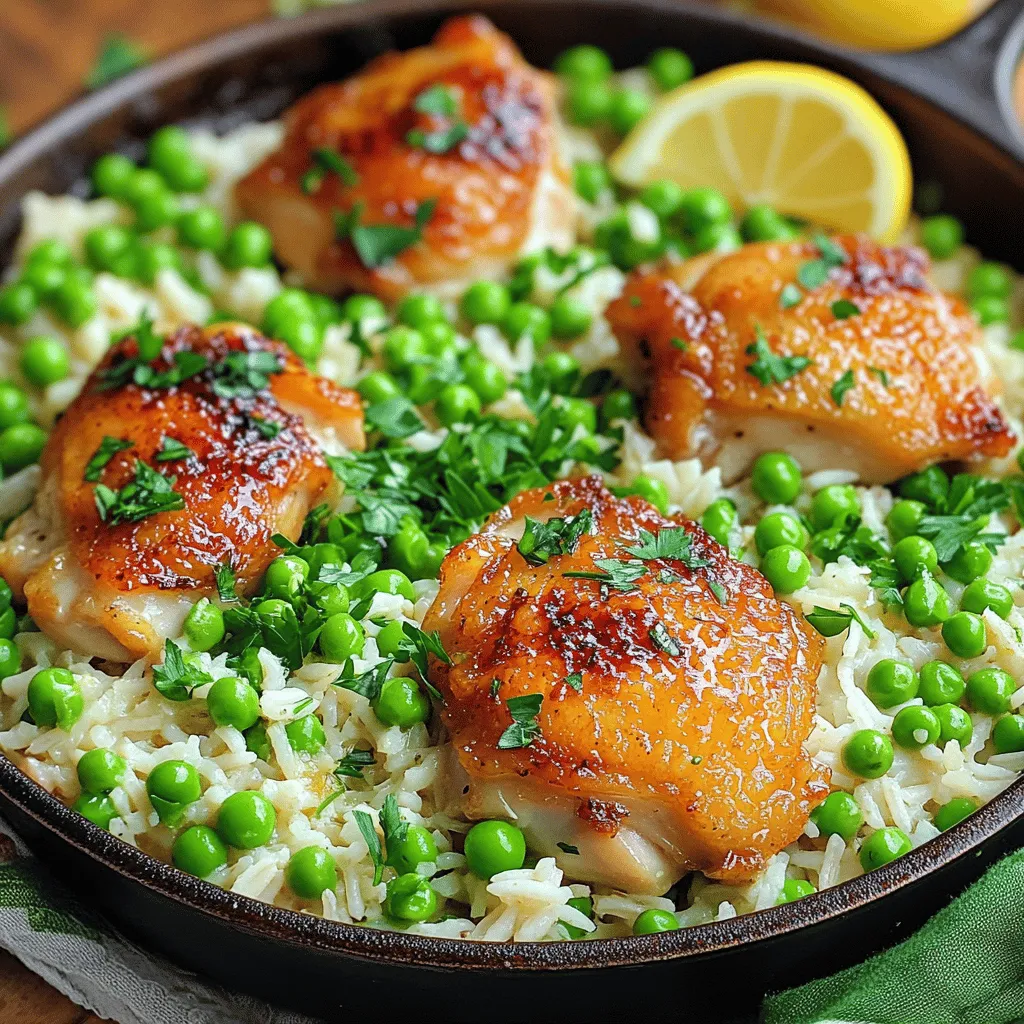
Are you ready for a quick, tasty meal? The Minute Garlic Butter Chicken & Rice Skillet packs in flavors and...
READ MORE →Explore our collection of dinner recipes
Are you ready for a quick, tasty meal? The Minute Garlic Butter Chicken & Rice Skillet packs in flavors and...
READ MORE →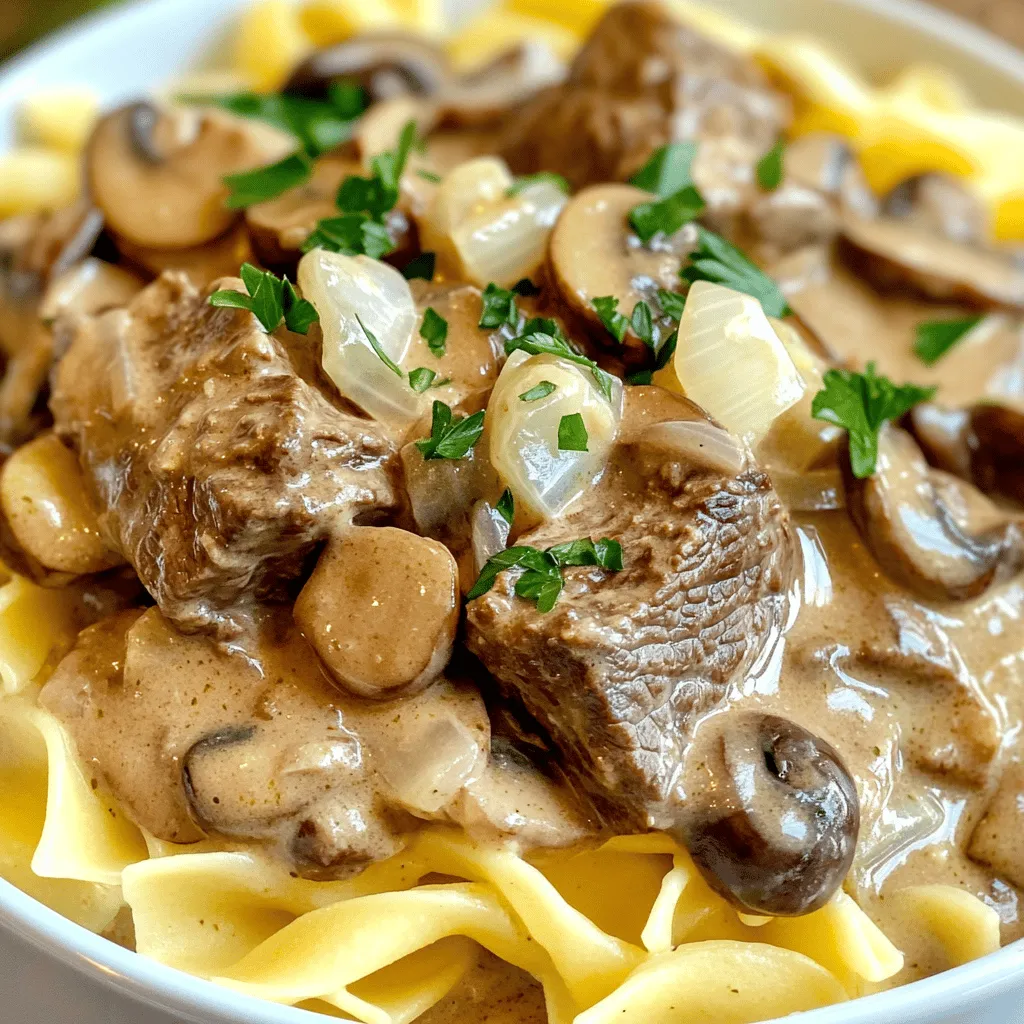
Are you ready to dive into a warm bowl of comfort? This Savory Slow Cooker Beef Stroganoff recipe offers simple...
READ MORE →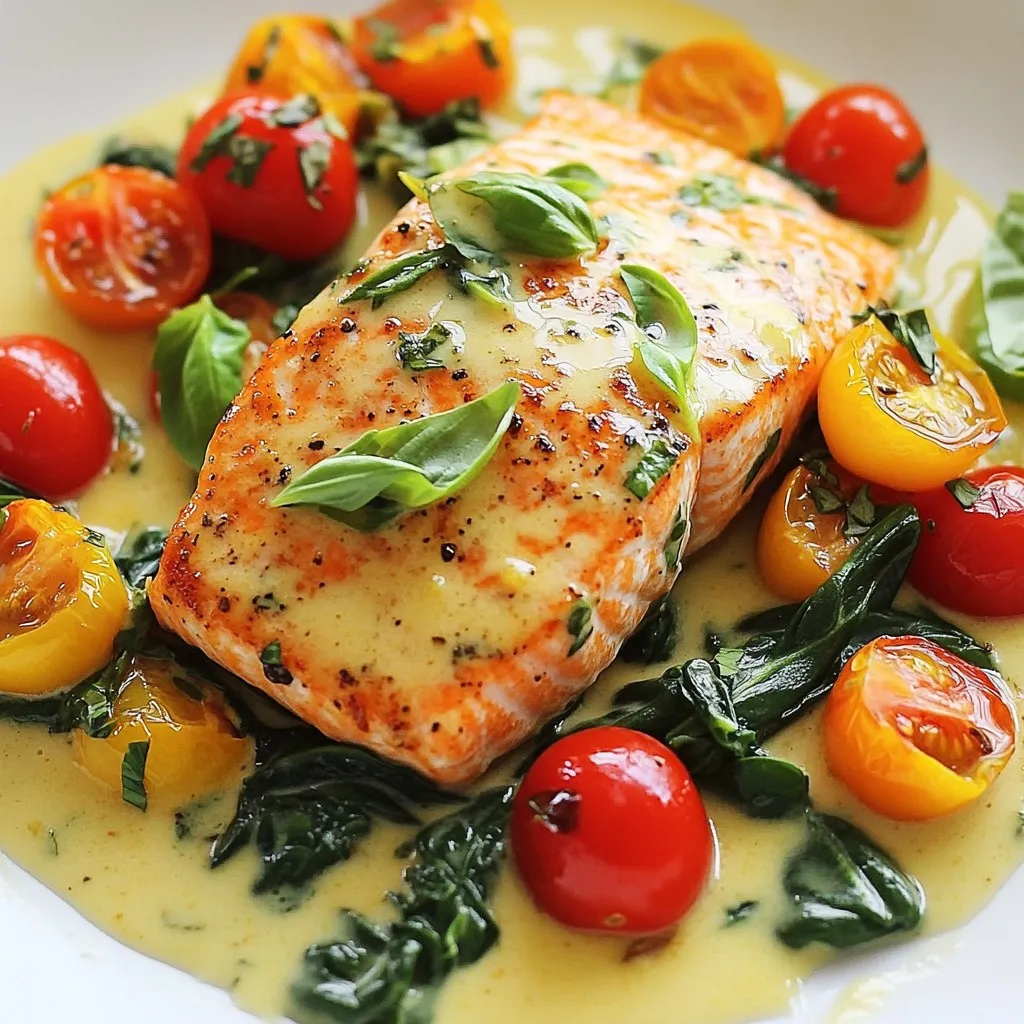
Looking for a quick, tasty dinner? This Creamy Tuscan Salmon is just the meal for you! In this recipe, rich...
READ MORE →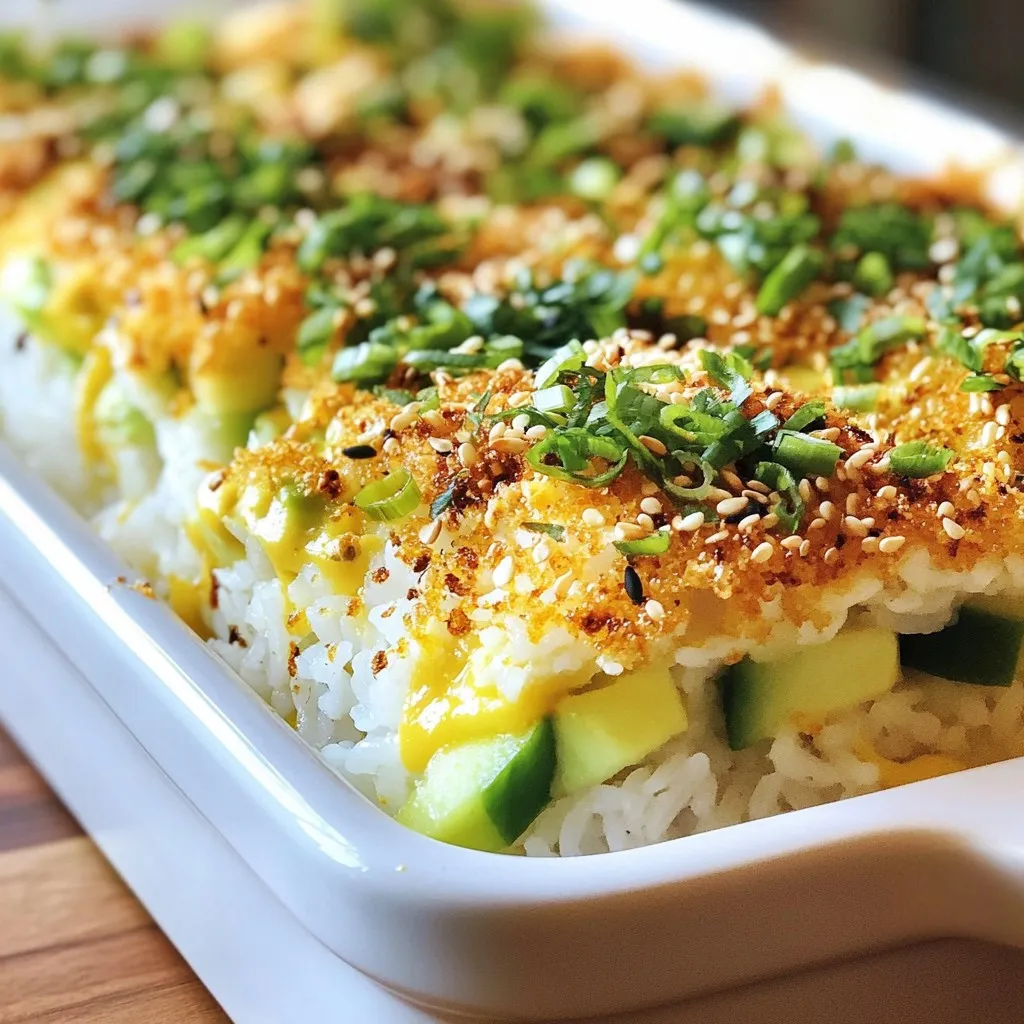
Are you ready to impress your friends with a fun and tasty dish? The TikTok viral sushi bake is the...
READ MORE →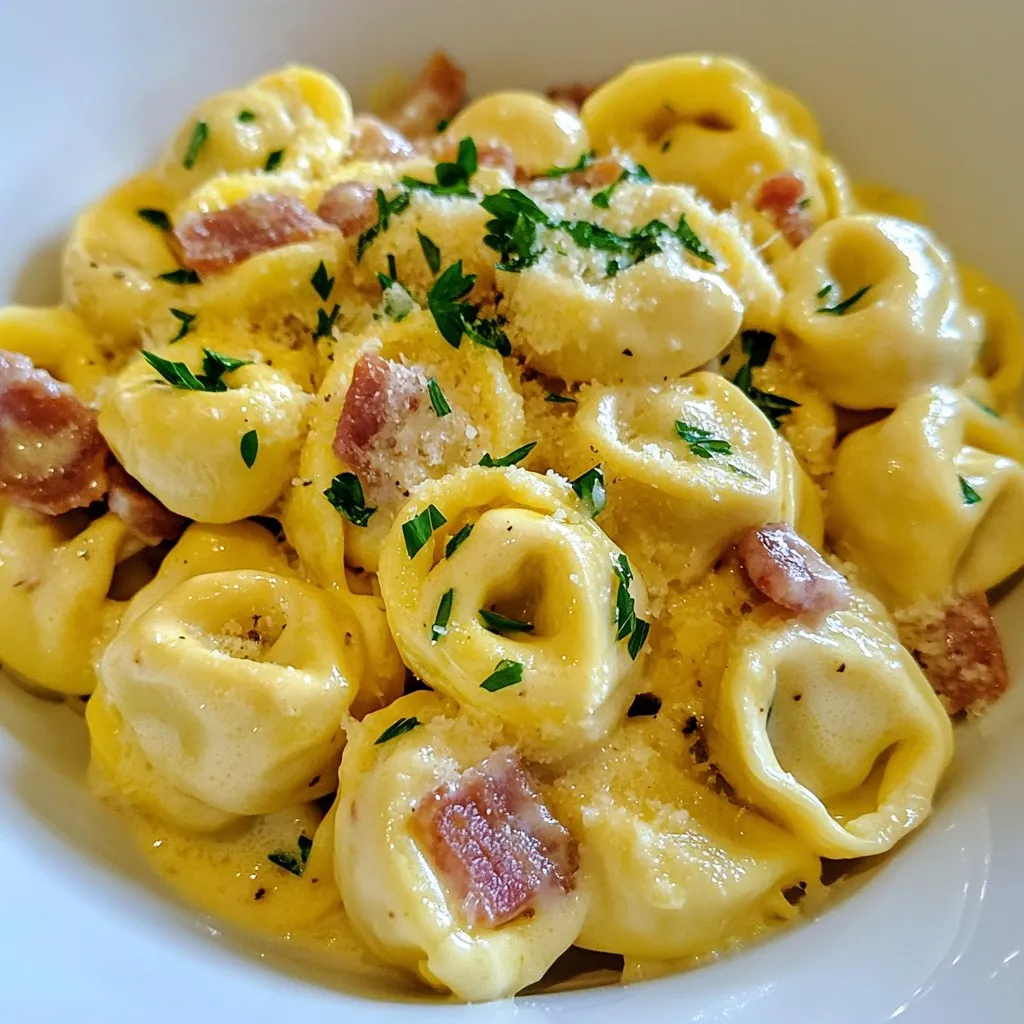
If you’re in a rush but still crave a creamy, flavorful dish, this Thirty Minute Tortellini Carbonara is for you....
READ MORE →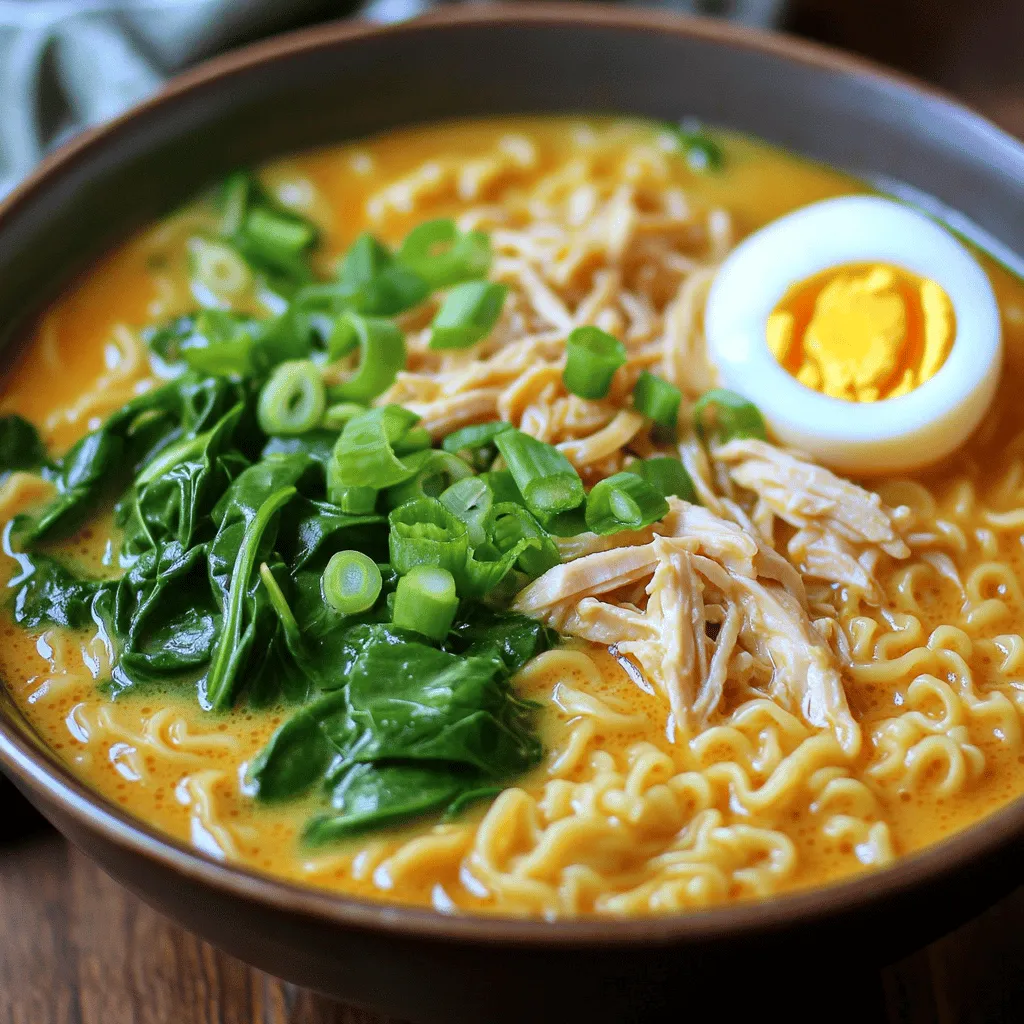
Looking for a warm, tasty meal that’s easy to make? This Instant Pot Creamy Chicken Ramen is the answer! With...
READ MORE →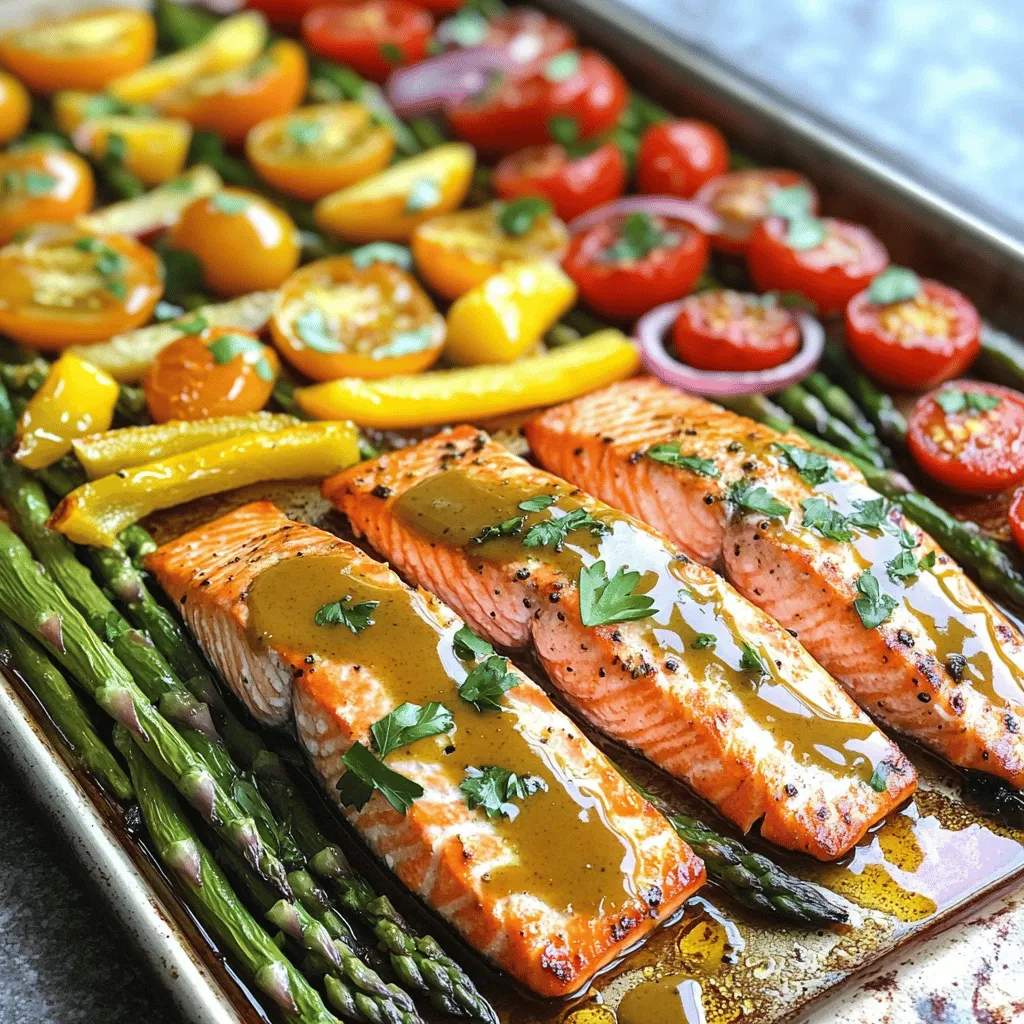
Welcome to your new favorite dinner recipe: Maple Roasted Salmon & Veggies Sheet Pan Delight! This dish combines tender salmon...
READ MORE →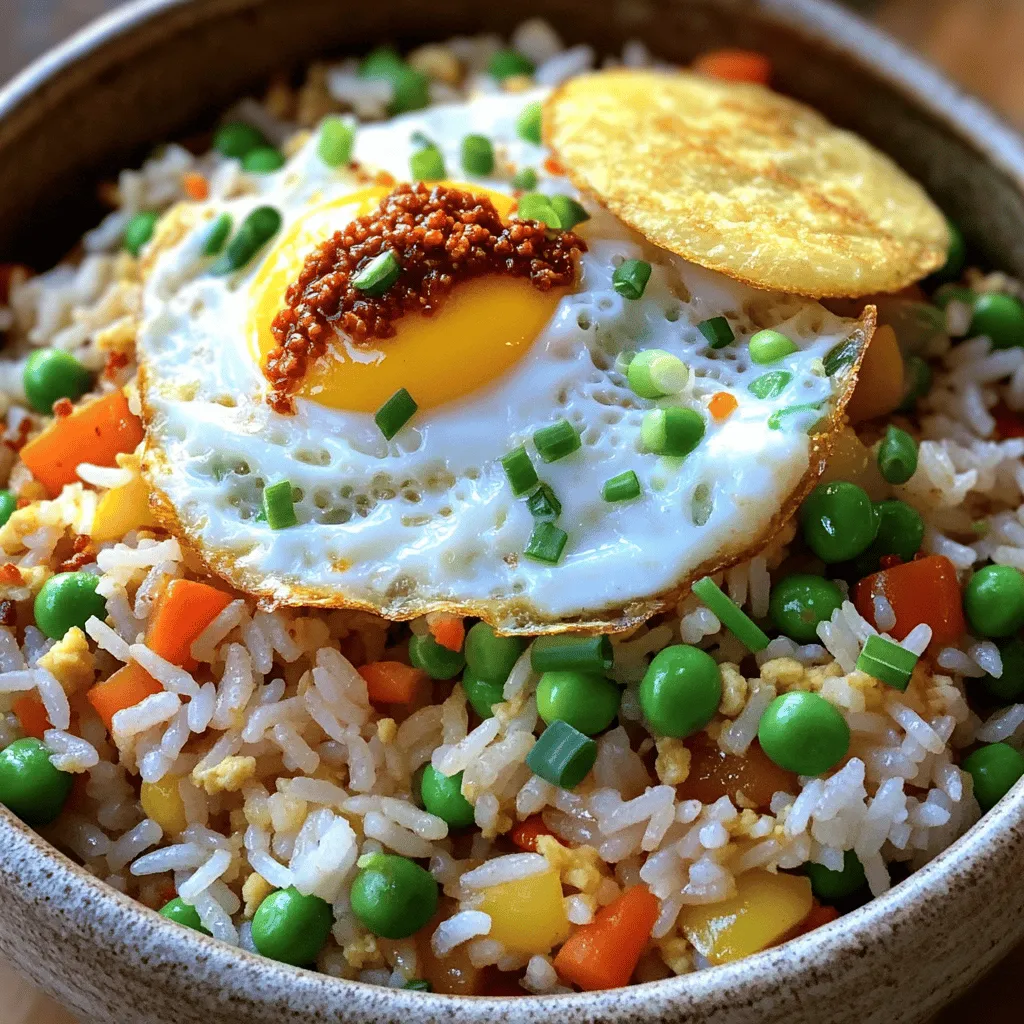
Craving a quick and tasty meal? I’ve got just the dish for you! My Chili Crisp Garlic Fried Rice takes...
READ MORE →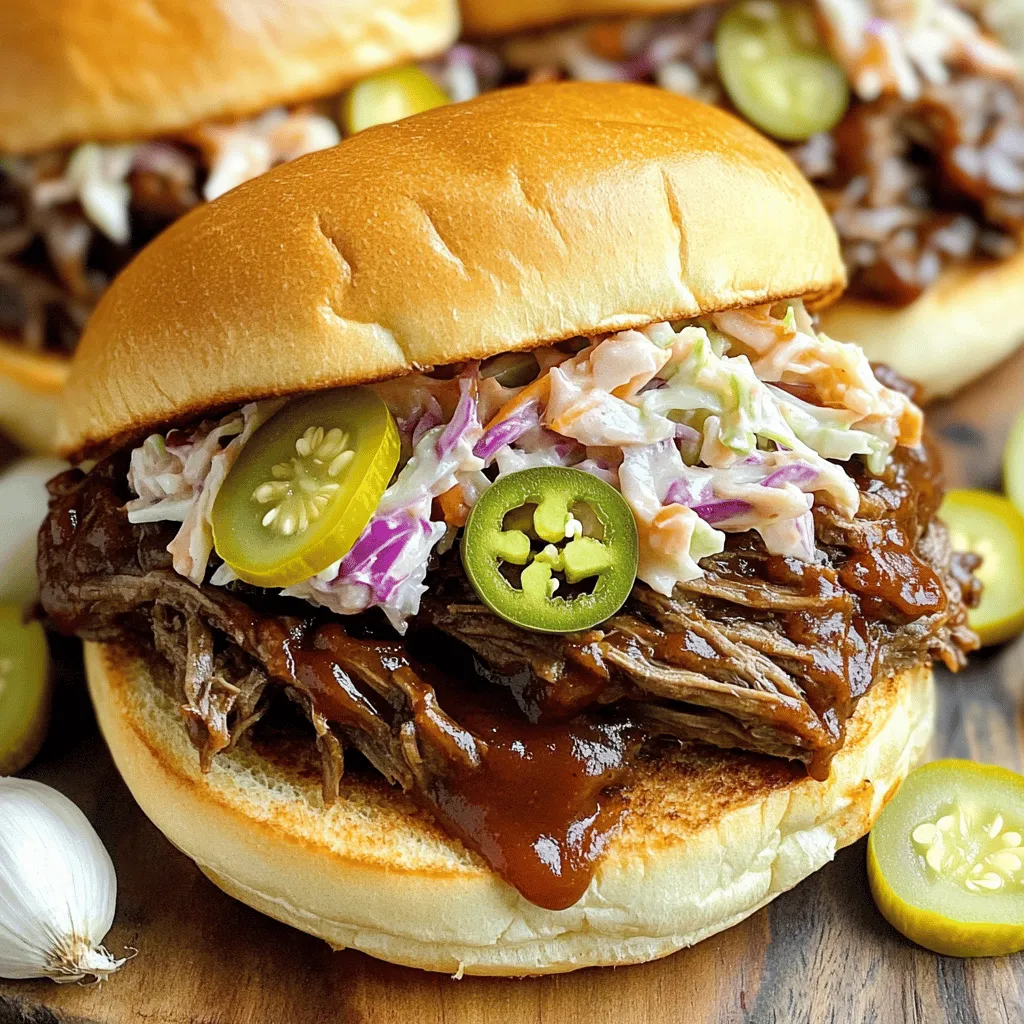
Looking for a meal that’s rich in flavor and easy to make? Slow Cooker BBQ Beef Sandwiches are here to...
READ MORE →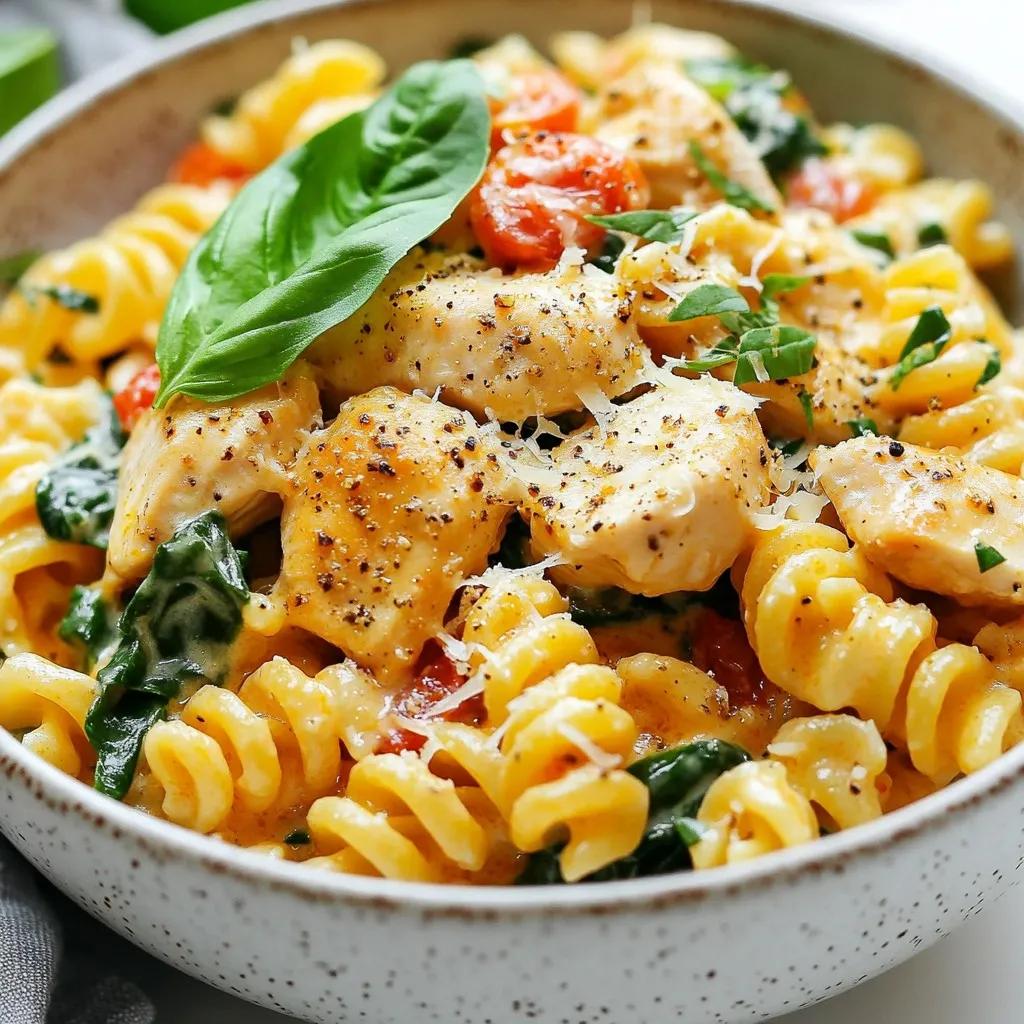
Looking for a hearty family meal that’s easy to make? One-Pot Tuscan Chicken Pasta is your answer! This dish combines...
READ MORE →