DINNER
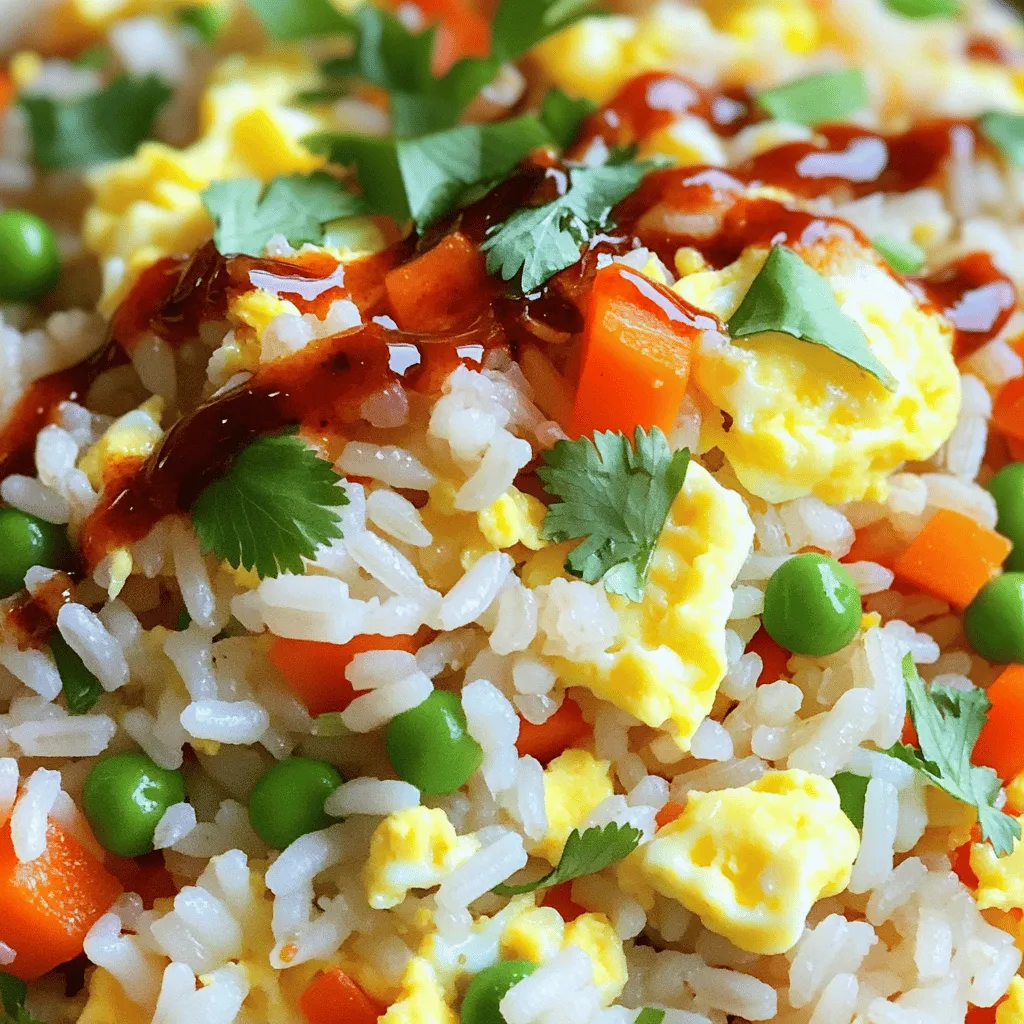
Minute Chili Crisp Egg Fried Rice Flavorful Delight
Want to whip up a quick, tasty meal? This Minute Chili Crisp Egg Fried Rice is your answer. With just...
READ MORE →Explore our collection of dinner recipes
Want to whip up a quick, tasty meal? This Minute Chili Crisp Egg Fried Rice is your answer. With just...
READ MORE →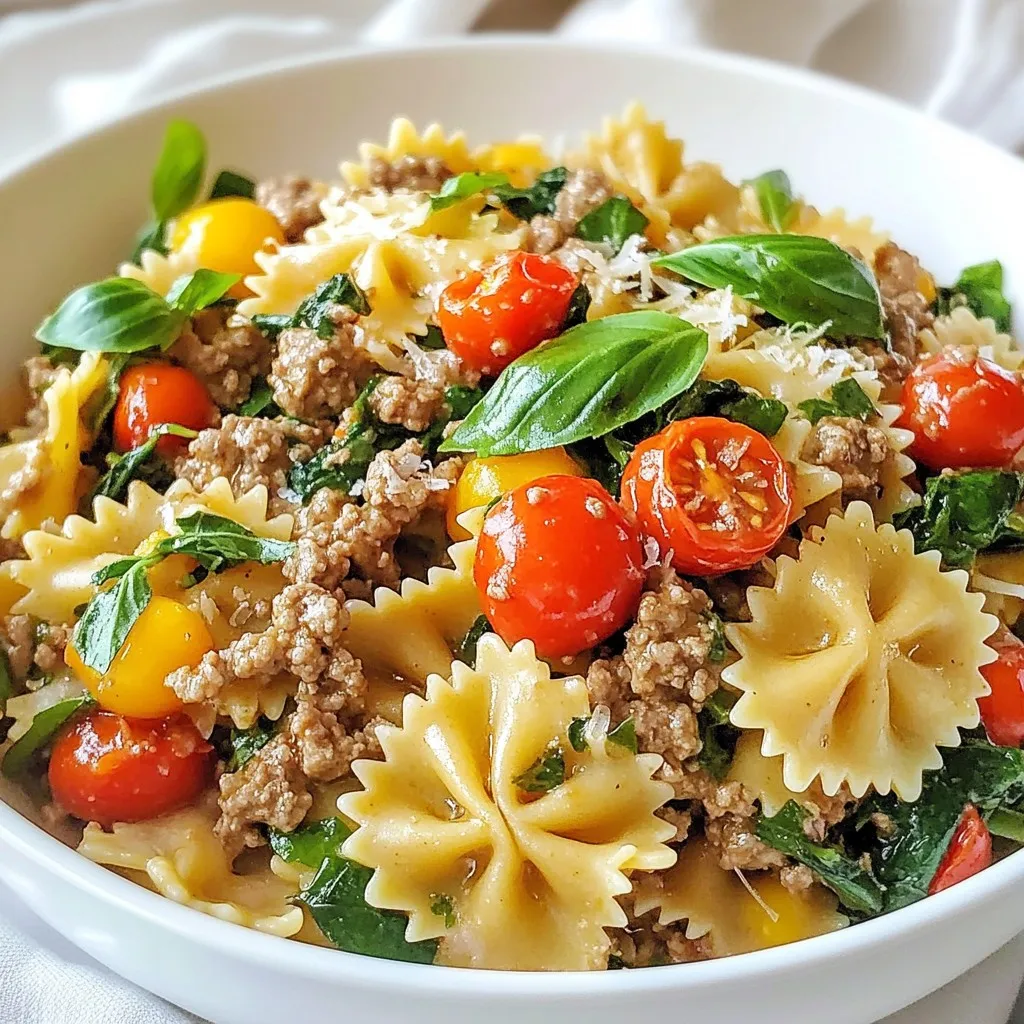
Are you ready to whip up a delicious meal that will satisfy everyone? This Parmesan Garlic Beef Bowtie Pasta is...
READ MORE →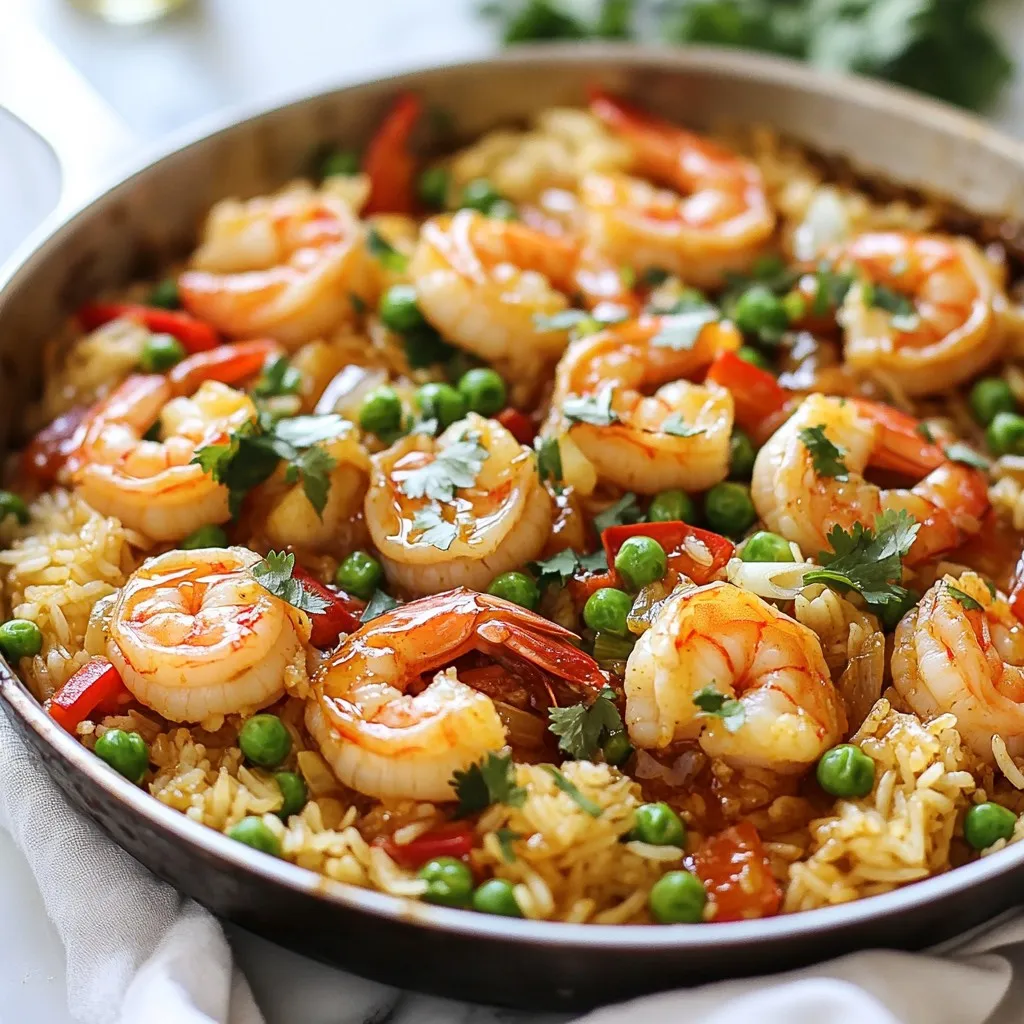
Are you ready for a quick and tasty dinner? One Pan Honey Garlic Shrimp Rice is all you need. This...
READ MORE →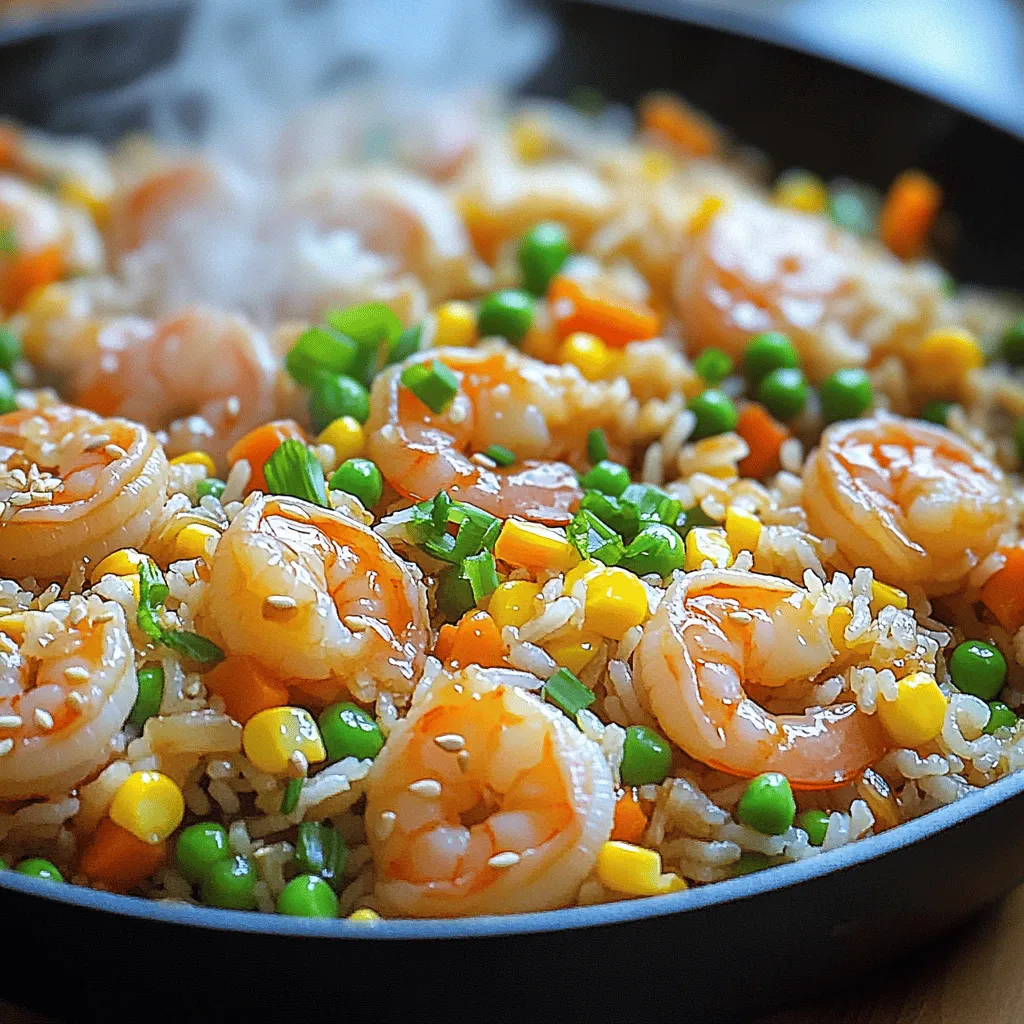
Craving a quick and tasty meal? You’re in for a treat! This Honey Garlic Shrimp Fried Rice comes together in...
READ MORE →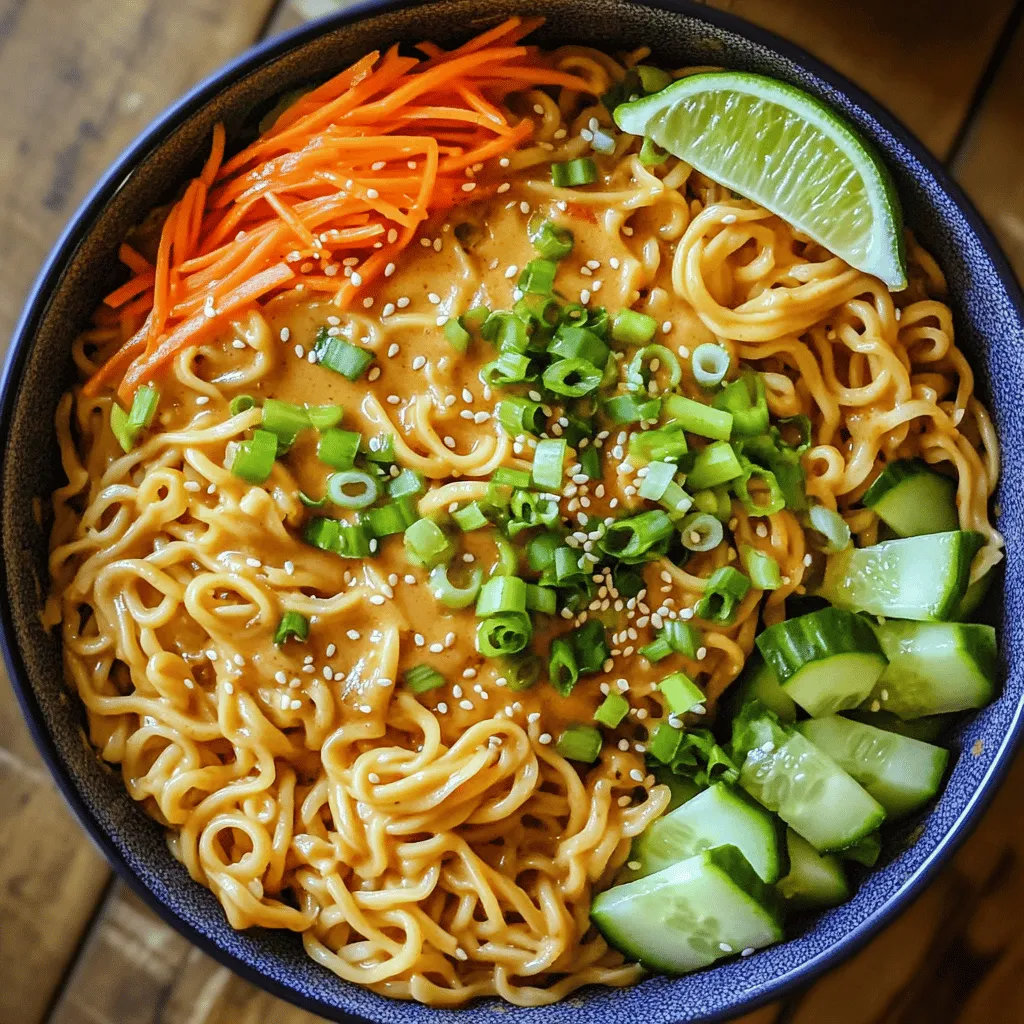
Craving a quick and delicious meal? Look no further! My Spicy Sesame Peanut Noodles are better than any takeout. With...
READ MORE →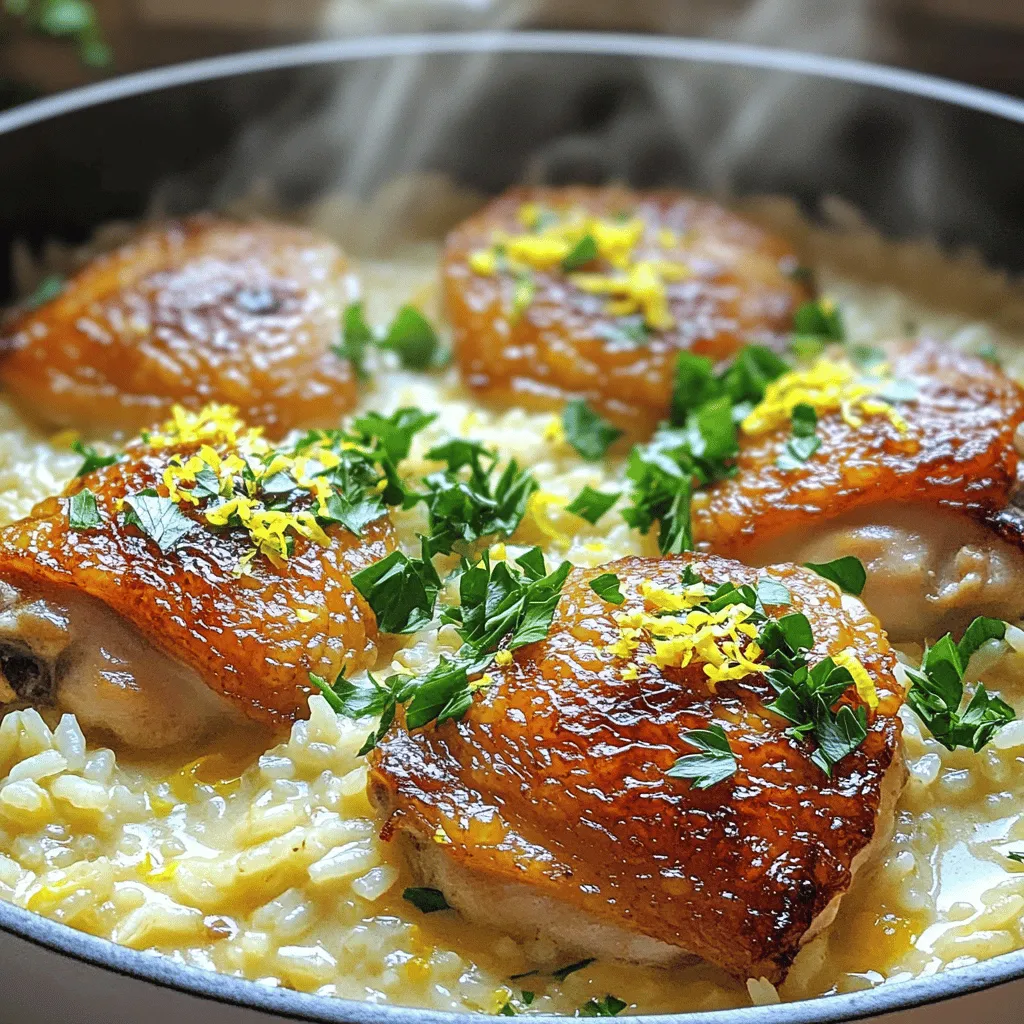
Welcome to a one-pot dish that’s bursting with flavor: Creamy Lemon Garlic Chicken and Rice! If you’re looking for a...
READ MORE →
Looking for a quick and tasty dinner? You’re in the right place! My Garlic Butter Chicken & Veggies is a...
READ MORE →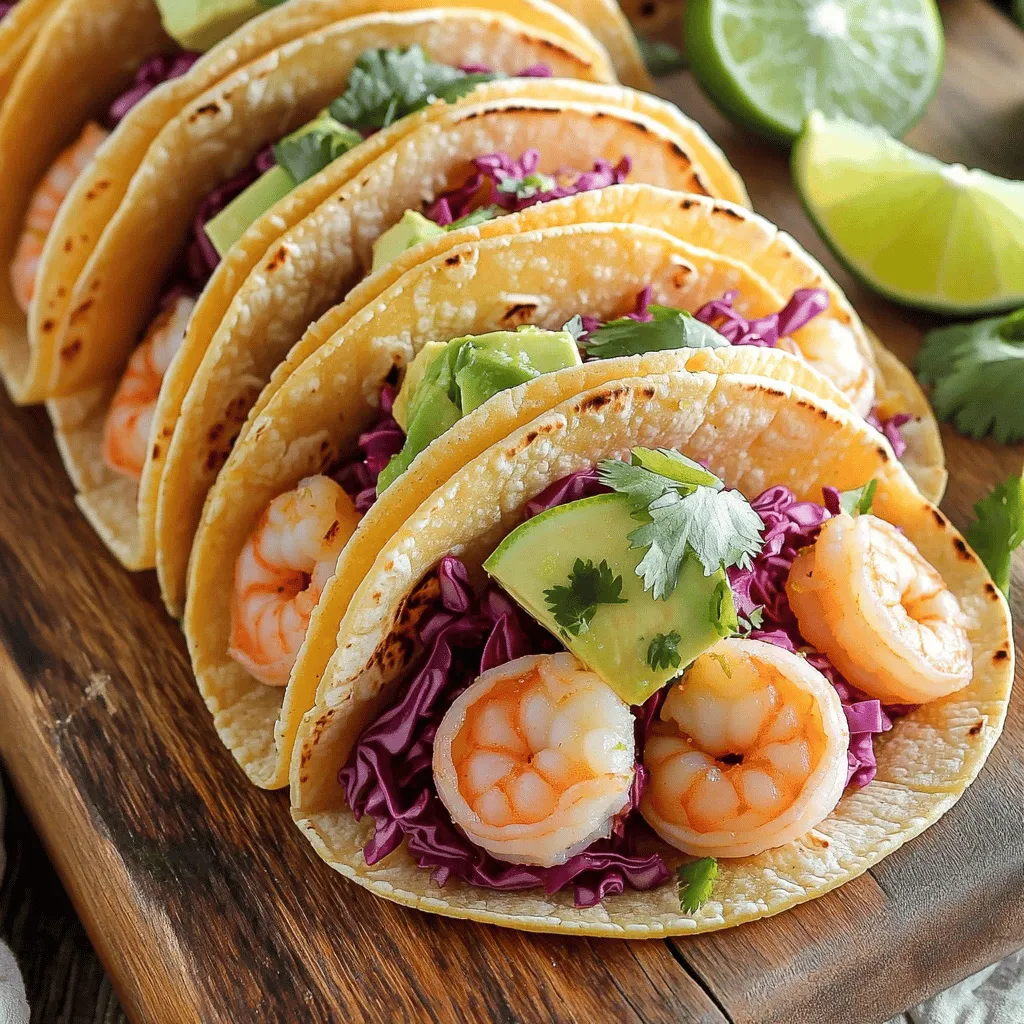
If you crave fresh flavors and quick meals, you’ll love these Zesty Lime Shrimp Tacos! This tasty and simple recipe...
READ MORE →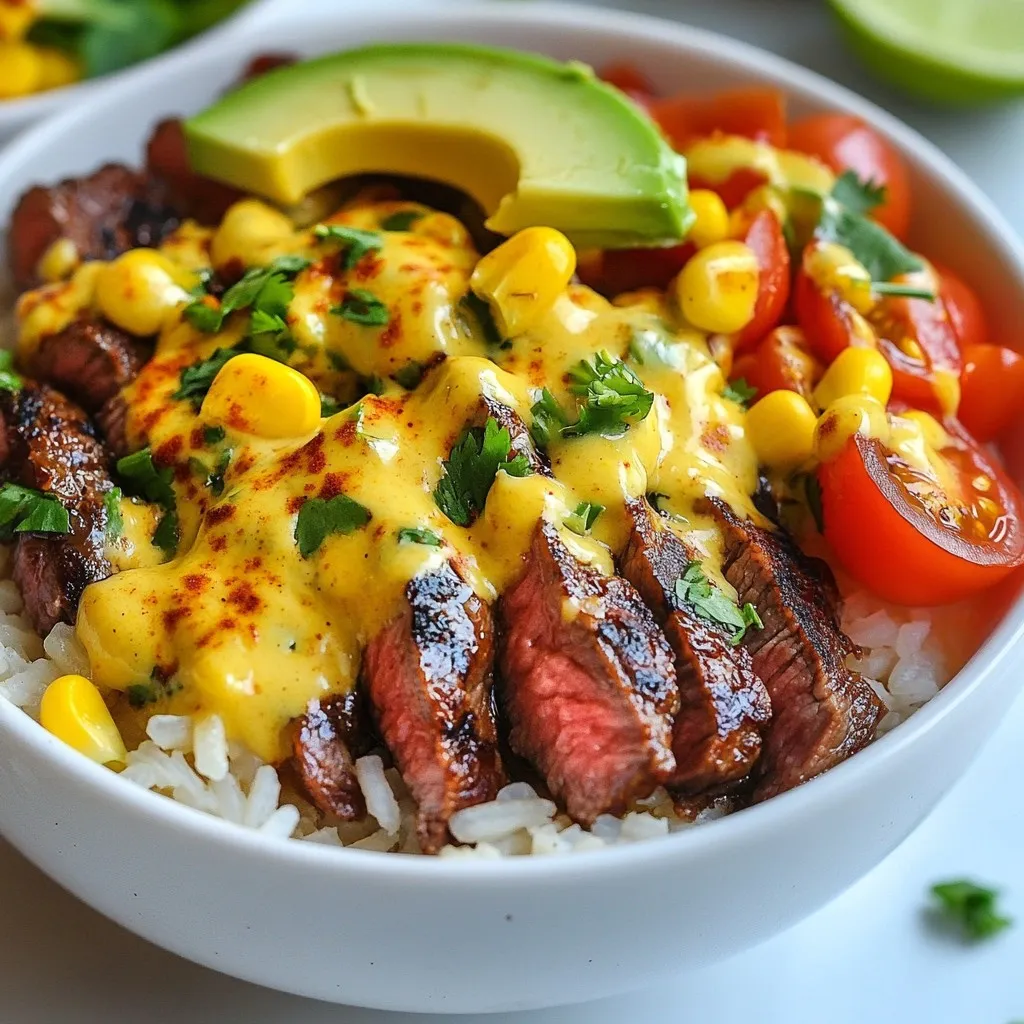
Are you ready to spice up your dinner routine? This Queso Rice with Steak Strips recipe is a flavorful feast...
READ MORE →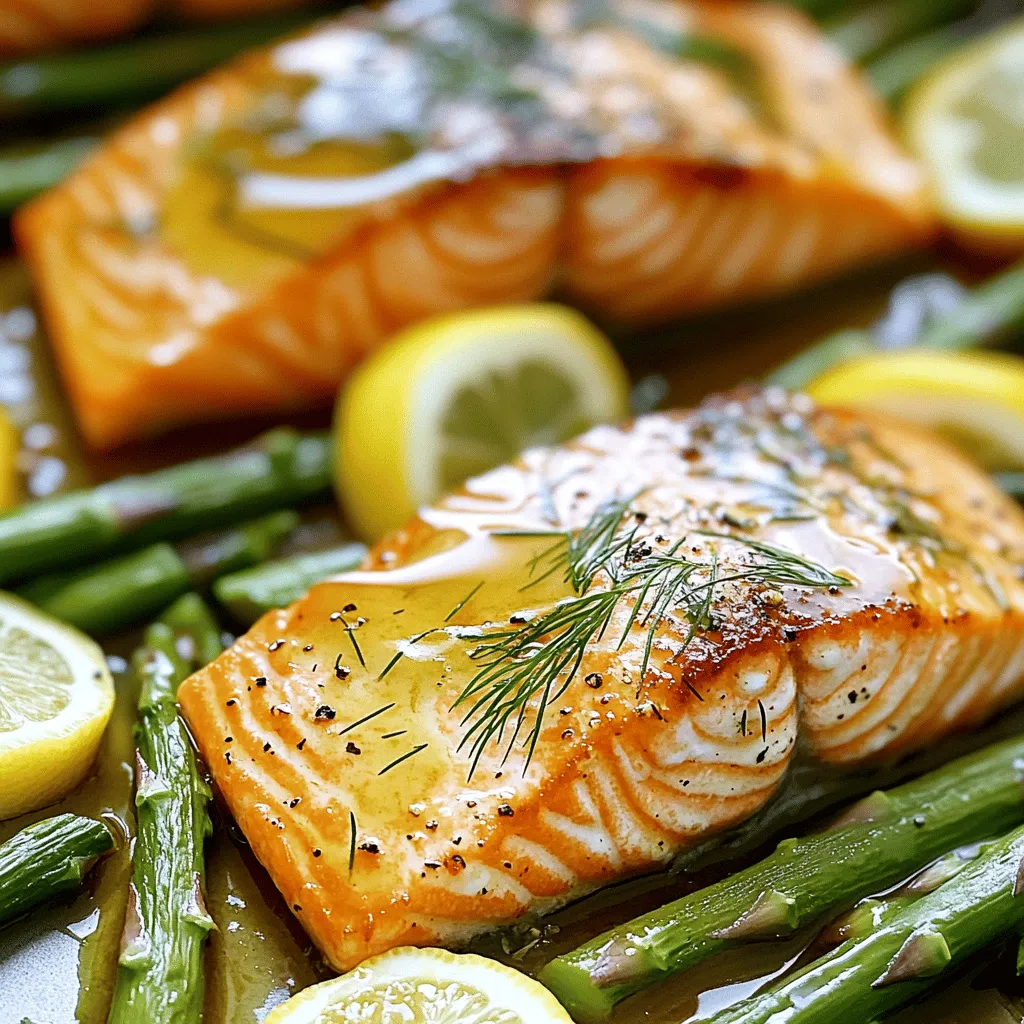
Are you looking for an easy main dish that’s full of flavor? Look no further than Lemon Dijon Salmon with...
READ MORE →