DINNER
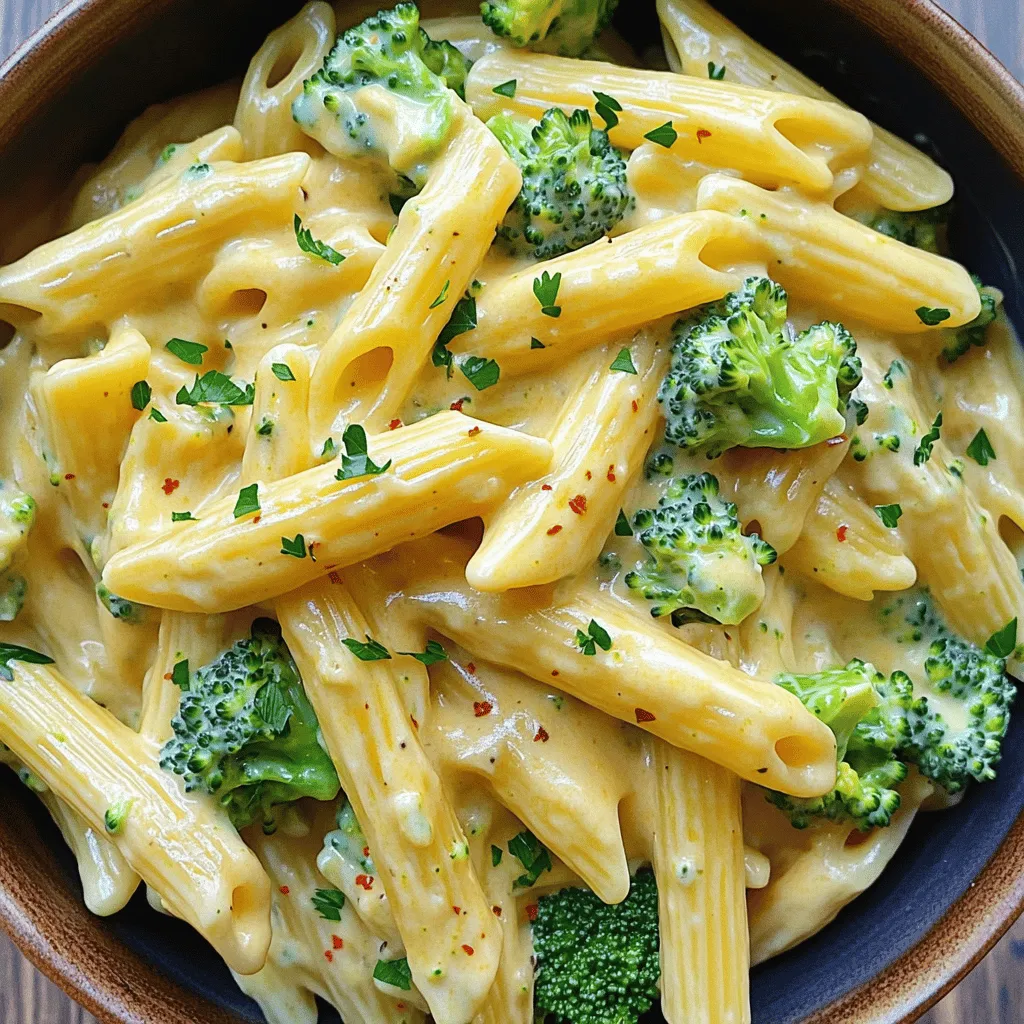
Creamy Broccoli Cheddar Pasta Easy and Tasty Recipe
Looking for a quick and delicious dinner? You’ve come to the right place! This Creamy Broccoli Cheddar Pasta recipe is...
READ MORE →Explore our collection of dinner recipes
Looking for a quick and delicious dinner? You’ve come to the right place! This Creamy Broccoli Cheddar Pasta recipe is...
READ MORE →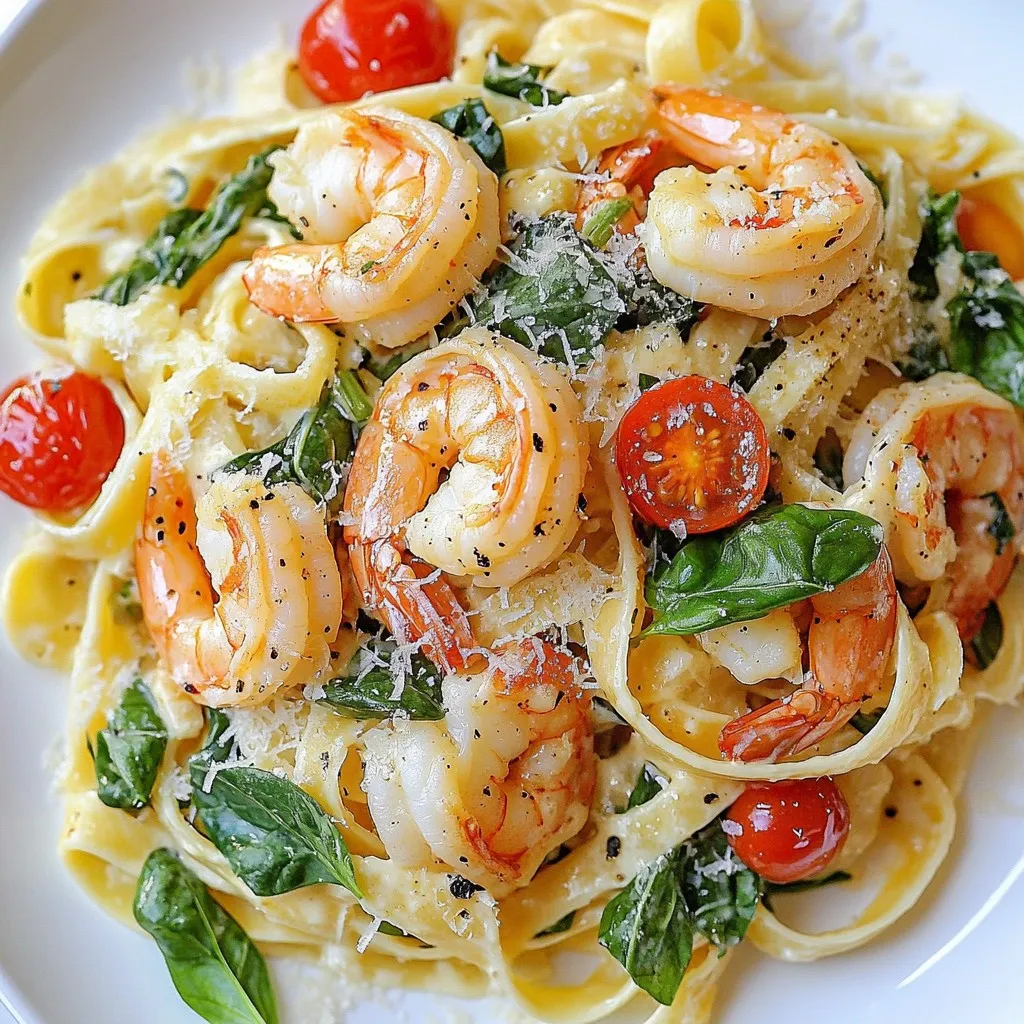
If you crave a dish that’s both creamy and vibrant, you’re in for a treat! My Creamy Tuscan Shrimp Pasta...
READ MORE →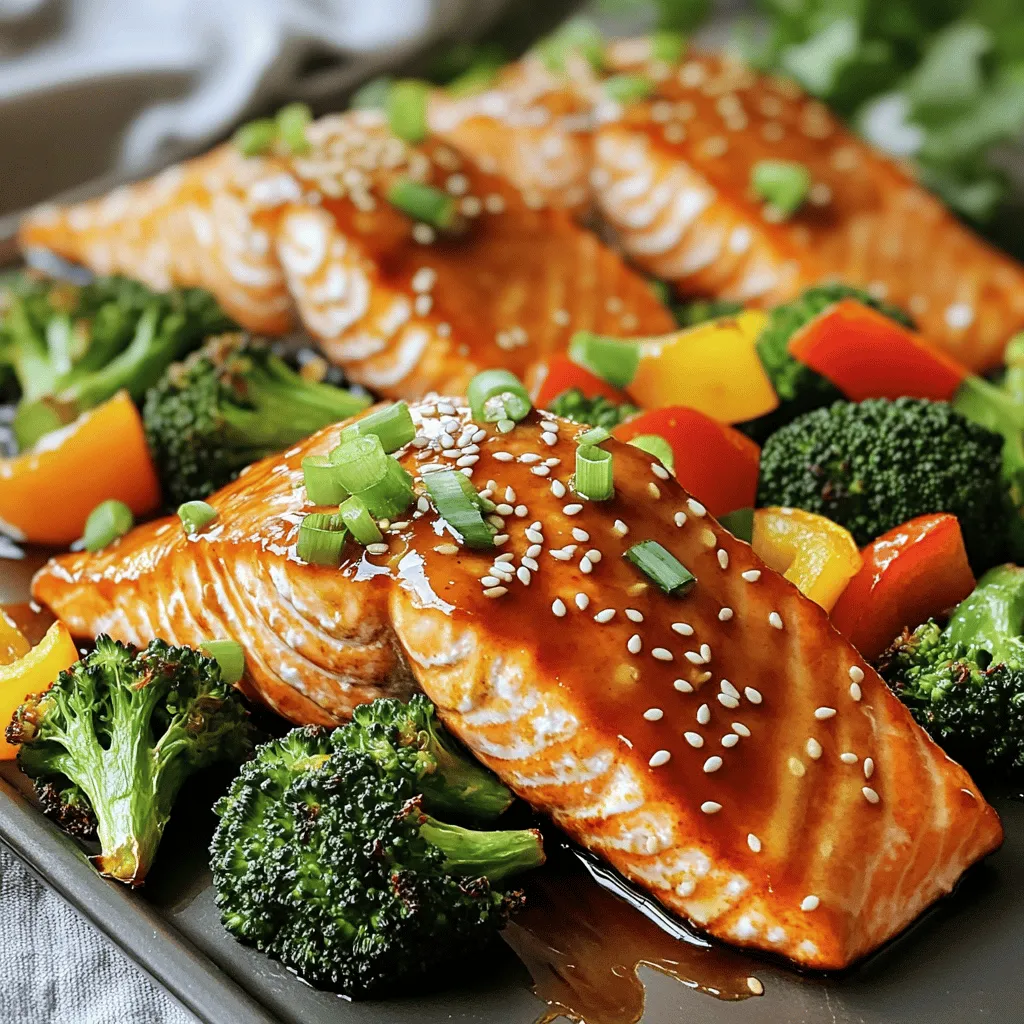
Are you ready to whip up a quick and delicious meal? This Teriyaki Salmon & Broccoli Sheet Pan recipe is...
READ MORE →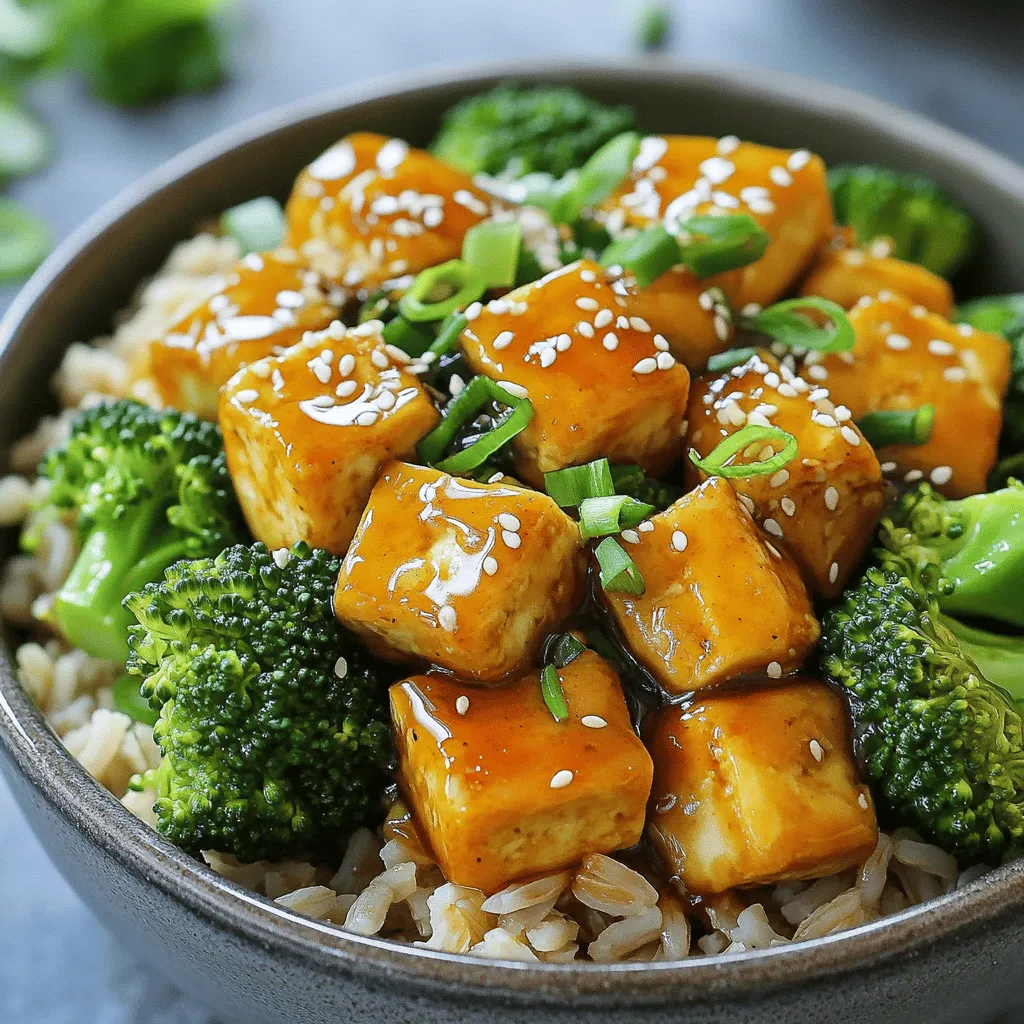
Craving a tasty and healthy meal? Try my Sticky Honey Garlic Tofu Bowls! This veggie dish mixes crispy tofu, fresh...
READ MORE →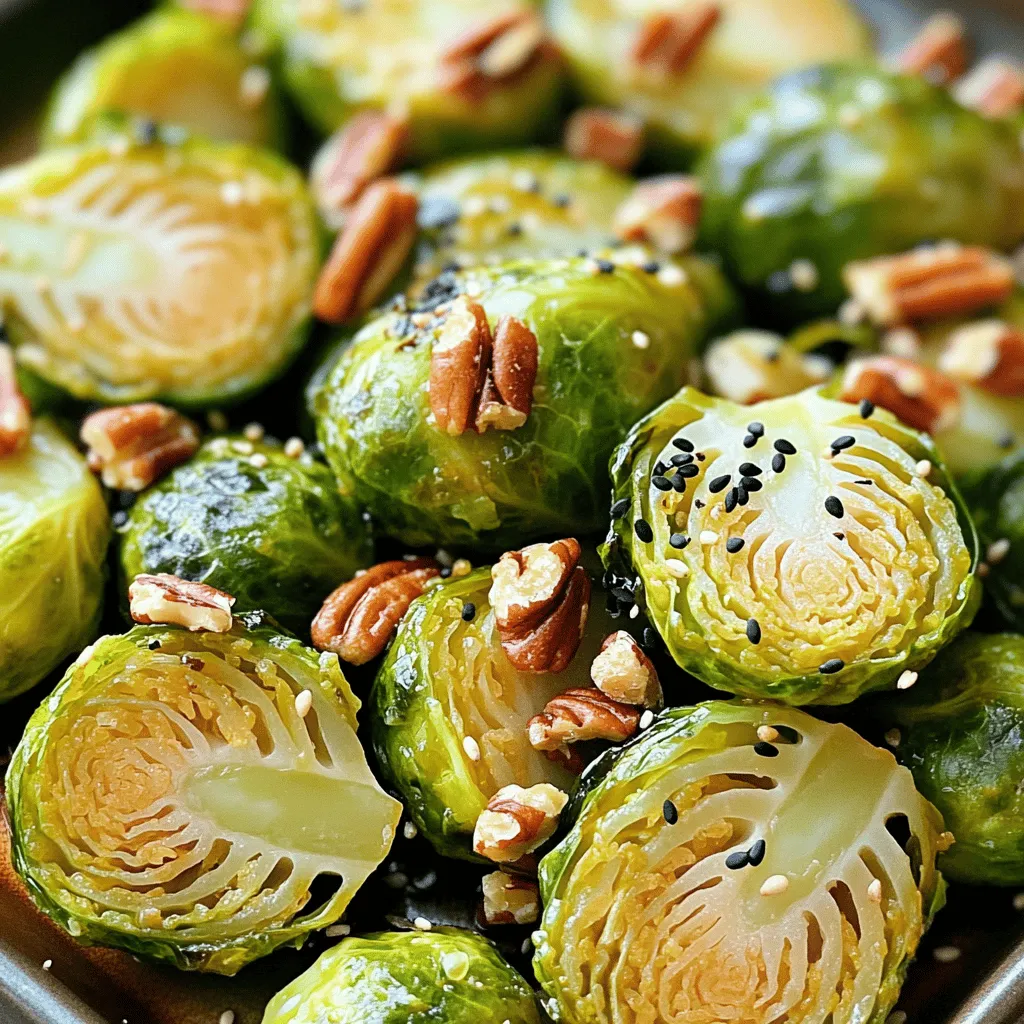
Are you ready to transform Brussels sprouts into an irresistible dish? My Miso Maple Brussels Sprouts with Pecans are packed...
READ MORE →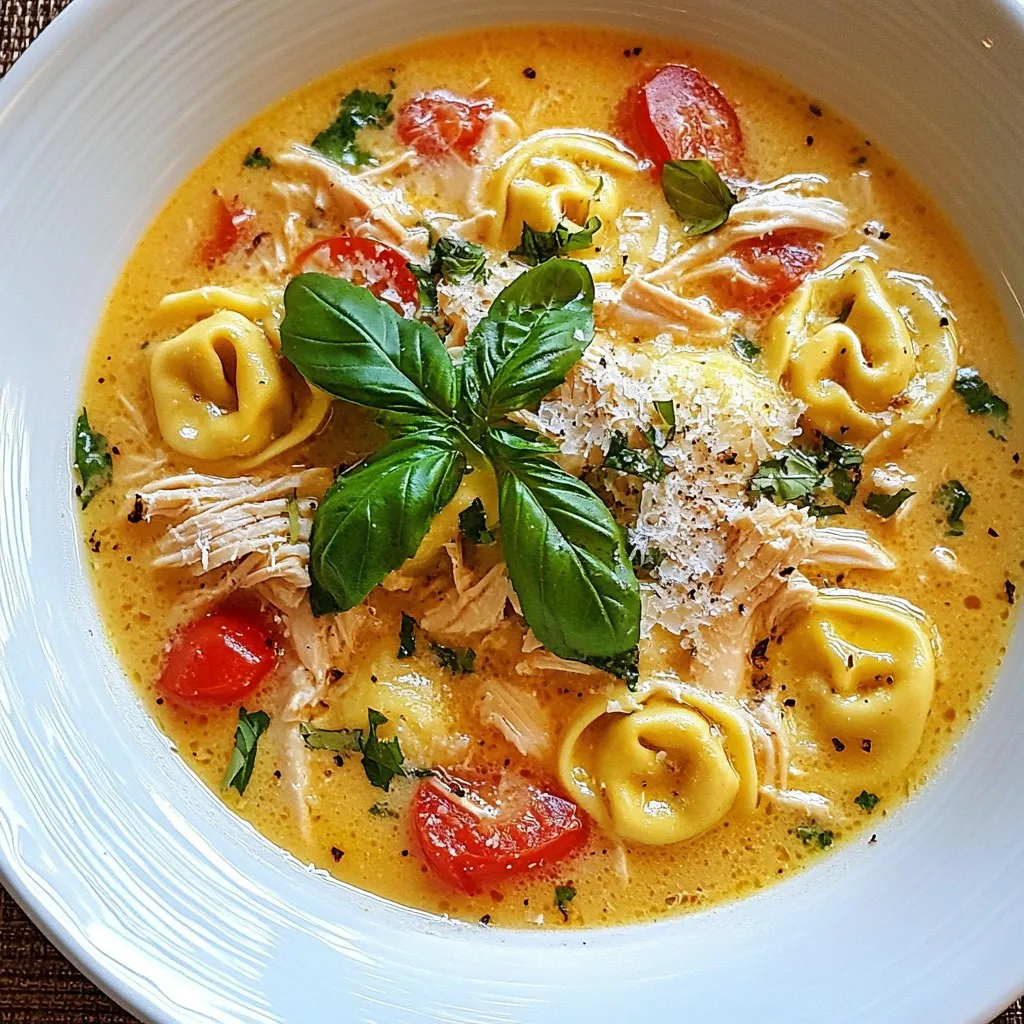
Looking for a simple and tasty dinner? Let me introduce you to Crockpot Chicken Tortellini! This dish combines tender chicken,...
READ MORE →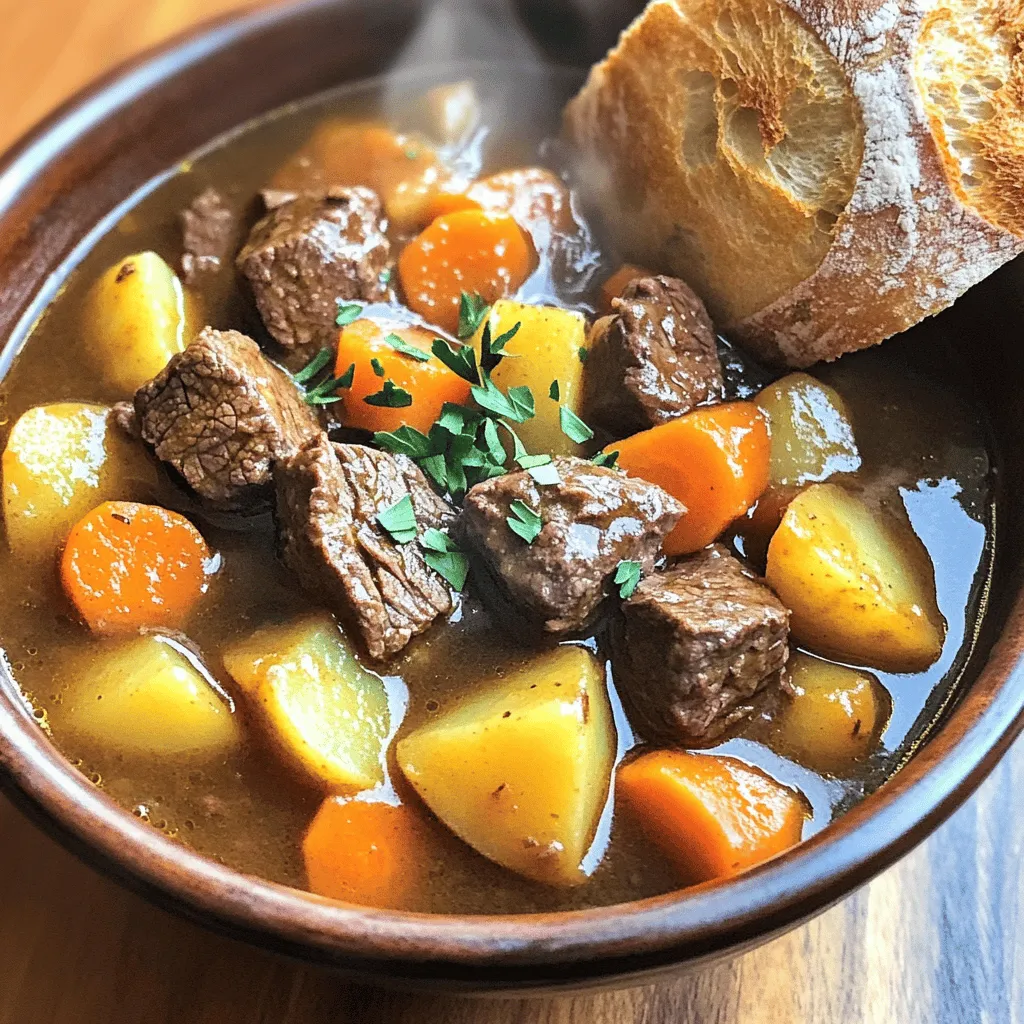
Nothing beats a warm bowl of beef stew on a chilly day. This Easy Homestyle Beef Stew is your go-to...
READ MORE →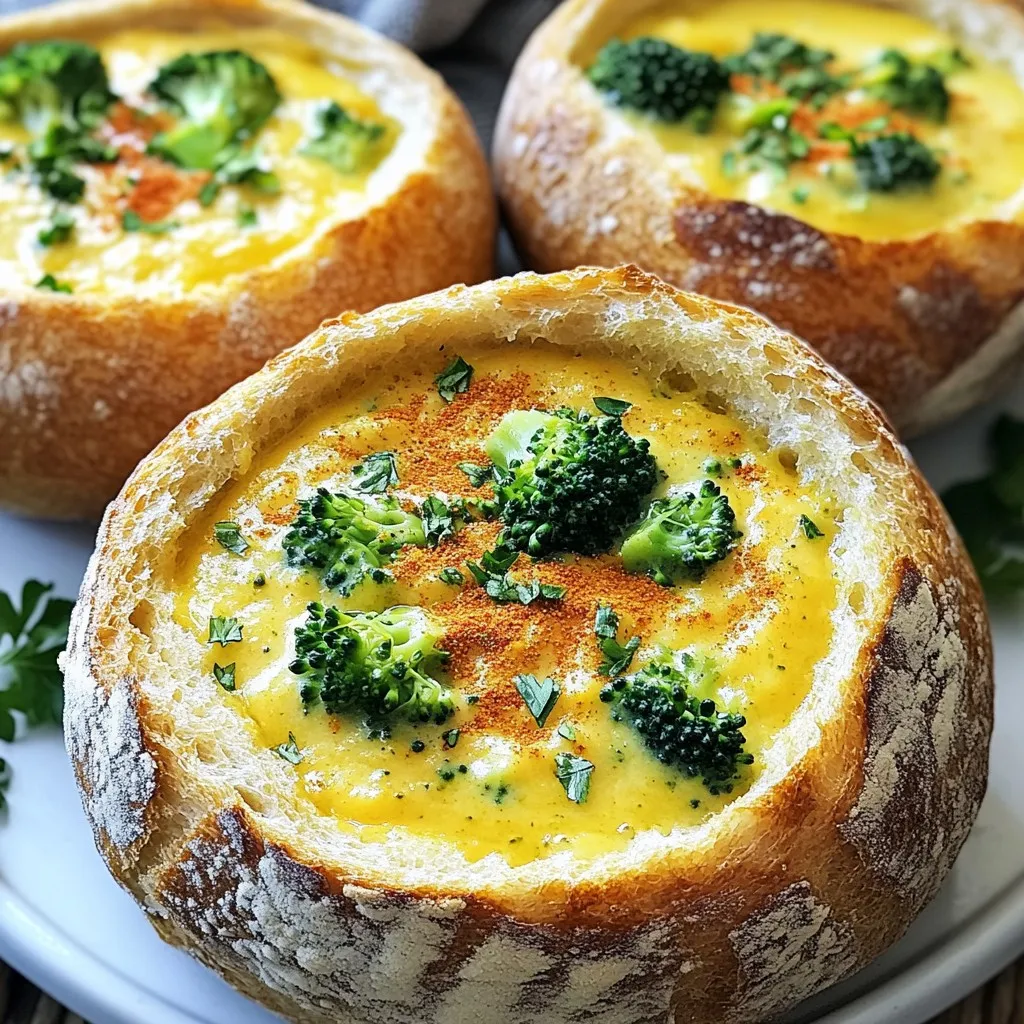
Looking for a warm, cozy meal that’s fun to eat? Cheddar Broccoli Soup in Bread Bowls is your answer! This...
READ MORE →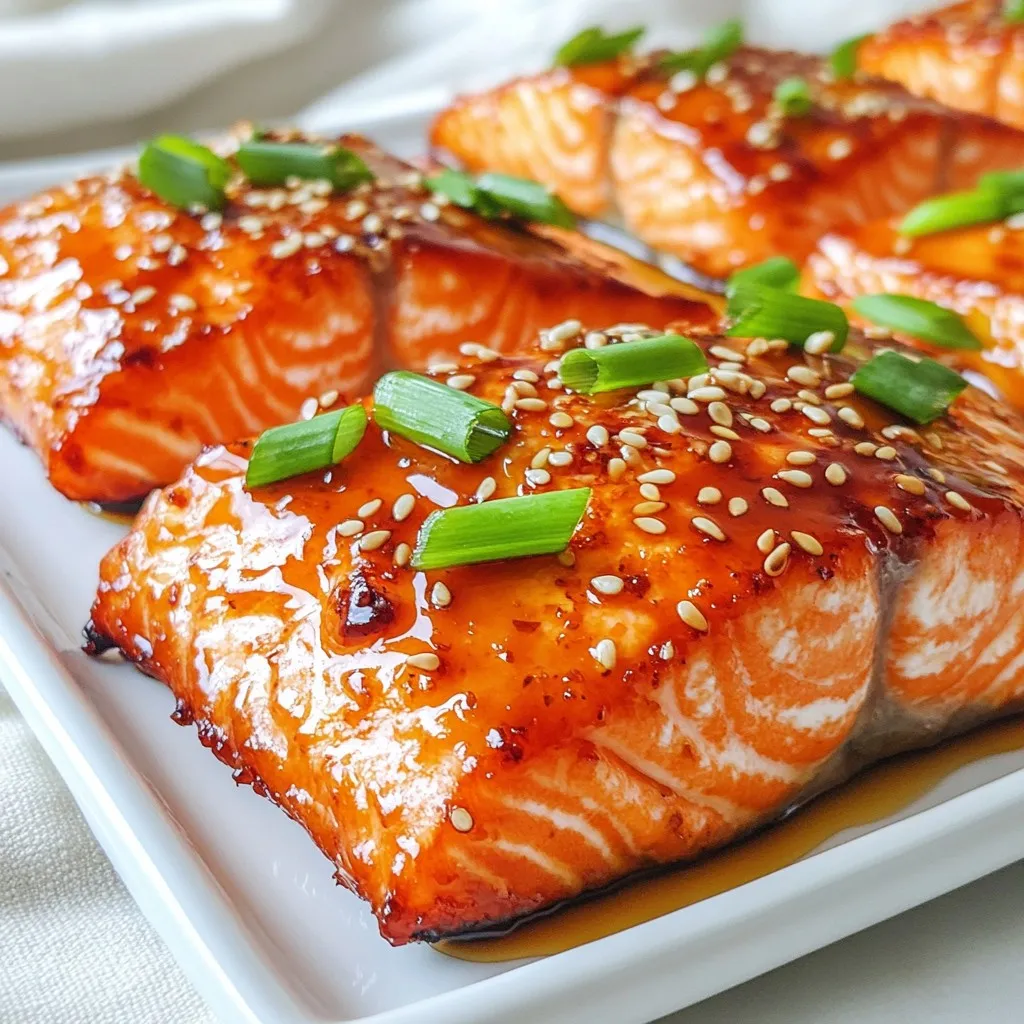
Ready to dive into a dish that’s bursting with flavor? My Crispy Honey Garlic Salmon recipe combines four simple ingredients,...
READ MORE →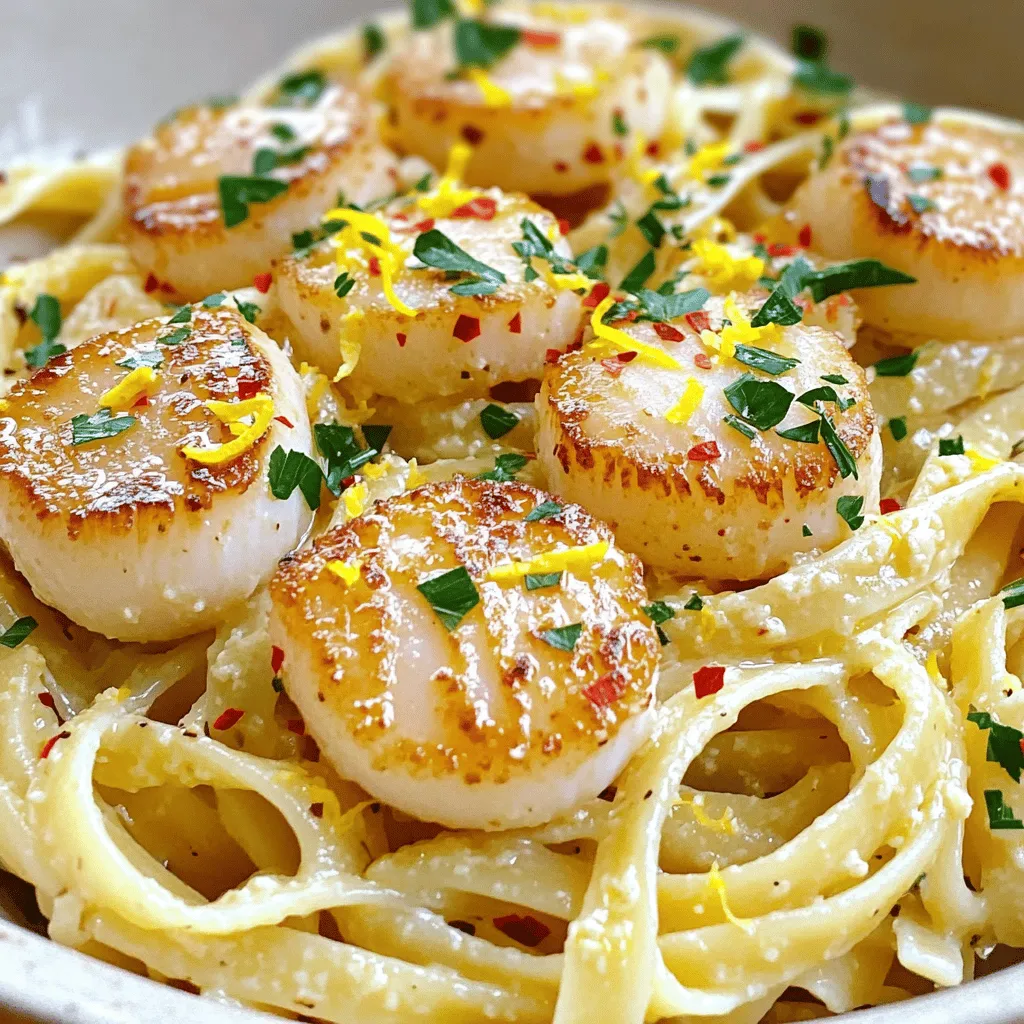
Looking for a quick and tasty pasta dish that impresses? You’re in the right place! This Garlic Butter Scallop Pasta...
READ MORE →