DINNER
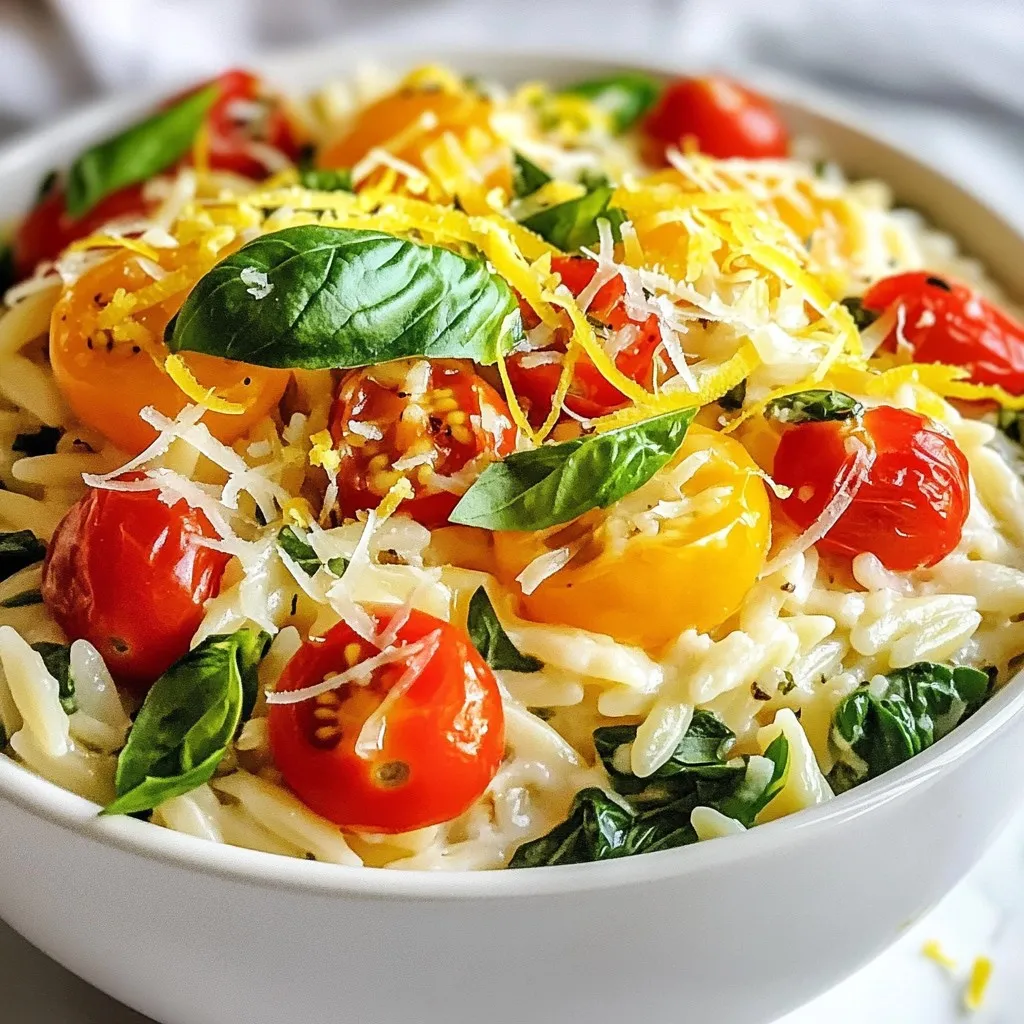
One-Pot Lemon Parmesan Orzo Easy and Flavorful Dish
Are you ready for a dish that’s both easy and packed with flavor? This One-Pot Lemon Parmesan Orzo is a...
READ MORE →Explore our collection of dinner recipes
Are you ready for a dish that’s both easy and packed with flavor? This One-Pot Lemon Parmesan Orzo is a...
READ MORE →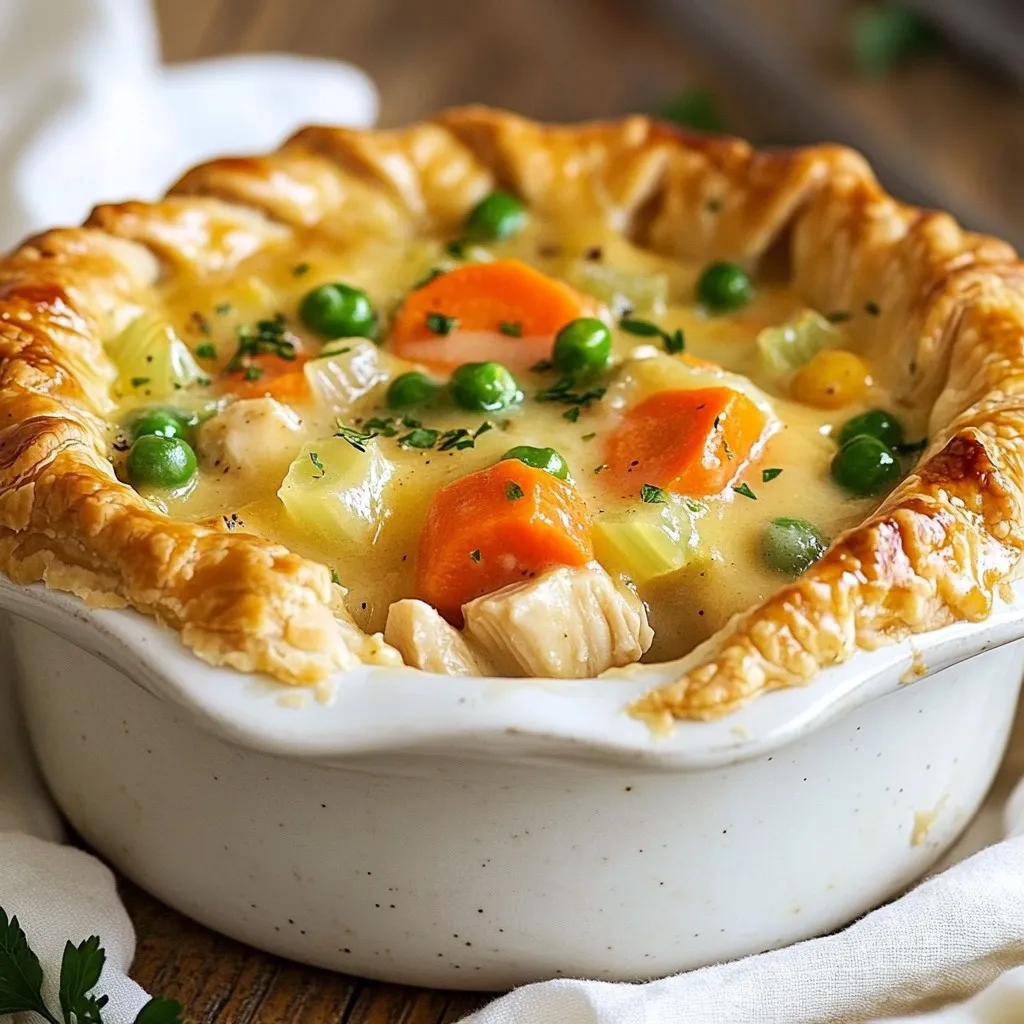
Are you ready to warm up with a comforting meal? This Crockpot Chicken Pot Pie recipe makes dinner easy and...
READ MORE →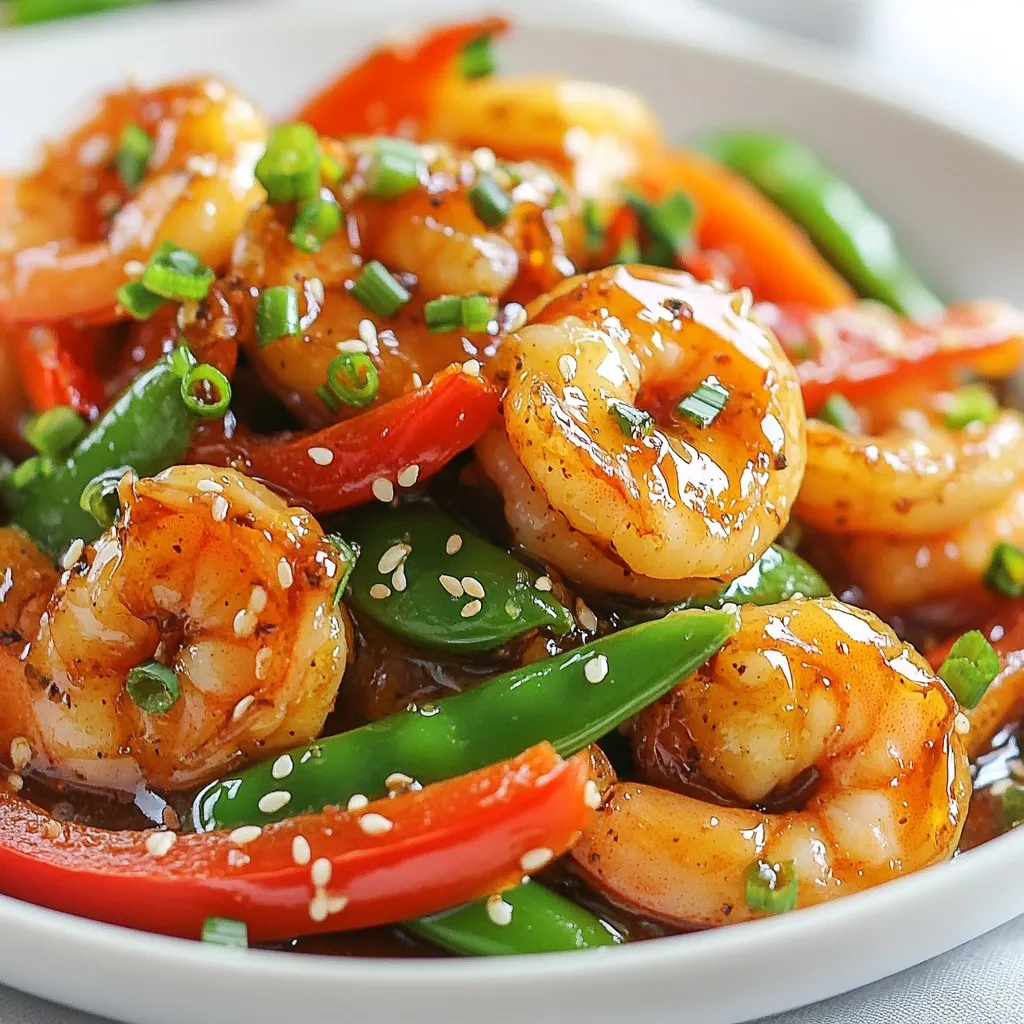
Craving a quick and tasty meal? This One-Pan Honey Garlic Shrimp is your answer! With just simple ingredients and easy...
READ MORE →
Craving a warm and tasty bowl of comfort? Look no further than this Thai Coconut Curry Chicken Soup. It’s rich,...
READ MORE →
Are you ready to elevate your dinner game? The Spinach Artichoke Stuffed Chicken is a vibrant, delicious dish that combines...
READ MORE →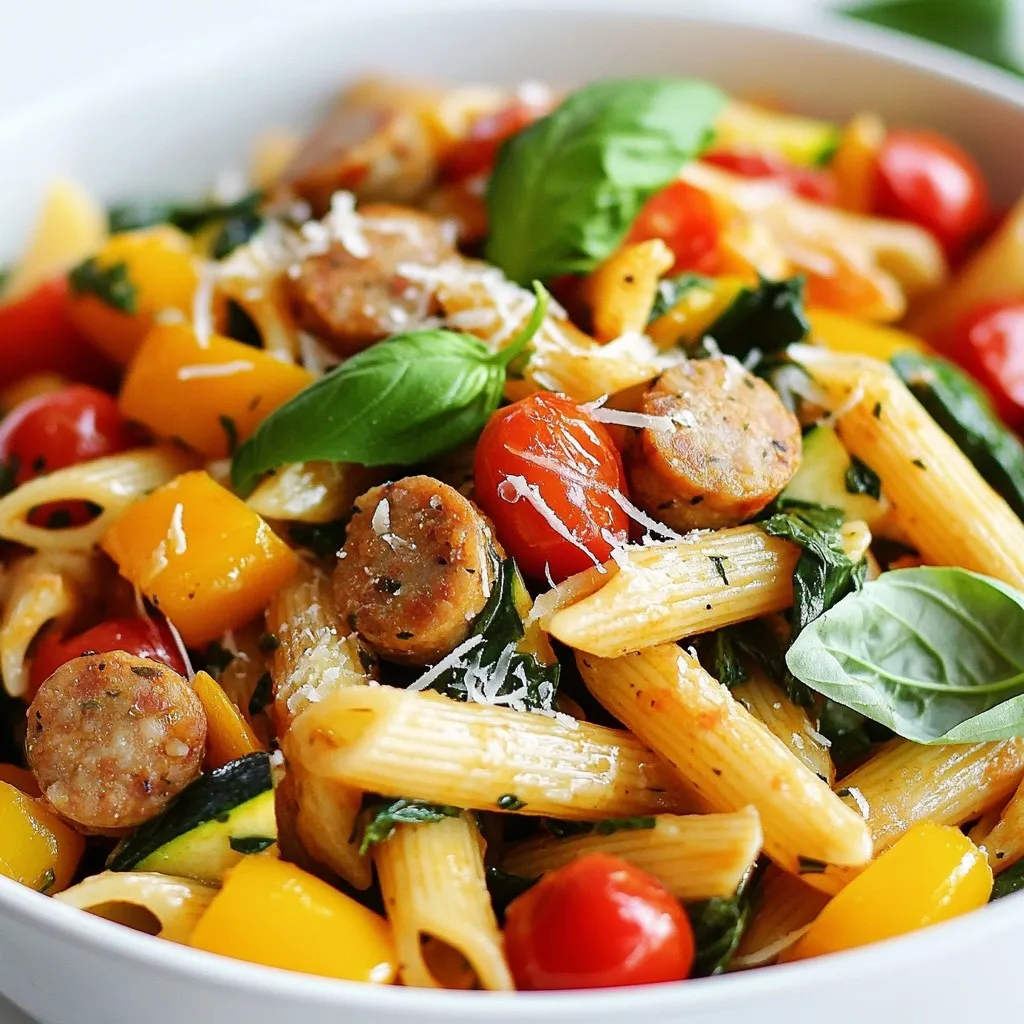
Are you ready for a meal that is both easy and full of flavor? This Satisfying Chicken Sausage Pasta with...
READ MORE →
Are you ready for a tasty treat that’s quick and easy? Lemon Herb Air Fryer Salmon Bites are bursting with...
READ MORE →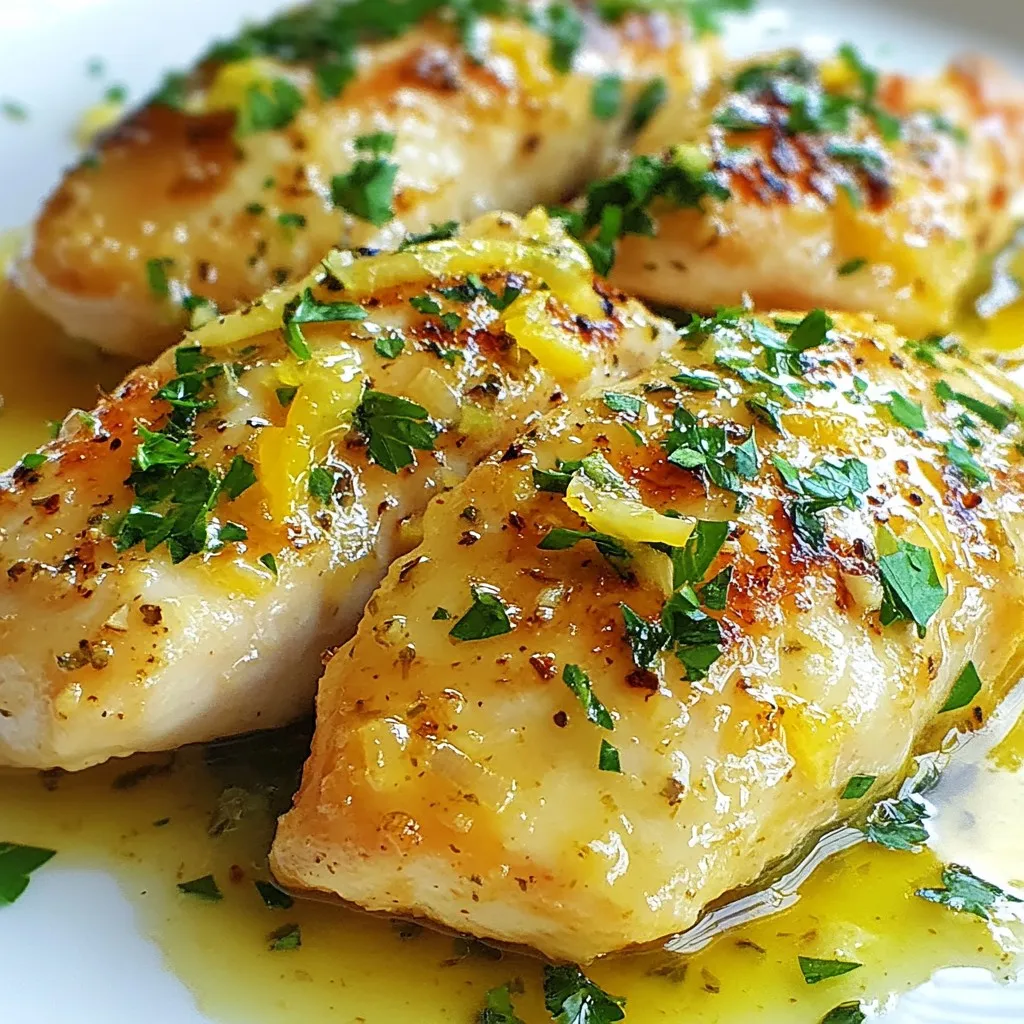
Get ready to enjoy the juiciest and most tender baked chicken you’ve ever tasted! My Garlic Butter Baked Chicken Breast...
READ MORE →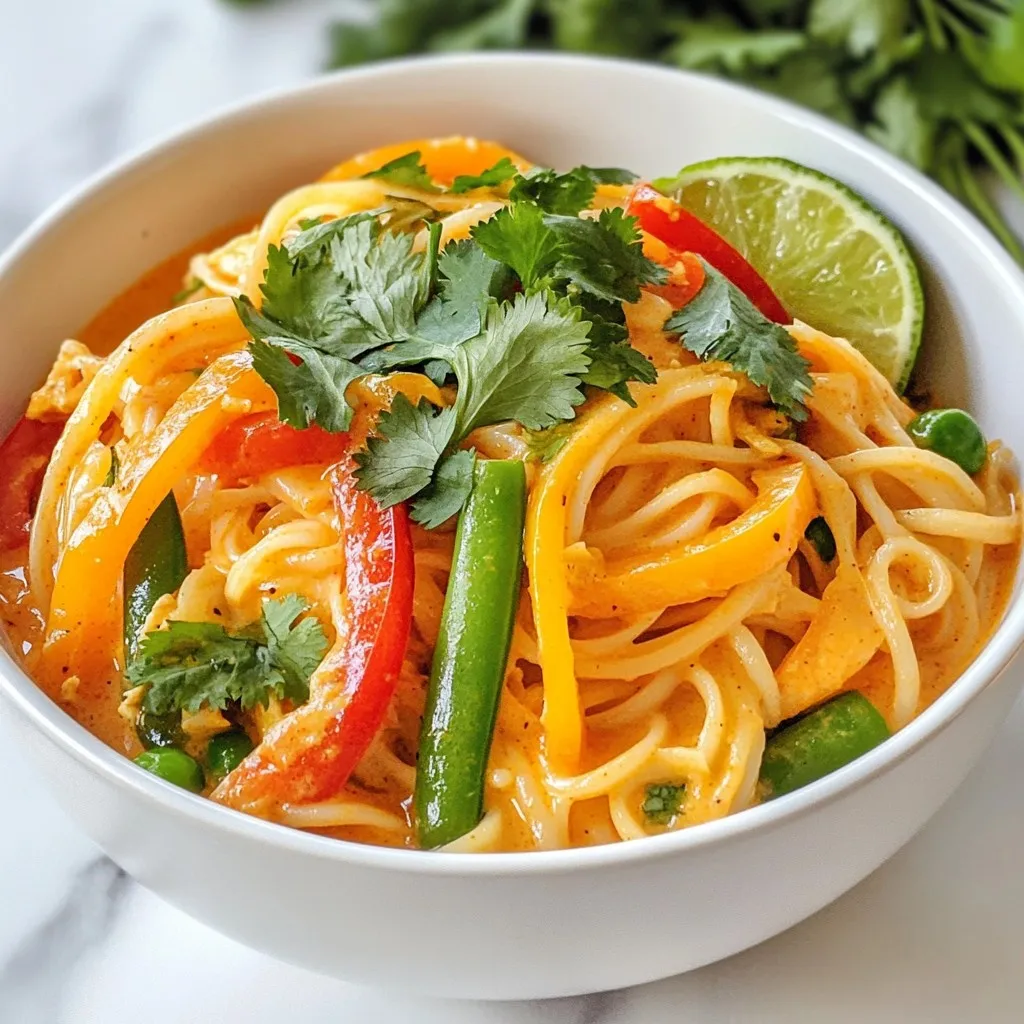
Looking for a quick yet delicious meal? Thai Coconut Curry Noodles is the perfect weeknight dinner for you! This dish...
READ MORE →
Are you ready to elevate your burrito game? The Chipotle Ranch Grilled Chicken Burrito brings bold flavor to your plate....
READ MORE →