DINNER
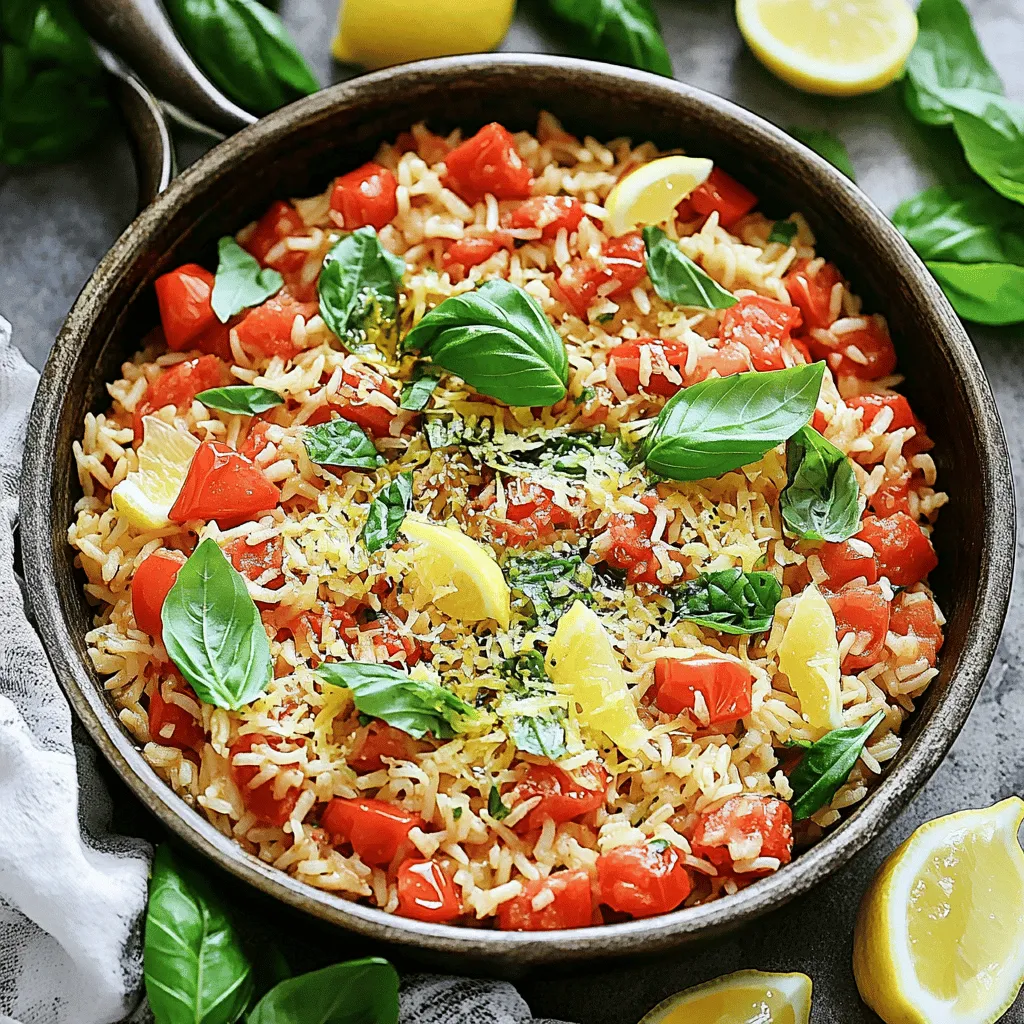
Tomato Basil Rice Skillet Quick and Flavorful Meal
Are you ready for a quick and tasty dinner? My Tomato Basil Rice Skillet is here to brighten your meal...
READ MORE →Explore our collection of dinner recipes
Are you ready for a quick and tasty dinner? My Tomato Basil Rice Skillet is here to brighten your meal...
READ MORE →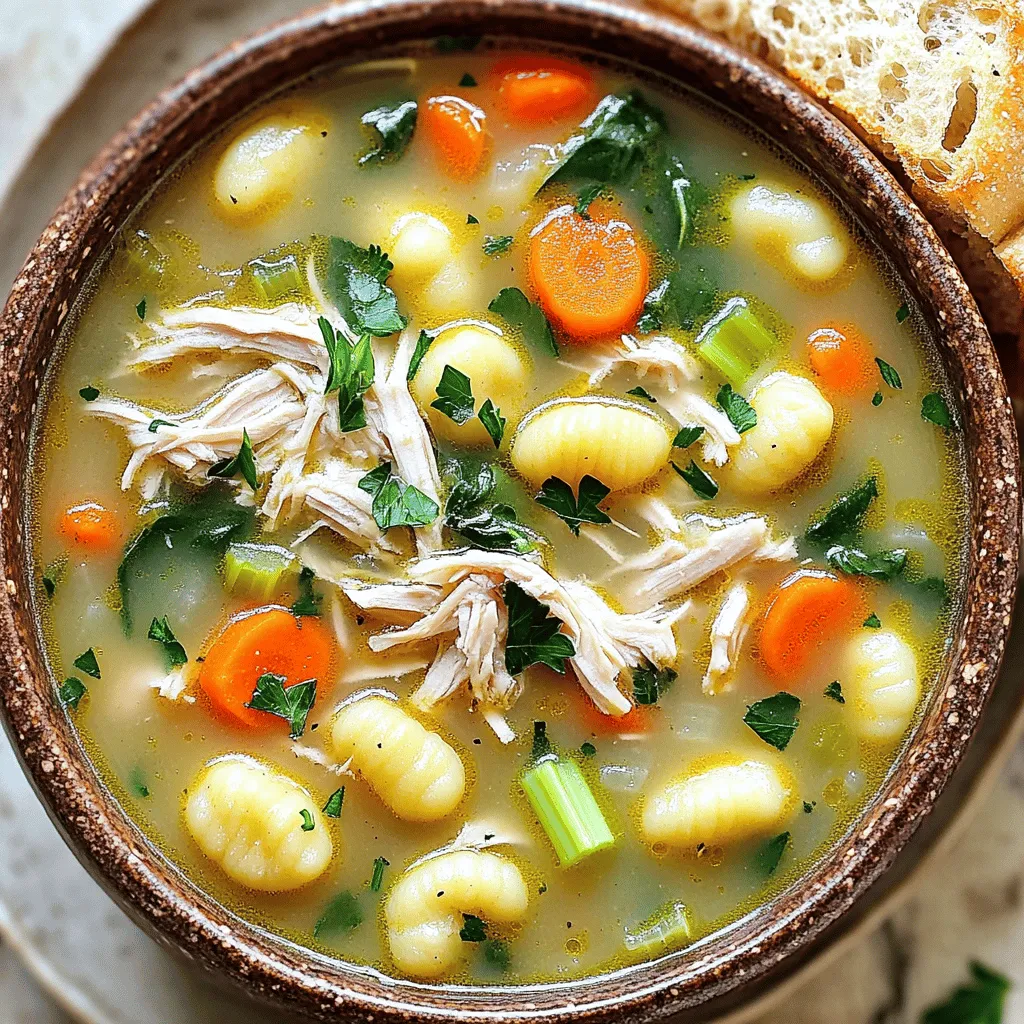
Have you ever wanted a warm, cozy meal that cooks itself? Slow Cooker Chicken Gnocchi Soup is the answer. This...
READ MORE →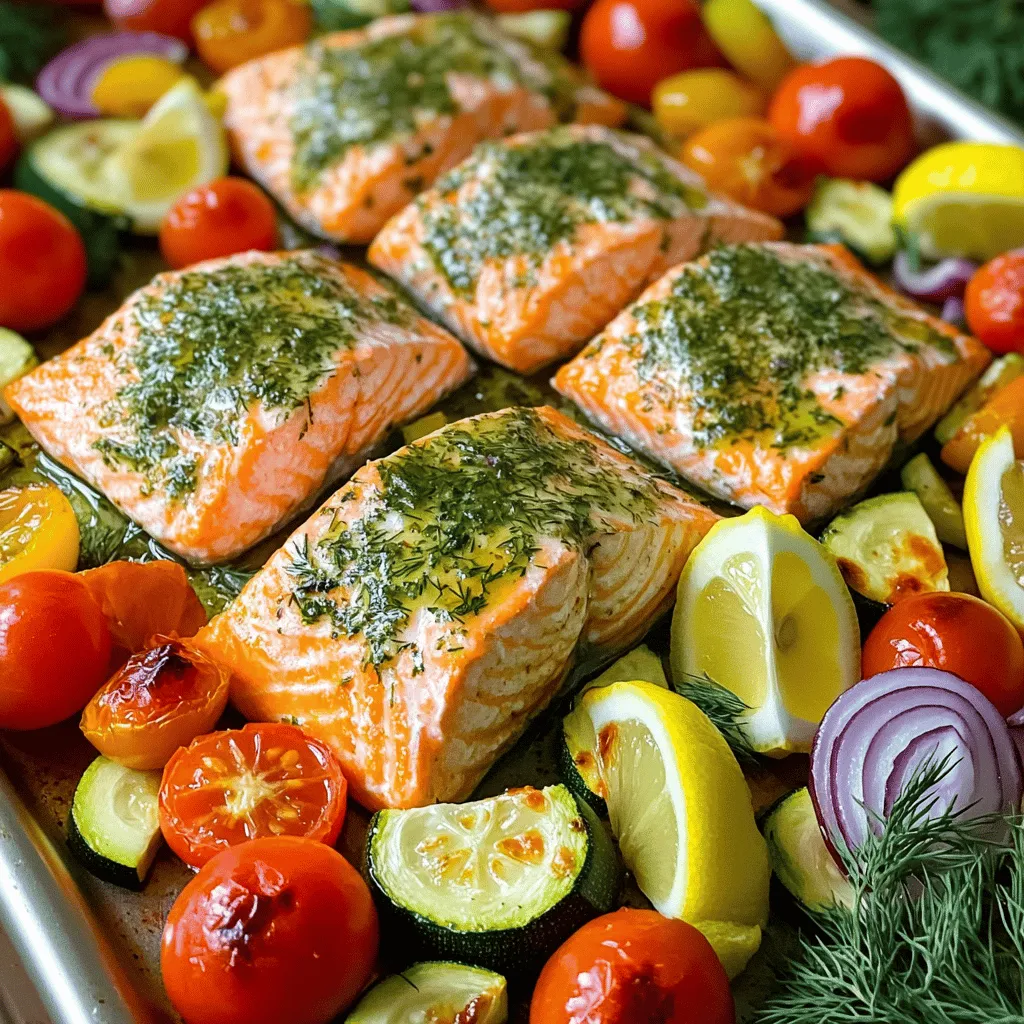
Looking for a quick, tasty meal that packs a punch? This Flavorful Sheet Pan Herb Salmon and Veggies Recipe is...
READ MORE →
Get ready to impress your family with my Creamy Cajun Sausage Rice Skillet! This one-pan meal is easy to make...
READ MORE →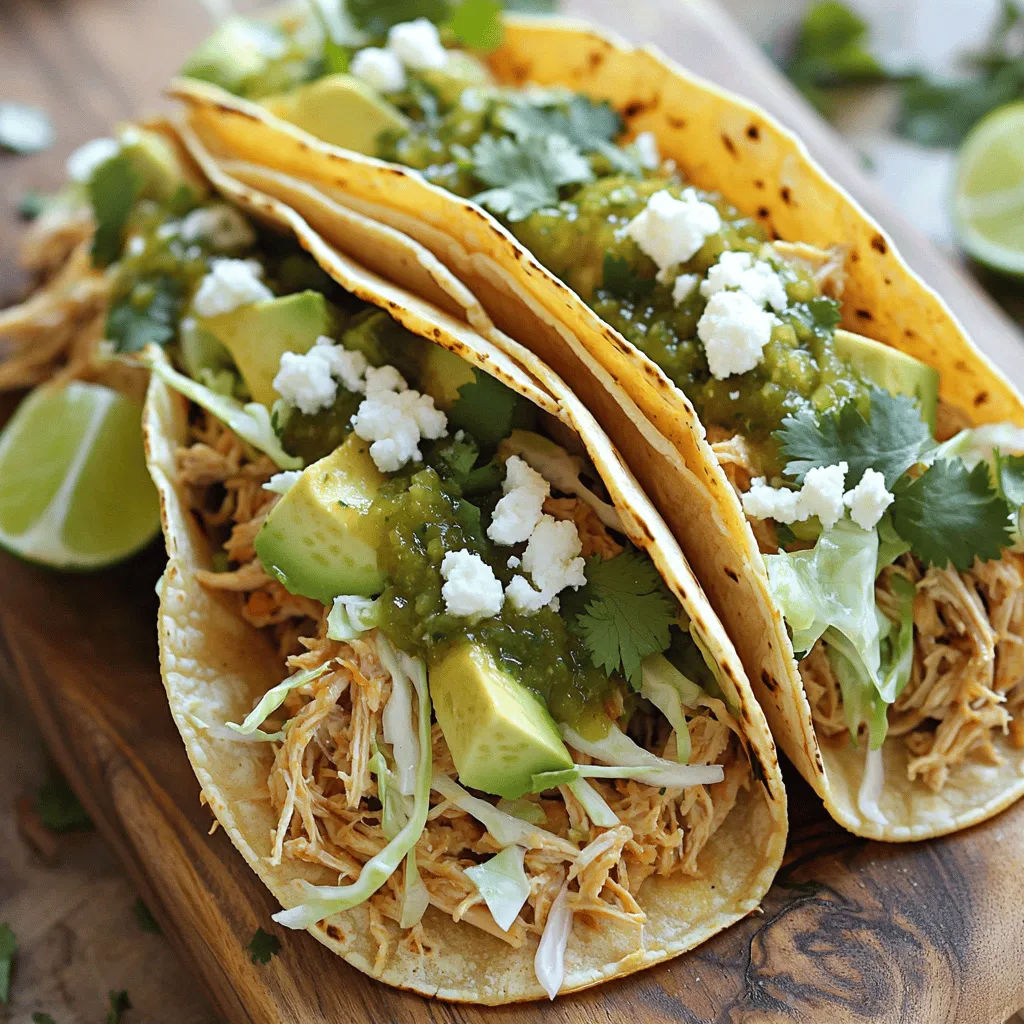
Are you ready to spice up your taco night? My Salsa Verde Pulled Chicken Tacos are a game changer! They...
READ MORE →
If you’re craving a quick and tasty meal, you’ve come to the right place. Cheesy Garlic Chicken Wraps pack bold...
READ MORE →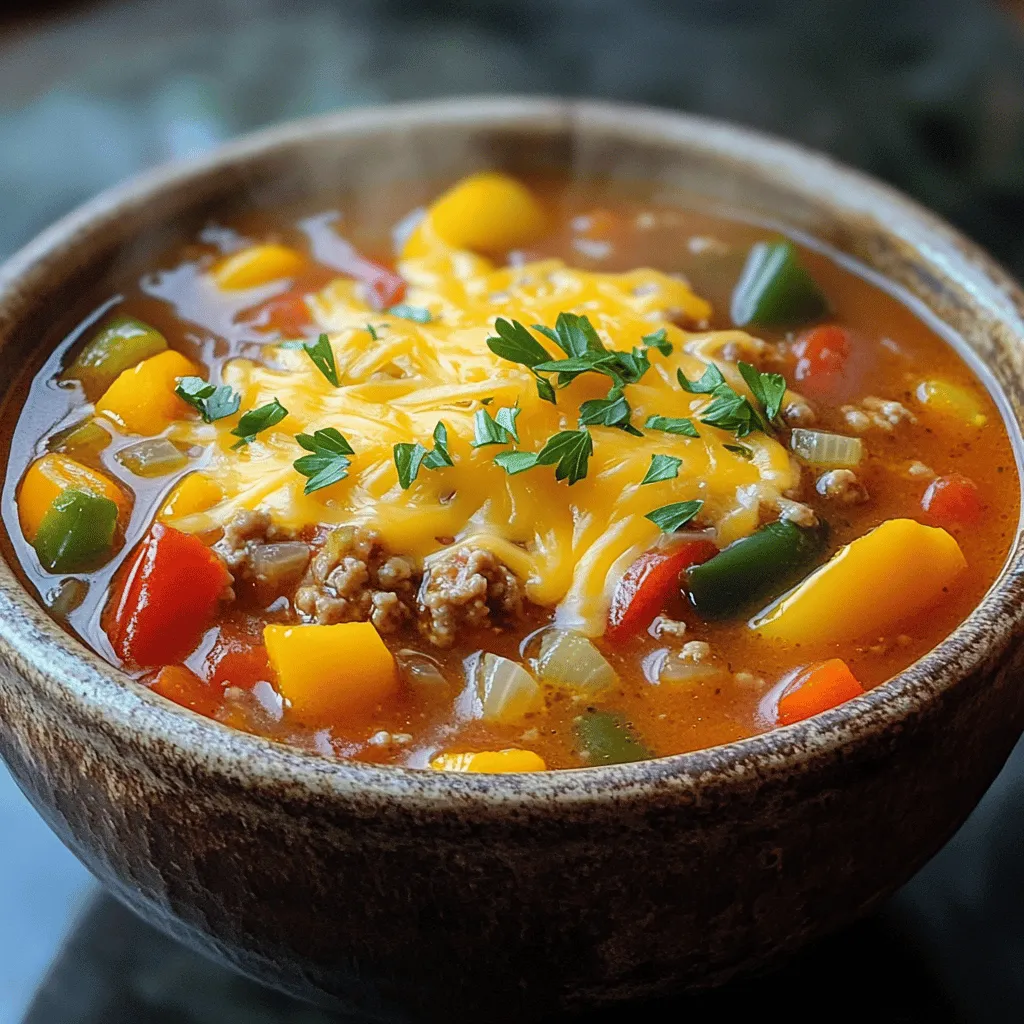
Are you ready to warm up your kitchen with a delicious dish? This Flavorful Slow Cooker Stuffed Pepper Soup is...
READ MORE →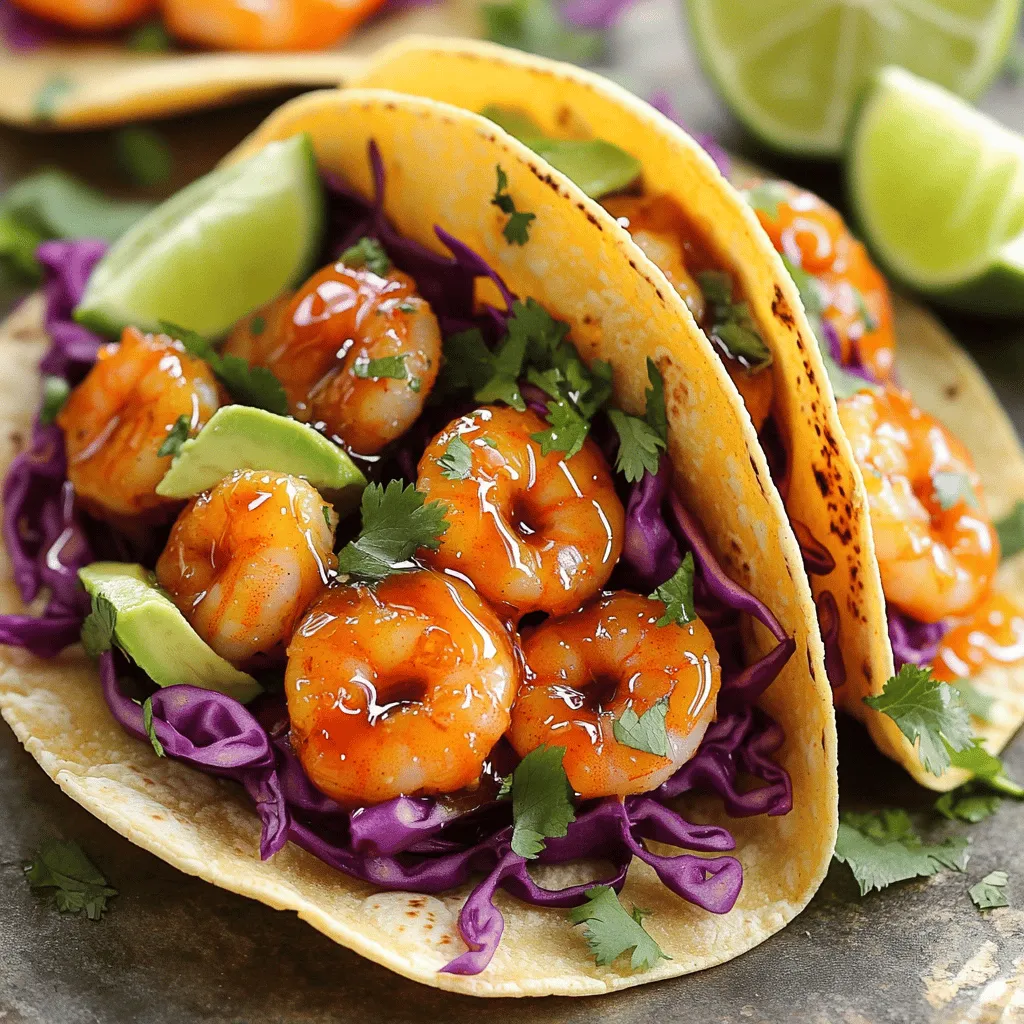
Are you ready to spice up your taco night? These Honey Sriracha Shrimp Tacos are the perfect blend of sweet...
READ MORE →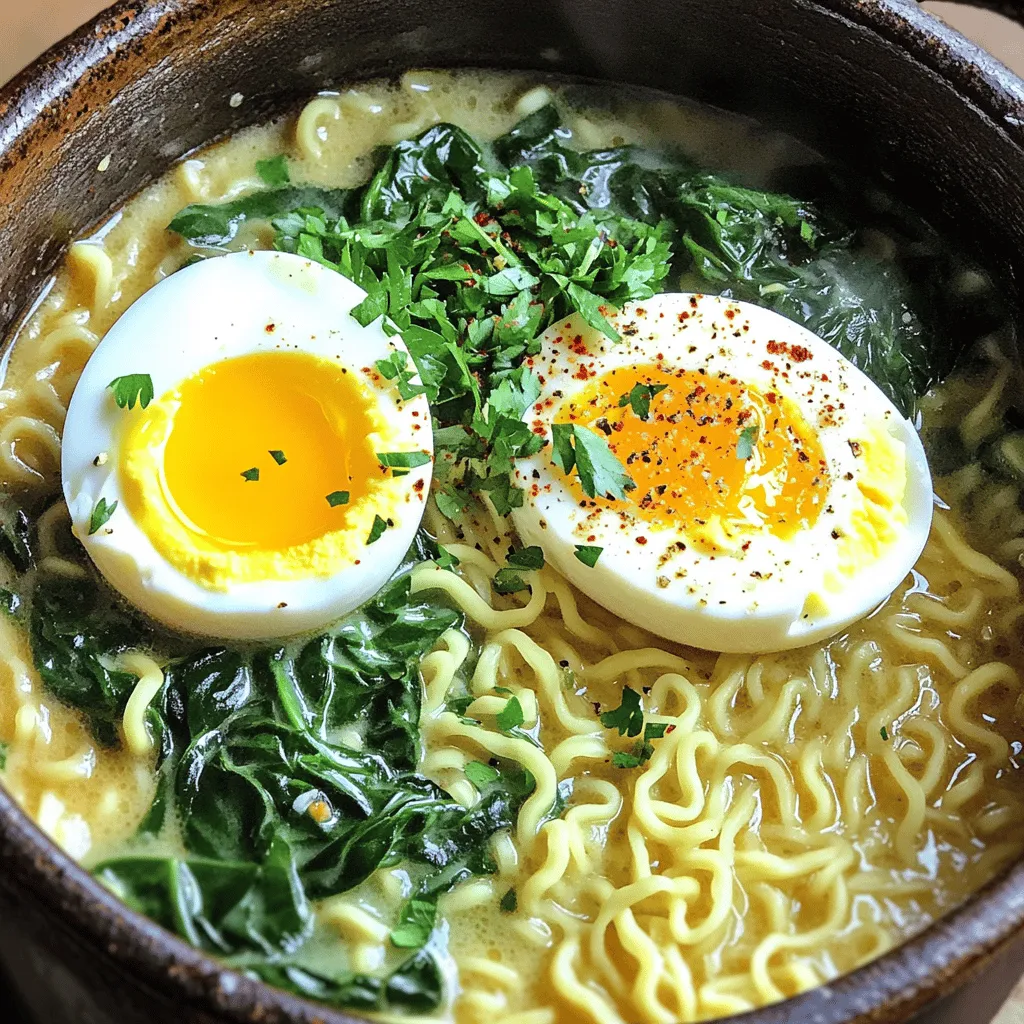
Looking for a simple, tasty meal that’s ready in one pot? You’ve found it! This One-Pot Garlic Parmesan Ramen is...
READ MORE →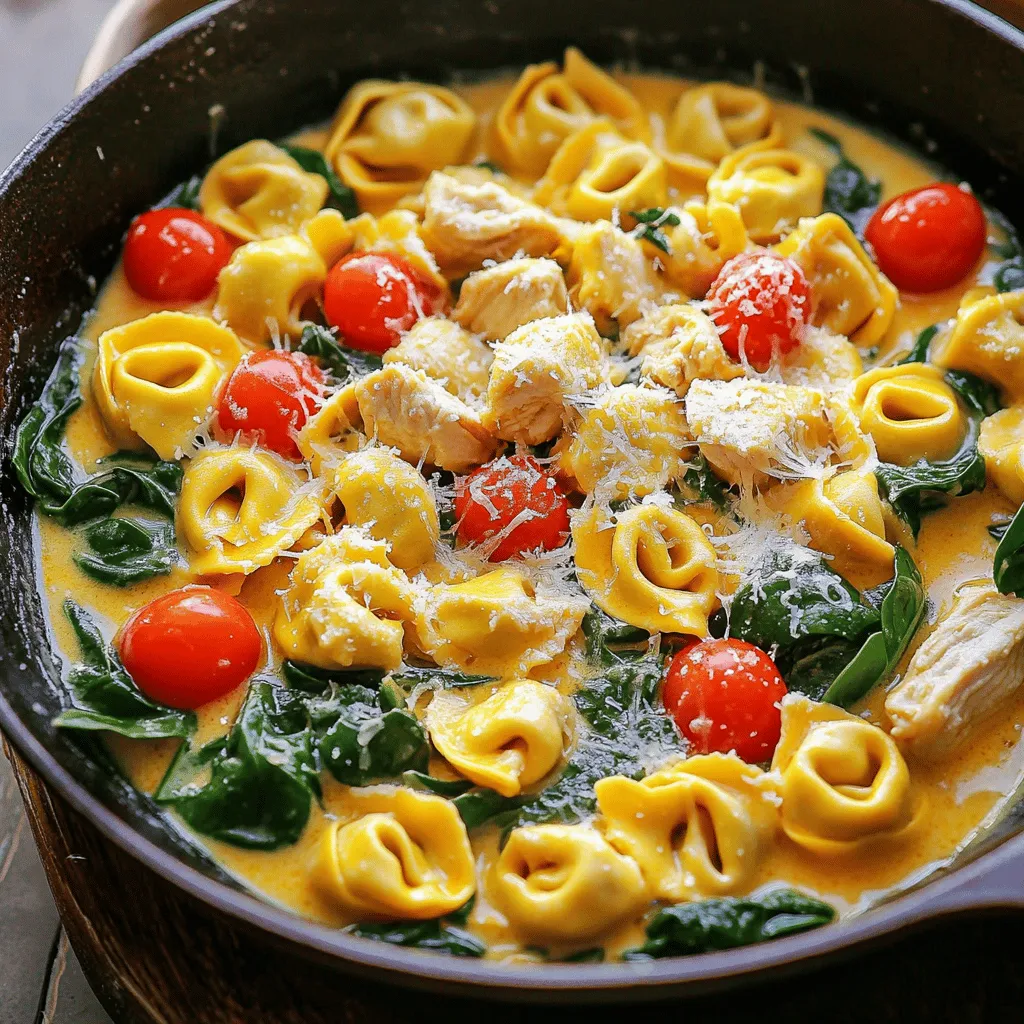
Craving a simple yet delicious dinner? Try my Tuscan Chicken Tortellini Skillet! This quick dish combines tender chicken, creamy sauce,...
READ MORE →