
DINNER
Marry Me Chicken Pasta Delightful and Easy Recipe
Looking for a meal that impresses without the stress? My Marry Me Chicken Pasta recipe is your answer! This delightful...
READ MORE →Explore our collection of dinner recipes
Looking for a meal that impresses without the stress? My Marry Me Chicken Pasta recipe is your answer! This delightful...
READ MORE →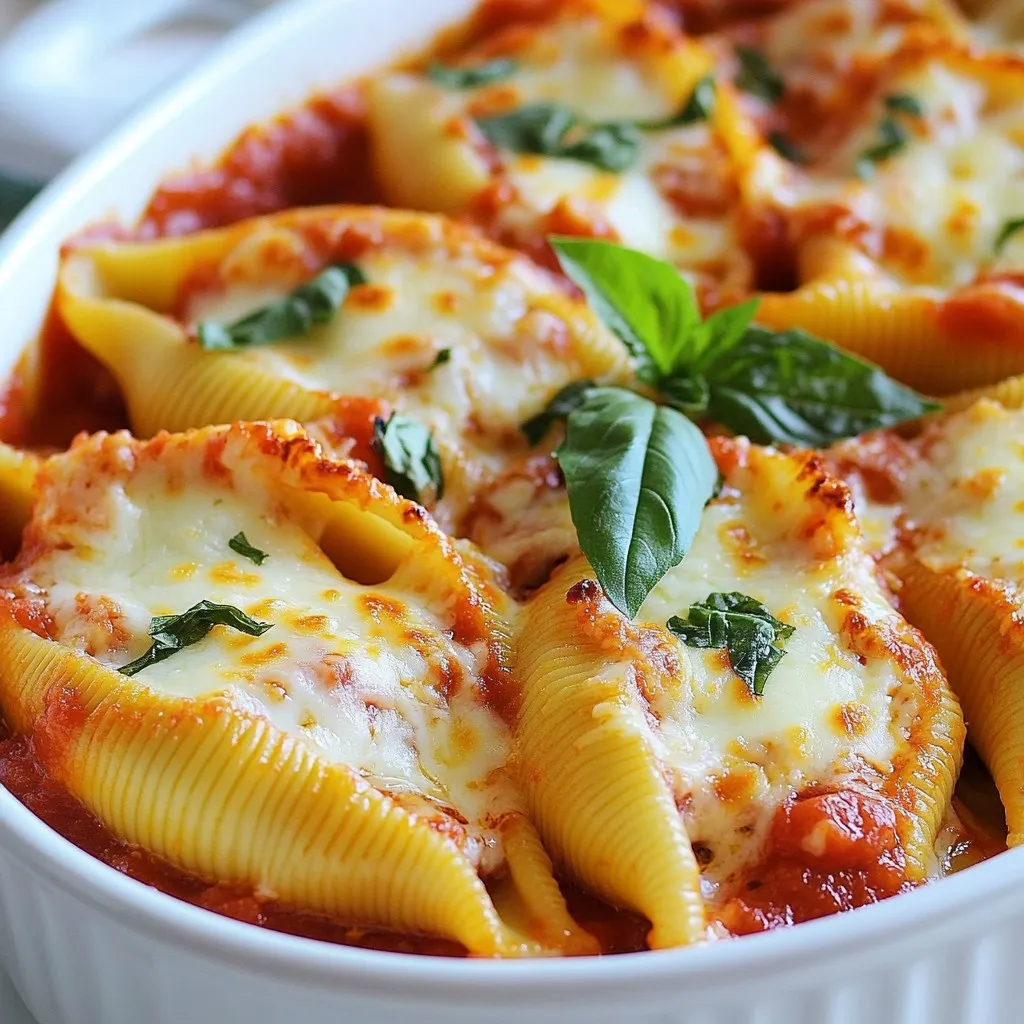
If you’re craving a cozy dinner that satisfies your taste buds, look no further! Cottage cheese stuffed shells bring comfort...
READ MORE →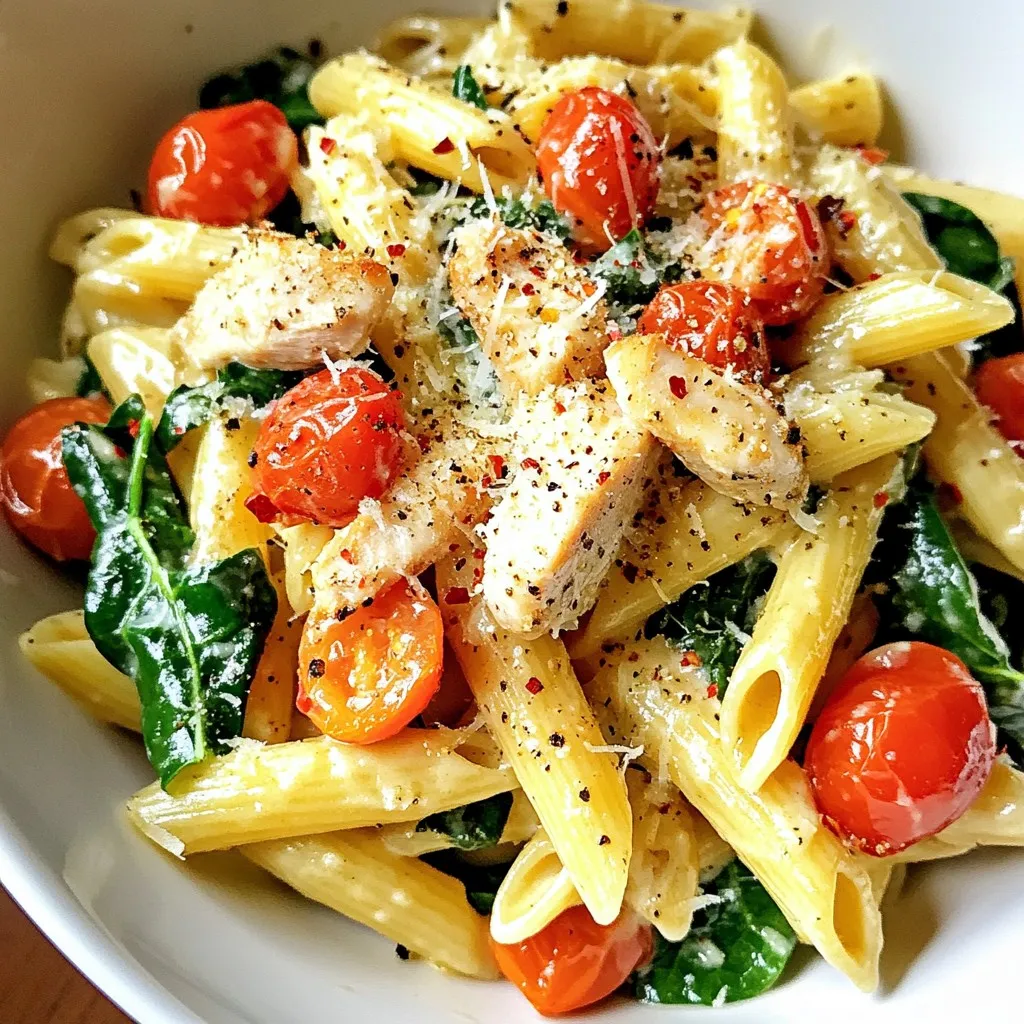
Craving a quick and tasty meal? Savory Spinach Chicken Pasta is your answer! With just a few fresh ingredients like...
READ MORE →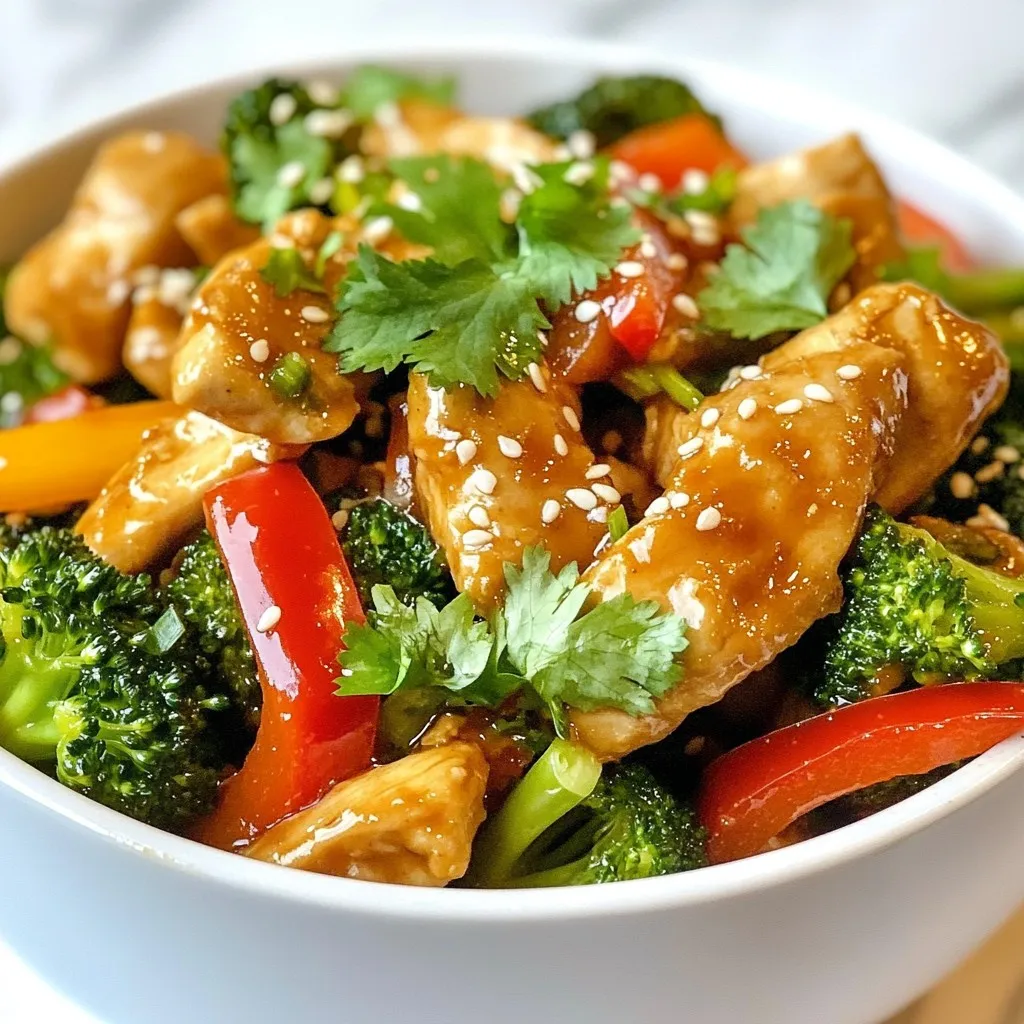
Looking for a quick and tasty meal? Minute Chicken and Broccoli is your answer! With just a few simple ingredients,...
READ MORE →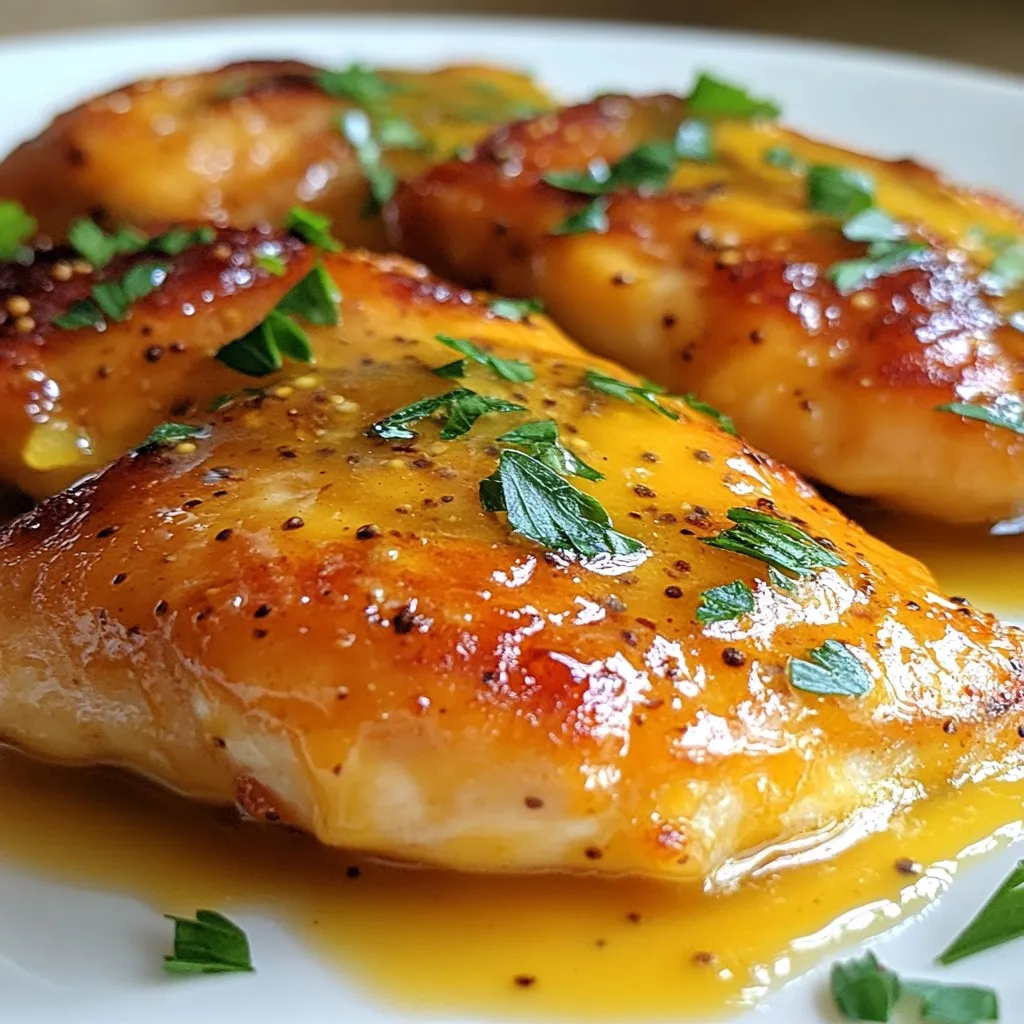
Looking for a tasty yet simple meal? Honey Mustard Chicken is here to impress! This dish blends sweet honey with...
READ MORE →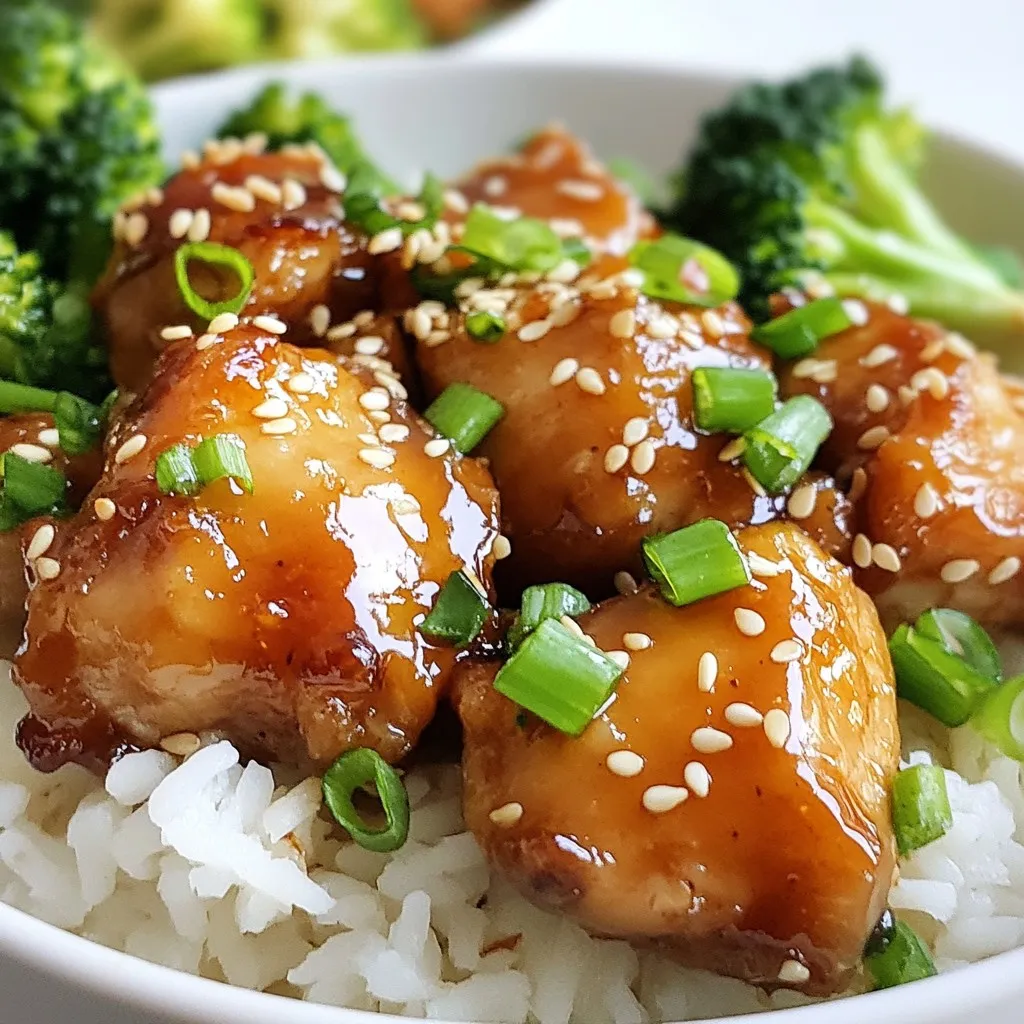
Craving a quick, tasty meal? You’ll love these Sticky Honey Chicken Rice Bowls! Packed with flavor and so easy to...
READ MORE →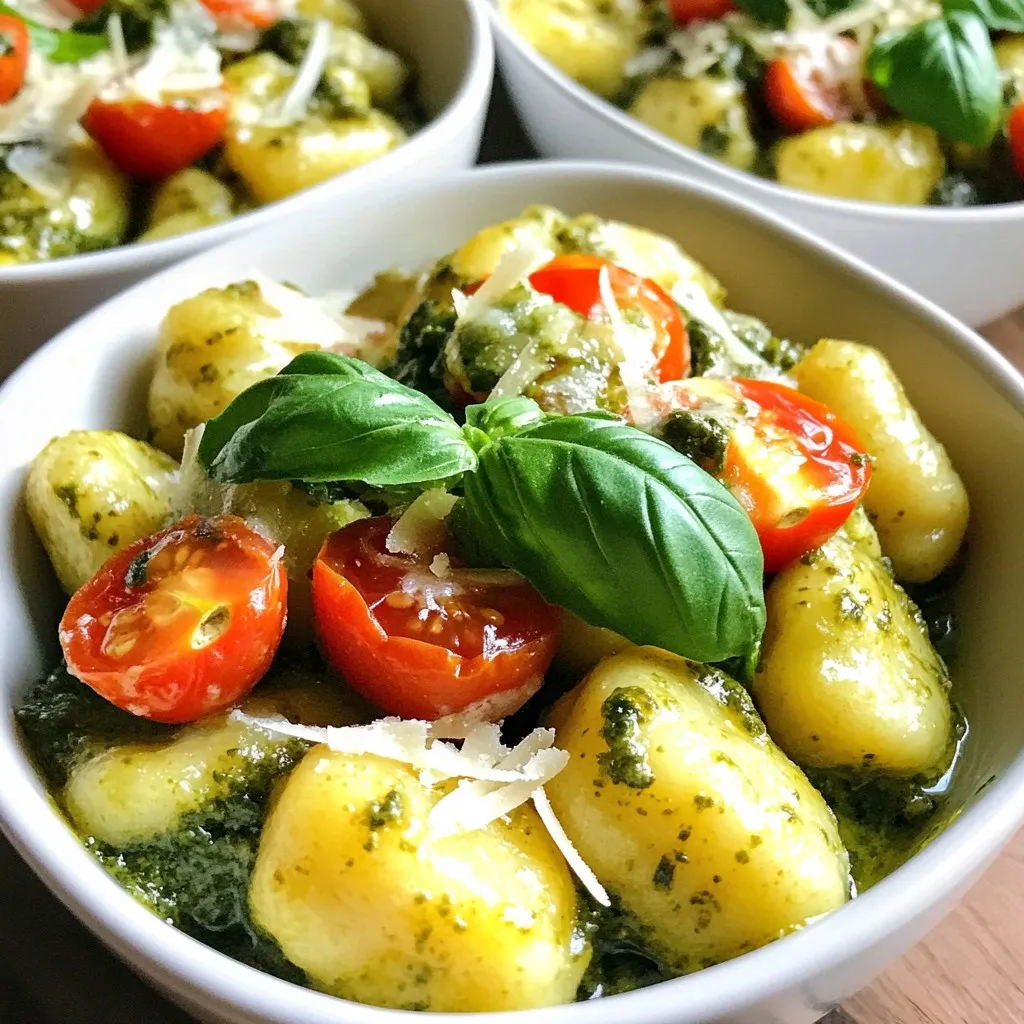
If you’re craving a warm, savory meal, you’ve found it! Creamy Pesto Gnocchi with Spinach is the perfect comfort food....
READ MORE →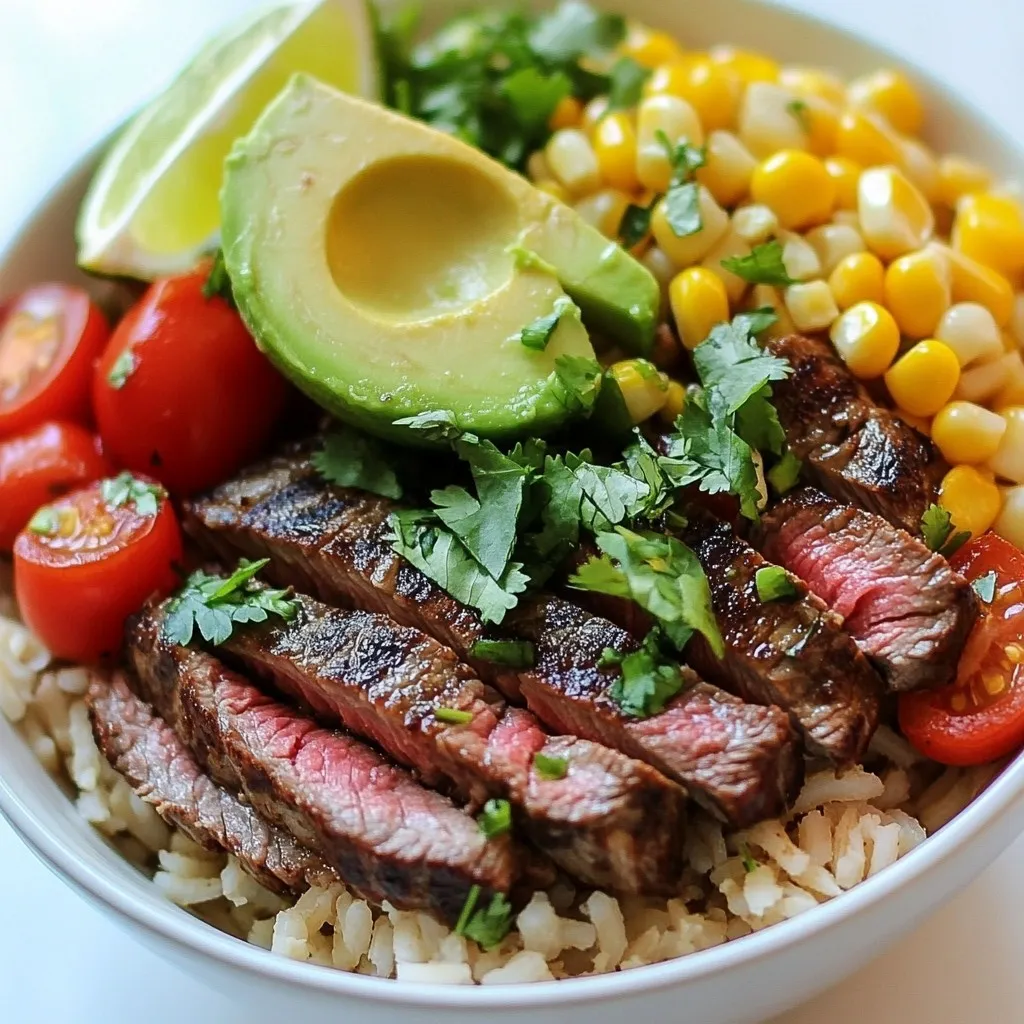
Craving a fresh and tasty meal? My Cilantro Lime Steak Bowls are the answer! They combine juicy steak, zesty lime,...
READ MORE →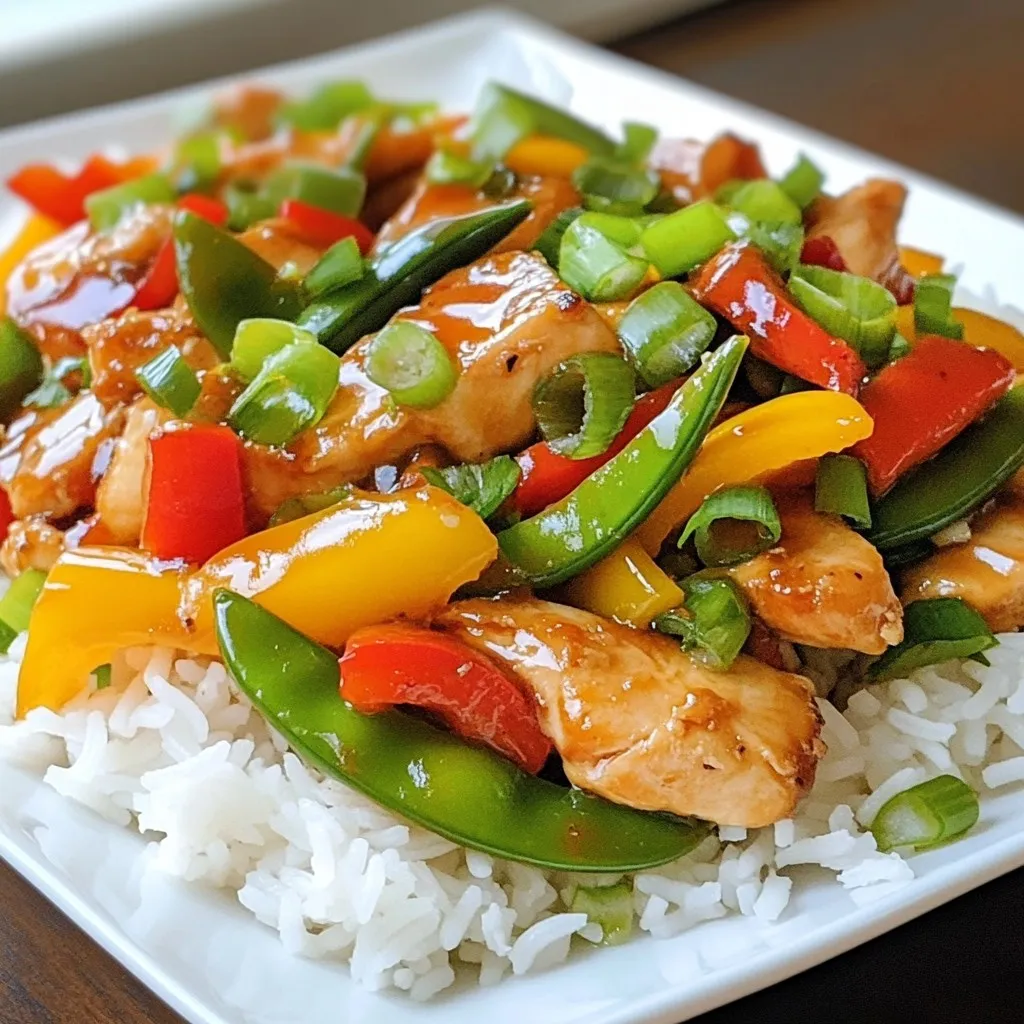
Looking for a quick and tasty meal? My Quick Chicken Stir-Fry is your answer! This simple recipe brings juicy chicken...
READ MORE →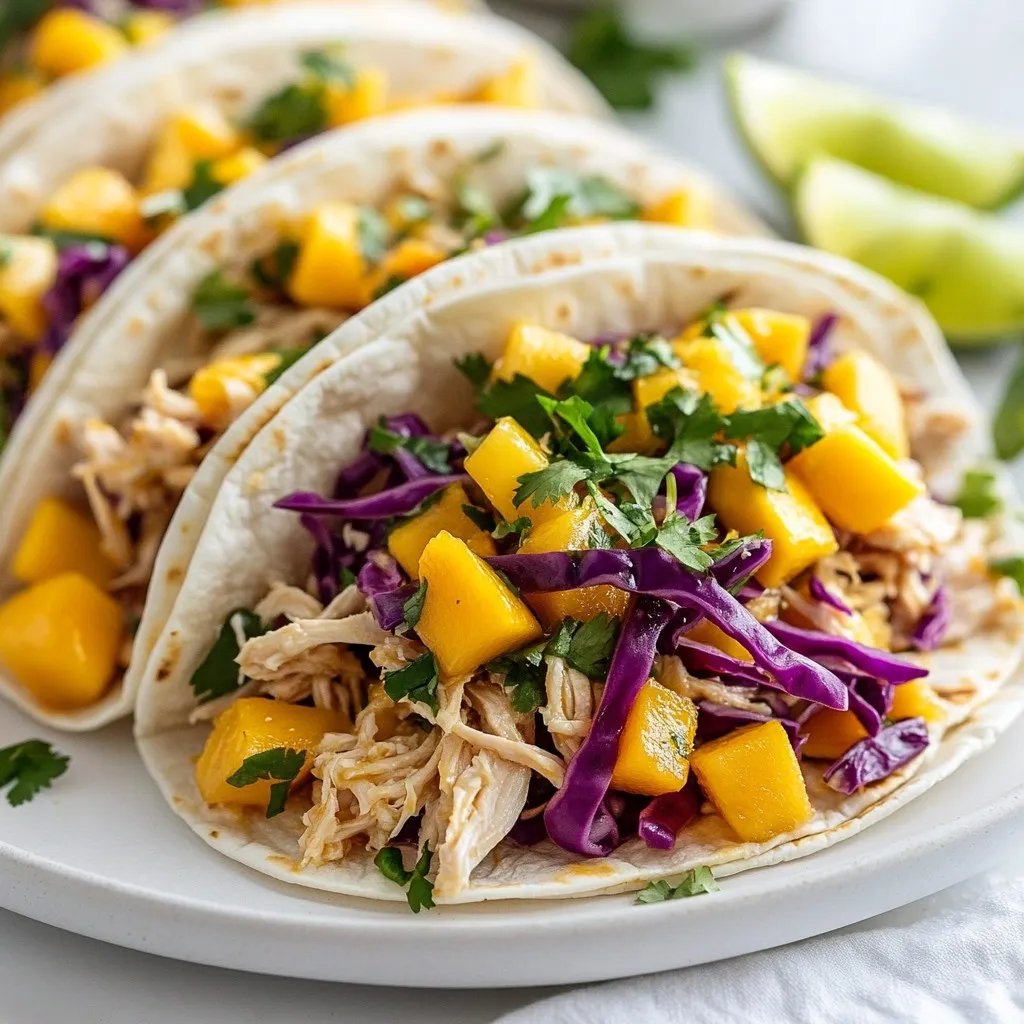
Craving a quick and tasty meal? These Coconut Lime Chicken Tacos are your answer. Packed with zingy flavor and fresh...
READ MORE →