DINNER
Honey Sriracha Glazed Salmon Flavorful and Simple Meal
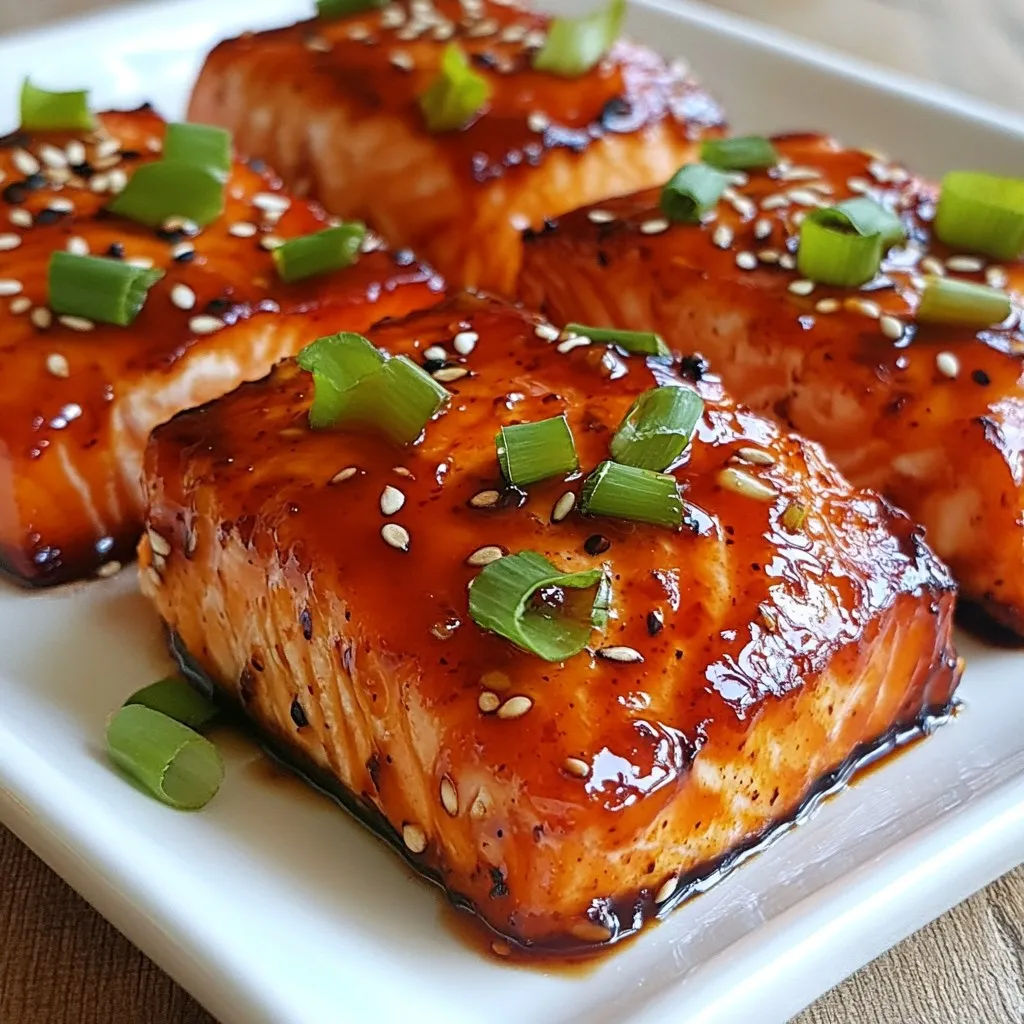
Looking for a quick, tasty meal? My Honey Sriracha Glazed Salmon is the perfect dish for you! It combines sweet...
READ MORE →Explore our collection of dinner recipes
Looking for a quick, tasty meal? My Honey Sriracha Glazed Salmon is the perfect dish for you! It combines sweet...
READ MORE →
Are you ready to elevate your taco nights? My Chicken Street Tacos recipe is flavorful, simple, and perfect for any...
READ MORE →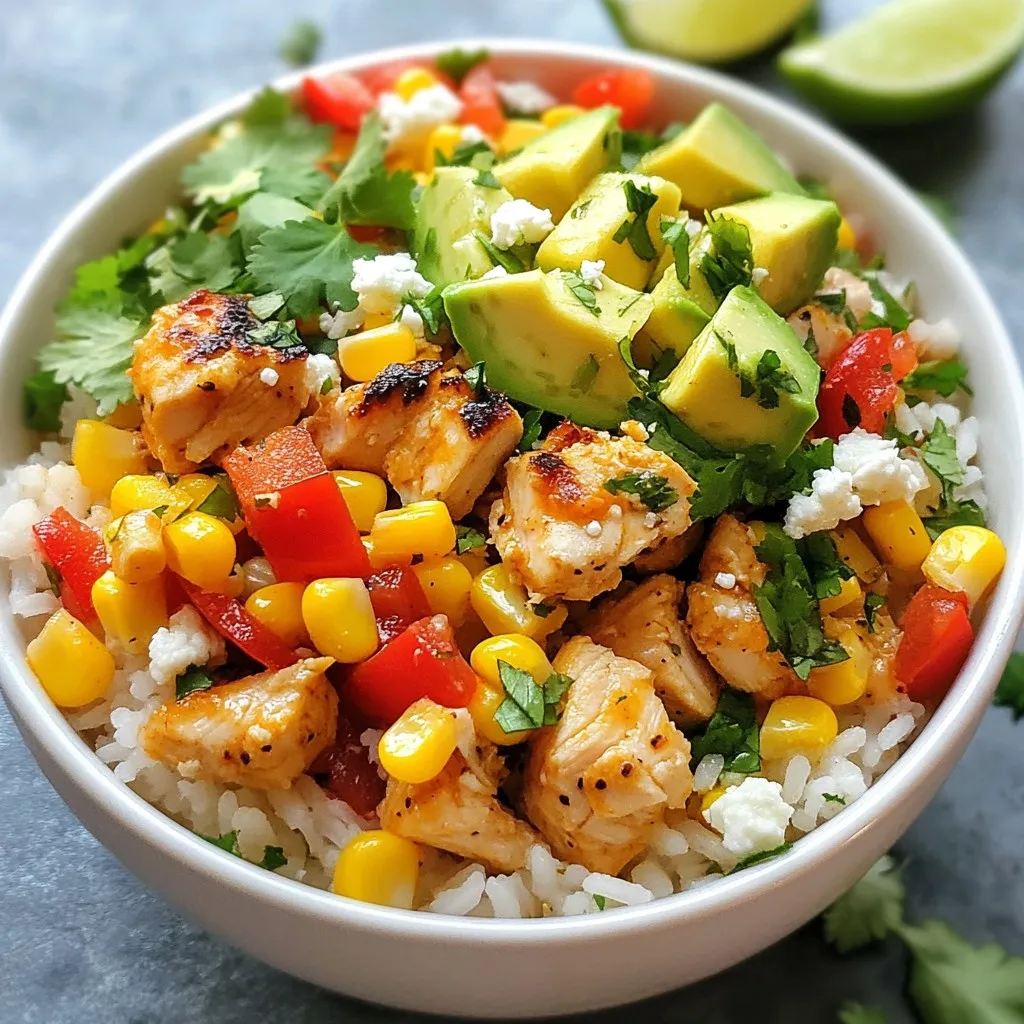
Are you ready to spice up your dinner routine? In this Savory Street Corn Chicken Rice Bowl Recipe Guide, I’ll...
READ MORE →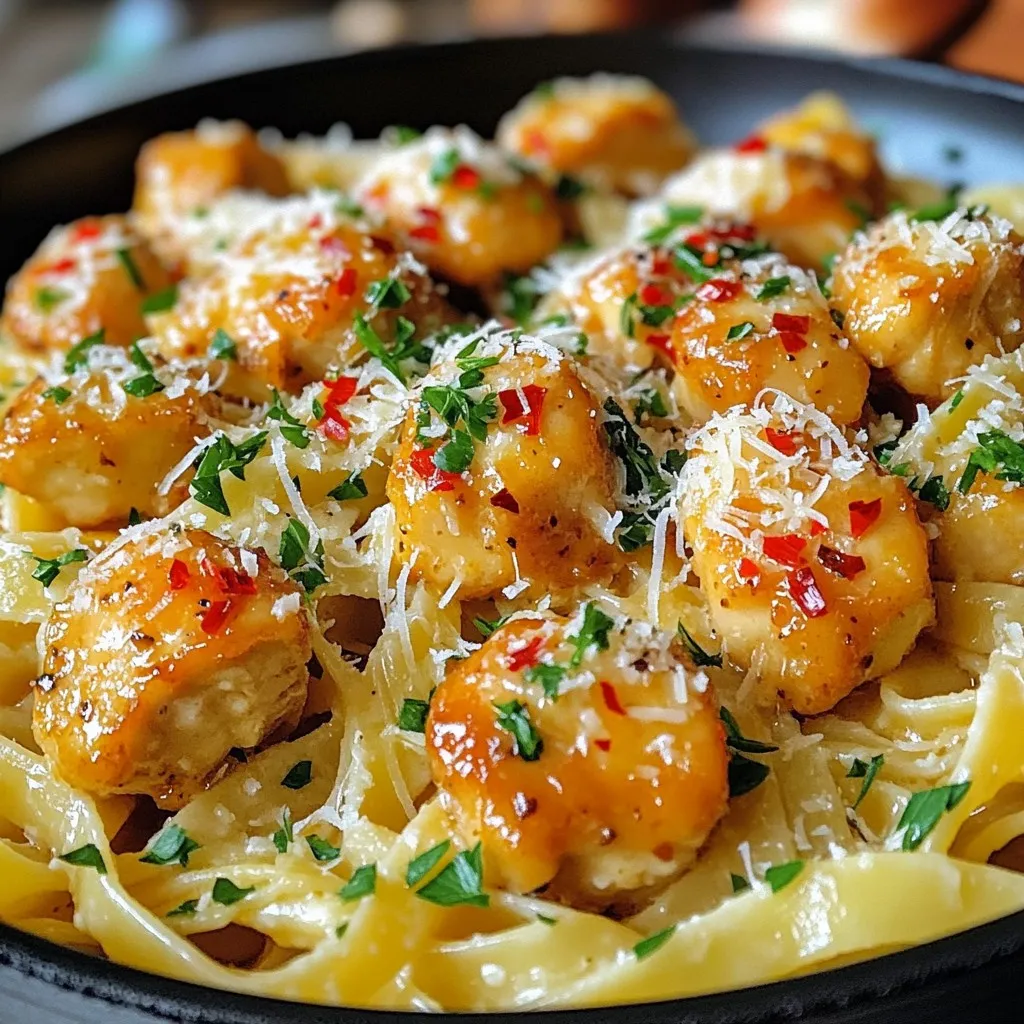
Craving a quick and tasty meal? Garlic Butter Chicken Bites with Pasta is your answer! This dish combines tender chicken...
READ MORE →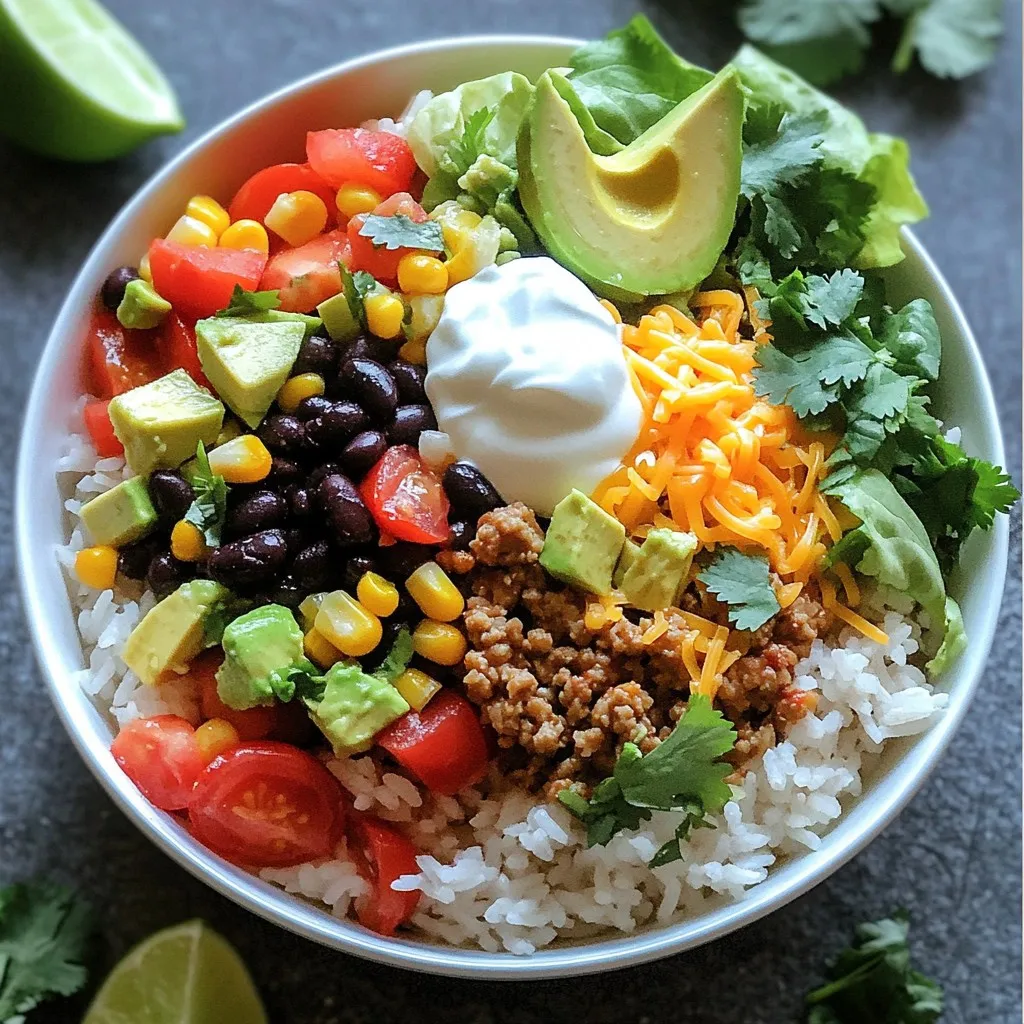
If you’re craving a meal that’s both tasty and filling, the Taco Rice Bowl is for you! This dish combines...
READ MORE →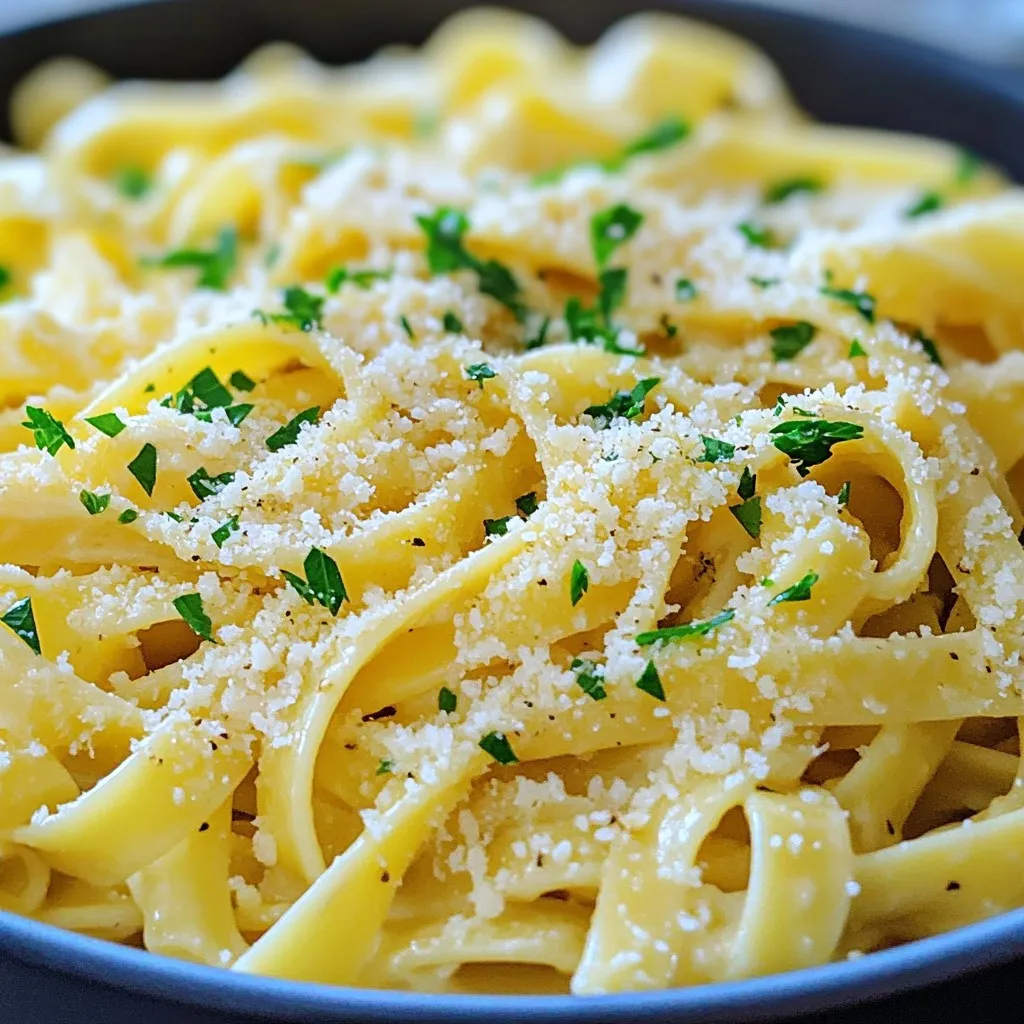
If you crave a dish that’s rich, creamy, and bursting with flavor, you’ve found it! Garlic Parmesan Pasta is a...
READ MORE →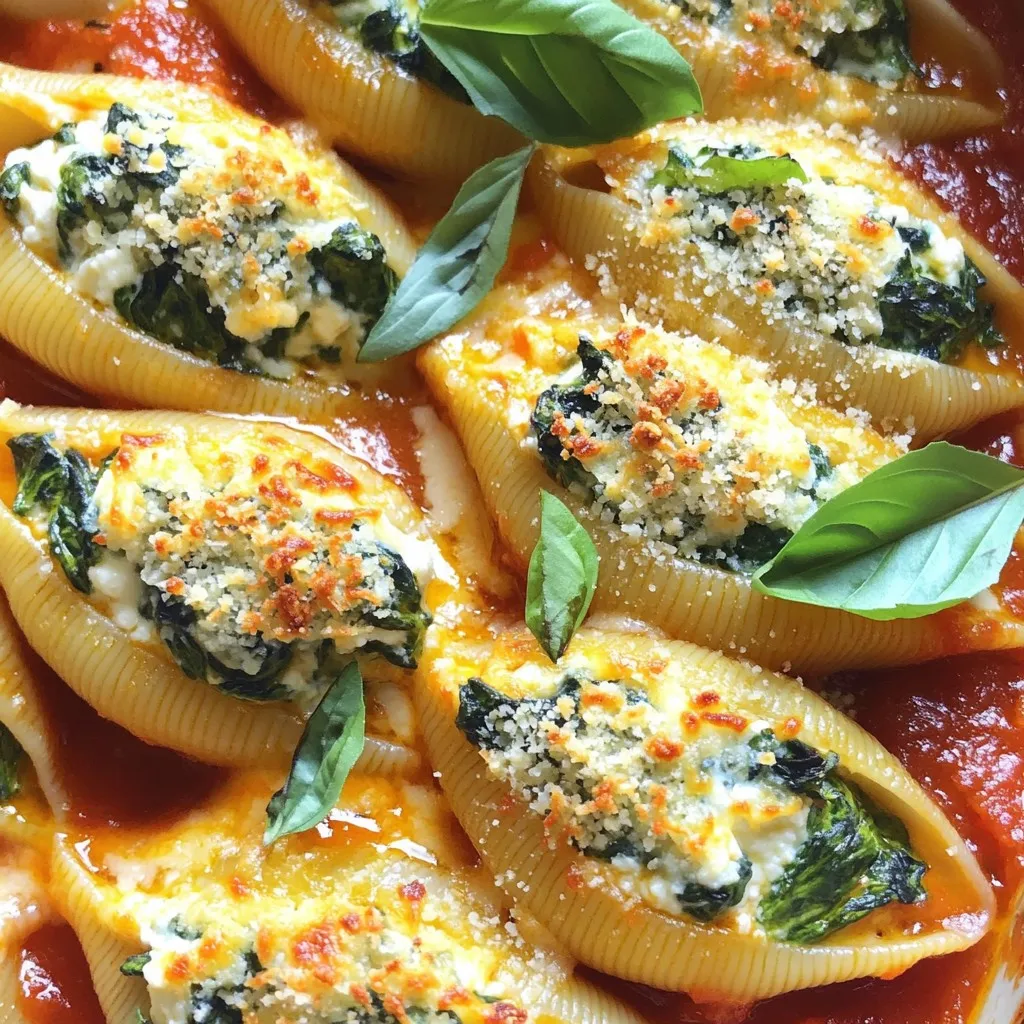
Are you ready to make a dish that impresses? These savory spinach and ricotta stuffed shells are a feast for...
READ MORE →
Are you ready to make a dish your family will love? These Cheesy Ground Beef Enchiladas are quick, easy, and...
READ MORE →
Craving a cozy, mouthwatering soup that practically makes itself? You’re in the right place! My Crockpot Crack Potato Soup is...
READ MORE →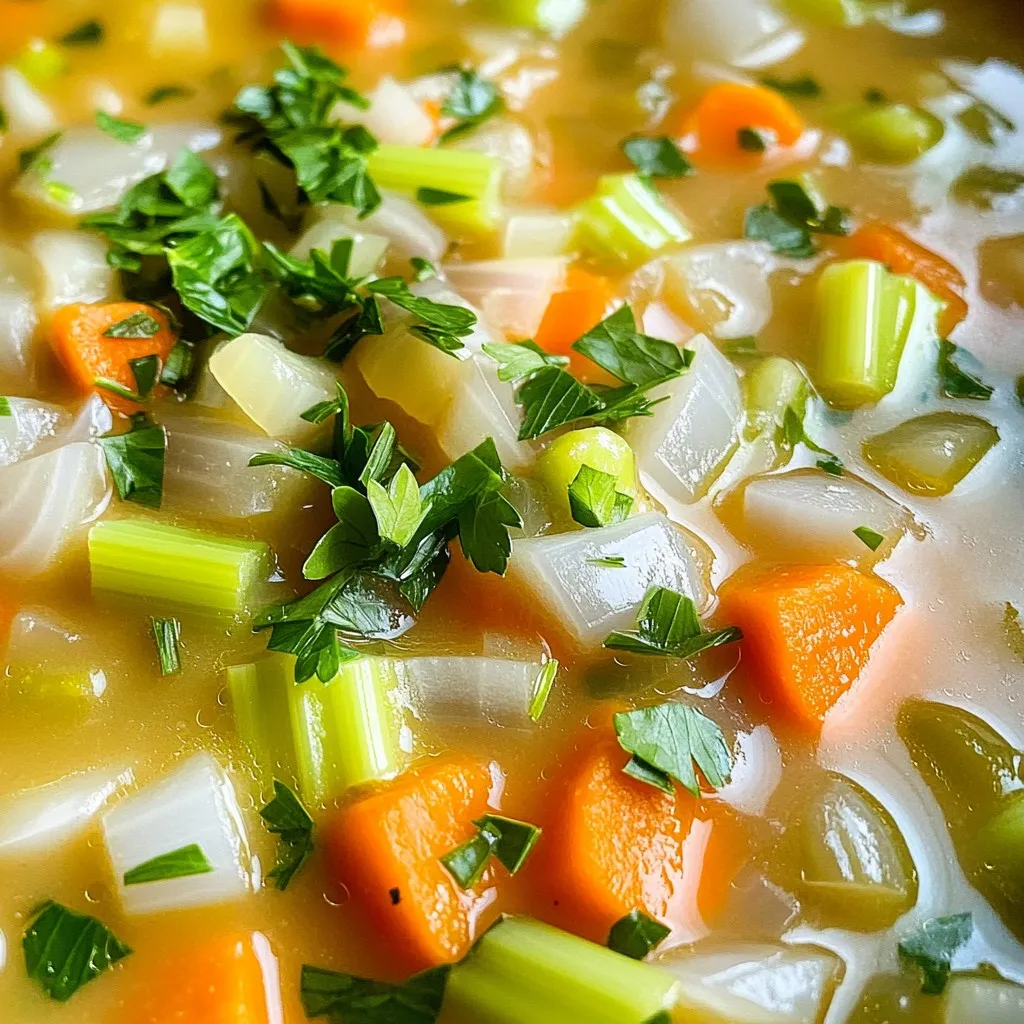
Looking for a warm bowl of comfort? This creamy vegetable soup is simple, tasty, and packed with fresh veggies. In...
READ MORE →