DINNER
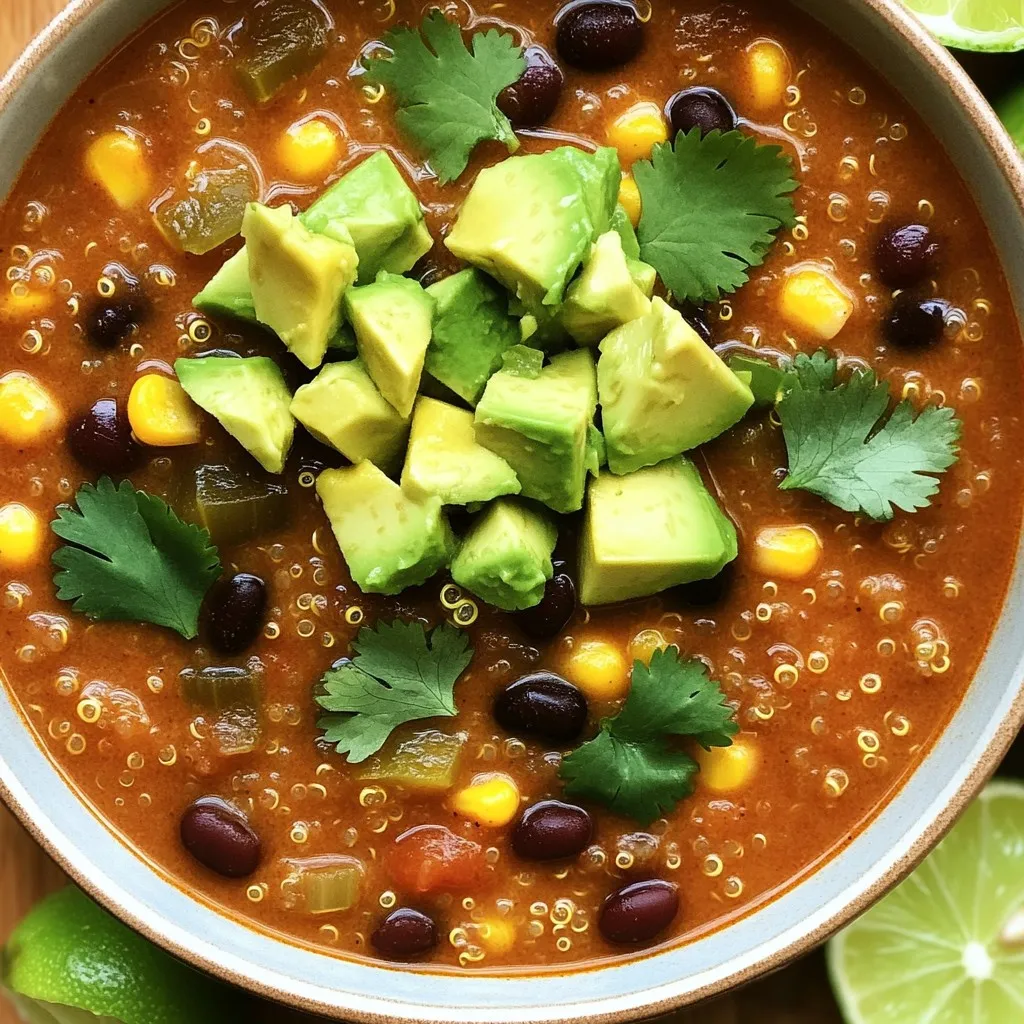
Savory Slow Cooker Quinoa Enchilada Soup Recipe
Looking for a warm, tasty dinner? This Savory Slow Cooker Quinoa Enchilada Soup is perfect for you! It combines rich...
READ MORE →Explore our collection of dinner recipes
Looking for a warm, tasty dinner? This Savory Slow Cooker Quinoa Enchilada Soup is perfect for you! It combines rich...
READ MORE →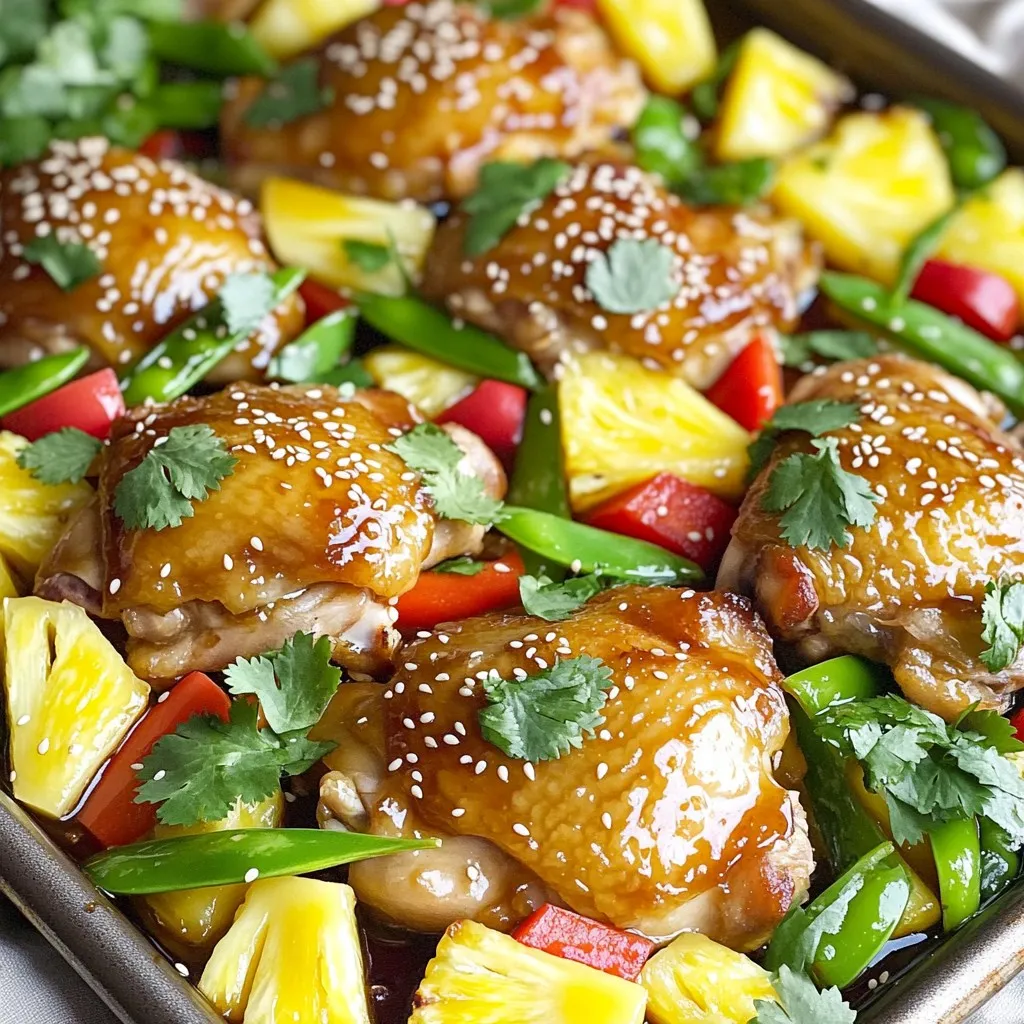
Are you ready for a meal that’s simple, tasty, and full of flavor? This Sheet-Pan Teriyaki Pineapple Chicken recipe combines...
READ MORE →
Are you craving a simple and delicious meal? This One-Pot Thai Coconut Curry Noodles dish is your solution. It’s quick,...
READ MORE →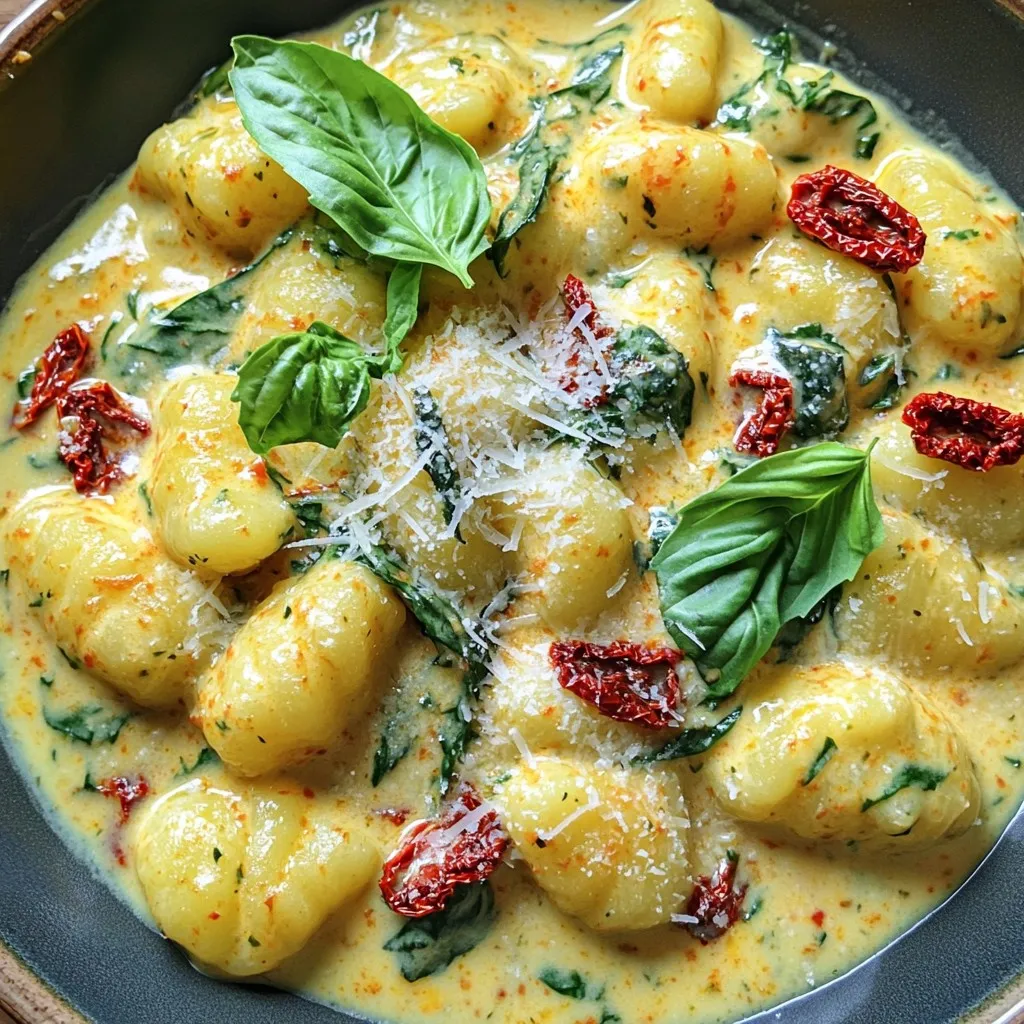
If you’re craving a quick and tasty meal, you’re in the right place! Today, I’m excited to share my Minute...
READ MORE →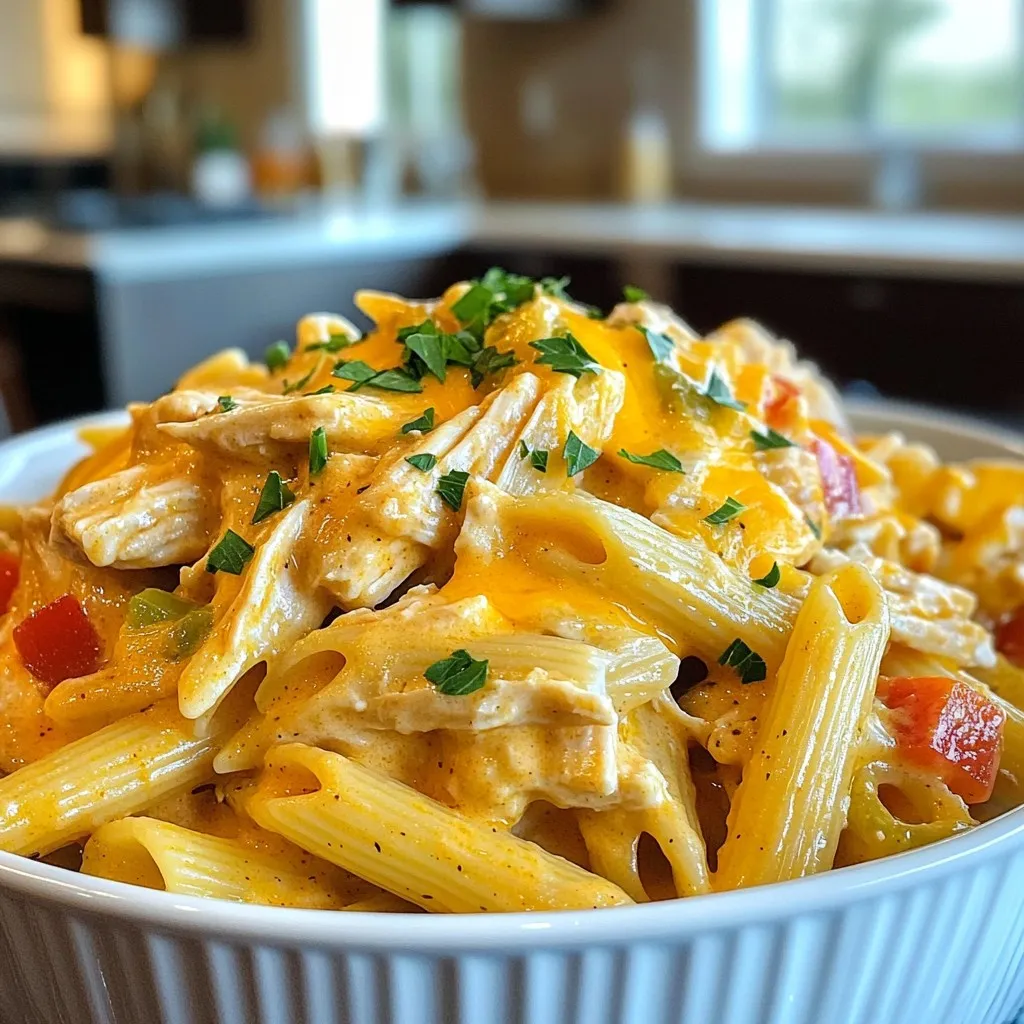
Craving a cozy meal that’s bursting with flavor? Let me introduce you to my Slow Cooker Creamy Cajun Chicken Pasta!...
READ MORE →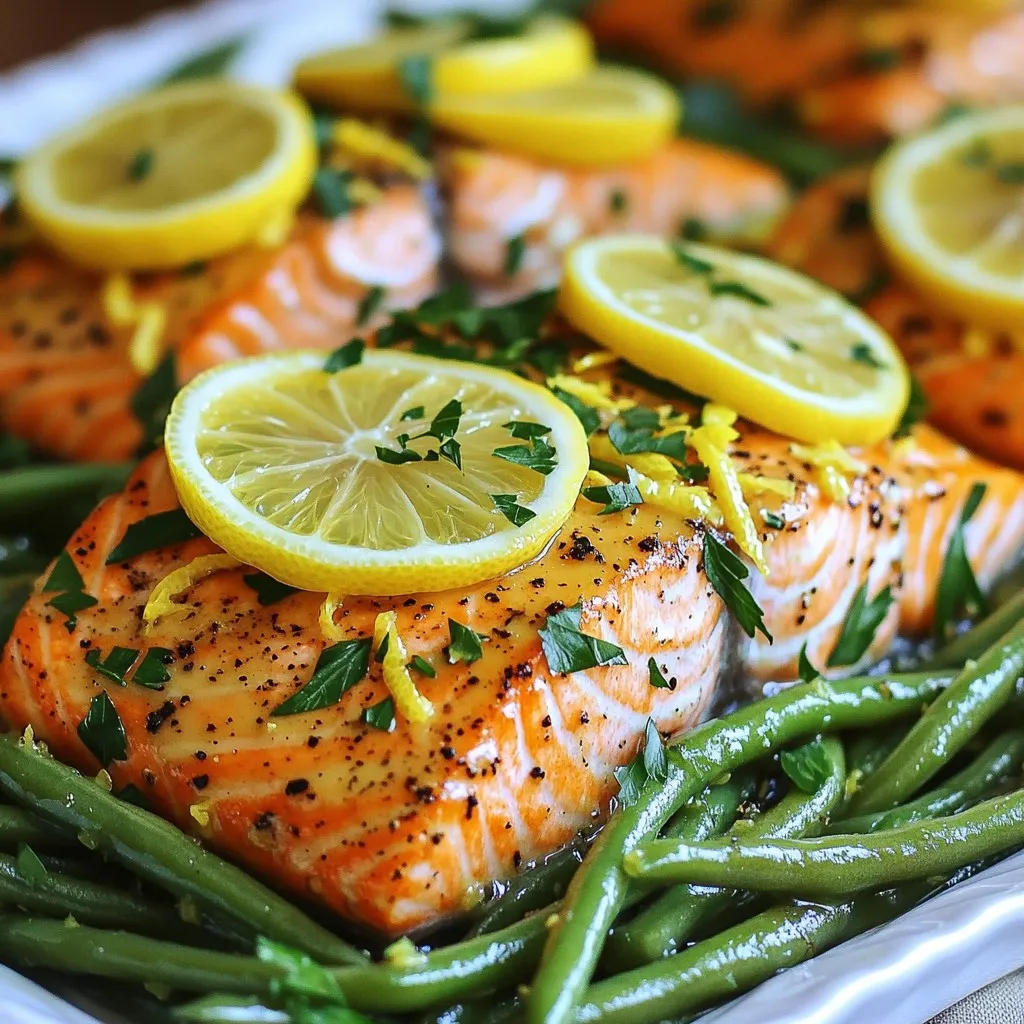
Looking for a quick and tasty dinner? My Lemon Pepper Salmon & Green Beans Sheet Pan Delight is perfect for...
READ MORE →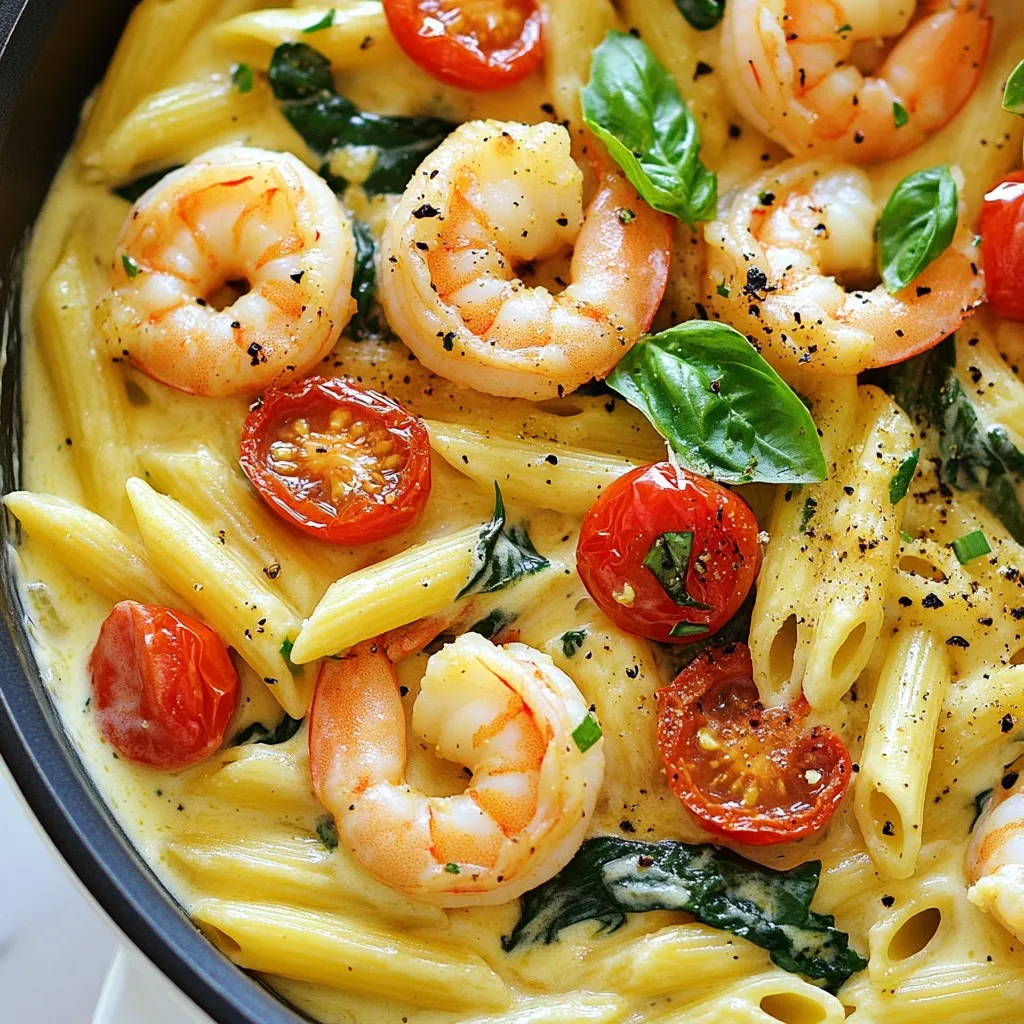
Looking for a quick, tasty dinner? One-Pot Creamy Tuscan Shrimp is your answer! This easy weeknight meal packs bold flavors...
READ MORE →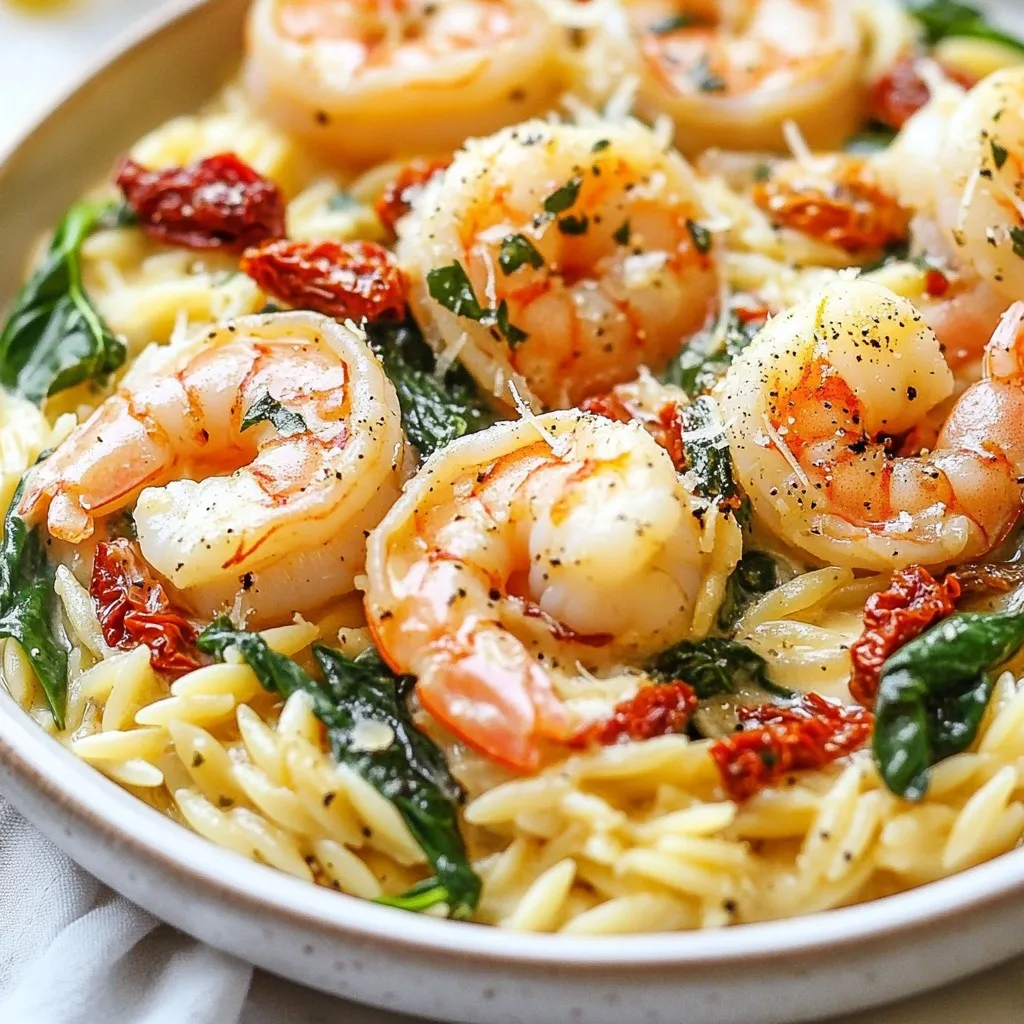
Welcome to the world of creamy comfort! In this post, I’ll guide you in making a Creamy Tuscan Shrimp Orzo...
READ MORE →
Are you ready to whip up a meal that everyone will love? My Instant Pot Creamy Chicken Alfredo is quick,...
READ MORE →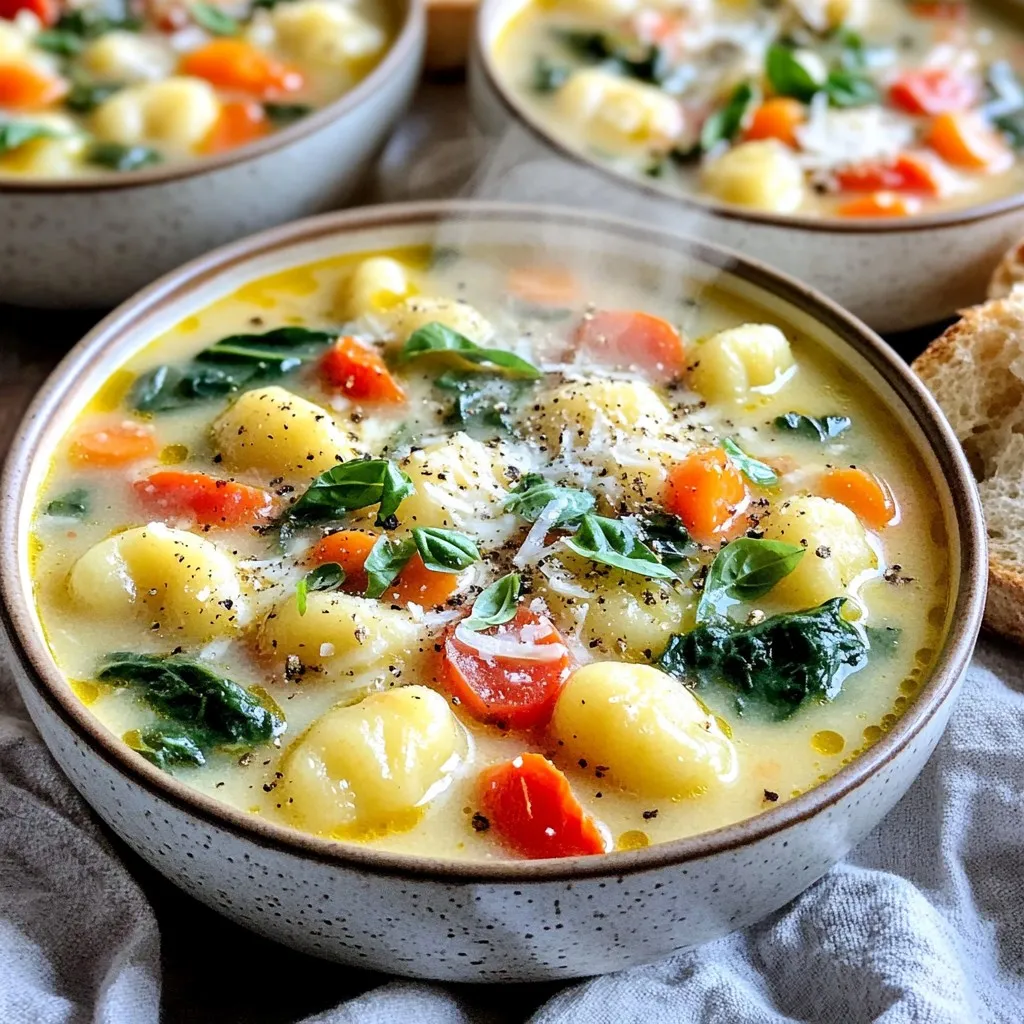
Looking for a cozy, flavorful meal that practically cooks itself? My Slow Cooker Tuscan Gnocchi Soup is just what you...
READ MORE →