DINNER
Minute Chili Lime Tuna Rice Bowls Delicious Choice
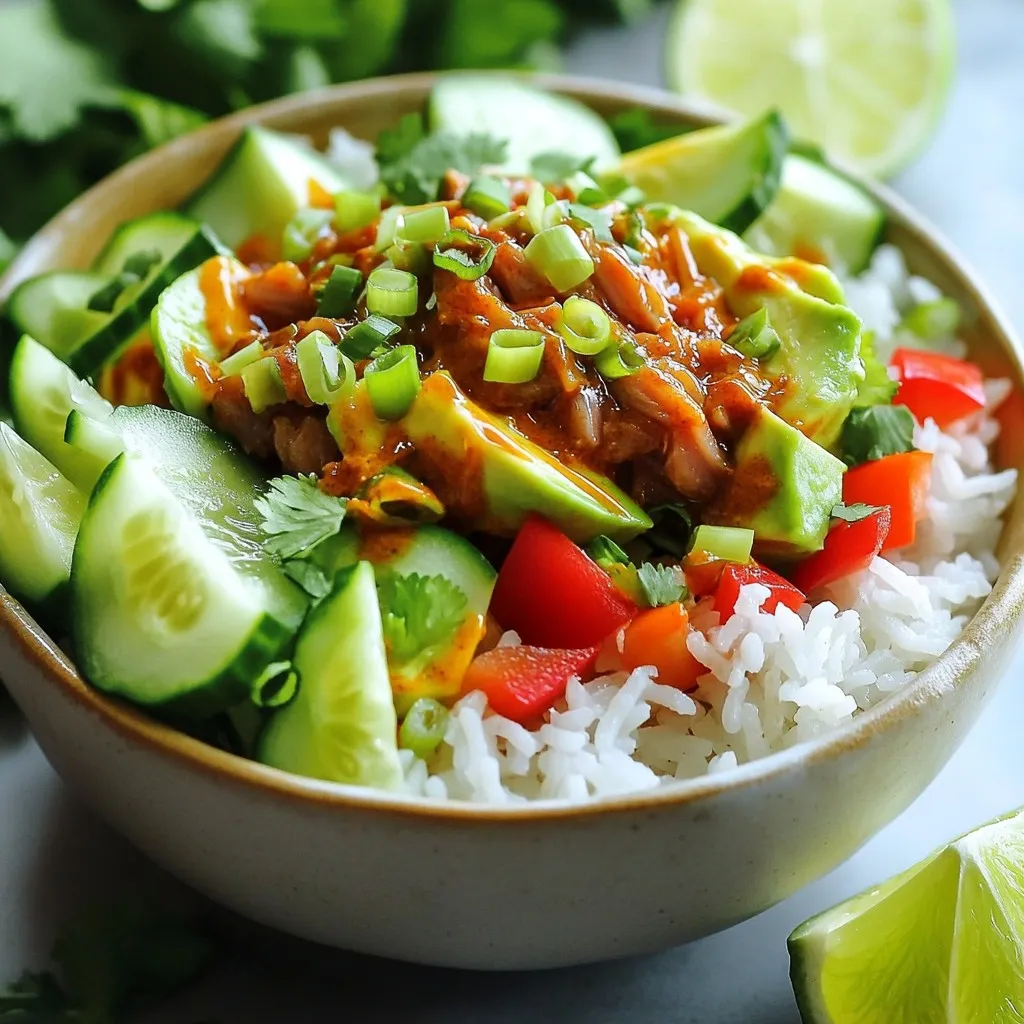
If you’re short on time but crave a tasty meal, try my Minute Chili Lime Tuna Rice Bowls. They are...
READ MORE →Explore our collection of dinner recipes
If you’re short on time but crave a tasty meal, try my Minute Chili Lime Tuna Rice Bowls. They are...
READ MORE →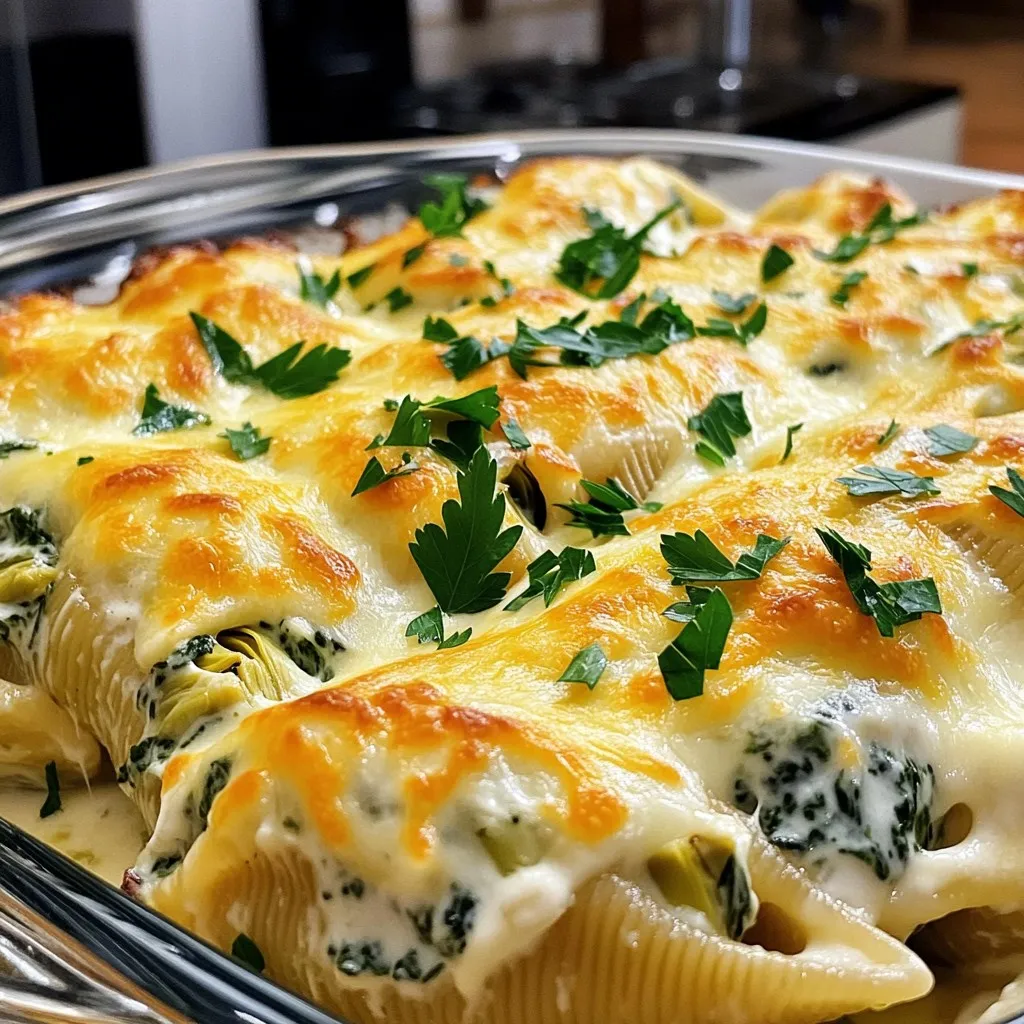
Get ready to impress your taste buds with my Creamy Spinach Artichoke Stuffed Shells Delight! This dish combines cheesy goodness...
READ MORE →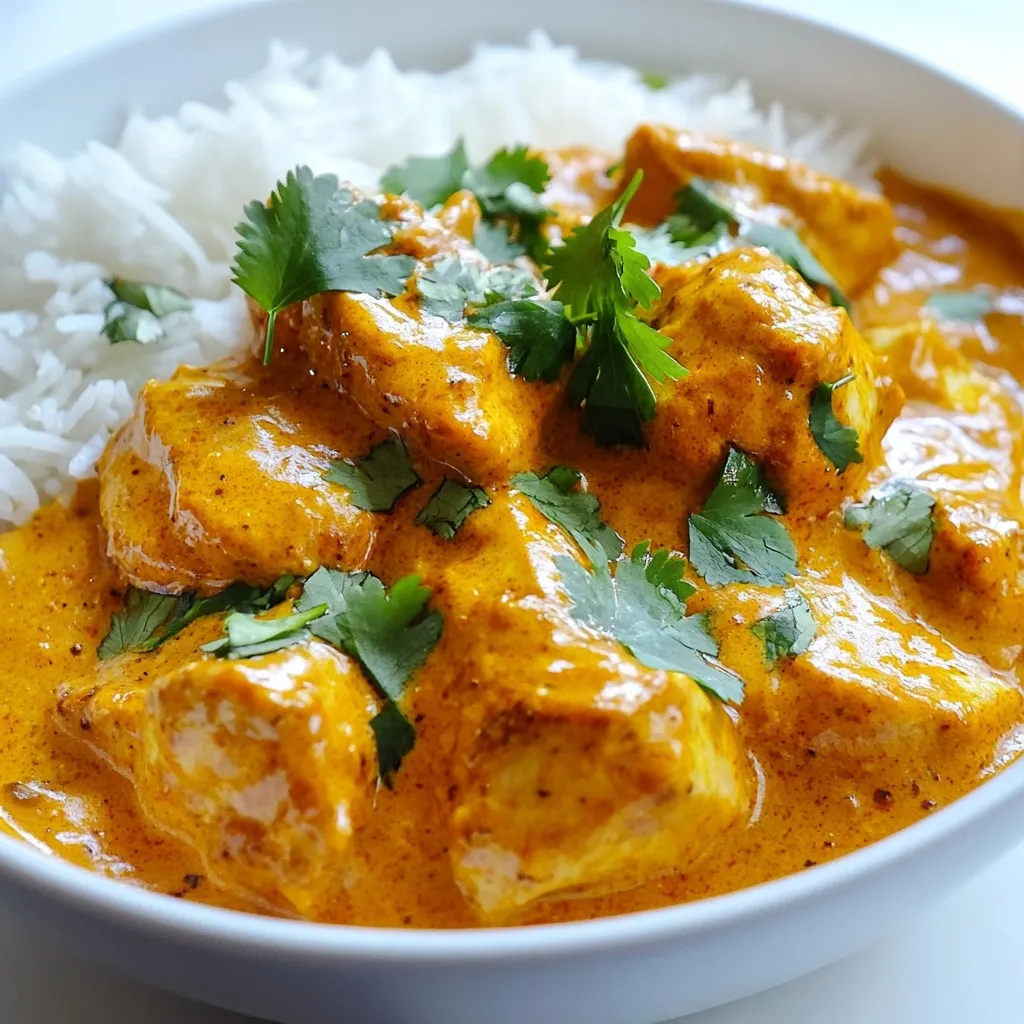
Are you ready to make a butter chicken that will delight your taste buds? This Game Changer Butter Chicken is...
READ MORE →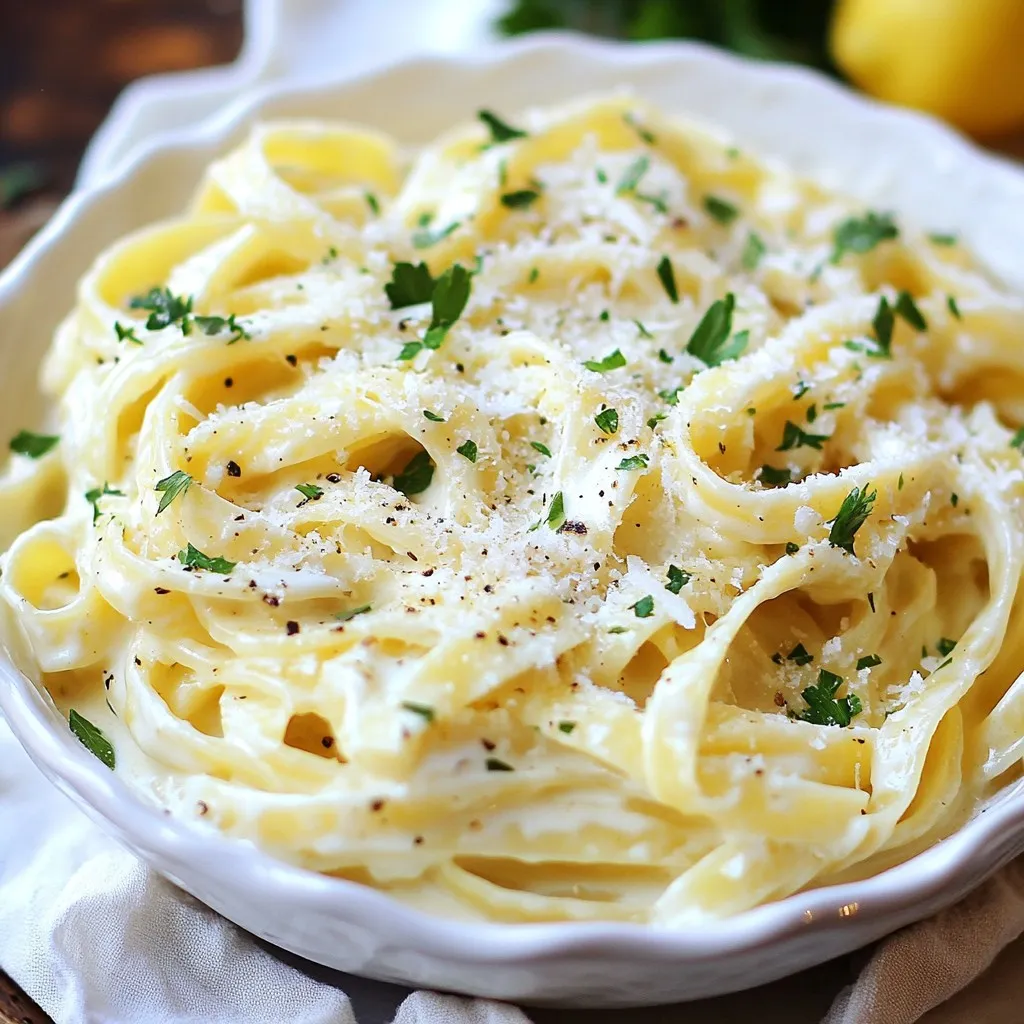
Are you looking for a quick and tasty meal? This One Pot Creamy Garlic Pasta is your answer! With just...
READ MORE →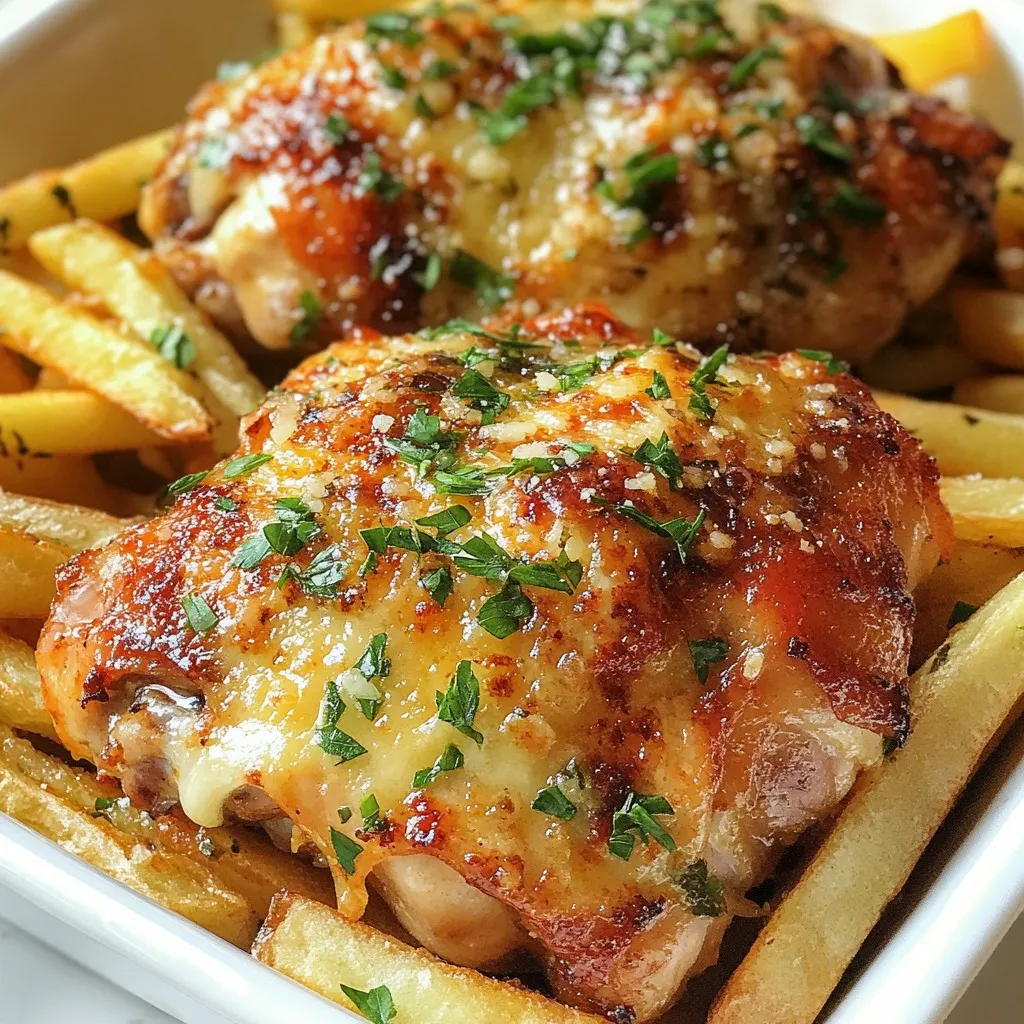
If you crave a meal that’s packed with flavor, look no further! My Spicy Garlic Parmesan Chicken and Fries Delight...
READ MORE →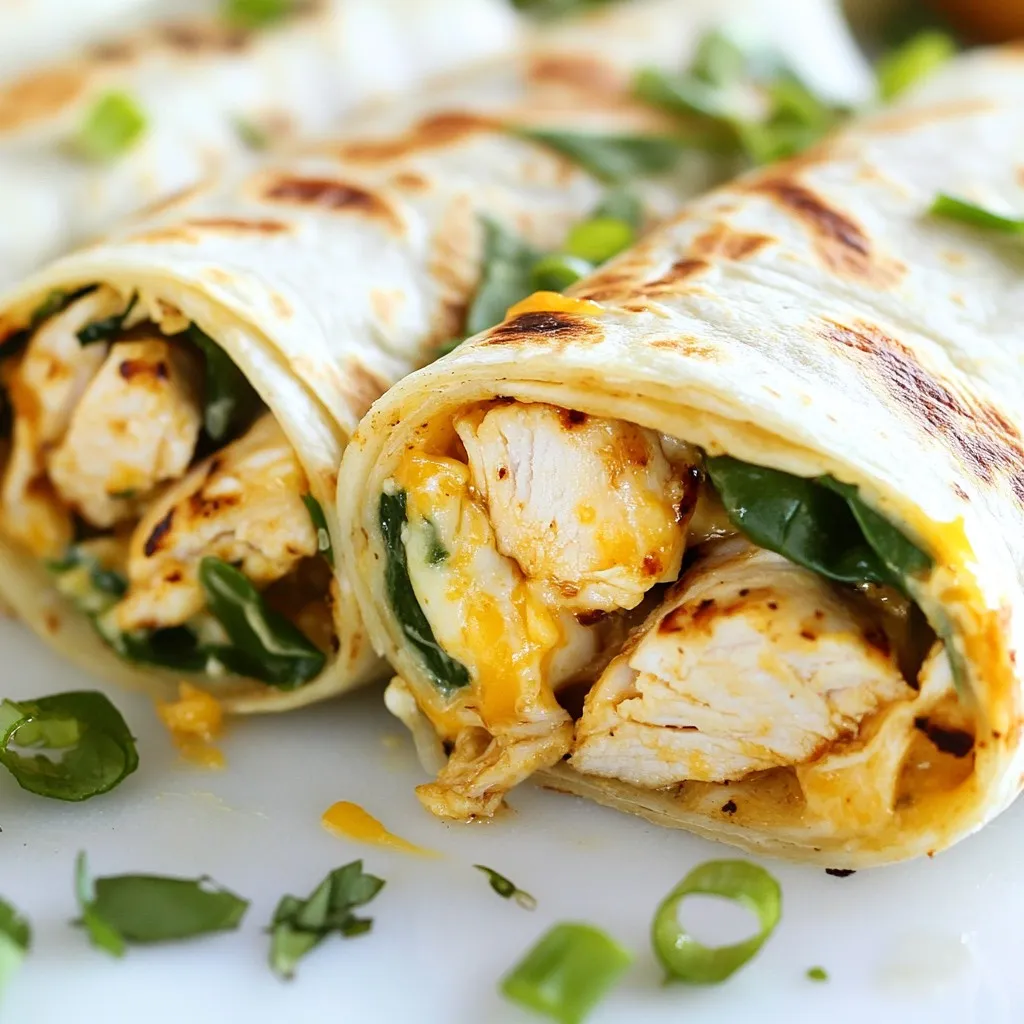
Are you ready to dive into a tasty meal that’s both easy and packed with flavor? Gooey Garlic Chicken Wraps...
READ MORE →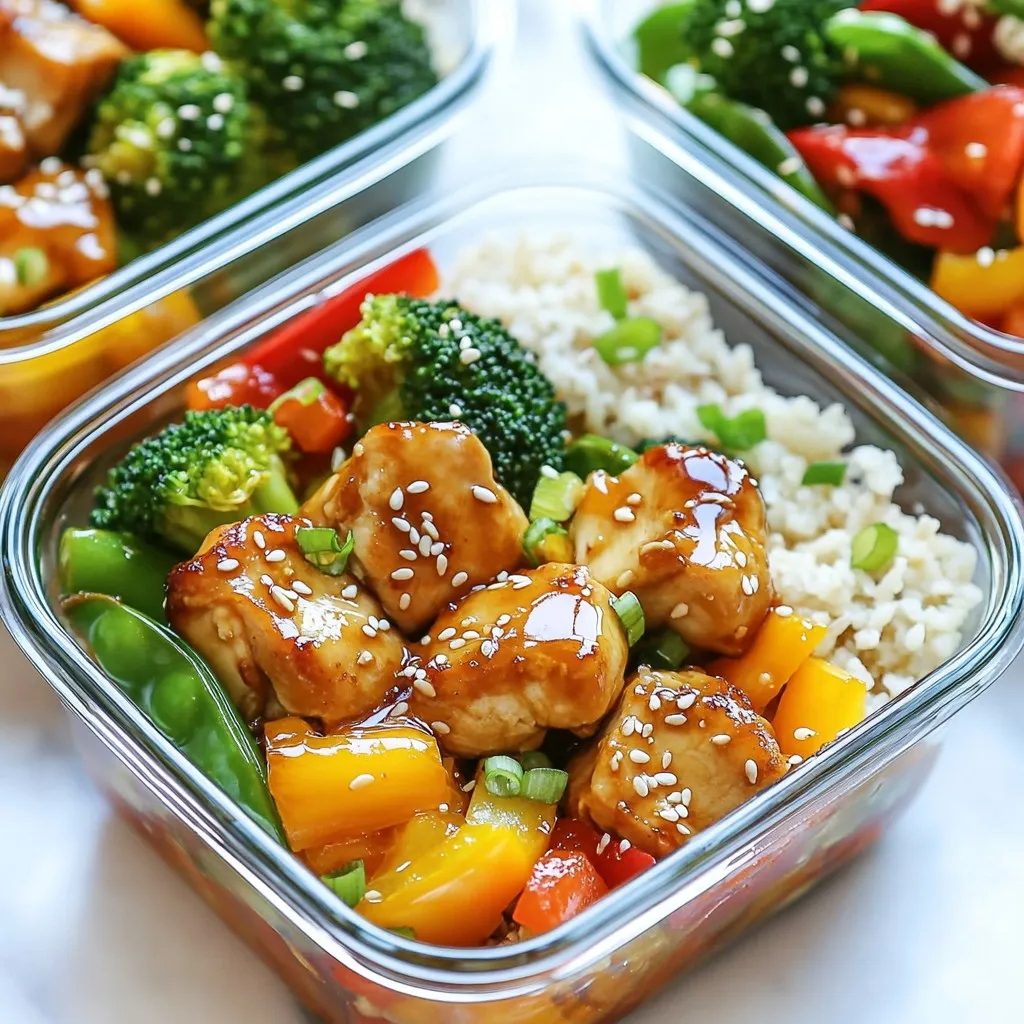
Looking for a tasty and healthy meal that’s easy to prep? Teriyaki Chicken Meal Prep Bowls are your answer! These...
READ MORE →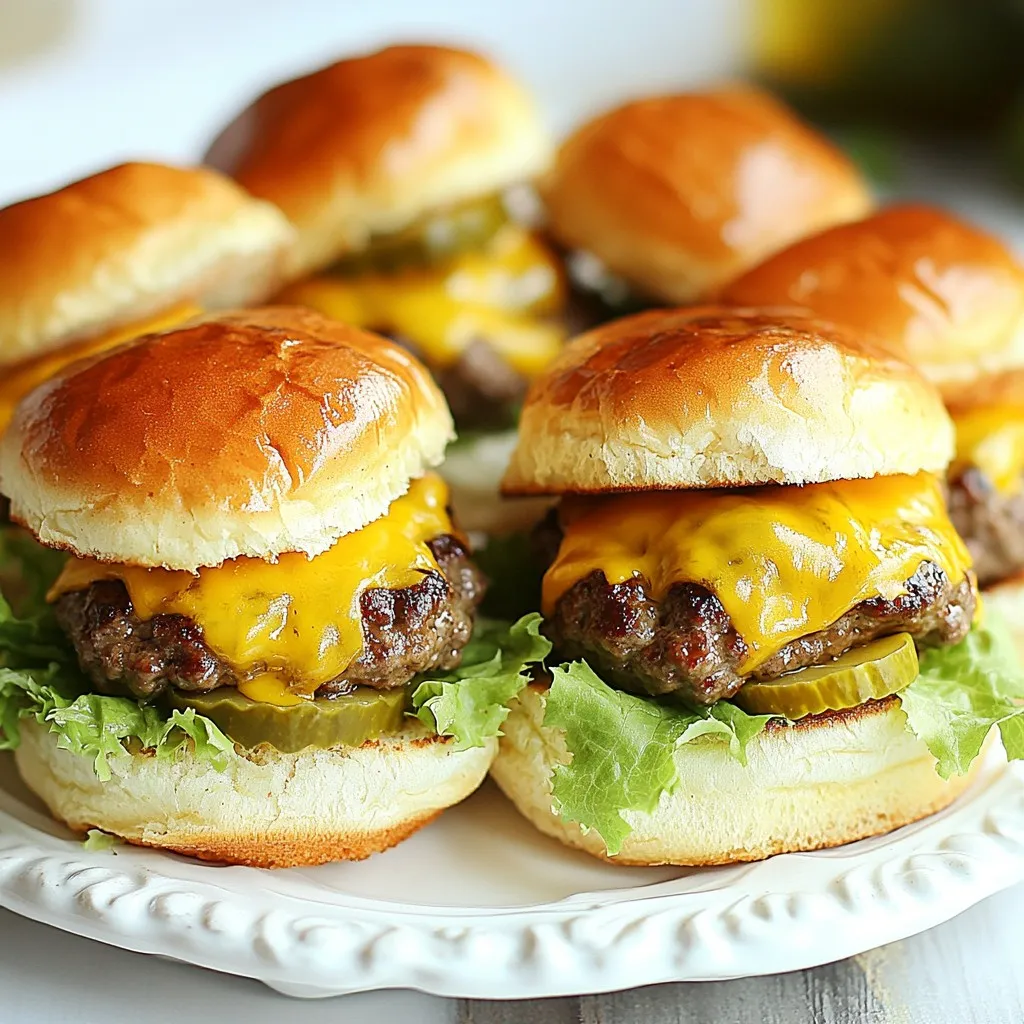
Looking for a crowd-pleasing dish for your next gathering? These gooey cheeseburger sliders are the perfect solution! With juicy beef,...
READ MORE →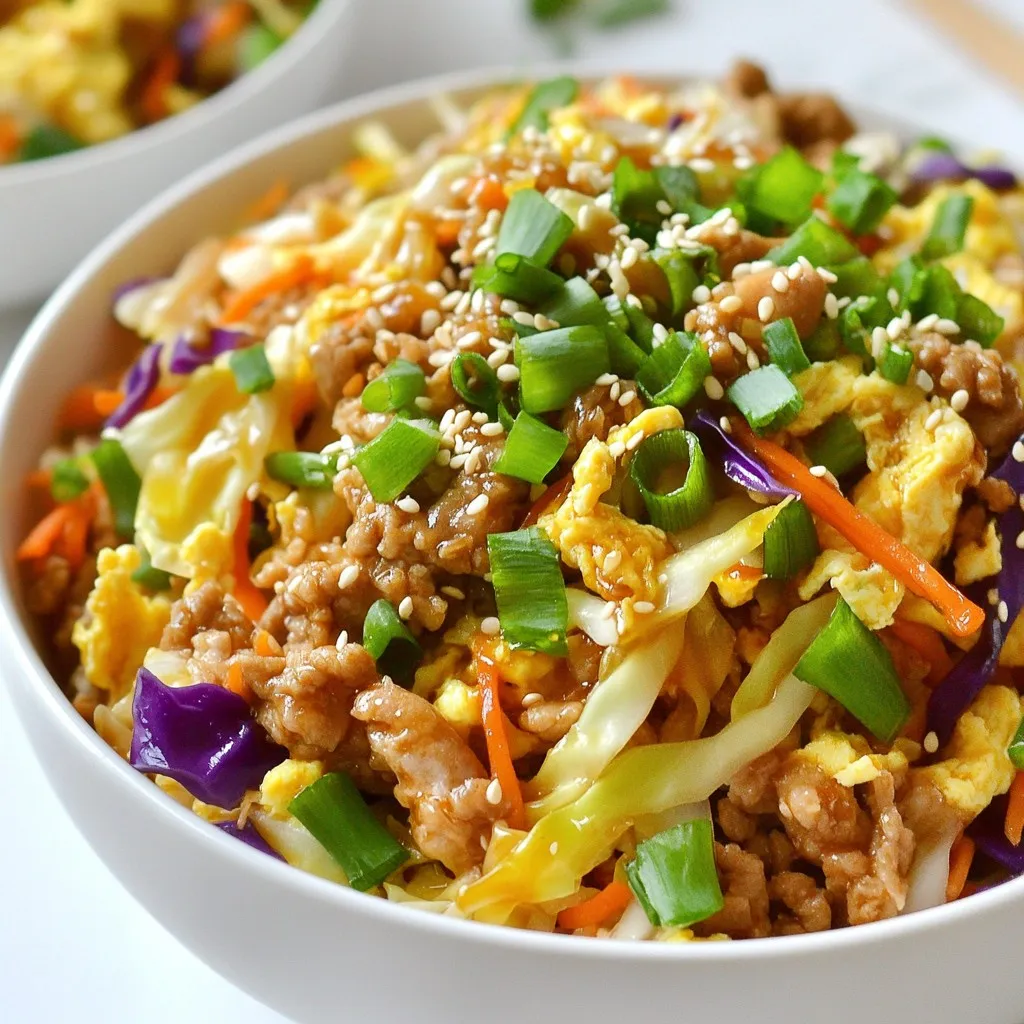
Looking for a quick and tasty meal idea? The Minute Egg Roll in a Bowl packs all the flavor of...
READ MORE →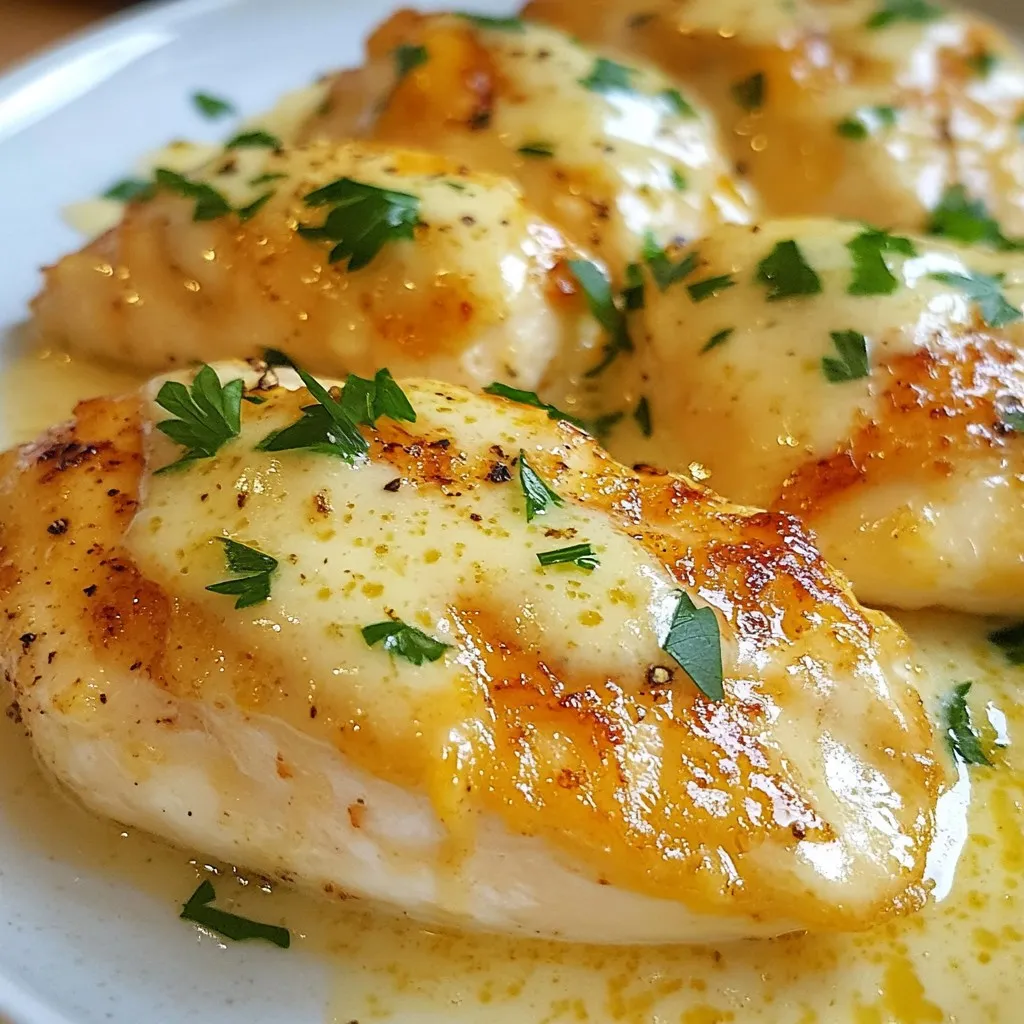
If you’re craving a quick and delicious meal, you’ve come to the right place! My Creamy Garlic Parmesan Chicken Skillet...
READ MORE →