DINNER
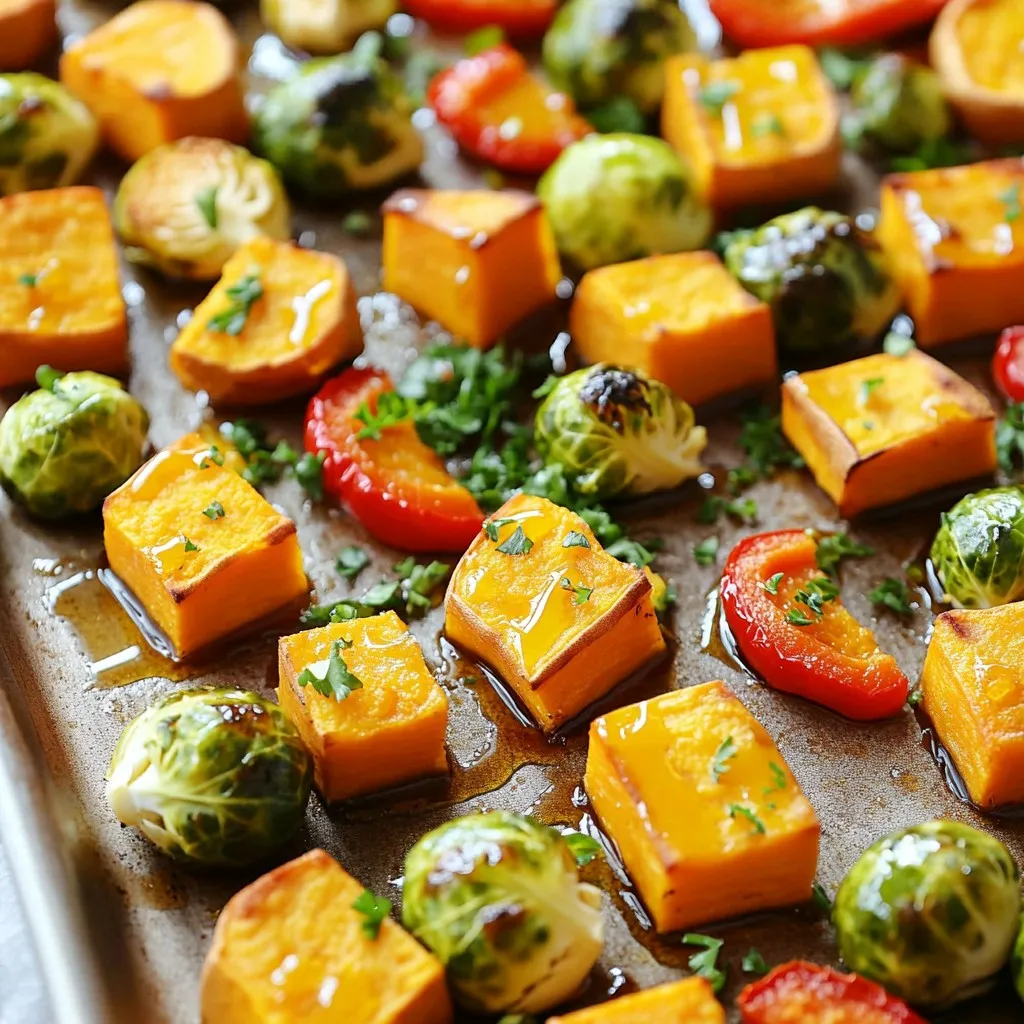
Sheet Pan Roasted Fall Veggies Healthy and Easy Dish
Get ready to savor the flavors of fall with my Sheet Pan Roasted Fall Veggies! This healthy and easy dish...
READ MORE →Explore our collection of dinner recipes
Get ready to savor the flavors of fall with my Sheet Pan Roasted Fall Veggies! This healthy and easy dish...
READ MORE →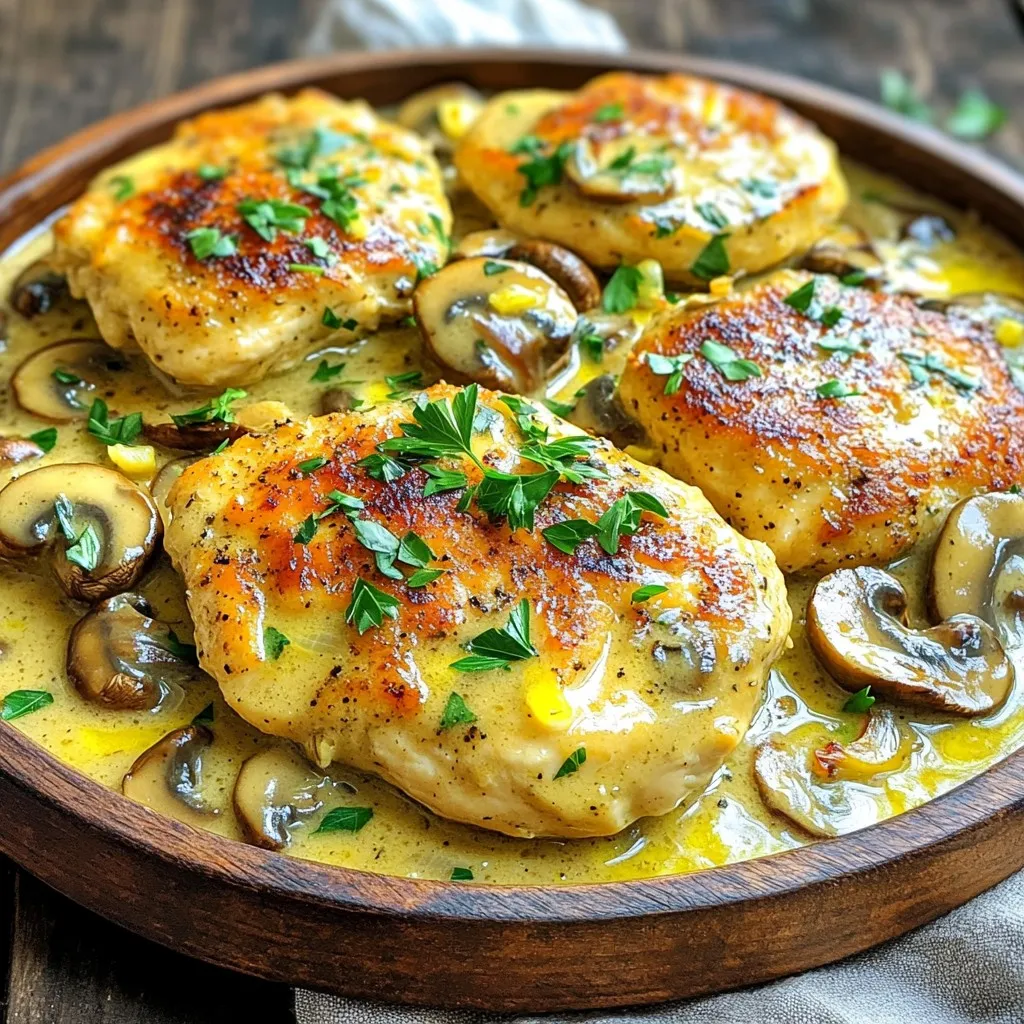
Get ready to impress your taste buds with my One-Pan Creamy Garlic Mushroom Chicken Cutlets Delight! This dish is rich,...
READ MORE →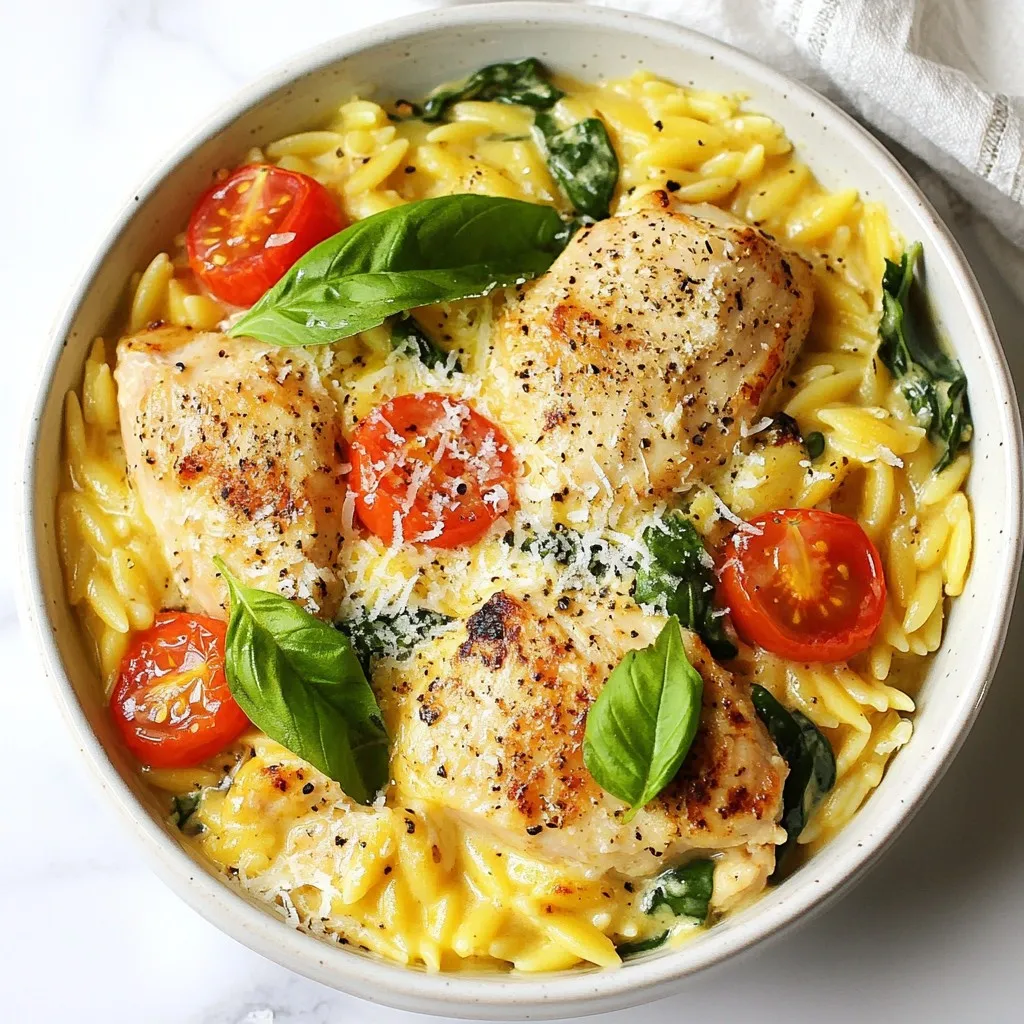
Are you ready to make a delicious One-Pot Creamy Tuscan Chicken Orzo? This meal is quick, tasty, and full of...
READ MORE →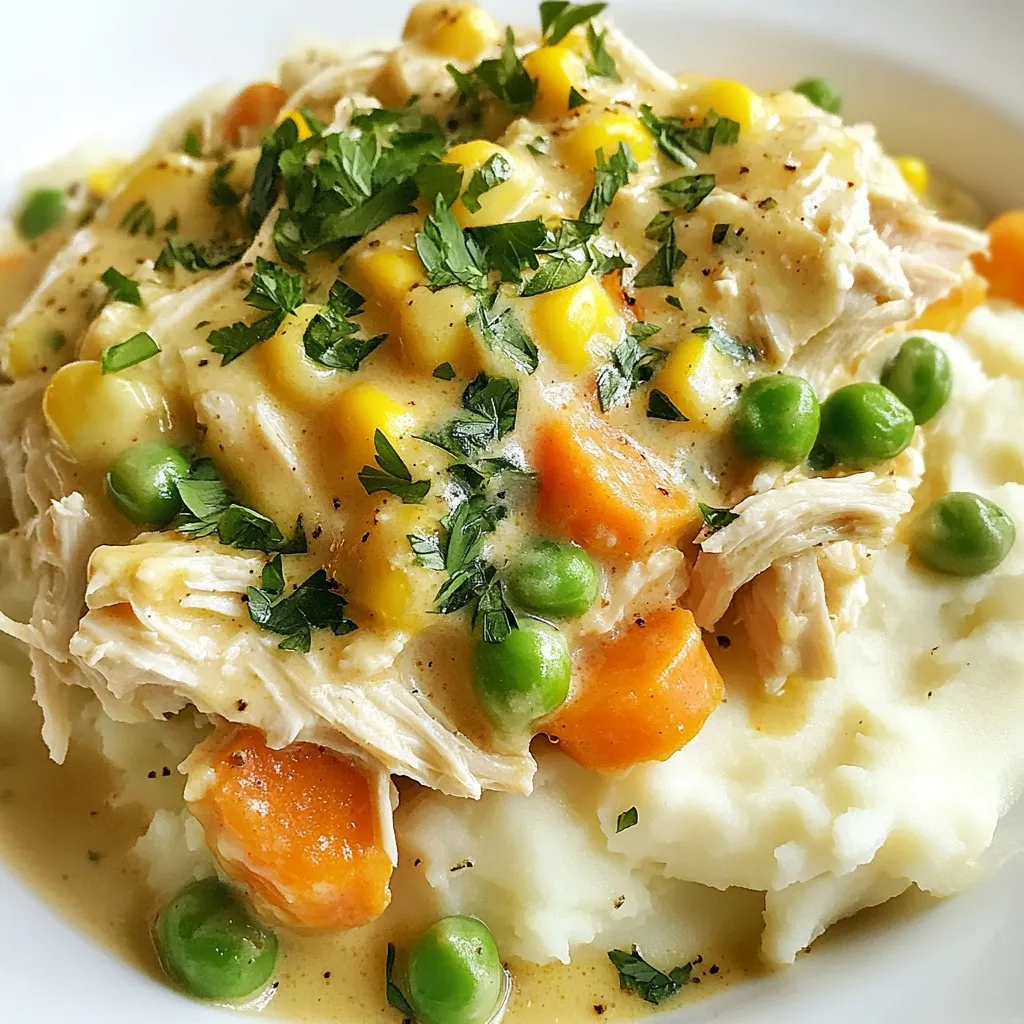
Looking for an easy, tasty meal? Creamy Ranch Crockpot Chicken is perfect for busy days! With just a few simple...
READ MORE →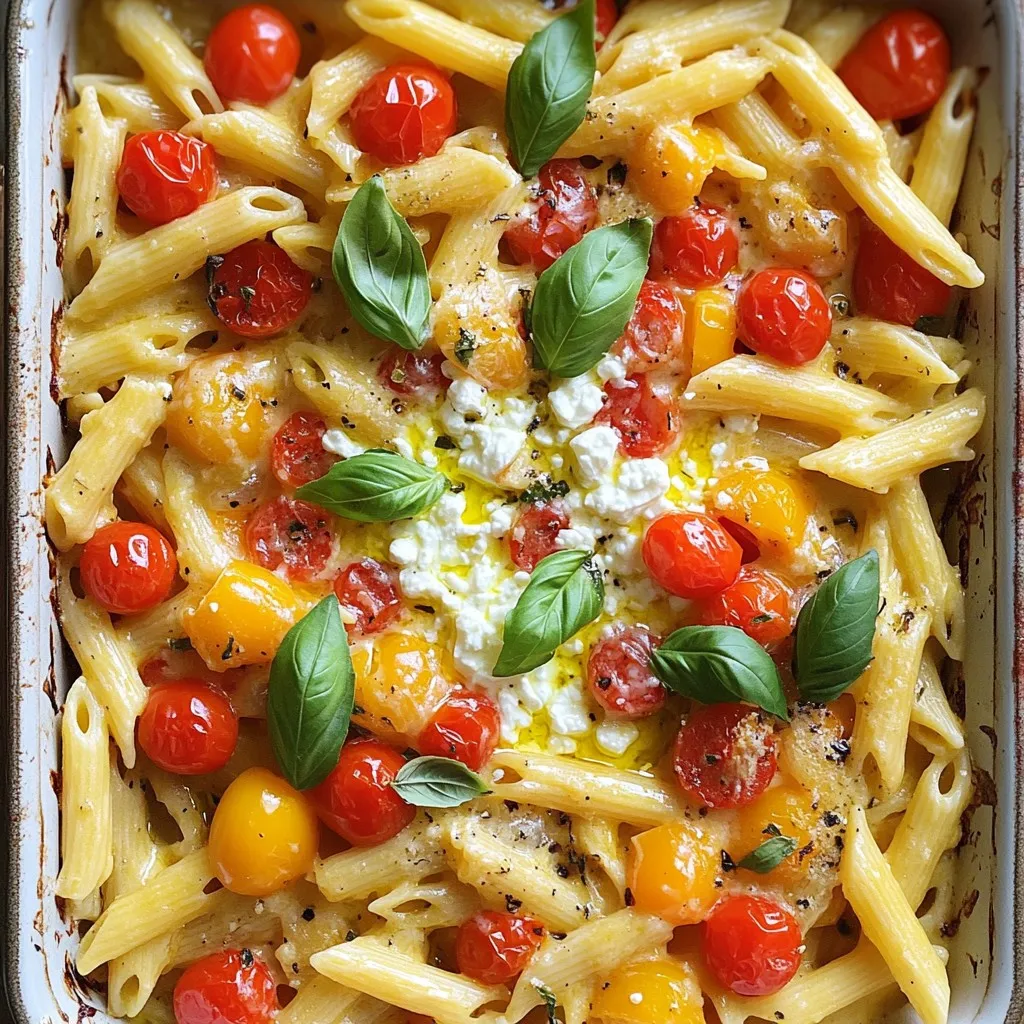
Are you ready to try the viral TikTok feta pasta bake? This easy and delicious recipe brings creamy goodness to...
READ MORE →
Craving a quick and tasty meal? My Minute Creamy Gochujang Noodle Bowls are just what you need! This dish combines...
READ MORE →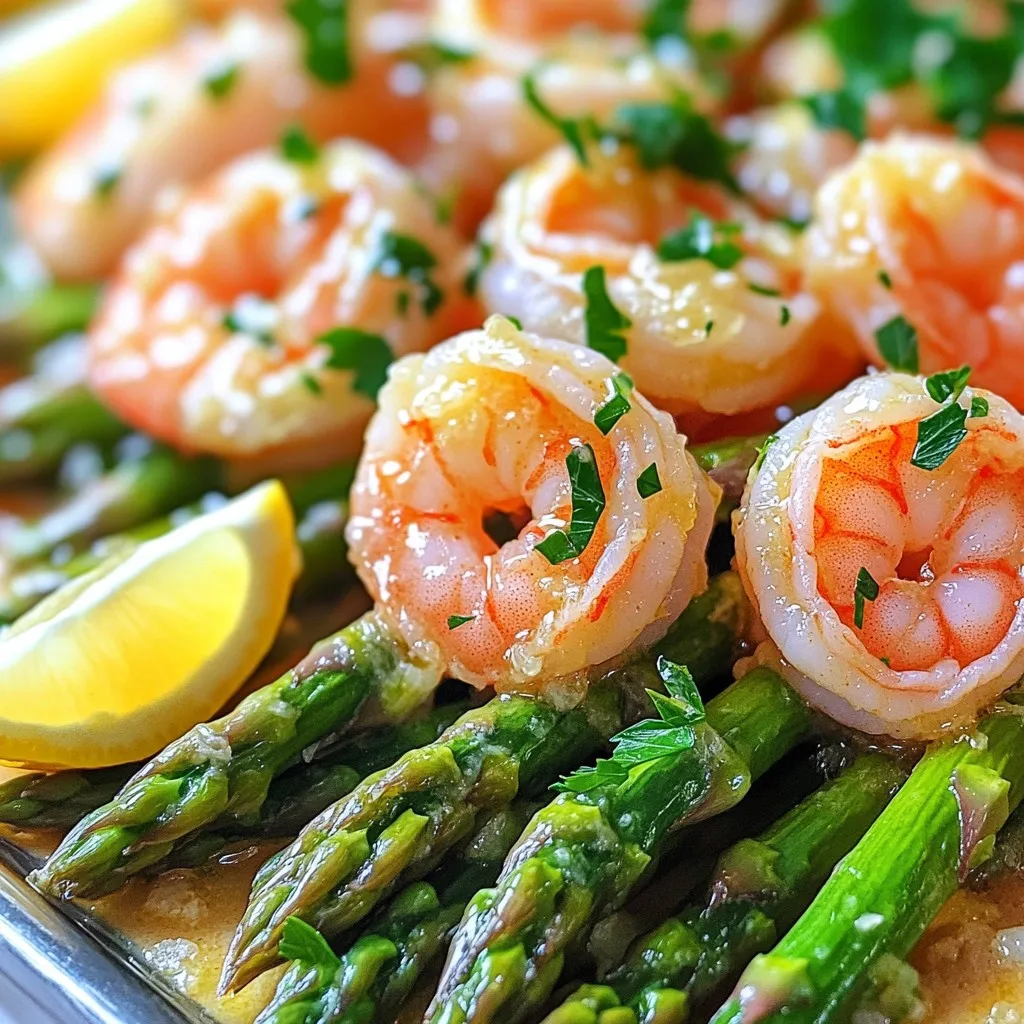
Looking for a quick, delicious dinner? You’ve found it! My Garlic Butter Shrimp & Asparagus Sheet-Pan Delight is a must-try....
READ MORE →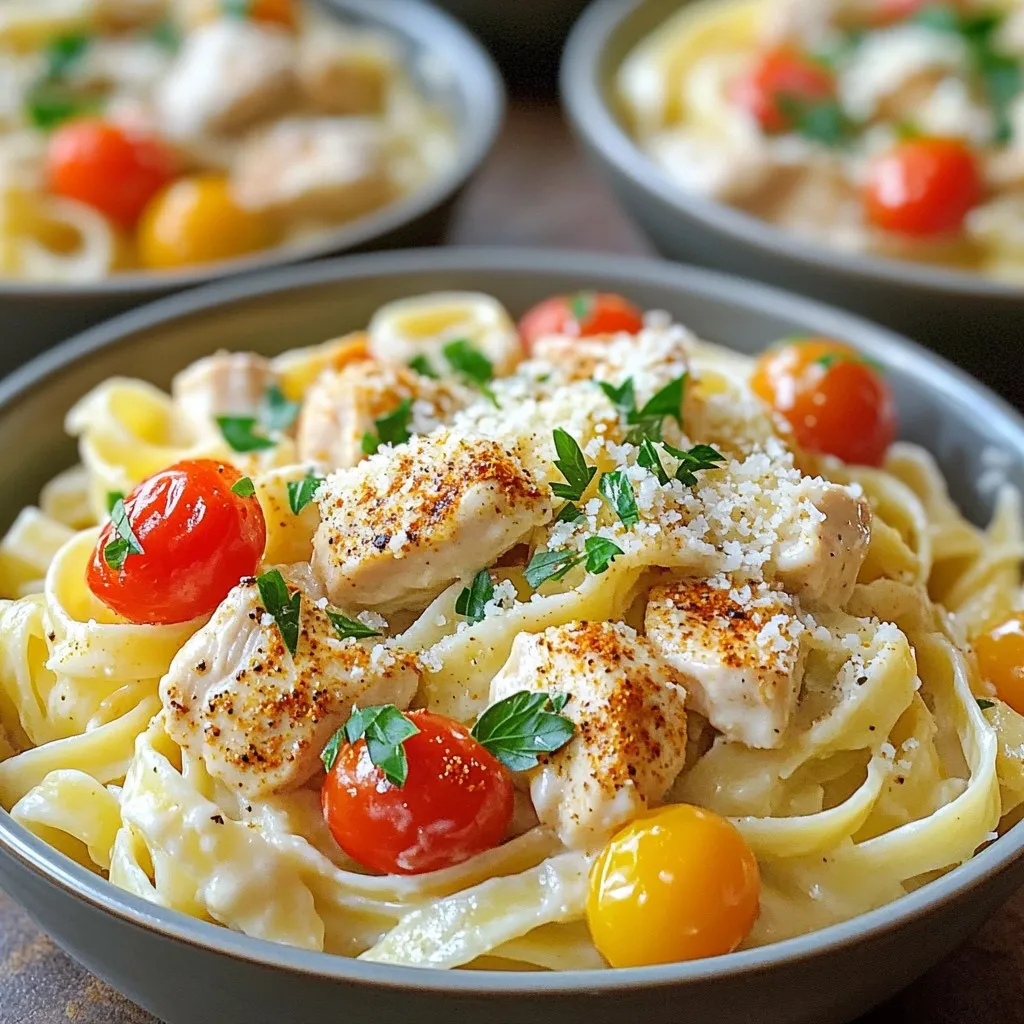
If you’re craving a flavorful, hearty meal that’s easy to make, you’re in luck! This Creamy One-Pot Cajun Chicken Alfredo...
READ MORE →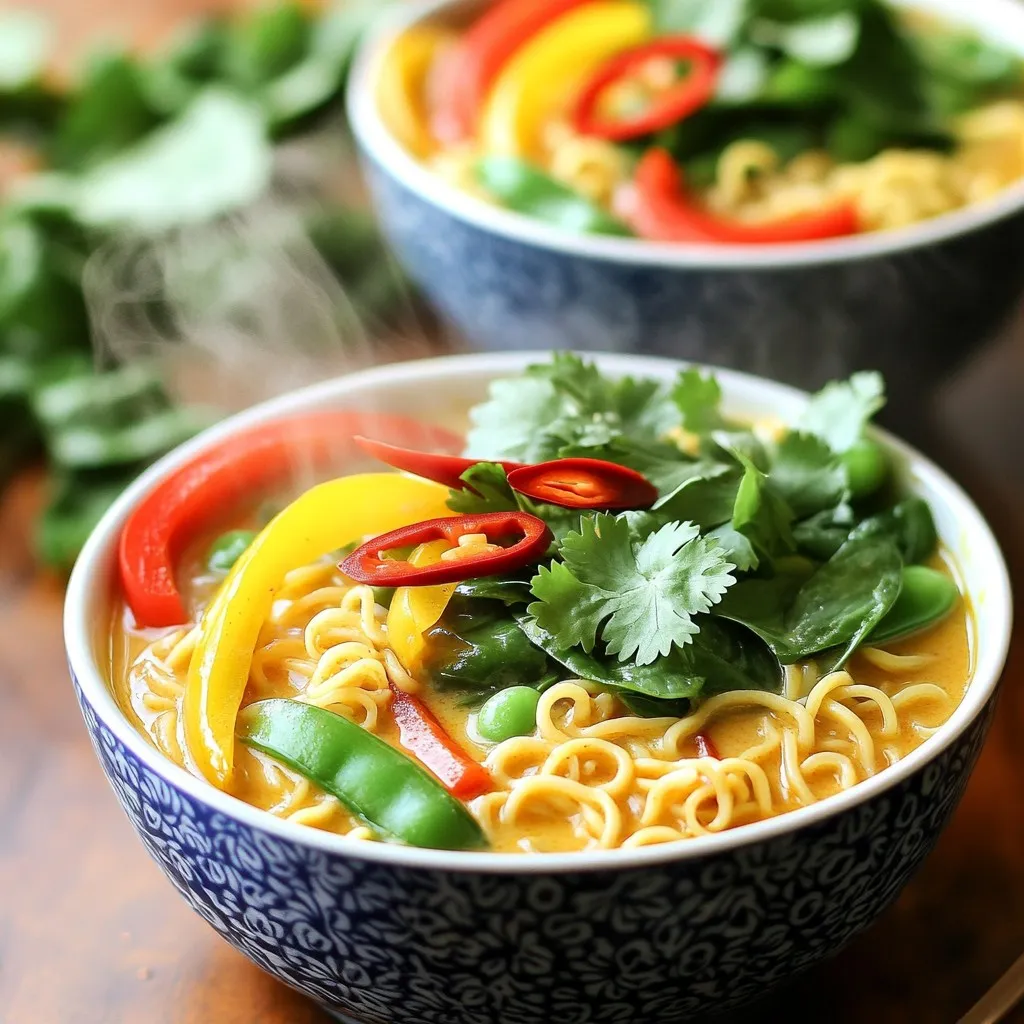
Craving a warm, flavorful dish that’s quick to make? I’ve got the perfect recipe for you: Minute Thai Coconut Curry...
READ MORE →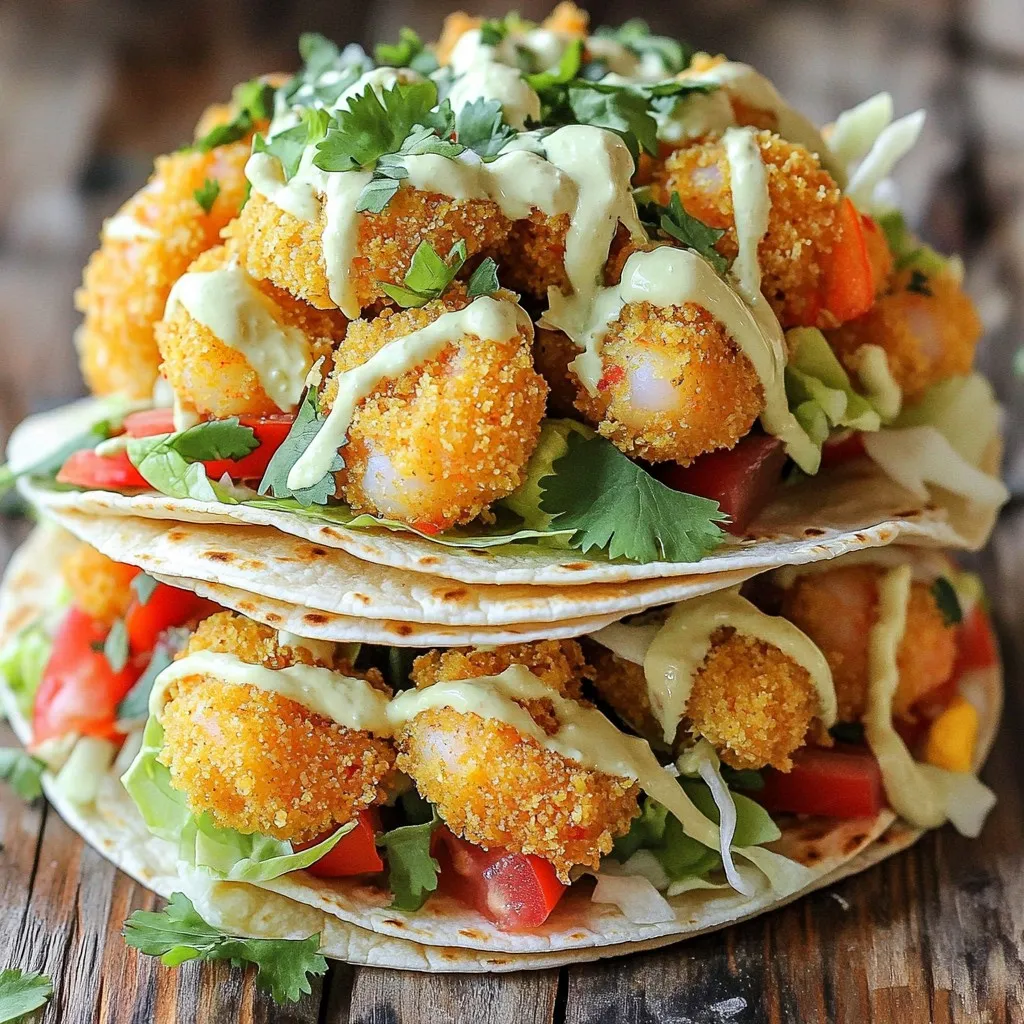
Get ready for an exciting culinary adventure with my Air Fryer Bang Bang Shrimp Tacos! This dish is all about...
READ MORE →