DINNER
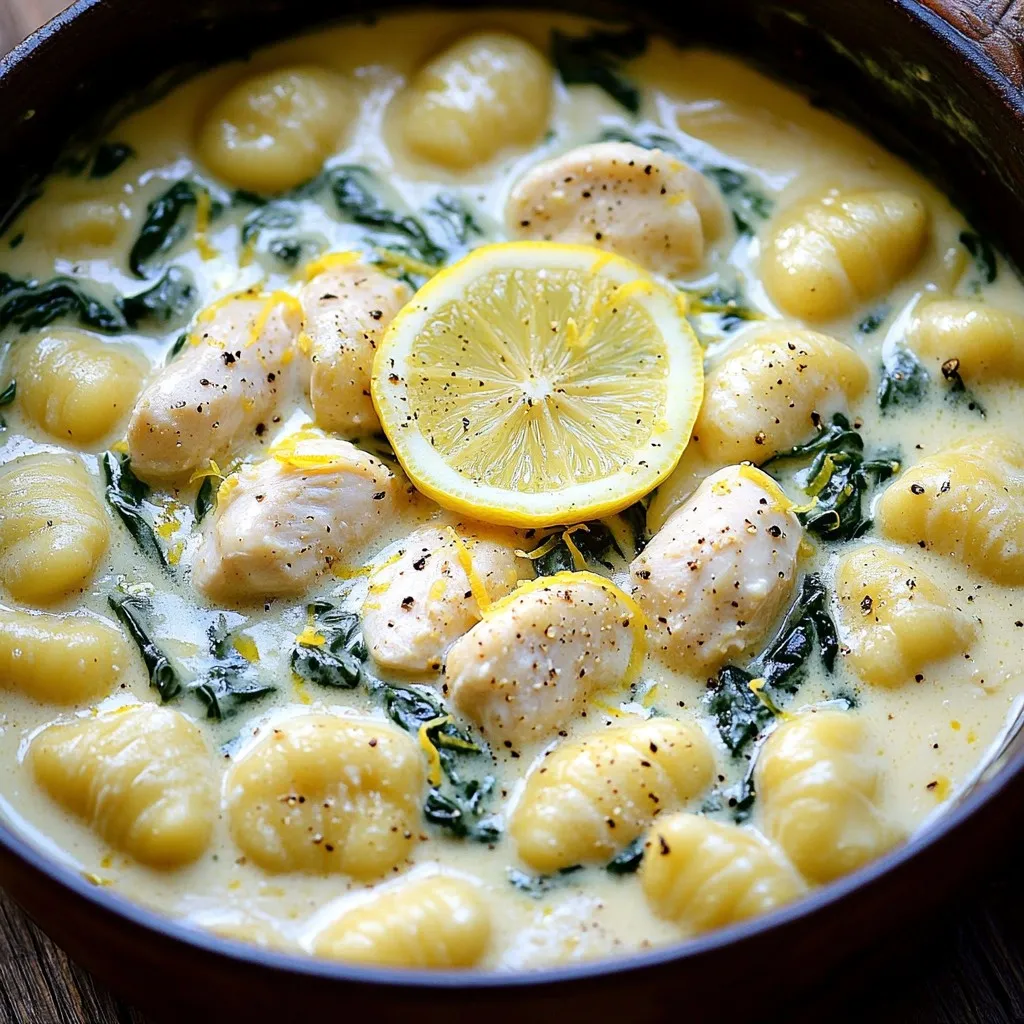
One-Pot Creamy Lemon Chicken Gnocchi Delight
Looking for a quick and tasty dinner? My One-Pot Creamy Lemon Chicken Gnocchi Delight is here to save your evening!...
READ MORE →Explore our collection of dinner recipes
Looking for a quick and tasty dinner? My One-Pot Creamy Lemon Chicken Gnocchi Delight is here to save your evening!...
READ MORE →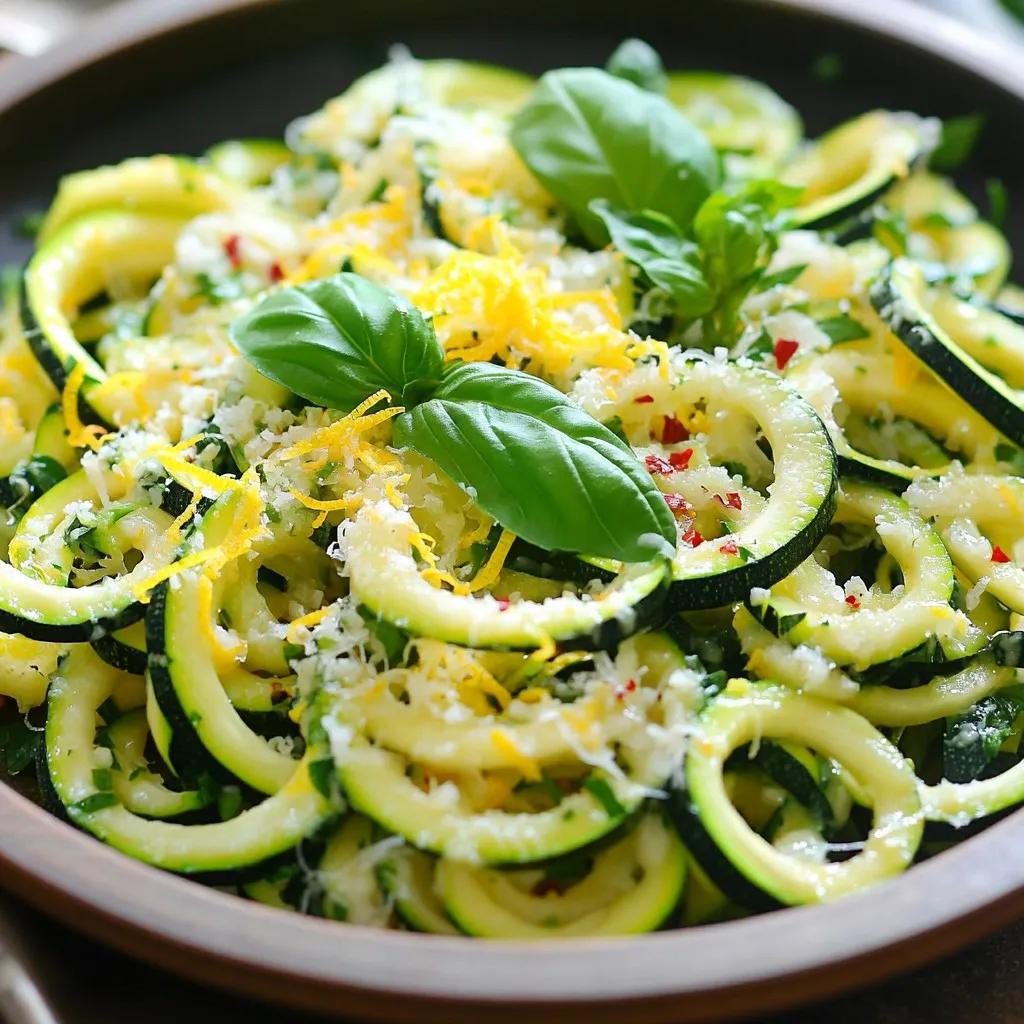
If you’re craving a tasty, quick meal, try my Minute Lemon Parmesan Zucchini Noodles. These fresh, spiralized noodles burst with...
READ MORE →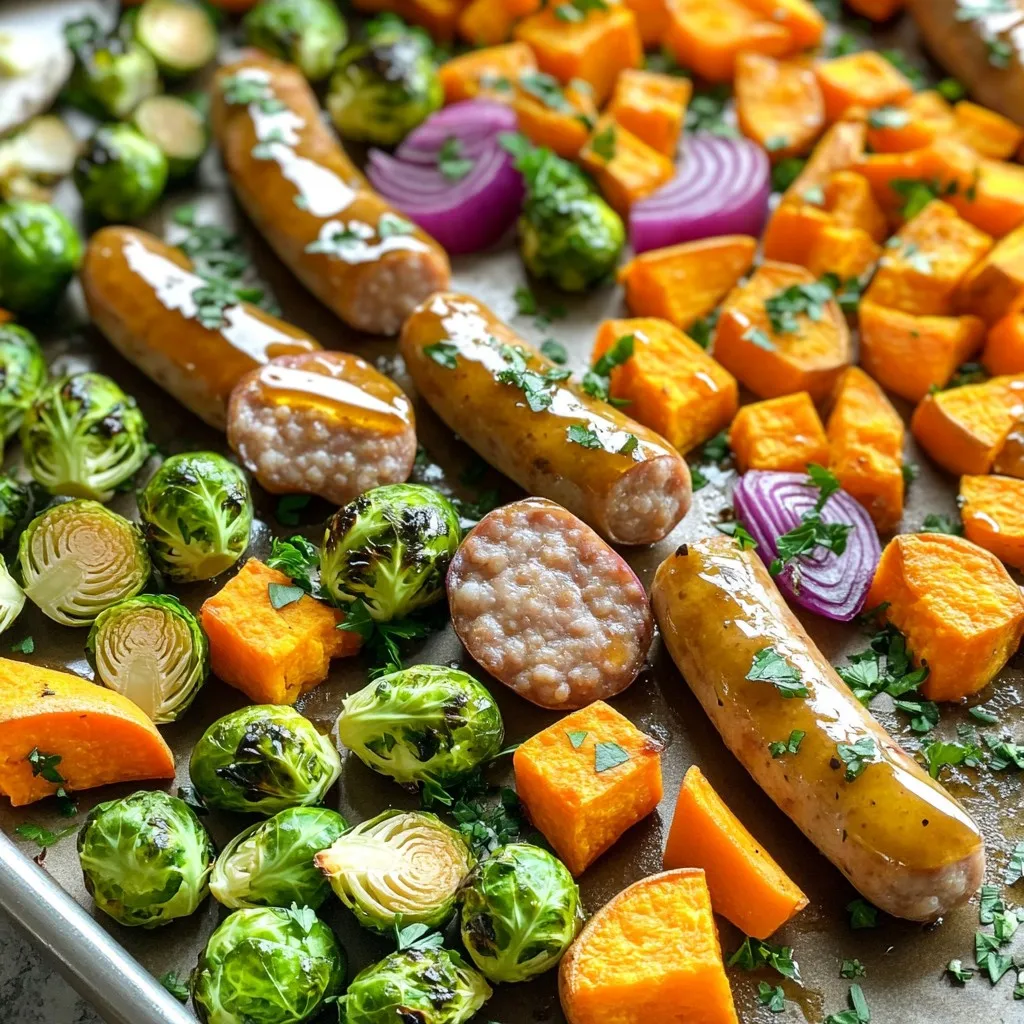
Craving a warm and tasty meal? Try my Sheet-Pan Maple Glazed Sausage & Fall Veggies Delight! This easy recipe brings...
READ MORE →
Craving a quick, tasty dinner? My Easy Chicken Lo Mein recipe is just what you need! In only about 25...
READ MORE →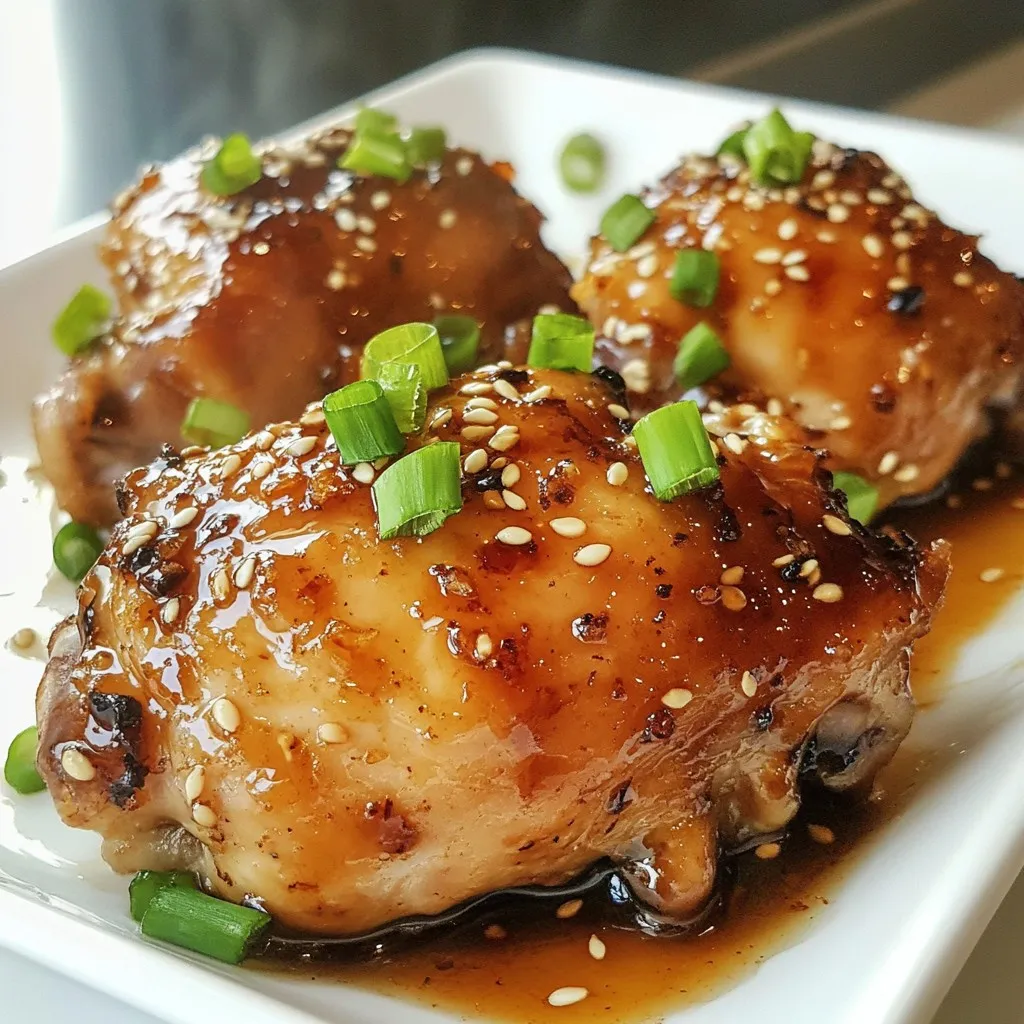
Craving a meal that’s both easy to make and packed with flavor? My Savory Slow Cooker Honey Garlic Chicken Thighs...
READ MORE →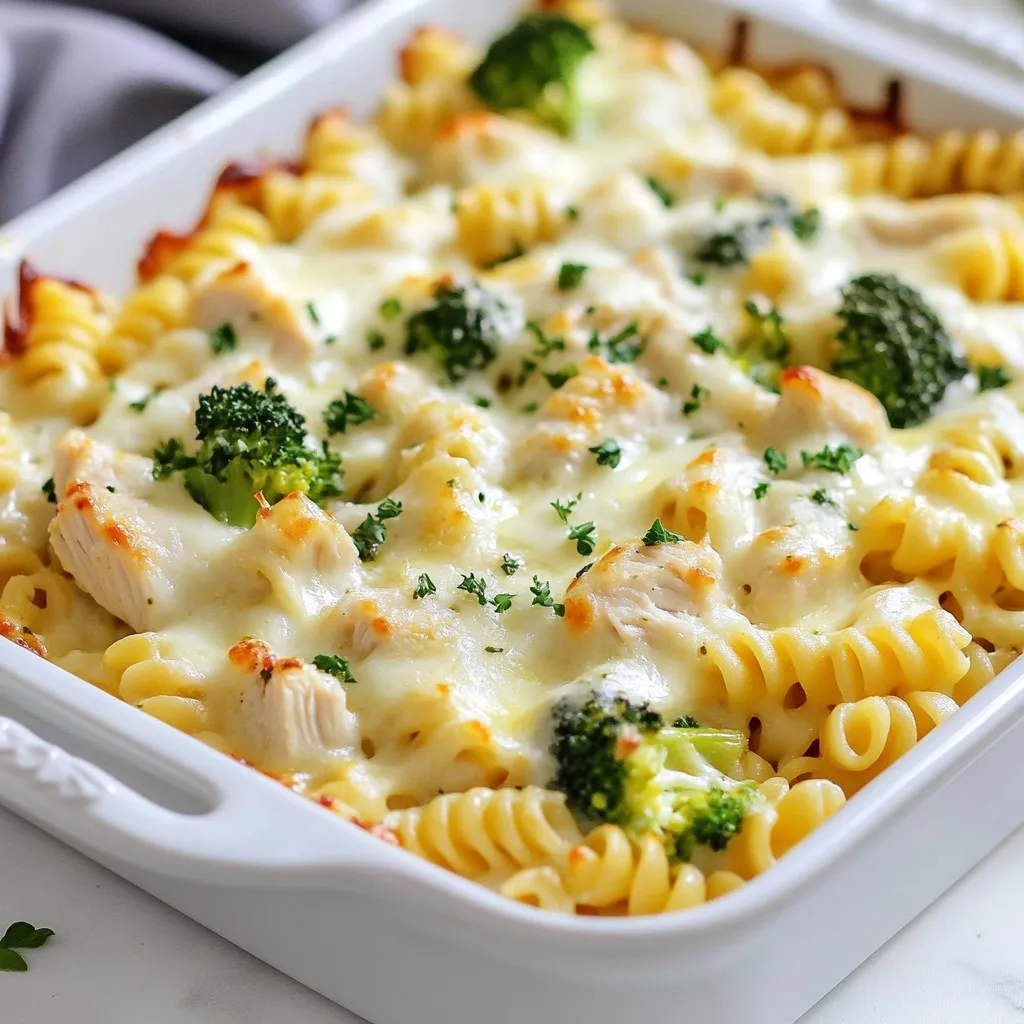
Are you ready for a meal that’s both simple and delicious? This Dump-and-Bake Chicken Alfredo Casserole Delight combines creamy Alfredo...
READ MORE →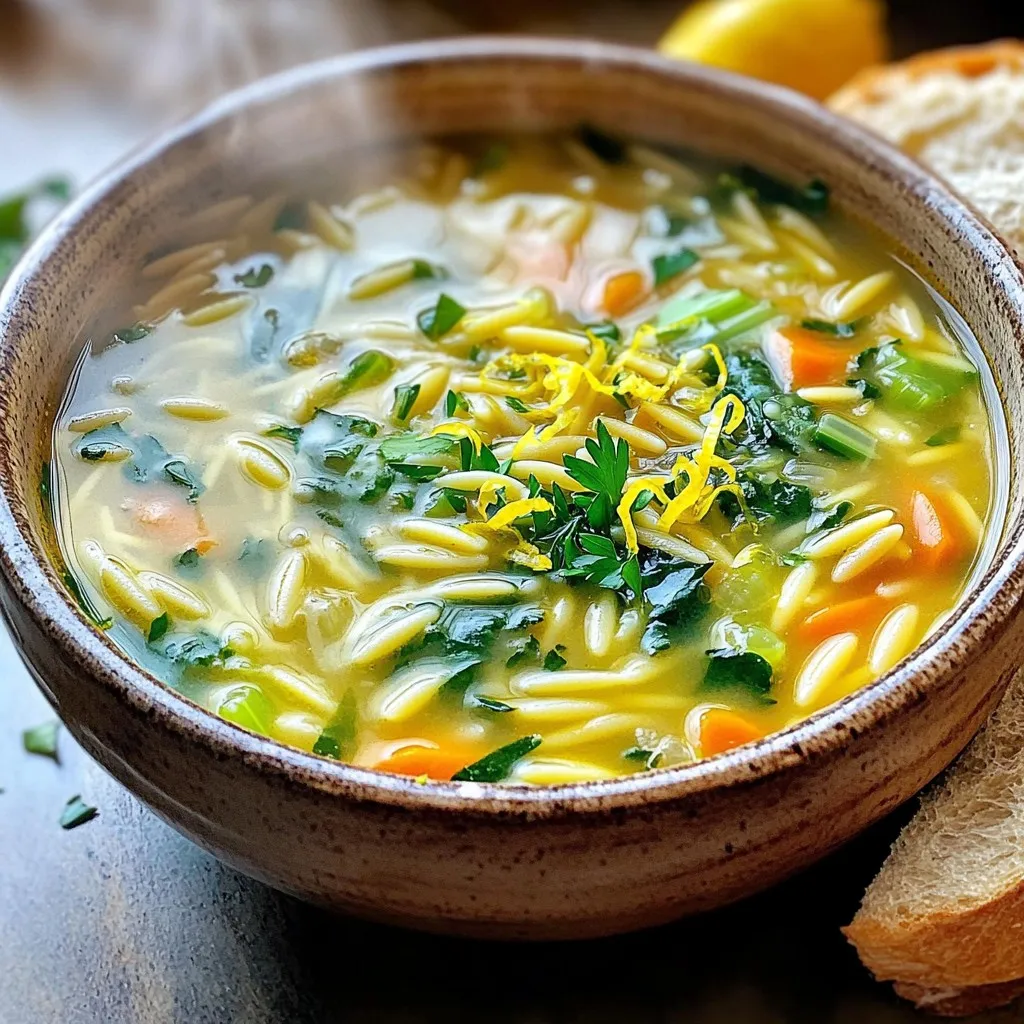
Looking for a cozy meal that’s both easy and delicious? This One Pot Lemon Garlic Orzo Soup is your answer!...
READ MORE →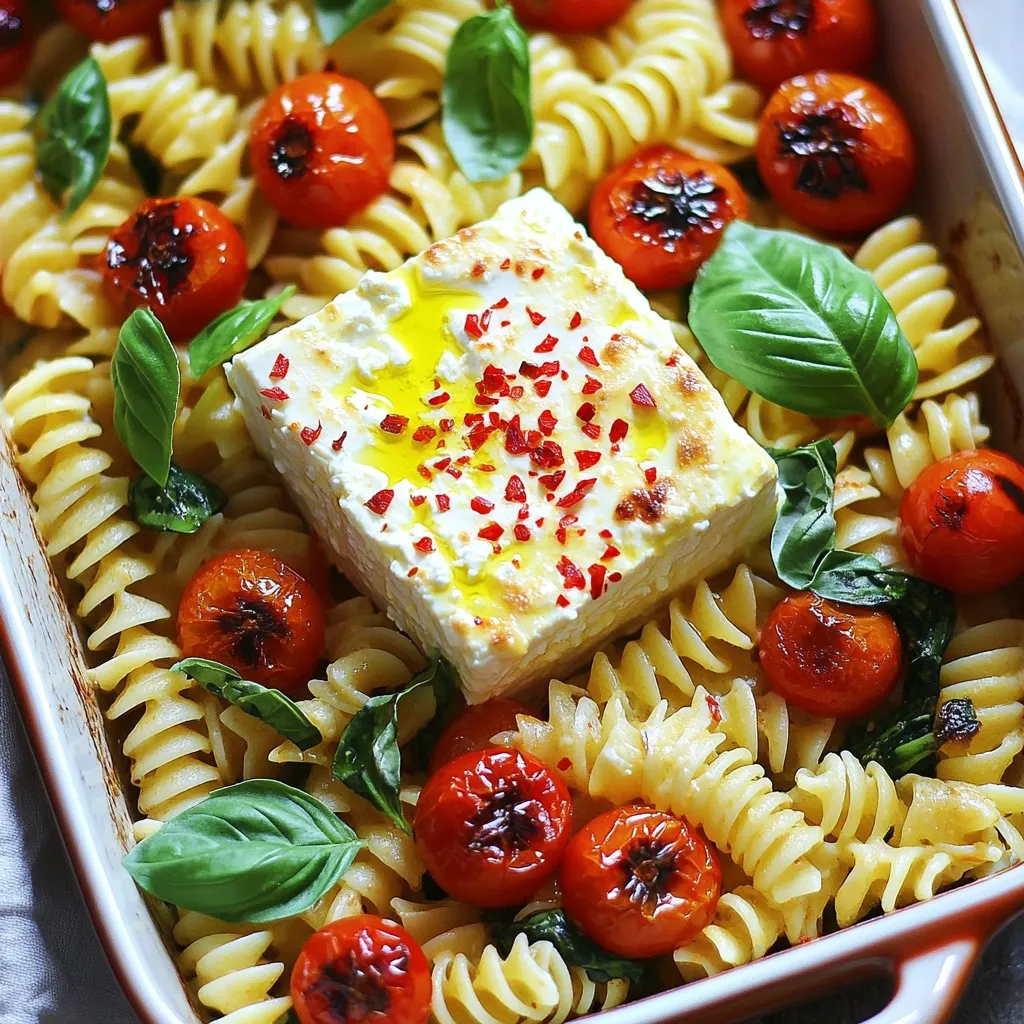
If you’re craving an easy, crowd-pleasing dish, look no further than Viral Baked Feta Pasta. This simple recipe combines creamy...
READ MORE →
Welcome to a flavor-packed journey with my Slow Cooker Sweet Chili Chicken Tacos! If you’re looking for a simple yet...
READ MORE →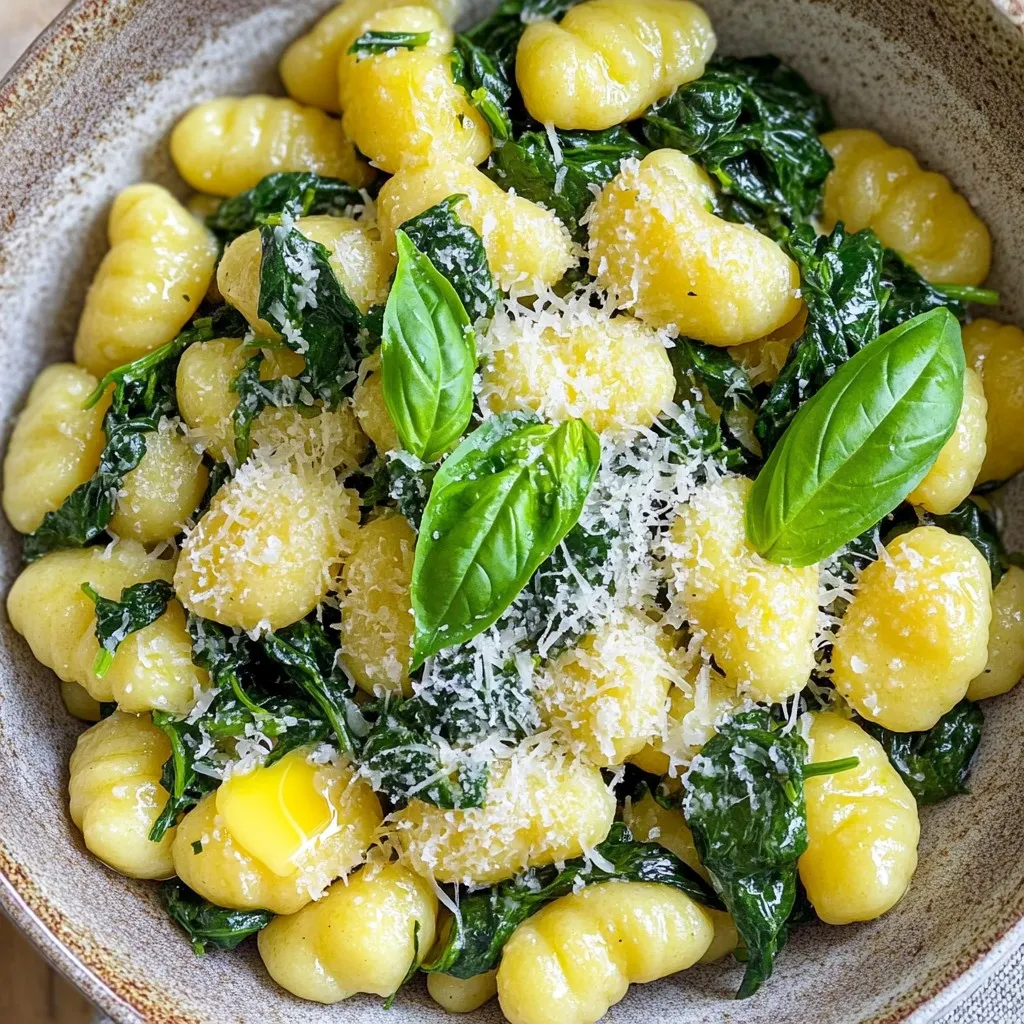
If you’re craving a quick, delicious dinner, look no further than this Garlic Butter Gnocchi with Spinach. This dish bursts...
READ MORE →