SALADS
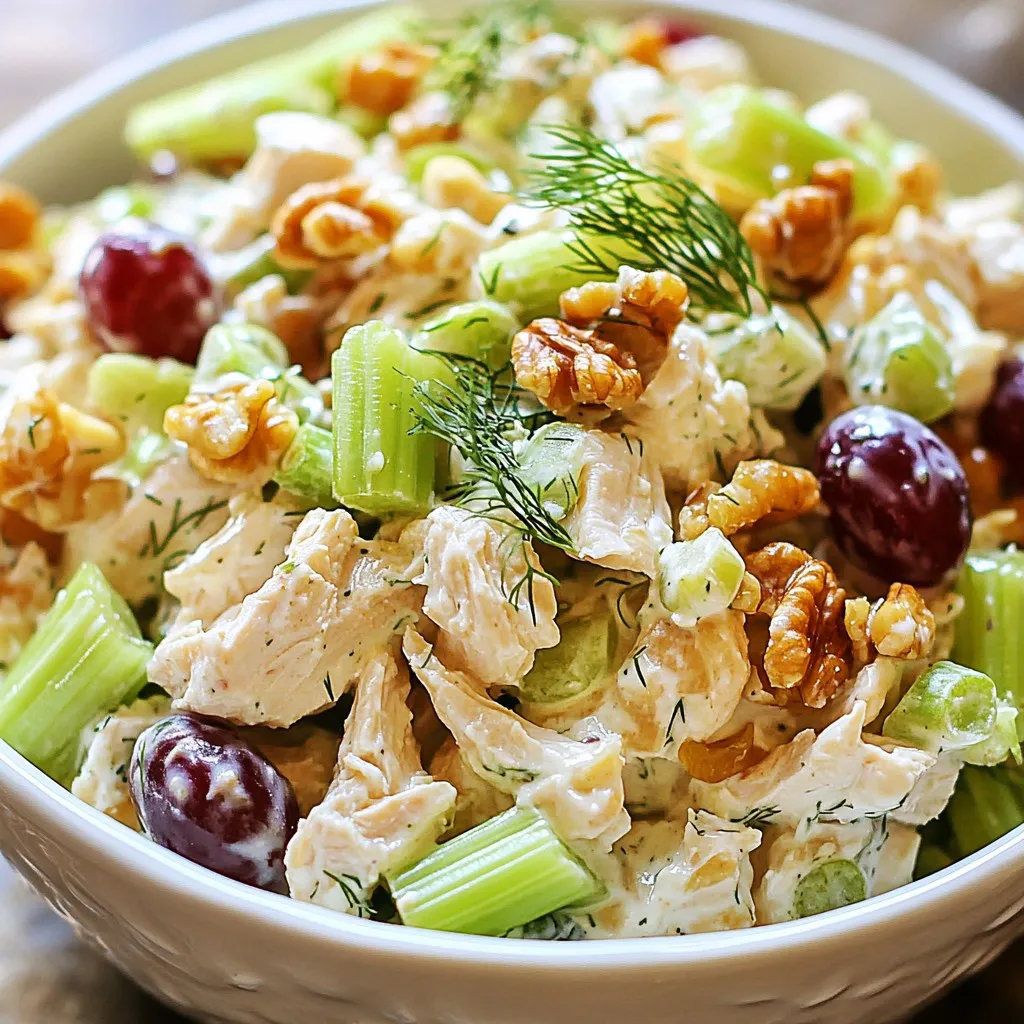
Greek Yogurt Chicken Salad Fresh and Simple Meal
Looking for a healthy, tasty meal? You’ve found it! Greek Yogurt Chicken Salad is fresh, simple, and packed with flavor....
READ MORE →Explore our collection of salads recipes
Looking for a healthy, tasty meal? You’ve found it! Greek Yogurt Chicken Salad is fresh, simple, and packed with flavor....
READ MORE →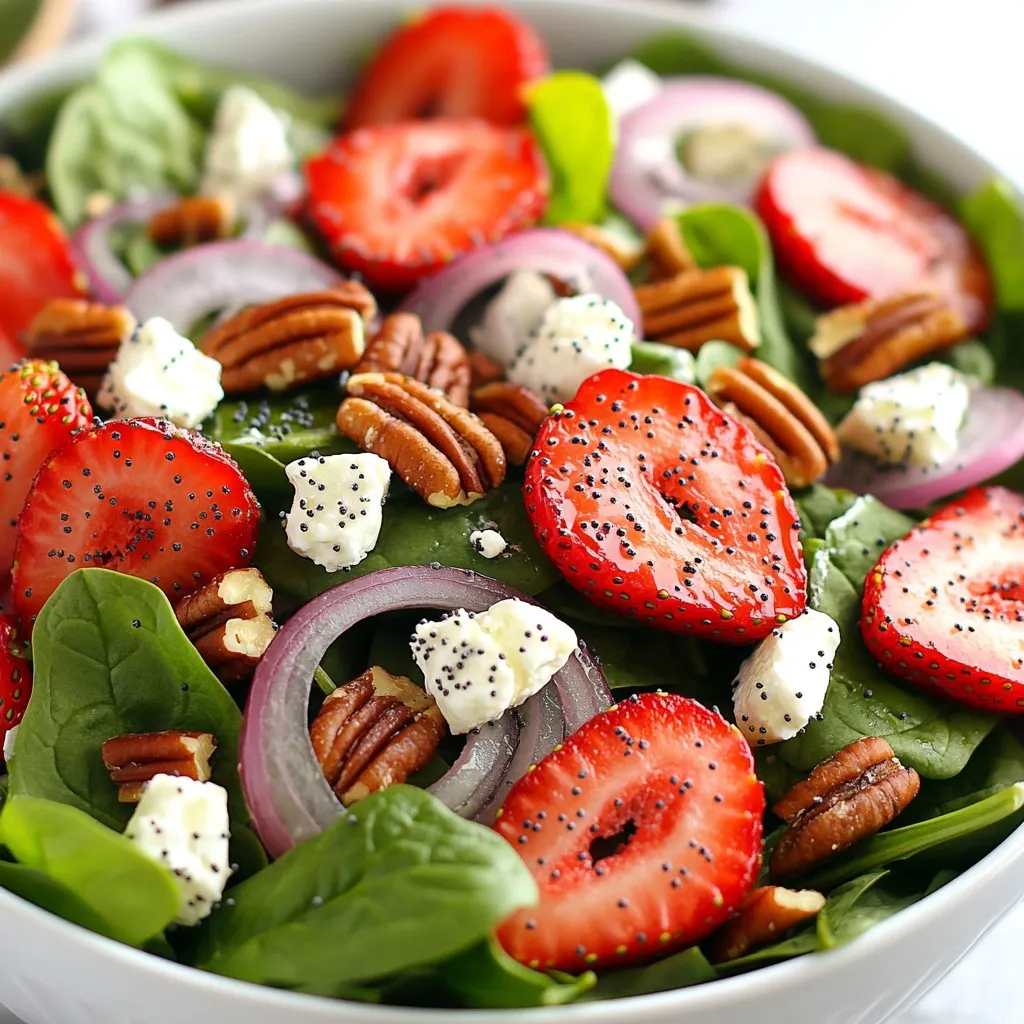
Looking to add a burst of flavor to your meal? This Strawberry Spinach Poppy Seed Salad is fresh, tasty, and...
READ MORE →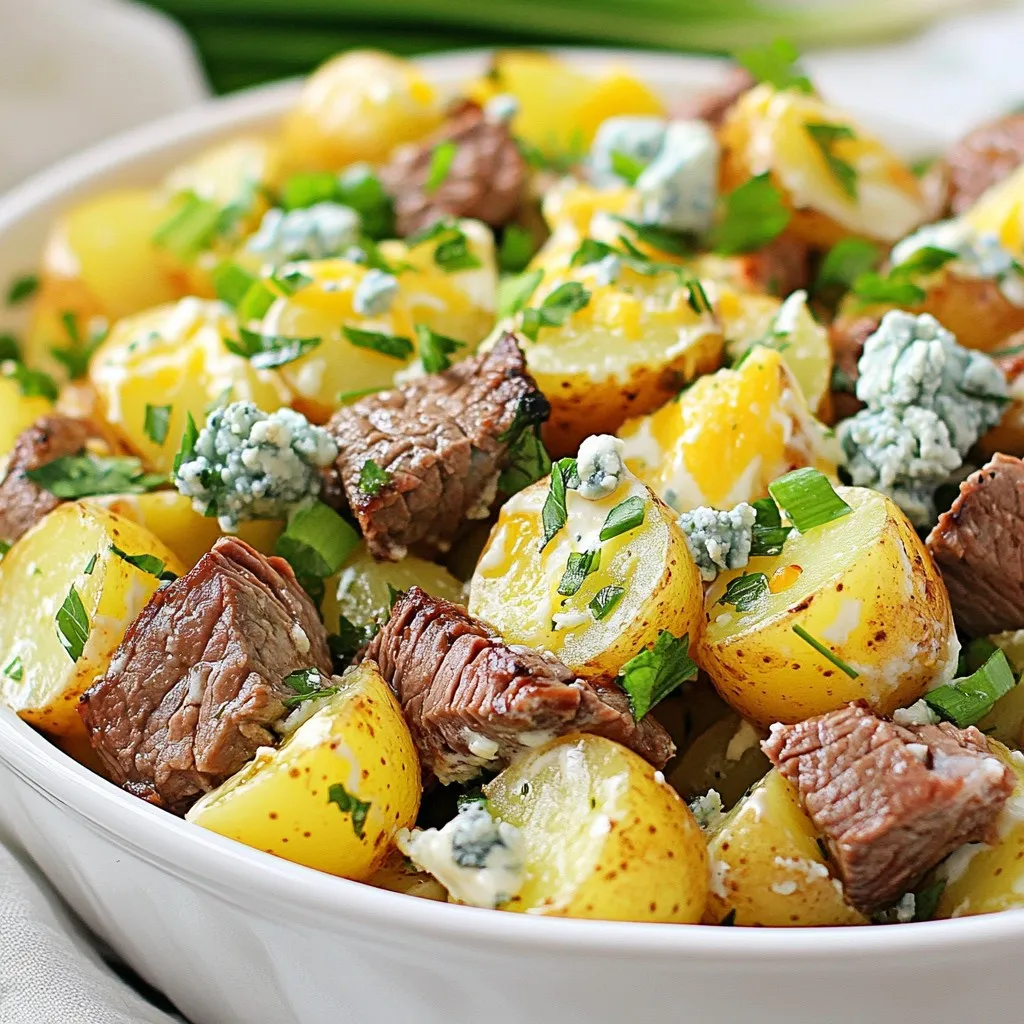
Are you tired of the same old potato salad? Let’s spice things up! This Savory Steakhouse Potato Salad is not...
READ MORE →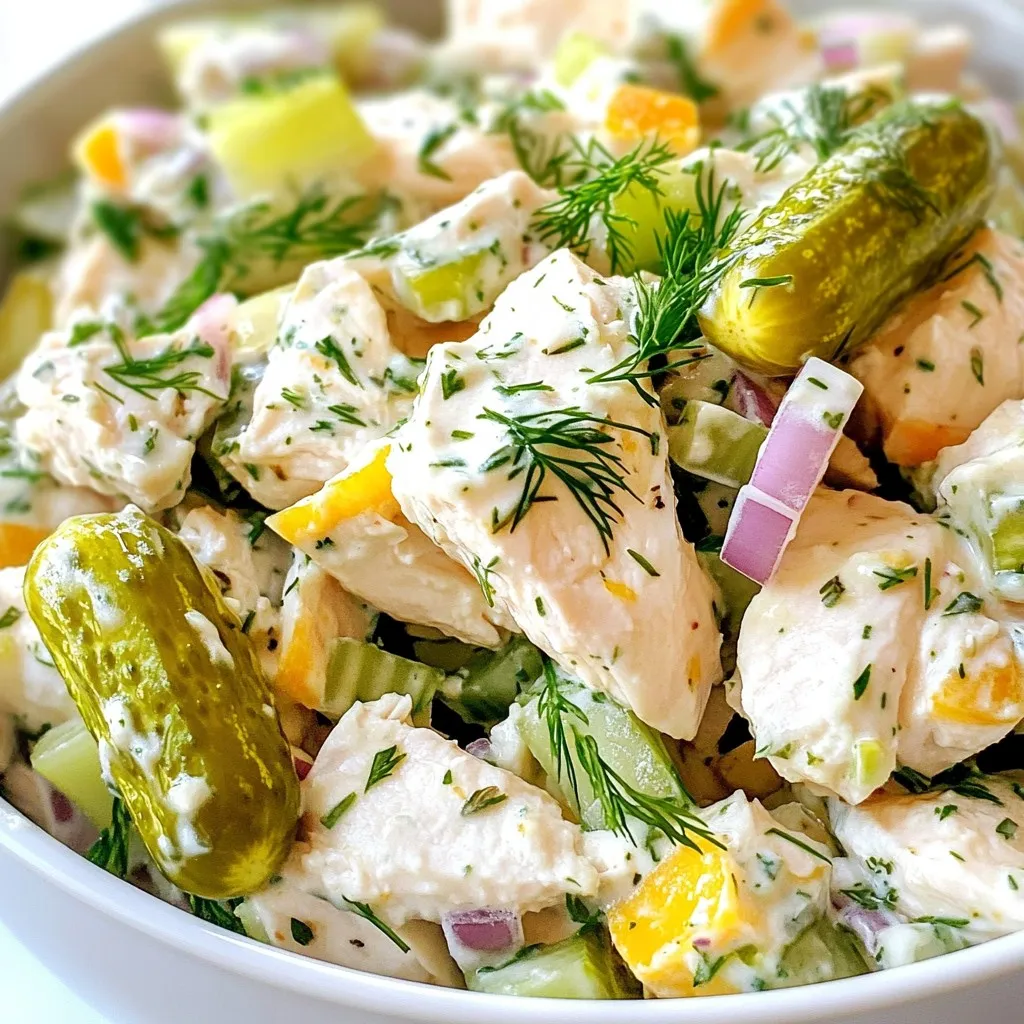
Looking for a quick and tasty lunch idea? This Dill Pickle Chicken Salad hits the spot! It blends tender chicken...
READ MORE →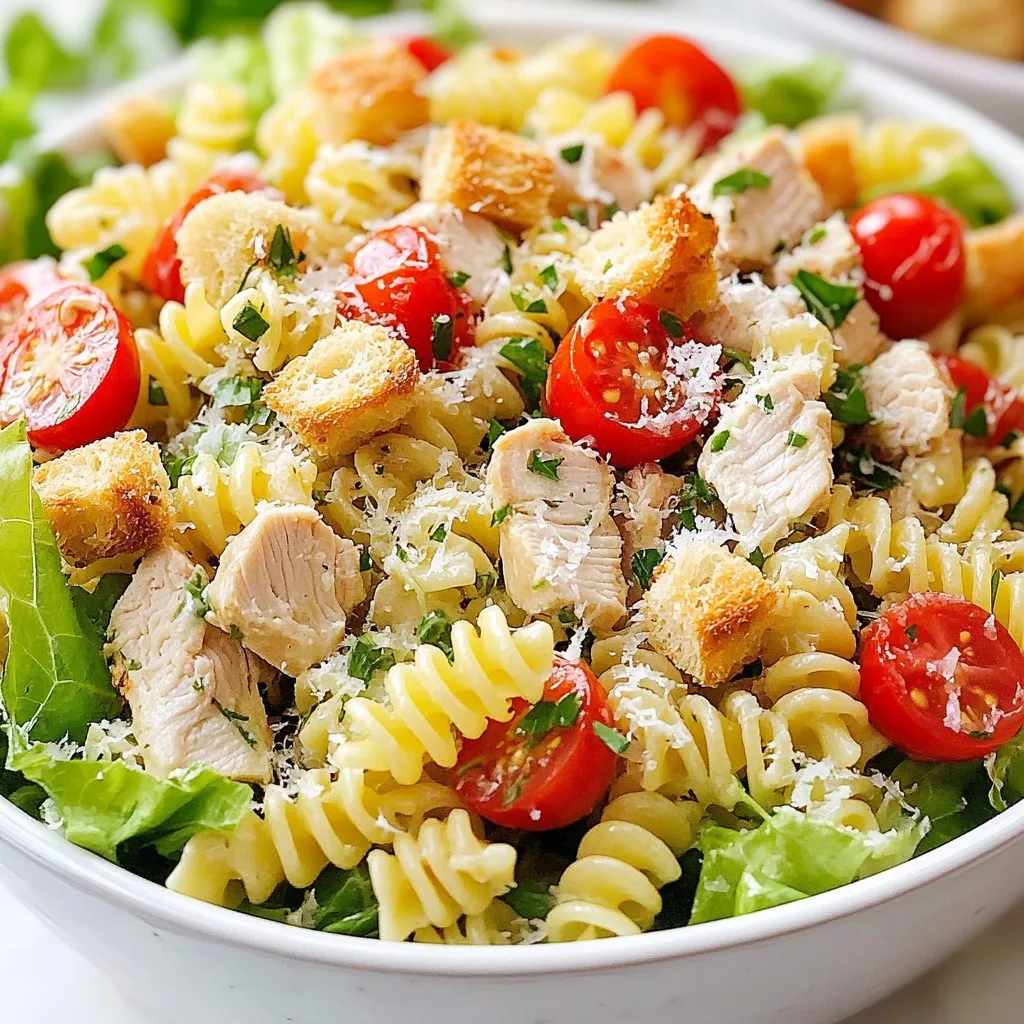
Craving a dish that’s both tasty and easy to whip up? Look no further than Chicken Caesar Pasta Salad! This...
READ MORE →
Looking for a quick and tasty meal? This Chickpea Feta Avocado Salad is packed with fresh flavors and nutrients. It’s...
READ MORE →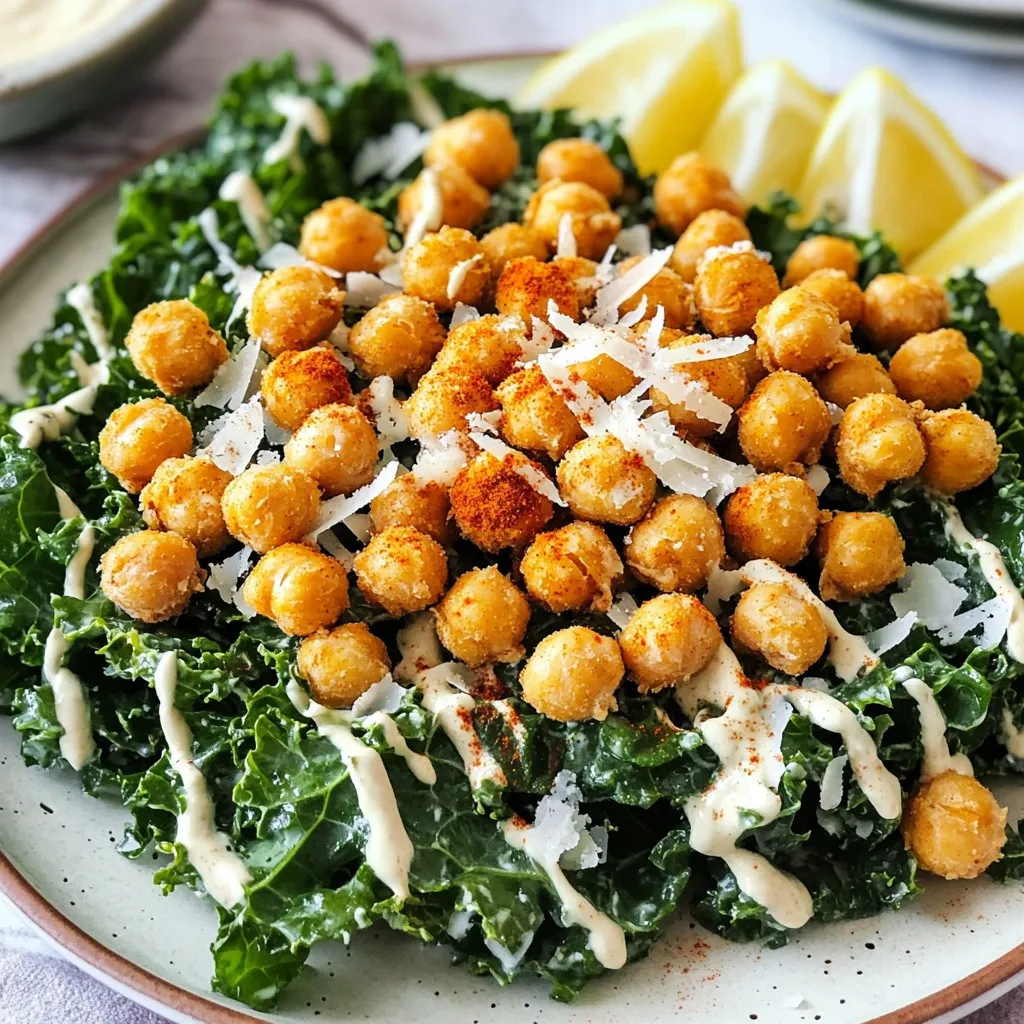
Looking for a fresh and tasty salad that packs a punch? My Crispy Chickpea Kale Caesar Salad is just what...
READ MORE →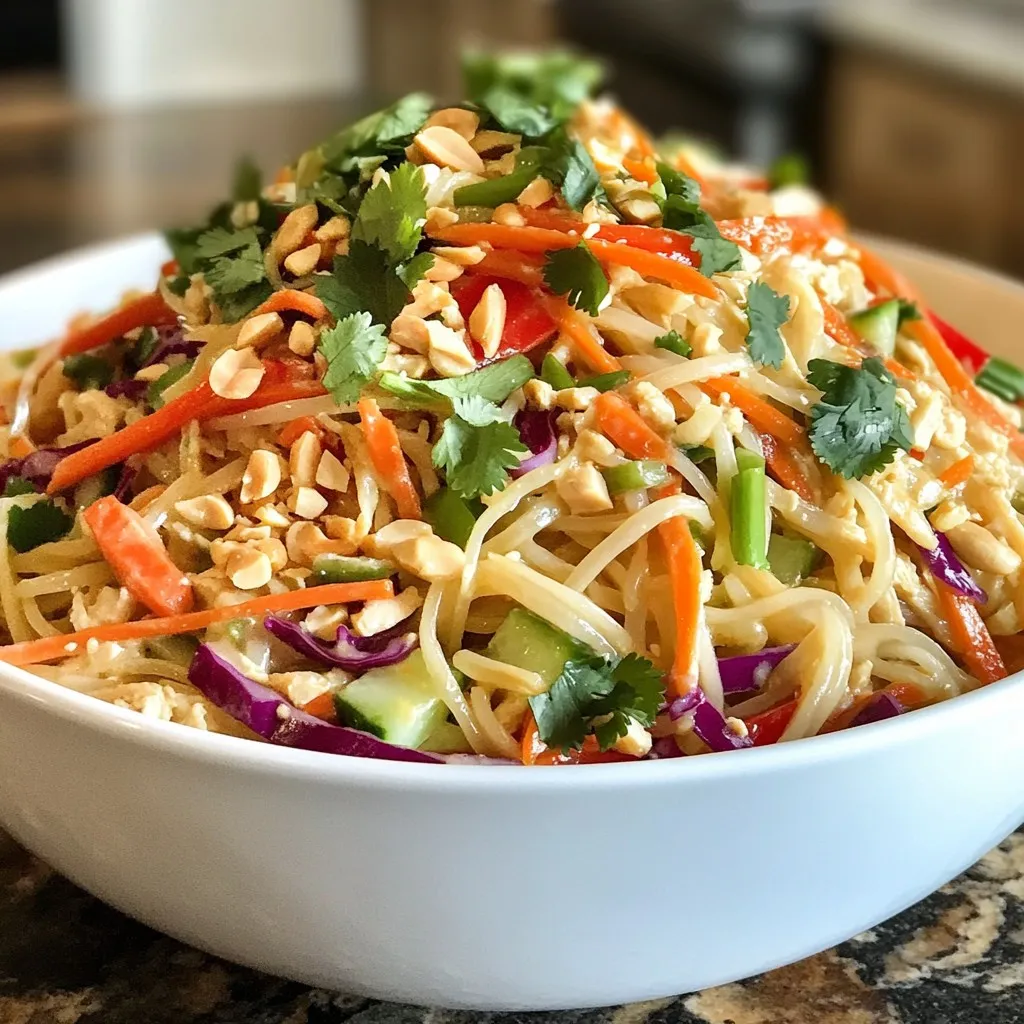
If you’re craving a fresh, vibrant meal, look no further than Thai Peanut Noodle Salad. Packed with colorful veggies, hearty...
READ MORE →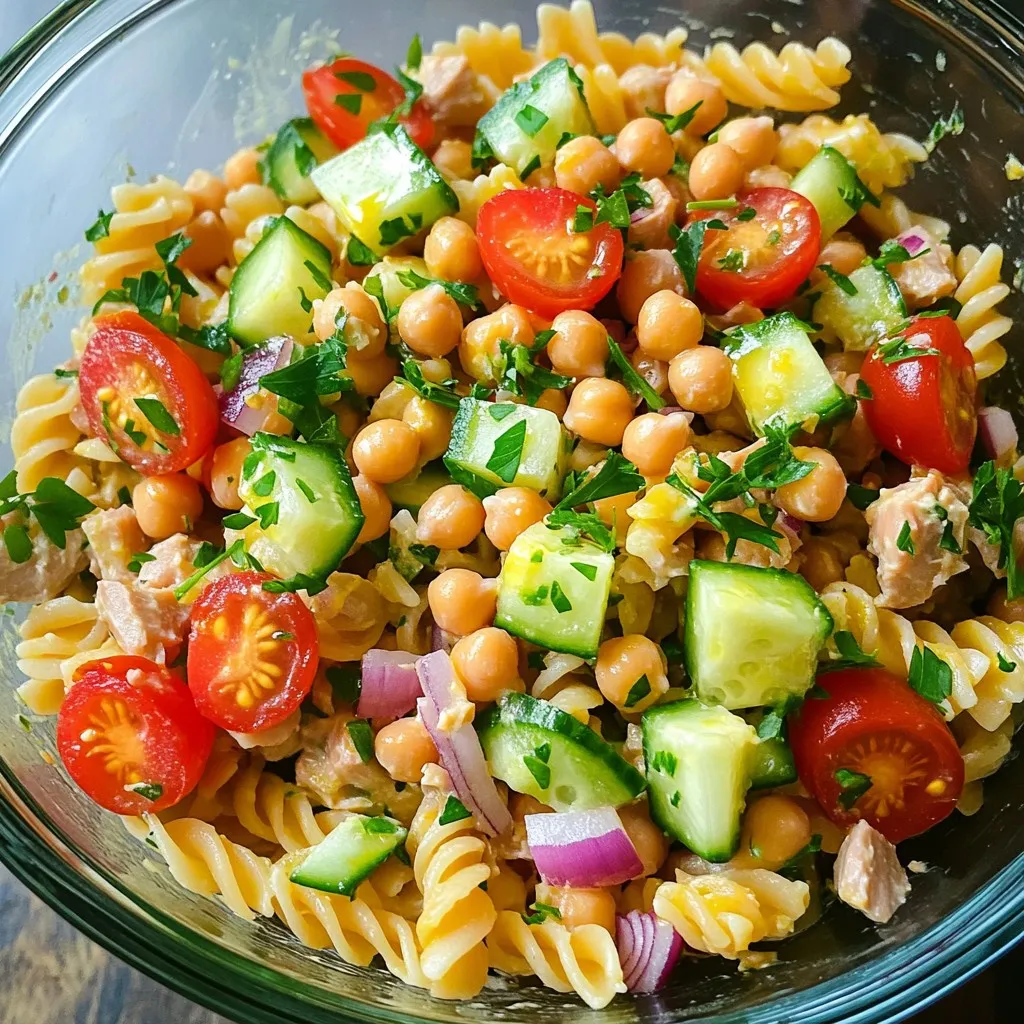
Looking for a quick and healthy meal? My Minute Protein Packed Tuna Pasta Salad Delight combines whole wheat pasta, canned...
READ MORE →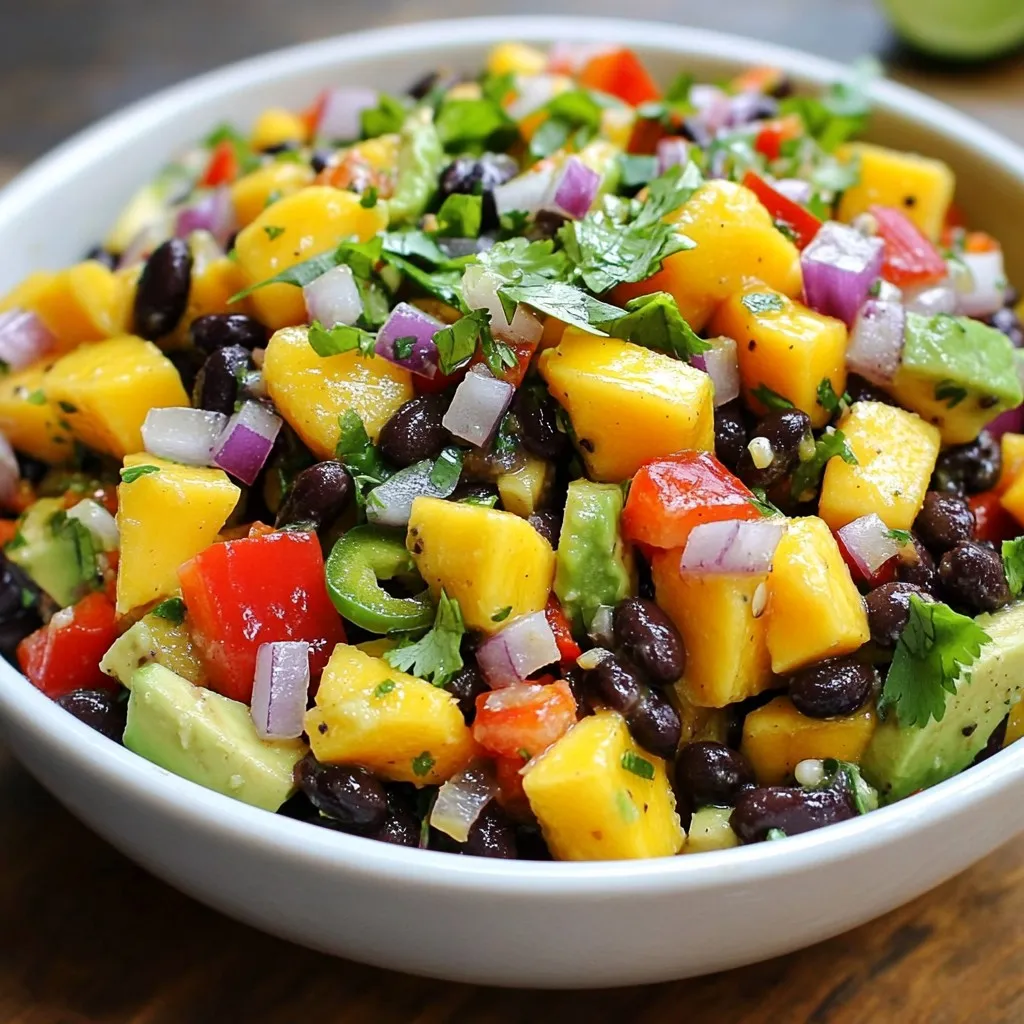
Looking for a fresh and healthy dish? Say hello to the Mango Avocado Black Bean Salad! This vibrant salad packs...
READ MORE →