SALADS
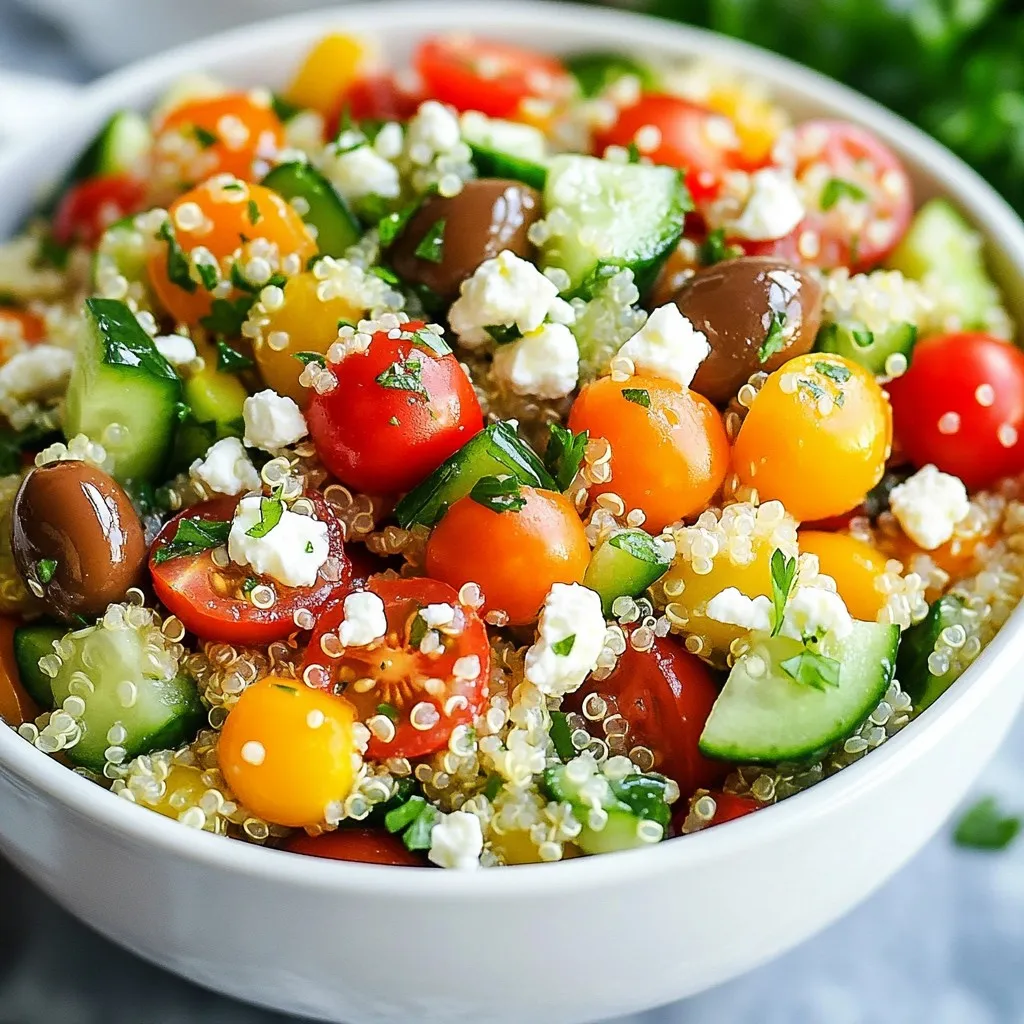
Mediterranean Quinoa Salad Fresh and Flavorful Dish
If you crave a fresh and healthy dish, Mediterranean Quinoa Salad is for you. This vibrant salad combines cooked quinoa,...
READ MORE →Explore our collection of salads recipes
If you crave a fresh and healthy dish, Mediterranean Quinoa Salad is for you. This vibrant salad combines cooked quinoa,...
READ MORE →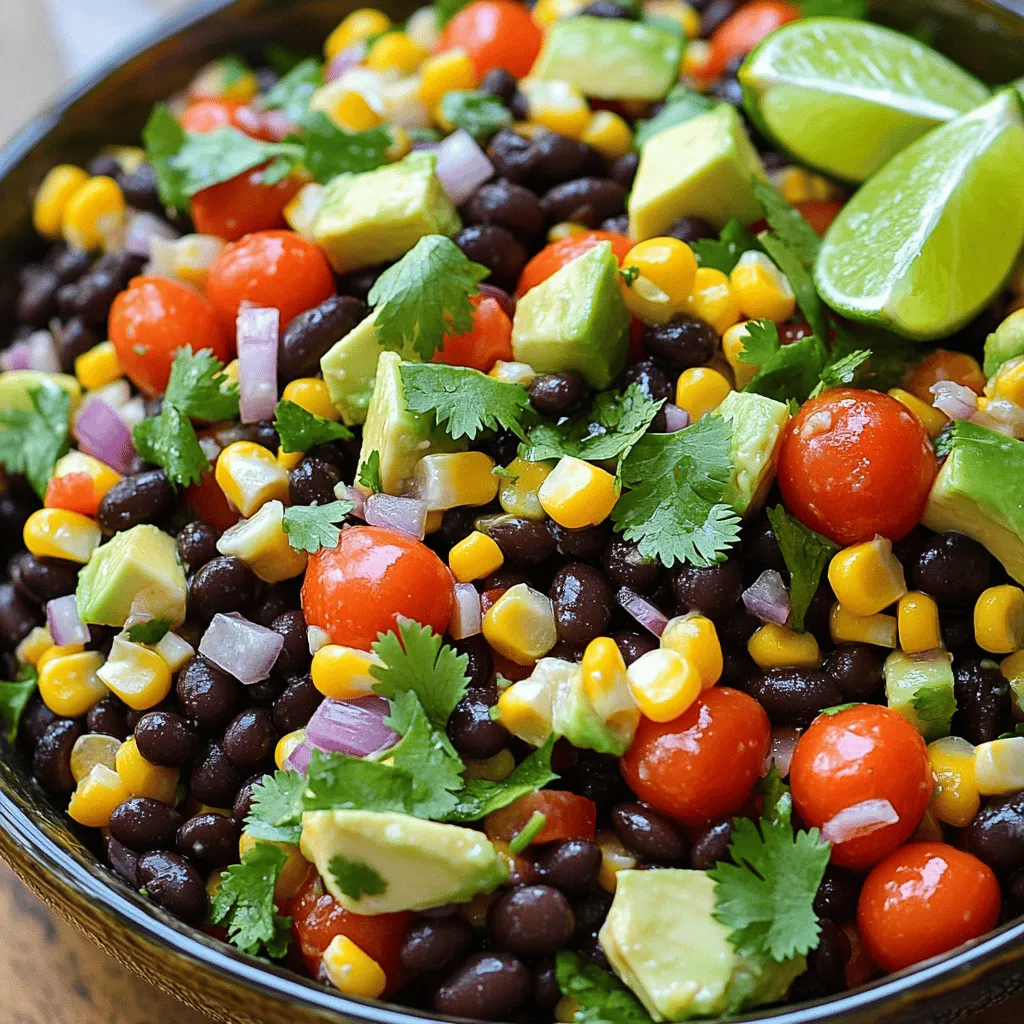
Are you ready to dive into a bowl of vibrant flavors? My Fiesta Black Bean Corn Salad is the perfect...
READ MORE →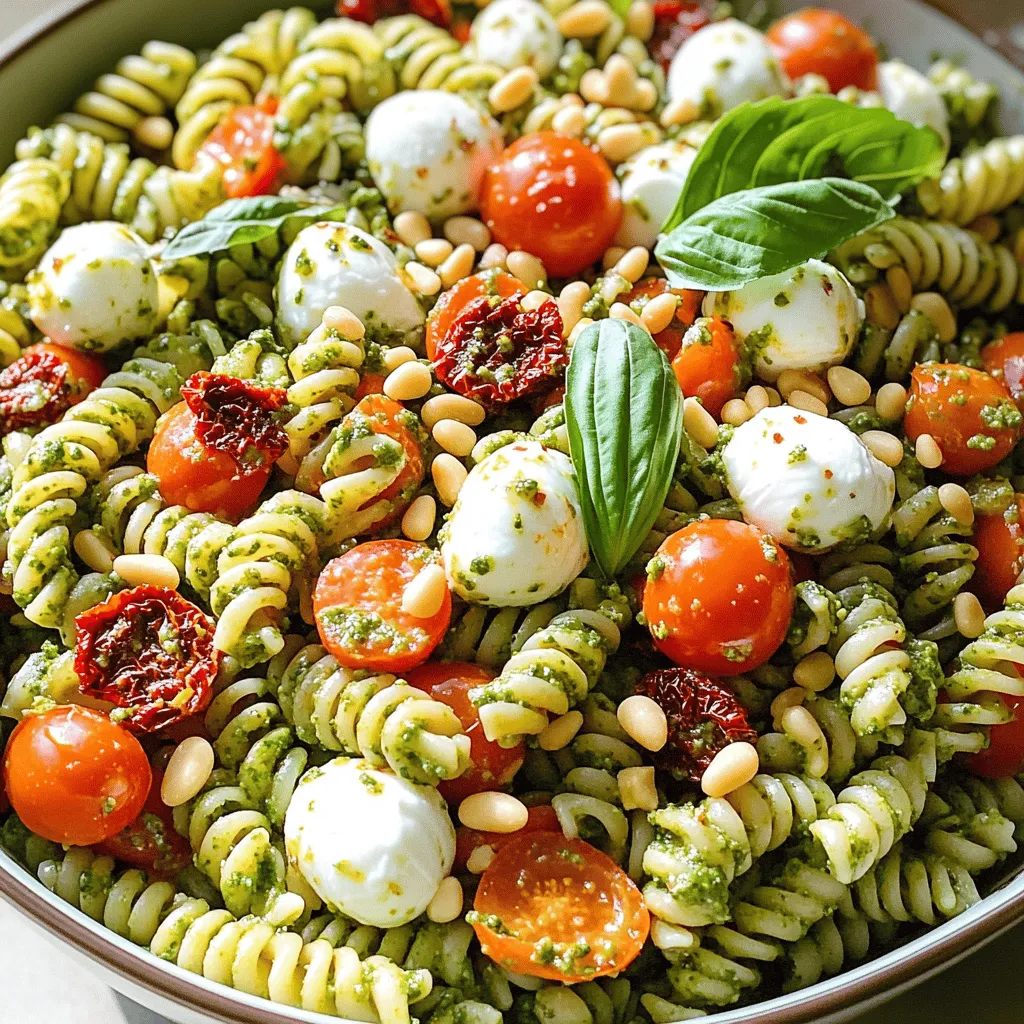
Are you ready to elevate your pasta salad game? My Sun-Dried Tomato Pesto Pasta Salad is a flavor explosion that...
READ MORE →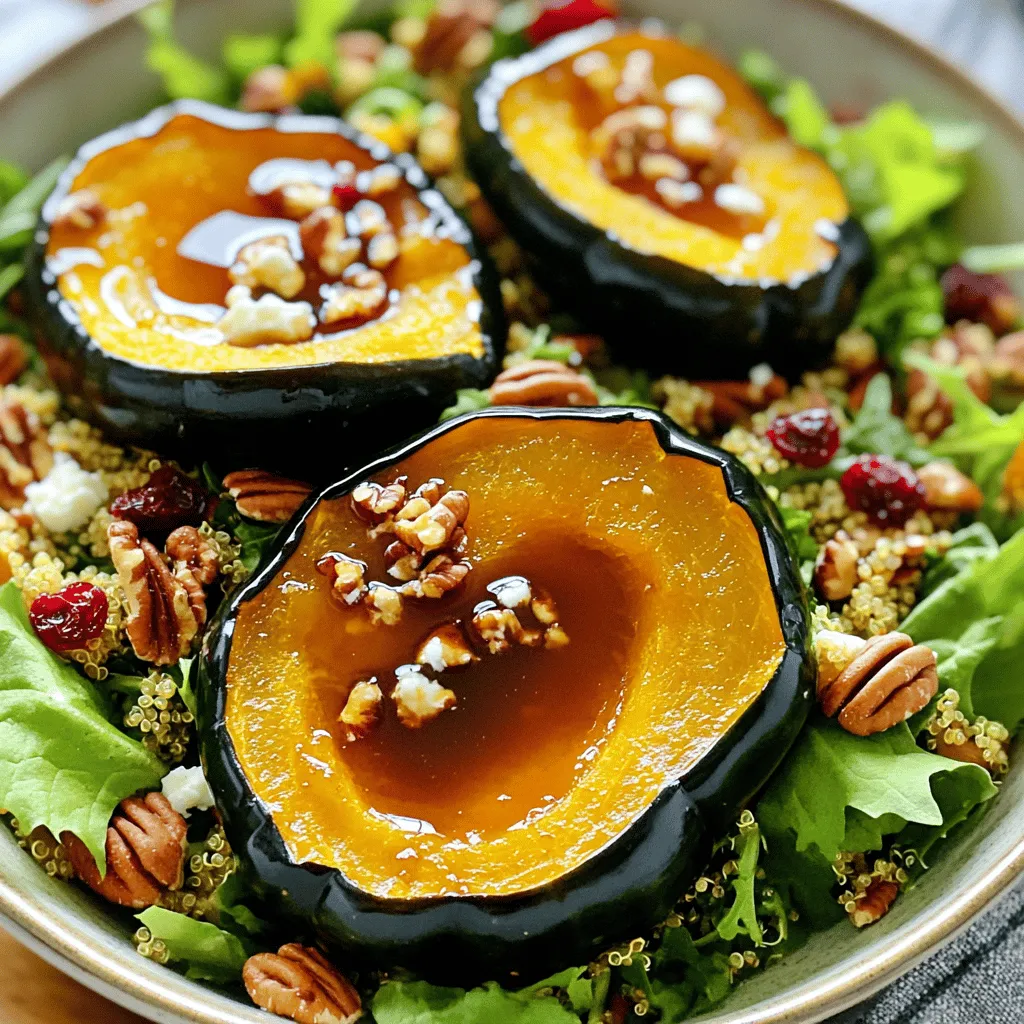
Ready to elevate your salad game? My Maple Glazed Acorn Squash Quinoa Salad Delight combines sweet and savory flavors that...
READ MORE →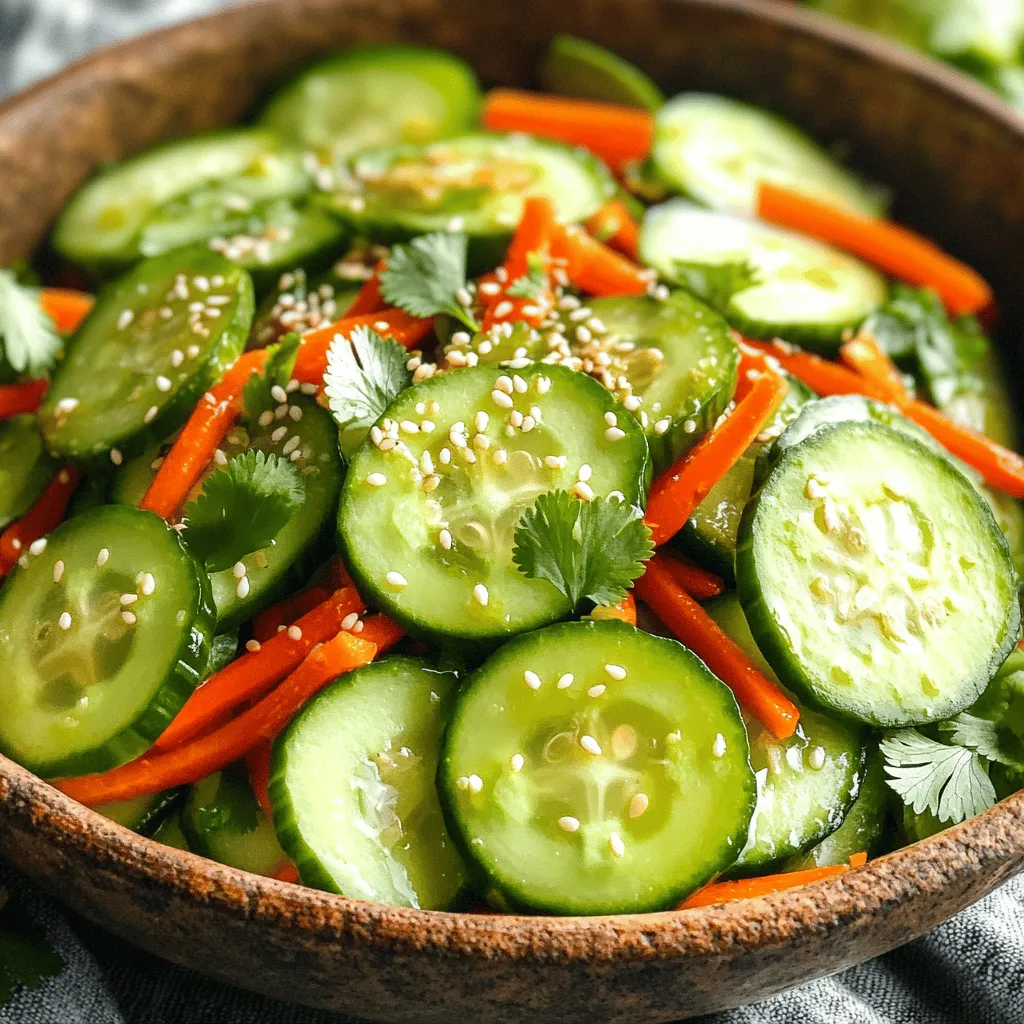
Are you ready to jazz up your meals? My Spicy Cucumber Salad is both fresh and flavorful! This simple dish...
READ MORE →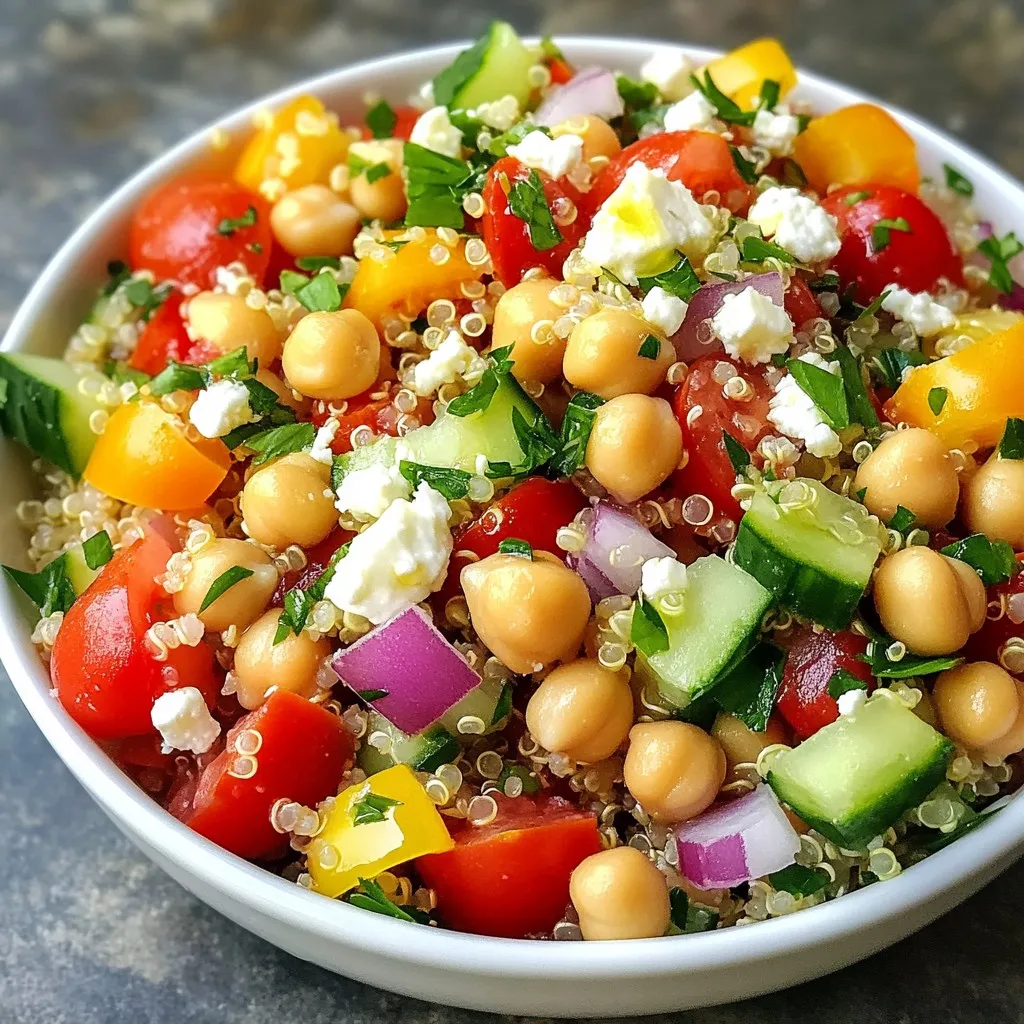
Looking for a fresh and healthy meal that bursts with flavor? You’ll love this Mediterranean Chickpea Quinoa Salad! It combines...
READ MORE →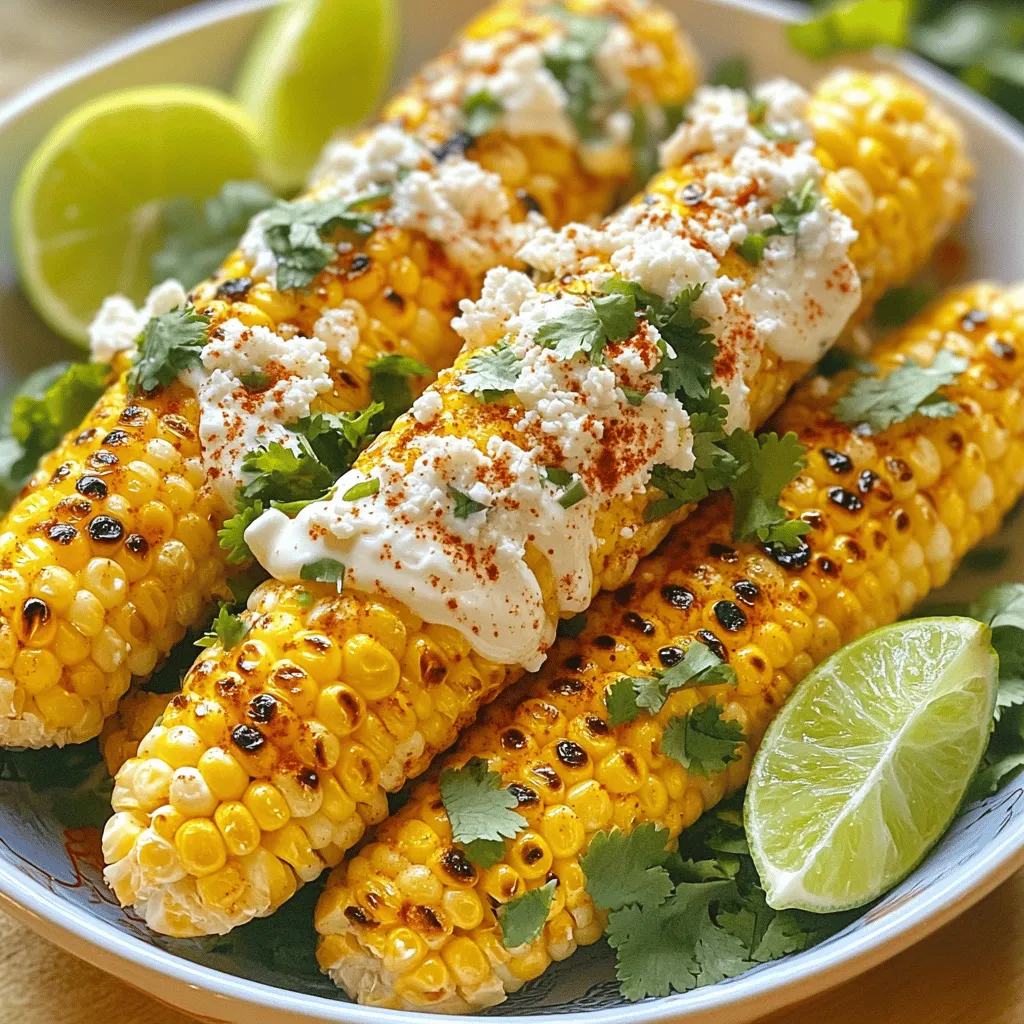
If you love corn, you’ll adore Classic Elote Off the Cob. This simple dish packs bold flavors, creamy textures, and...
READ MORE →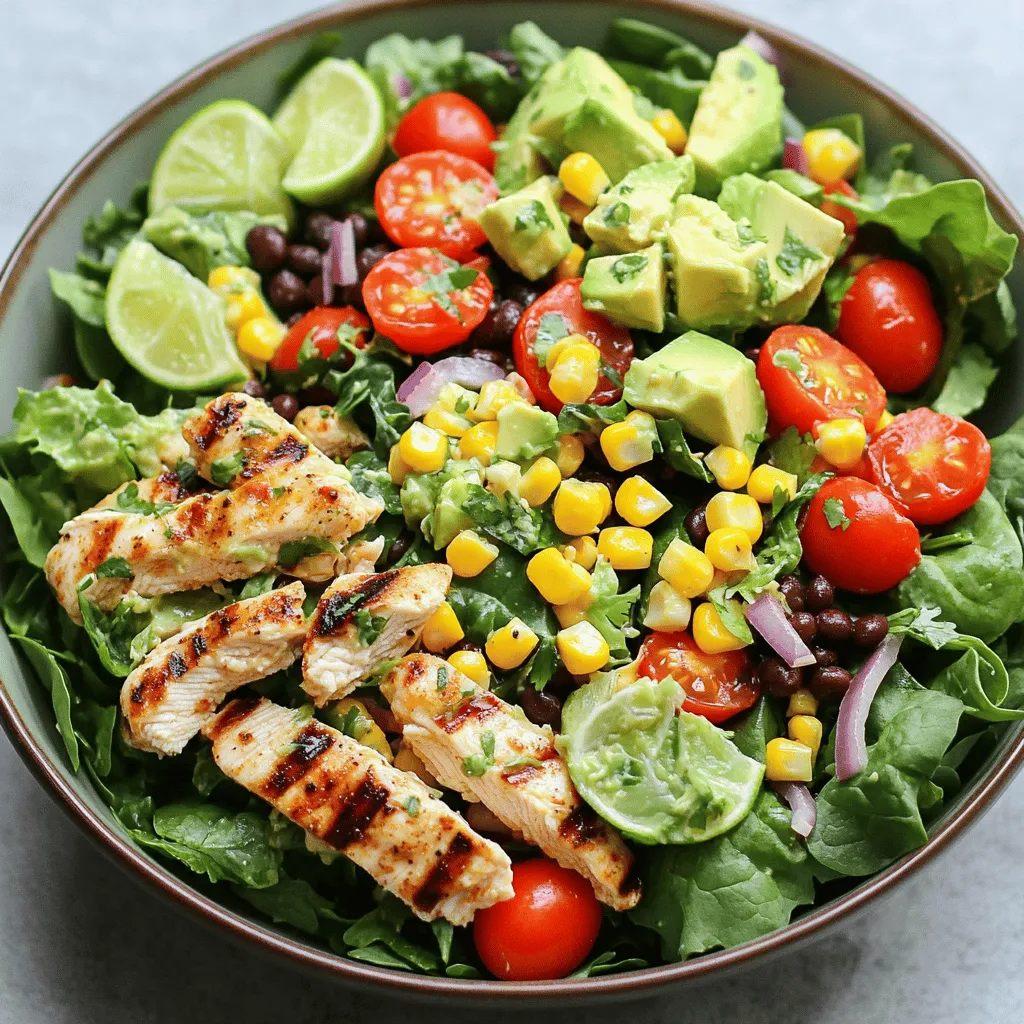
If you’re looking for a quick, fresh, and flavorful meal, you’re in for a treat! My Easy Zesty Southwest Chicken...
READ MORE →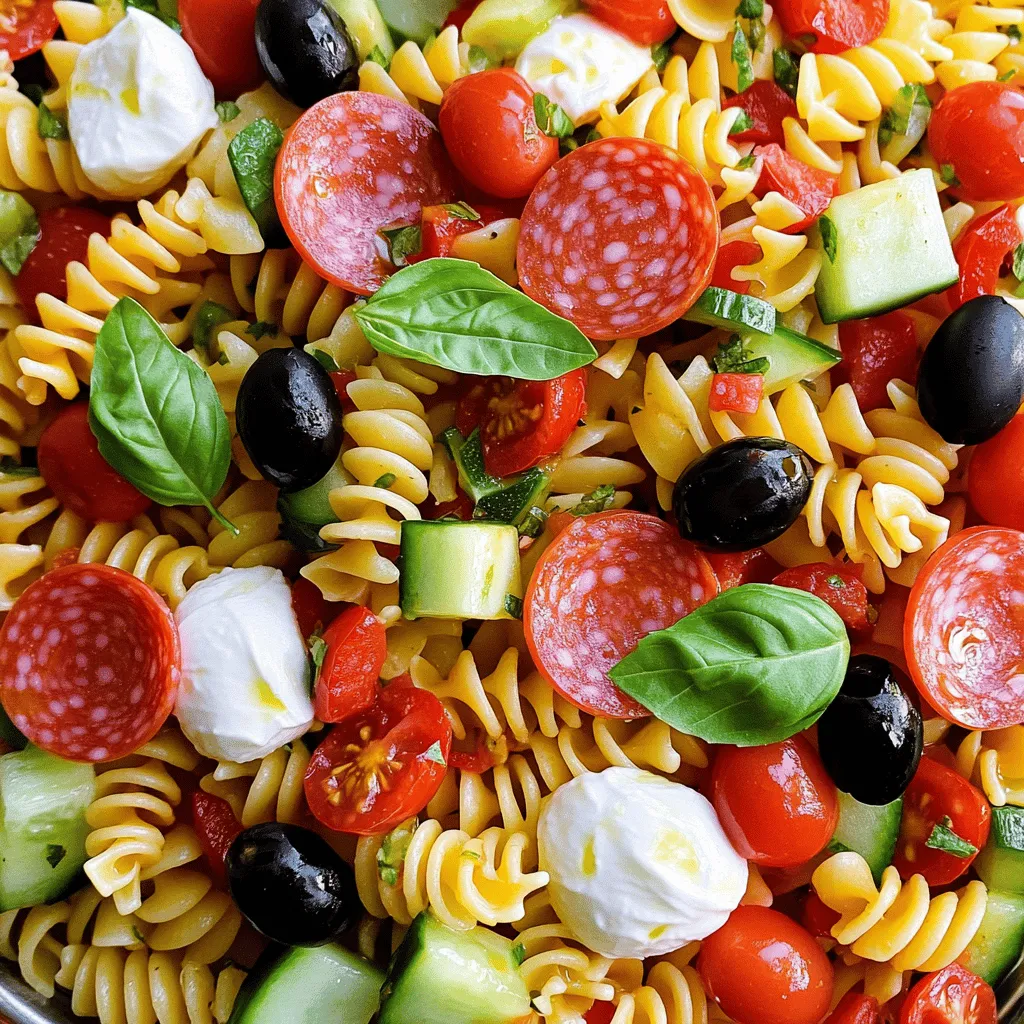
Ready to turn dinner time into a fun event? This 20-Minute Kid-Friendly Supreme Pizza Pasta Salad Delight is your secret...
READ MORE →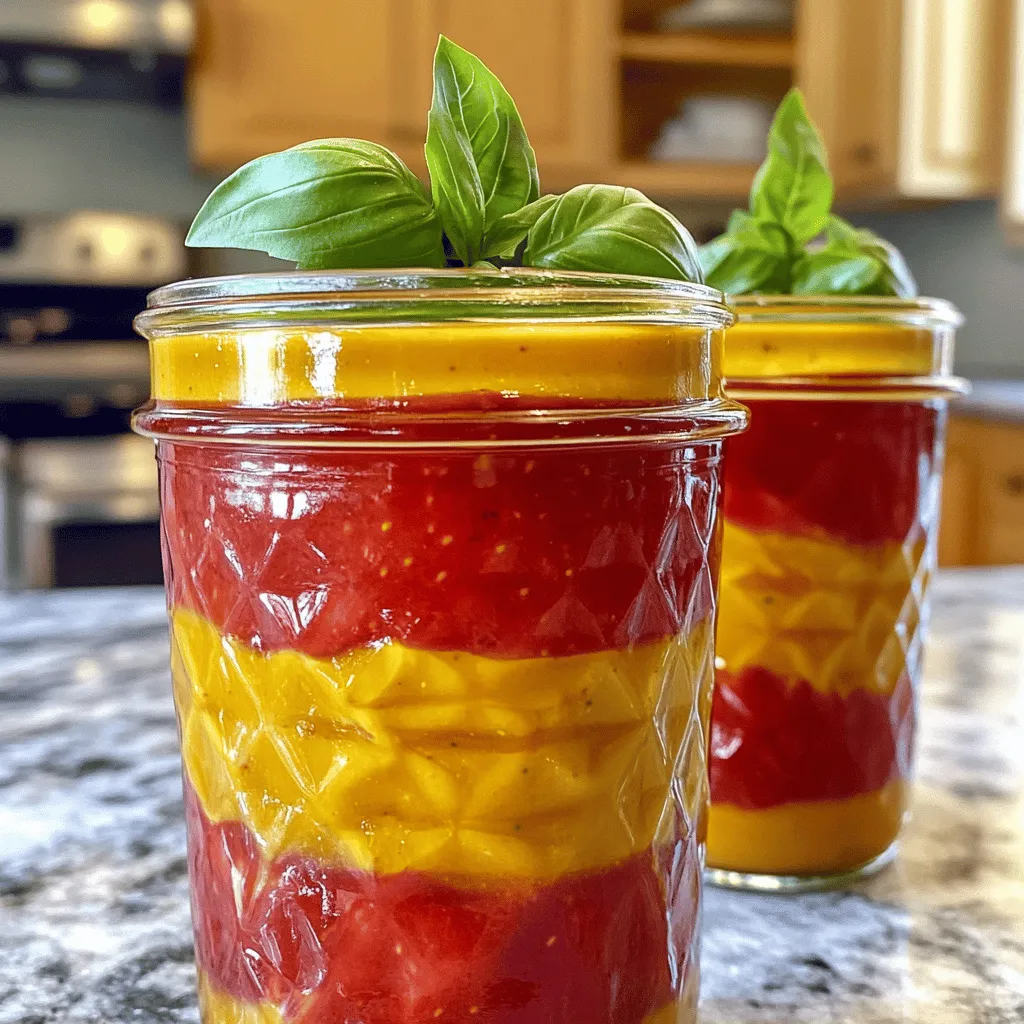
Are you ready to elevate your salads with a burst of flavor? This Strawberry Balsamic Vinaigrette is easy to make...
READ MORE →