SALADS
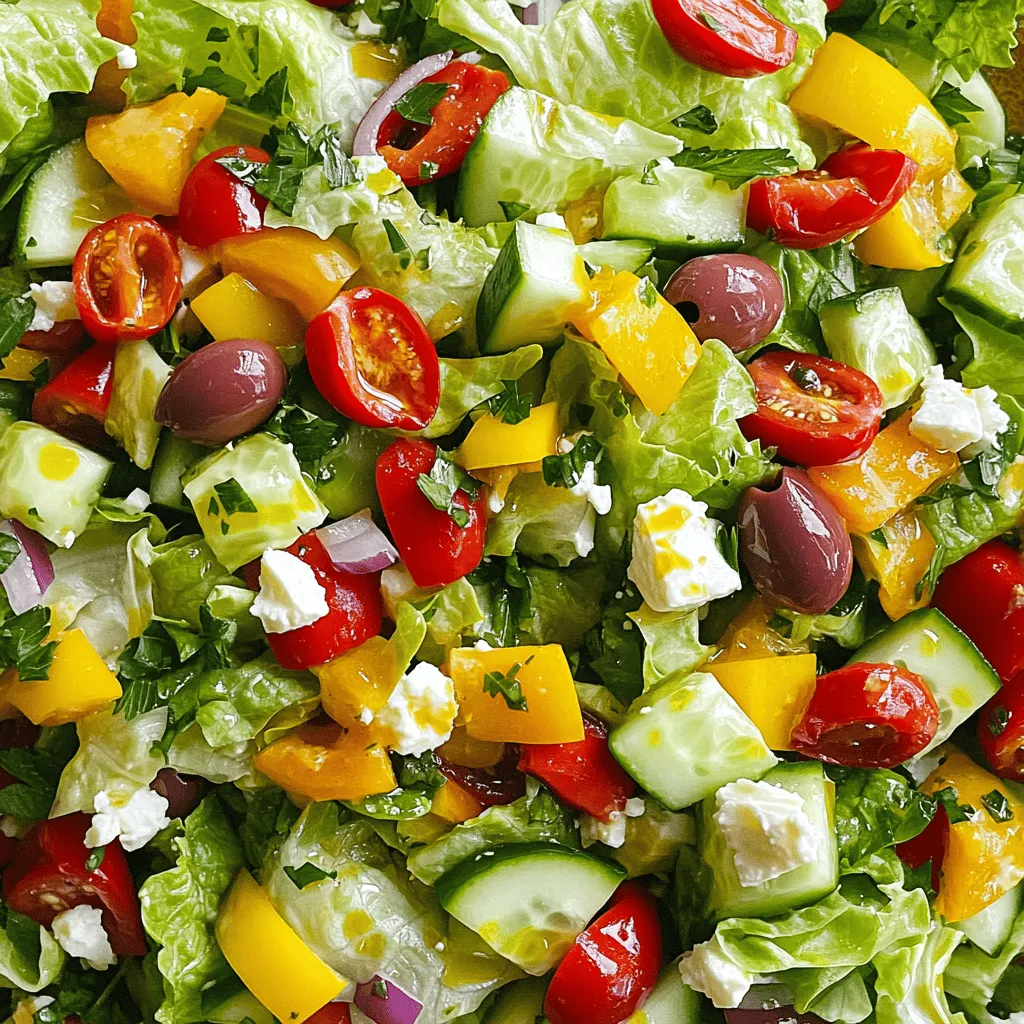
Famous La Scala Chopped Salad Fresh and Flavorful Dish
If you love fresh and tasty salads, you will adore the Famous La Scala Chopped Salad! This vibrant dish features...
READ MORE →Explore our collection of salads recipes
If you love fresh and tasty salads, you will adore the Famous La Scala Chopped Salad! This vibrant dish features...
READ MORE →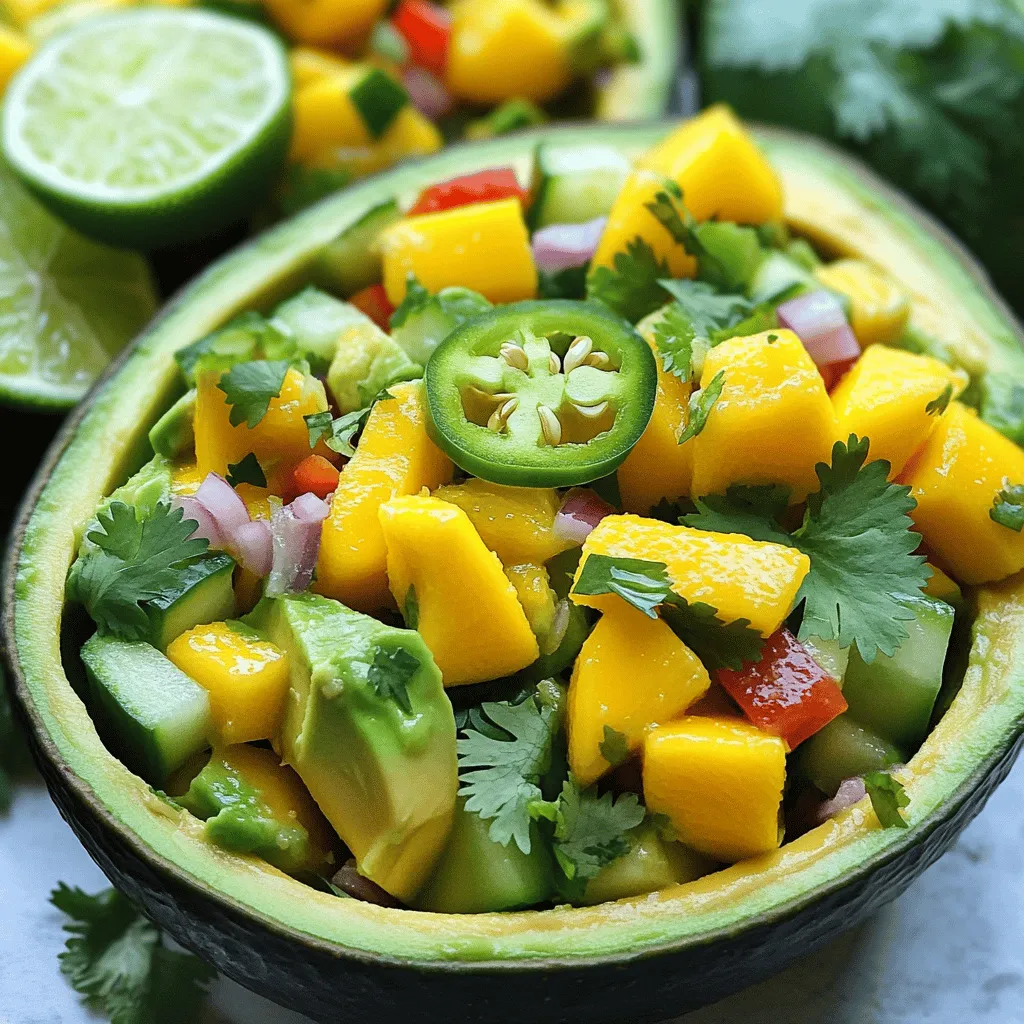
Looking for a vibrant, refreshing dish to brighten your summer meals? My Mango Salad is the answer! With ripe mangoes,...
READ MORE →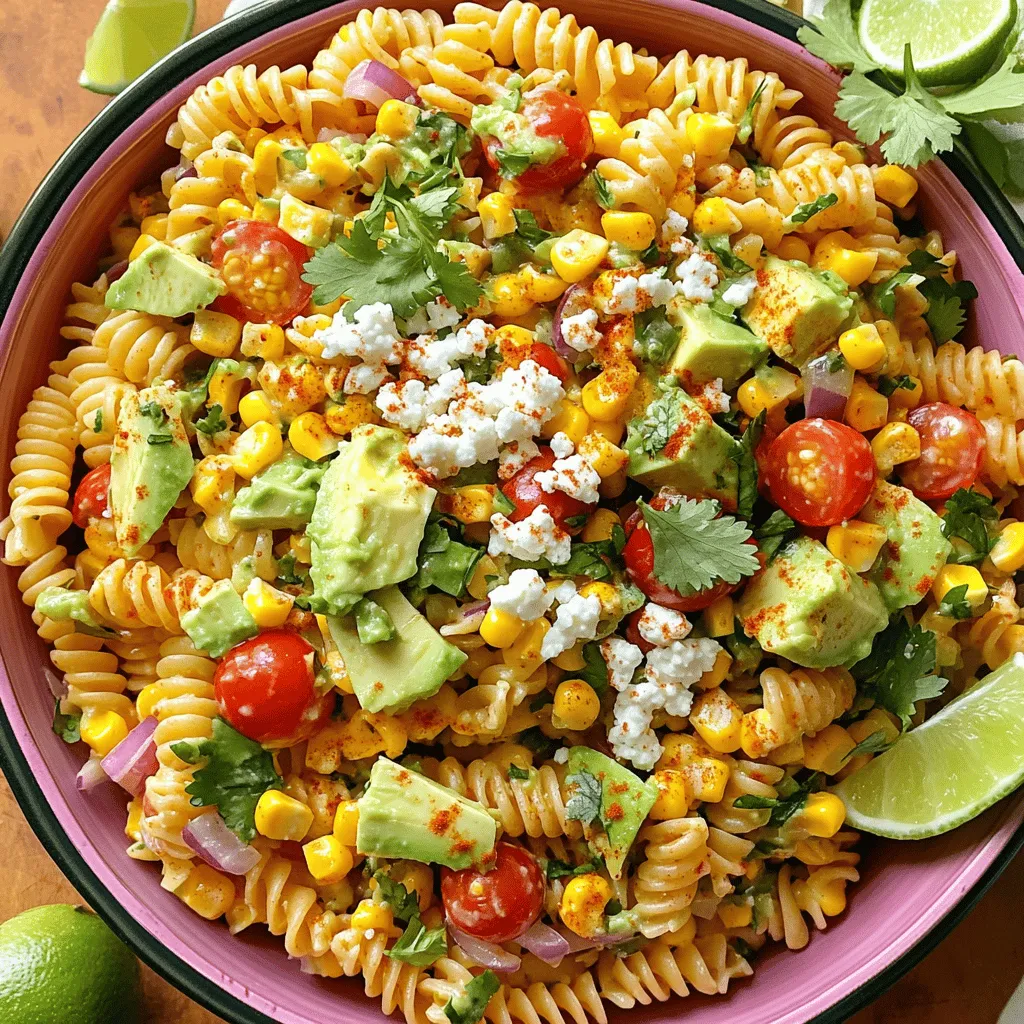
Craving a bright, zesty dish that’s perfect for any gathering? Dive into my Tasty Mexican Street Corn Pasta Salad! This...
READ MORE →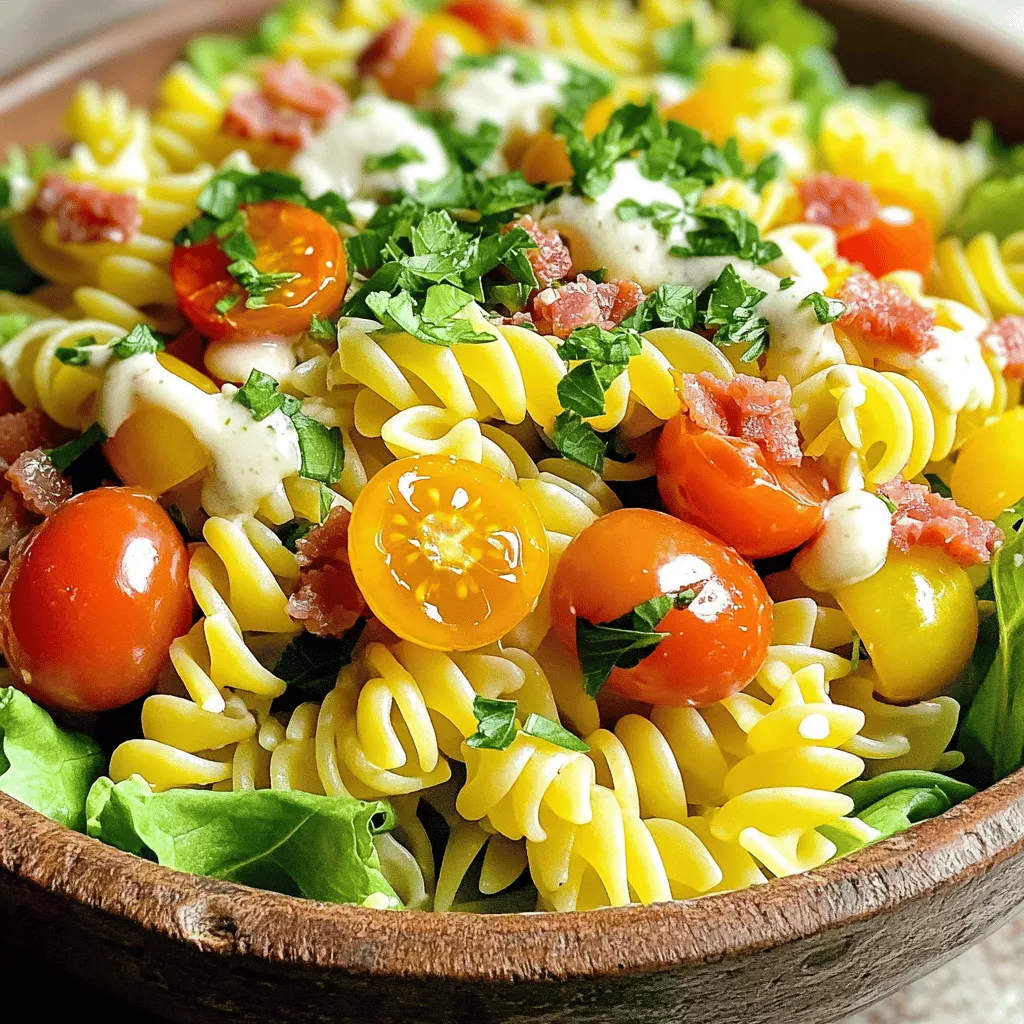
Looking for a fresh, tasty summer dish? This BLT Pasta Salad is the perfect solution! It combines the classic flavors...
READ MORE →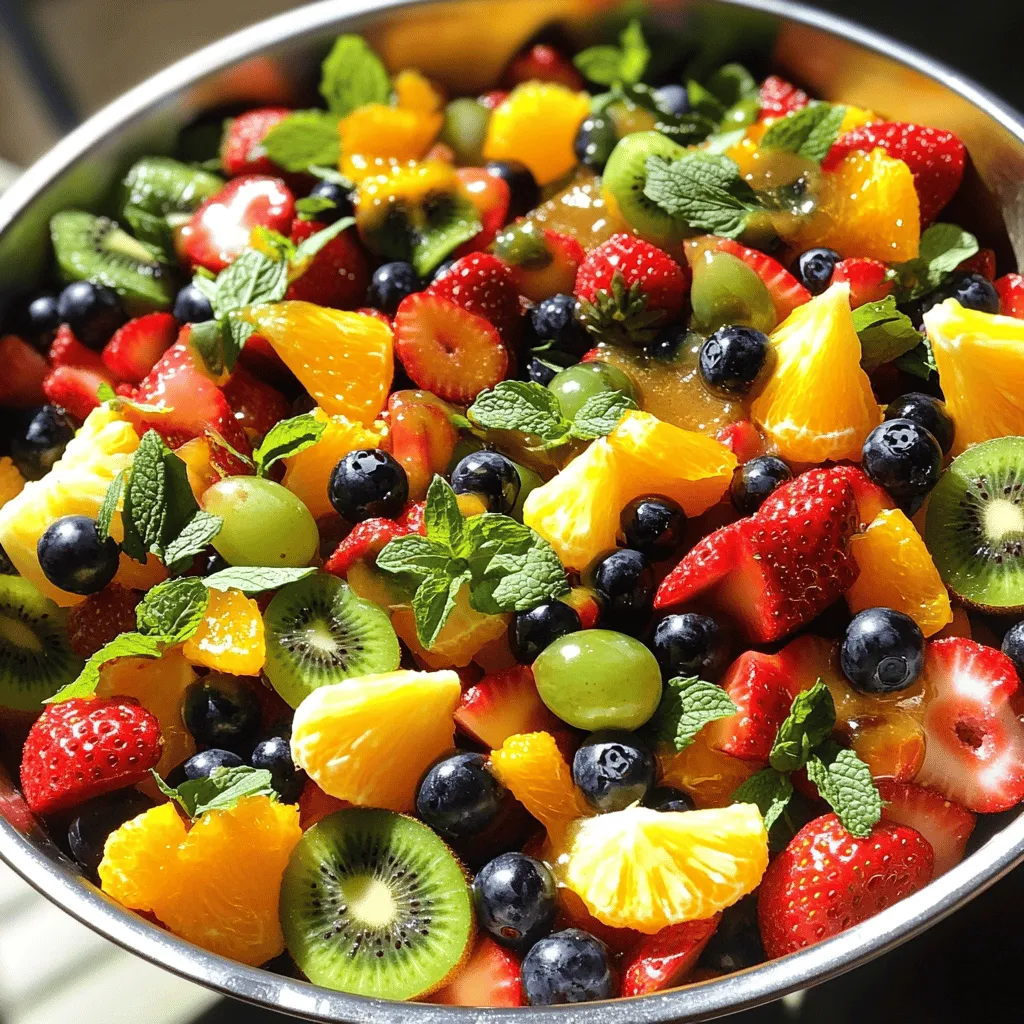
Looking for a simple and tasty treat? This Easy Fruit Salad Recipe is the fast, fresh choice you need! With...
READ MORE →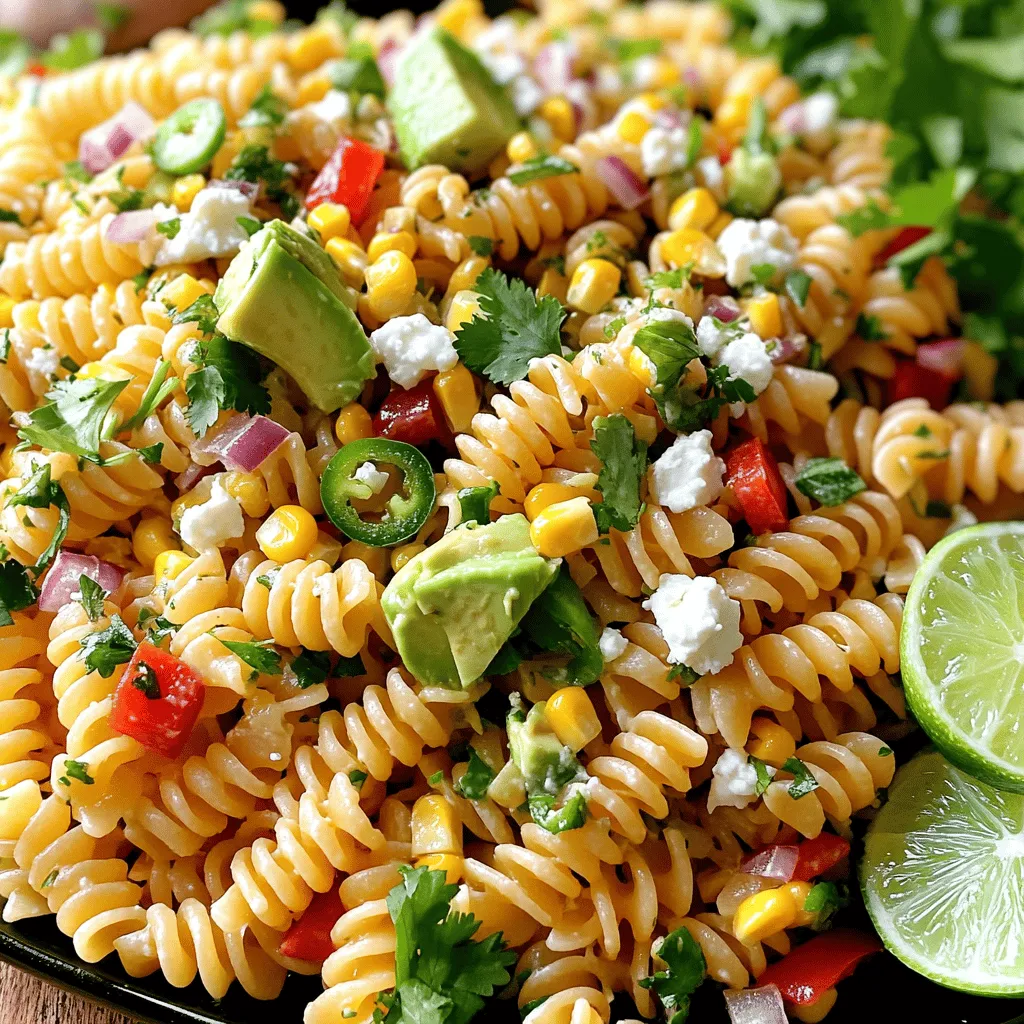
Are you ready to brighten up your meals with a burst of flavor? This Mexican Street Corn Pasta Salad is...
READ MORE →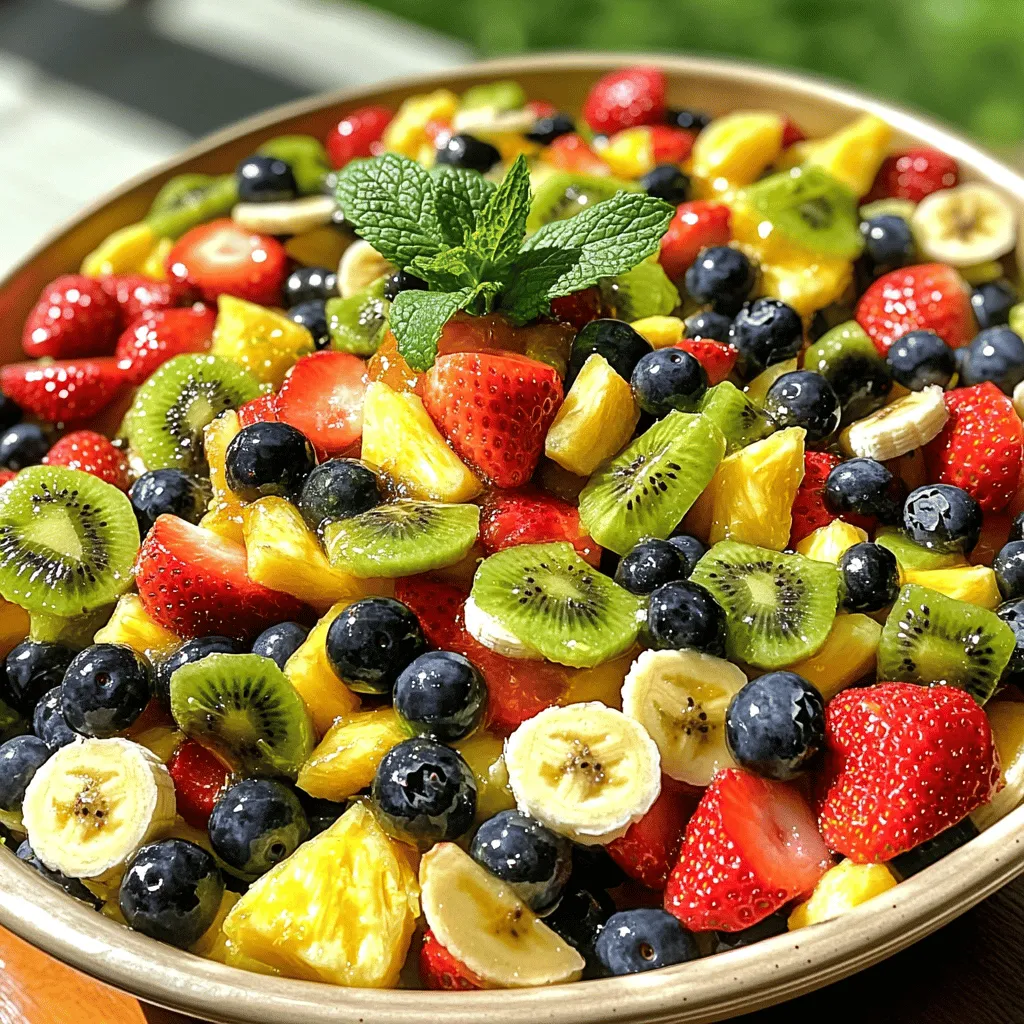
Looking for a refreshing treat that bursts with flavor? My Honey Lime Fruit Salad is the answer! This easy recipe...
READ MORE →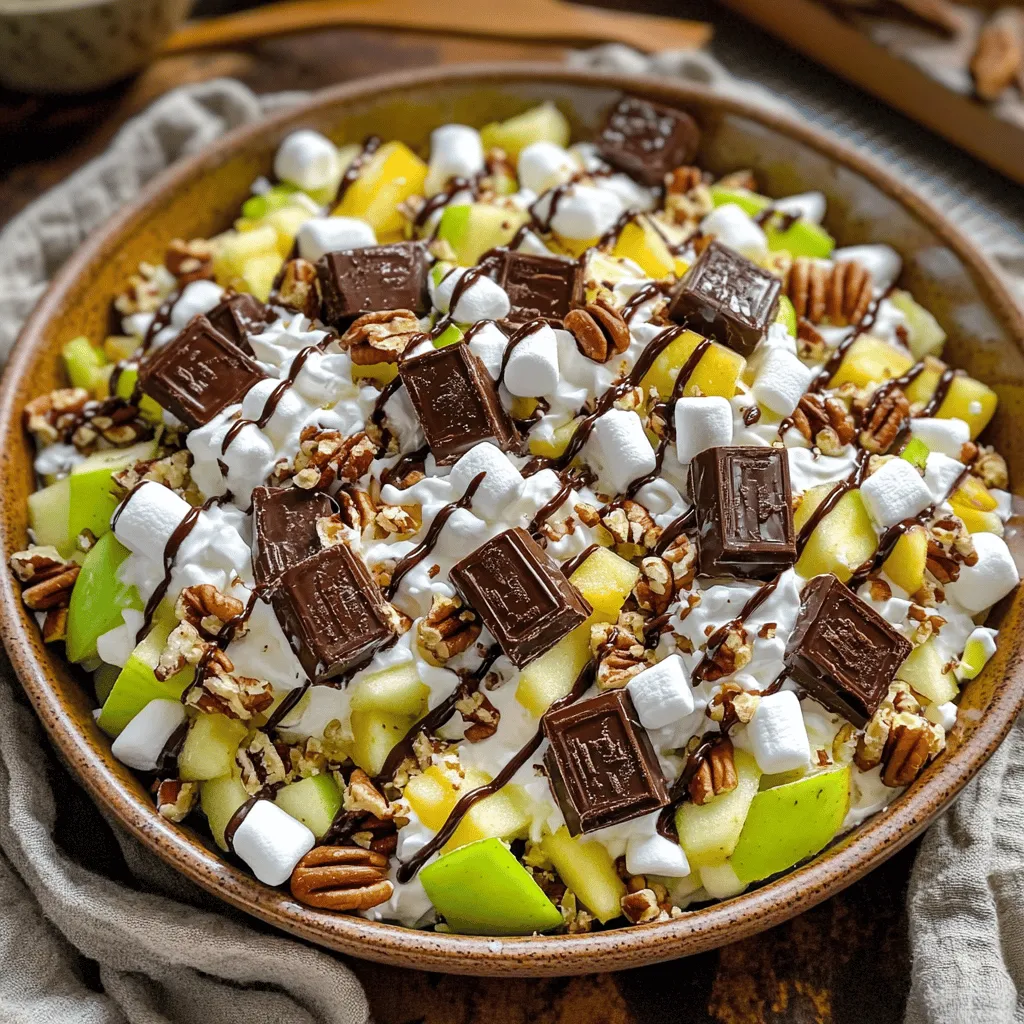
If you’re looking for a fun and tasty treat, Snickers Salad is the way to go! This easy recipe combines...
READ MORE →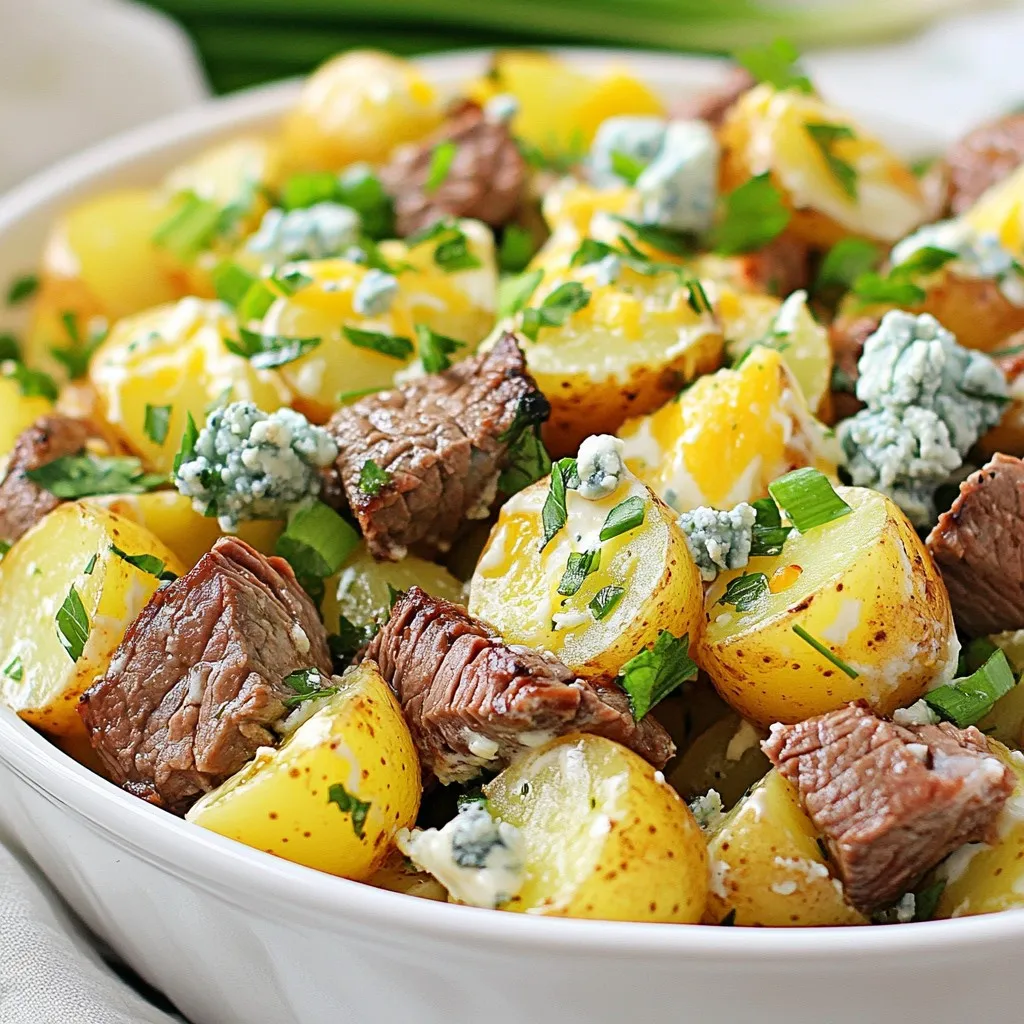
Are you tired of the same old potato salad? Let’s spice things up! This Savory Steakhouse Potato Salad is not...
READ MORE →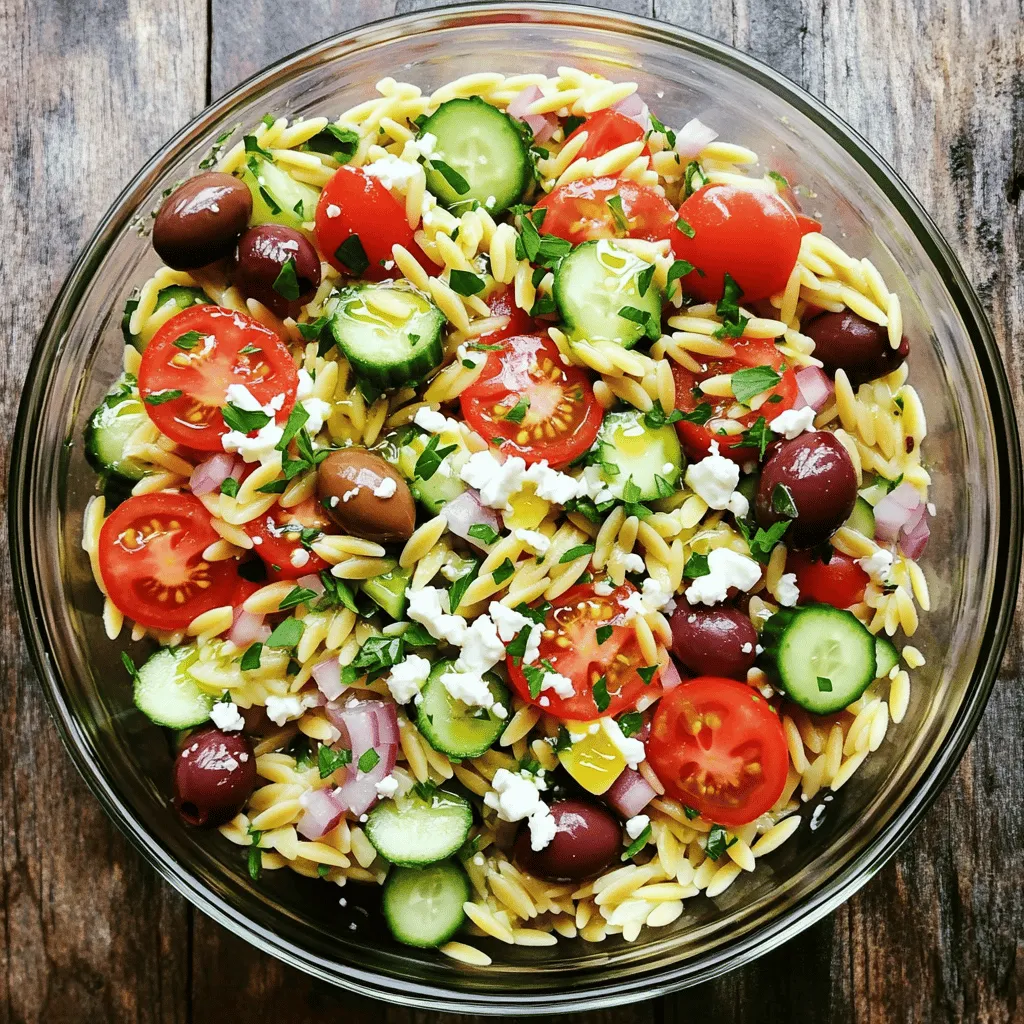
Dive into a bowl of freshness with my Mediterranean Orzo Pasta Salad! This vibrant dish combines colorful veggies, tangy olives,...
READ MORE →