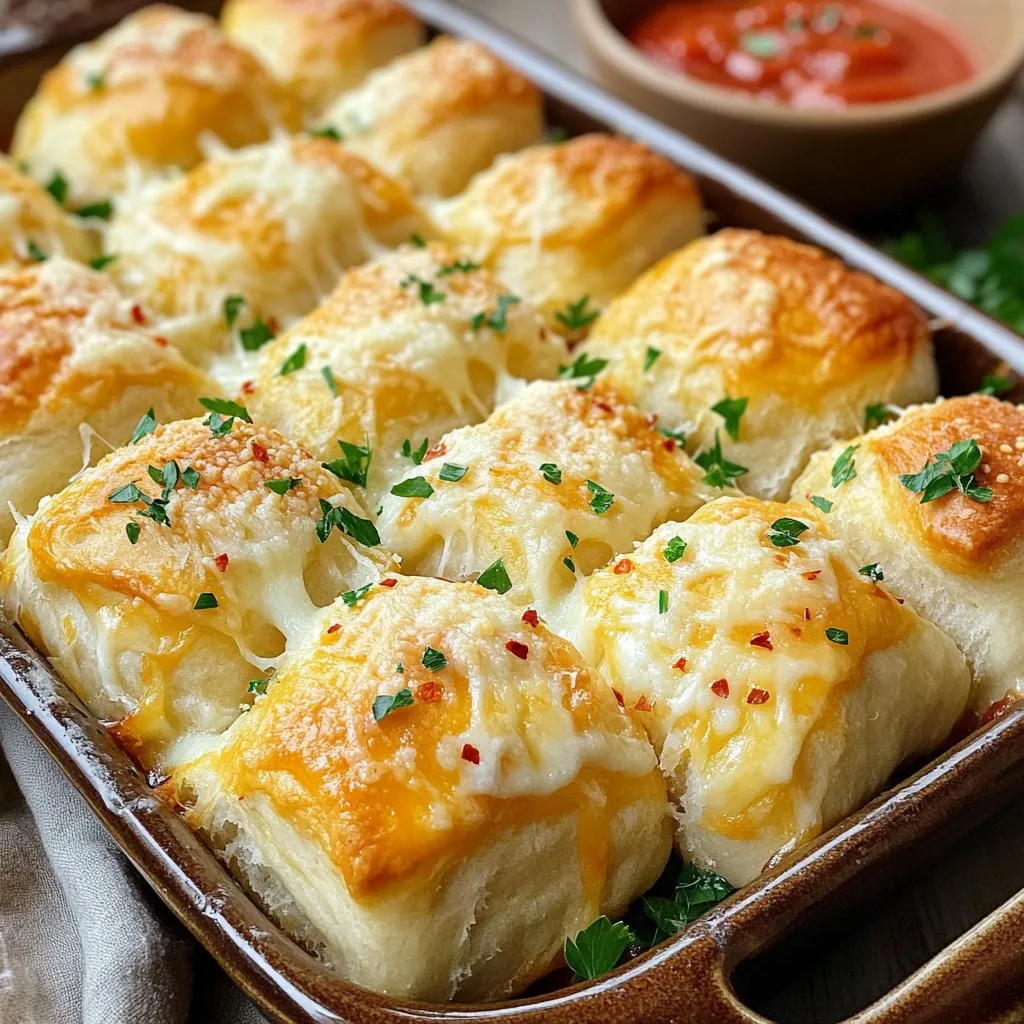

Are you ready to indulge in warm, cheesy garlic rolls that burst with flavor? In this blog post, I’ll show you how to make fluffy and delightful rolls that will impress anyone. With easy ingredients and simple steps, you will create a snack or side dish everyone will love. Join me on this tasty journey, and let’s unleash the aroma of garlic and cheese in your kitchen!
Ingredients
List of Essential Ingredients
To make cheesy garlic rolls, gather these key items:
– 1 cup warm milk (around 110°F)
– 2 tablespoons granulated sugar
– 2 1/4 teaspoons active dry yeast (1 packet)
– 3 cups all-purpose flour, plus extra for dusting
– 1/2 teaspoon fine sea salt
– 1/4 cup unsalted butter, melted and slightly cooled
– 1 large egg, at room temperature
– 1 cup shredded mozzarella cheese
– 1/2 cup grated Parmesan cheese
– 4 cloves fresh garlic, finely minced
– 2 tablespoons fresh parsley, finely chopped
Optional Ingredients for Extra Flavor
For a unique twist on these rolls, consider adding:
– 1/4 teaspoon crushed red pepper flakes (for a spicy kick)
– Extra herbs like oregano or basil for more flavor
Measuring Tips and Substitutions
– Use a kitchen scale for precise flour measurements.
– If you don’t have warm milk, use water at the same temperature.
– Substitute garlic powder if fresh garlic is not available.
– Any melting cheese can replace mozzarella for different tastes.
By using these ingredients and tips, you can create delicious cheesy garlic rolls that everyone will love!
Step-by-Step Instructions
Activating the Yeast
Start with a small bowl. Add 1 cup of warm milk, 2 tablespoons of sugar, and 2 1/4 teaspoons of active dry yeast. Mix gently and let it sit for 5-10 minutes. Watch for bubbles and foam; this shows the yeast is active. This step is key for fluffy rolls.
Mixing and Kneading the Dough
In a large bowl, combine 3 cups of all-purpose flour and 1/2 teaspoon of fine sea salt. Make a well in the center. Pour in the melted butter, the egg, and the yeast mixture. Stir until a soft dough forms. Transfer it to a floured surface and knead for 5-7 minutes. Aim for a smooth and elastic dough.
Rolling and Filling the Rolls
After kneading, put the dough in a greased bowl. Cover it with a cloth and let it rise in a warm place for about 1 hour. When it has doubled in size, punch it down. Roll it out into a rectangle, about 1/4 inch thick. In a bowl, mix 1 cup of mozzarella, 1/2 cup of Parmesan, 4 minced garlic cloves, and 2 tablespoons of parsley. Spread this cheesy mix over the dough. Roll the dough tightly from one edge and cut it into 12 equal pieces.
Baking to Perfection
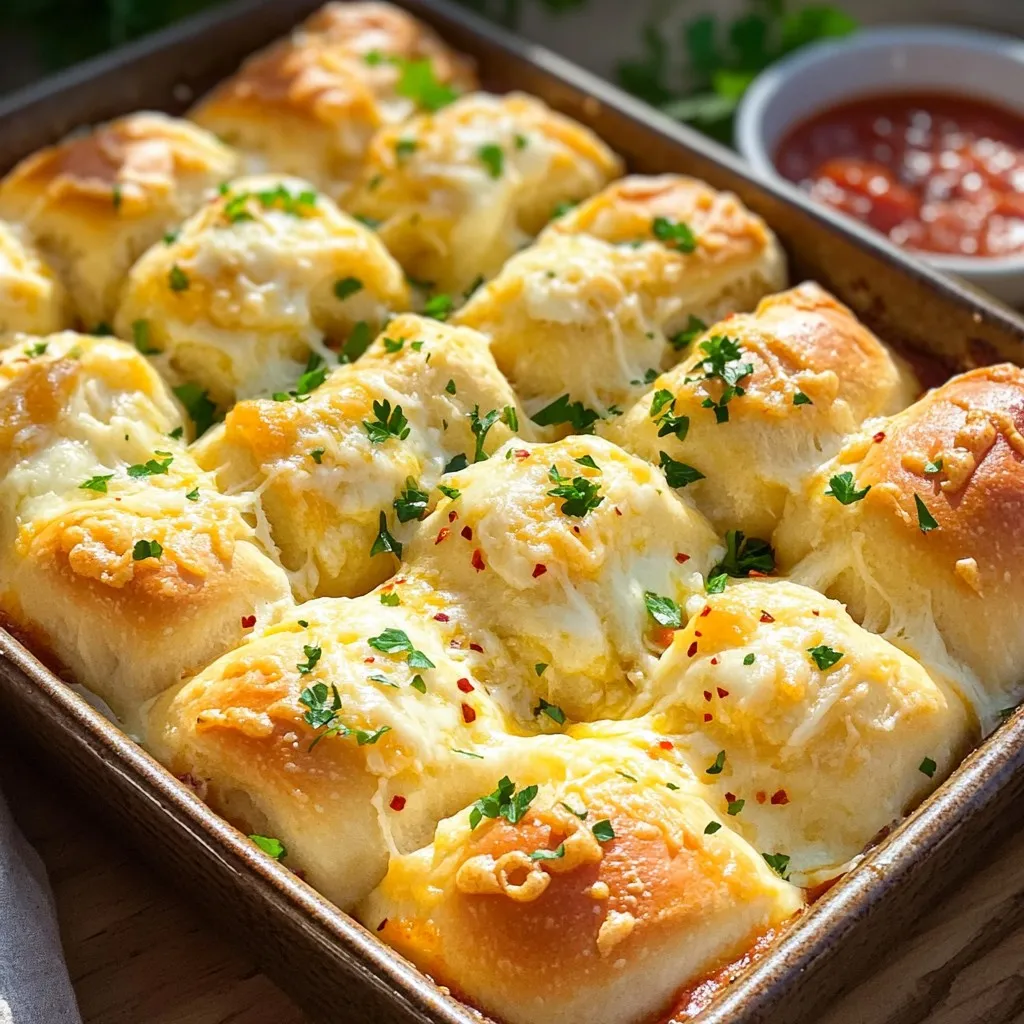
Place the cut rolls in a greased dish, close but not touching. Preheat your oven to 375°F (190°C). Let the rolls rise for another 30 minutes while the oven heats. Bake for 20-25 minutes until golden brown. Remove from the oven and brush with melted butter. Optionally, sprinkle more parsley on top for a fresh finish. Enjoy the delicious aroma as they bake!
Tips & Tricks
Best Practices for Perfect Dough
To make the best dough for cheesy garlic rolls, start with warm milk. Milk should be around 110°F. This helps activate the yeast well. Use granulated sugar to feed the yeast. Let it bubble for 5-10 minutes. Knead the dough firmly for about 5-7 minutes. You want it smooth and elastic. Cover the dough and let it rise in a warm spot. It should double in size.
How to Achieve Fluffy Rolls
To get fluffy rolls, the right rise time matters. After kneading, let the dough rest. Punch it down gently to release air. Roll it out to 1/4 inch thick. Spread the cheesy garlic filling evenly. Roll it tightly for even baking. Let the rolls rise again for 30 minutes before baking. They will puff up nicely.
Recommended Tools for Making Rolls
Using the right tools can help a lot. Have a large mixing bowl for the dough. A clean kitchen cloth is great for covering it. Use a rolling pin to shape the dough. A sharp knife or dough cutter helps cut the rolls evenly. A greased baking dish holds your rolls safely. A pastry brush works well for buttering the tops.
Variations
Adding Herbs and Spices
You can boost the flavor of cheesy garlic rolls by adding herbs and spices. Fresh herbs like basil or thyme can add a nice twist. Try mixing in dried oregano for a warm flavor. For heat, sprinkle in crushed red pepper flakes. Just a pinch can make a big difference in taste. These simple additions can make your rolls even more special.
Cheese Options and Combinations
Experimenting with cheese is a fun way to change your rolls. Mozzarella is a great base, but you can add other cheeses too. Consider using sharp cheddar for a bolder flavor. You can also try gouda or fontina for a creamy texture. Mixing cheeses can create a unique taste each time you bake. Don’t be afraid to get creative with your cheese choices!
Vegan and Gluten-Free Adaptations
Making vegan or gluten-free cheesy garlic rolls is easier than you think. For a vegan version, swap the milk with almond or oat milk. Use vegan butter instead of regular butter. Replace the egg with flaxseed meal mixed with water. For gluten-free rolls, use a gluten-free flour blend. These changes allow everyone to enjoy this tasty treat!
Storage Info
How to Store Made Rolls
To keep your cheesy garlic rolls fresh, let them cool completely. Place them in an airtight container. You can also wrap them tightly in plastic wrap. Store them at room temperature for up to three days. If you want to keep them longer, consider refrigeration.
Reheating Instructions
When you want to enjoy your rolls again, preheat your oven to 350°F (175°C). Place the rolls on a baking sheet. Cover them with foil to keep them soft. Heat for about 10-15 minutes. You can also use a microwave if you prefer. Heat them for about 20-30 seconds. Check if they are warm enough for your taste.
Freezing for Future Enjoyment
To freeze your cheesy garlic rolls, make sure they are fully cooled. Wrap each roll in plastic wrap. Then, place them in a freezer bag. Squeeze out the air before sealing. These rolls can last in the freezer for up to three months. When you want to eat them, let them thaw in the fridge overnight. Reheat as usual for a perfect treat!
FAQs
Can I use instant yeast instead of active dry yeast?
Yes, you can use instant yeast in place of active dry yeast. Instant yeast is more potent and works faster. You can skip the activation step. Just mix it with the dry ingredients. Use the same amount, about 2 1/4 teaspoons or one packet. Your rolls will still be fluffy and delicious.
What can I serve with cheesy garlic rolls?
You can serve cheesy garlic rolls with many tasty options. A small bowl of marinara sauce works great as a dip. You can also pair them with soups, salads, or pasta dishes. They are perfect for sharing at parties or family dinners. The warm, cheesy flavor lifts any meal.
How long do cheesy garlic rolls last?
Cheesy garlic rolls can last about 2-3 days at room temperature. Store them in an airtight container to keep them fresh. If you want them to last longer, you can freeze them. Wrap them tightly in plastic wrap and foil. They can stay good for about 3 months in the freezer. Just thaw and reheat before serving.
This guide covered all you need for making amazing rolls. We explored essential ingredients, step-by-step instructions, and tips for perfect dough. You also learned about fun variations and how to store your rolls.
Remember, the right tools and careful measuring make a big difference. Enjoy crafting your rolls and experimenting with flavors! Happy baking!
