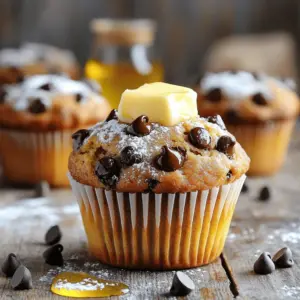
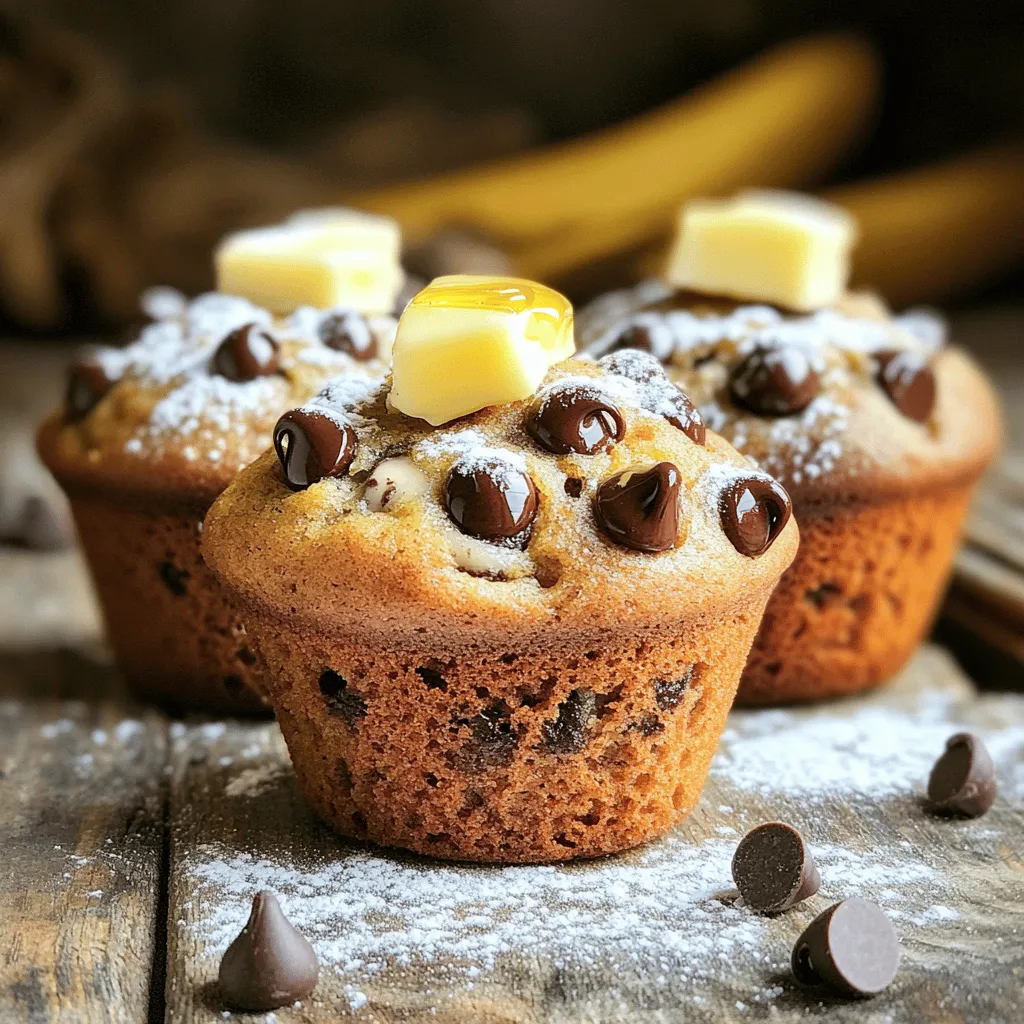
Craving something sweet and easy? Let me introduce you to Chocolate Chip Banana Bread Muffins! This simple recipe fuses ripe bananas and rich chocolate, creating a delightful treat perfect for breakfast or a snack. Whether you’re a kitchen pro or just starting, you’ll love how quickly you can whip up a batch. Ready to dive in and fill your home with the irresistible aroma of baking muffins? Let’s get started!
Ingredients
List of Required Ingredients
– 3 ripe bananas, well mashed
– 1/3 cup melted coconut oil
– 1/2 cup packed brown sugar
– 1/4 cup granulated sugar
– 2 large eggs, at room temperature
– 1 teaspoon pure vanilla extract
– 1 teaspoon baking soda
– 1/4 teaspoon sea salt
– 1 1/2 cups all-purpose flour
– 1/2 cup chocolate chips (dark or milk)
– 1/4 cup chopped walnuts (optional)
The key to great muffins starts with ripe bananas. They add natural sweetness and moisture. Use bananas with lots of brown spots. This shows they are ready to mash and mix. I like to melt coconut oil for a rich taste. You can also use butter, but coconut oil gives a nice twist.
Next, you need both brown sugar and granulated sugar. Brown sugar makes the muffins soft and chewy. Granulated sugar helps them rise nicely. Mixing both gives a great balance of flavor.
Eggs are important for structure. They hold the muffins together. Use large eggs at room temp; they mix better. Vanilla extract adds a lovely aroma. Who doesn’t love the smell of vanilla while baking?
Baking soda helps the muffins rise. It works with the acidity in the bananas. Sea salt brings out the flavors. Don’t skip it!
All-purpose flour is the main base. It gives the muffins structure. Be careful not to overmix when adding it.
Now, for the star ingredient: chocolate chips! You can choose dark or milk chocolate. They make each bite delightful. If you like some crunch, add walnuts. They bring a nice texture.
Gather all your ingredients before you start. This makes baking easier and more fun!
Step-by-Step Instructions
Preparation of Muffin Mixture
1. Preheating the oven
Start by preheating your oven to 350°F (175°C). This step is key for even baking.
2. Preparing the muffin tin
Next, prepare your muffin tin. Line it with paper liners or grease it lightly. This helps the muffins come out easily.
3. Mixing the banana and coconut oil
In a large bowl, add 3 ripe bananas. Use a fork to mash them well. Then, pour in 1/3 cup of melted coconut oil. Mix them until the mixture is smooth and creamy.
4. Combining sugars to banana mixture
Gradually add 1/2 cup of packed brown sugar and 1/4 cup of granulated sugar to the bowl. Stir until the sugars blend well into the banana mix. The mixture should feel slightly fluffy.
Incorporating Eggs and Dry Ingredients
5. Adding eggs to the mixture
Now, add 2 large eggs, one at a time. Mix well before adding the next egg. This ensures a smooth batter.
6. Mixing in vanilla extract
Add 1 teaspoon of pure vanilla extract to the mixture. This gives your muffins a lovely flavor.
7. Adding baking soda and sea salt
Sprinkle 1 teaspoon of baking soda and 1/4 teaspoon of sea salt over the batter. Stir gently with a spatula. This helps your muffins rise without overmixing.
Final Steps in Muffin Preparation
8. Integrating flour carefully
Gradually fold in 1 1/2 cups of all-purpose flour. Mix until just combined. Be careful not to overmix, or your muffins may turn out dense.
9. Adding chocolate chips and walnuts
Now, add 1/2 cup of chocolate chips and 1/4 cup of chopped walnuts if you like. Fold them gently into the batter to distribute evenly.
10. Filling muffin cups and baking
Spoon the batter into each muffin cup, filling them about 3/4 full. Bake in the preheated oven for 18-22 minutes. Check for doneness by inserting a toothpick. It should come out clean or with a few moist crumbs.
Once baked, let the muffins cool in the tin for about 5 minutes before transferring them to a wire rack. This step will help enhance their texture.
Tips & Tricks
Perfecting Muffin Texture
Avoiding overmixing
Mixing is key, but too much can ruin your muffins. When you add flour, stir just until you see no dry bits. This keeps your muffins light and fluffy. Remember, a few lumps are okay!
Testing for doneness
To know when your muffins are ready, use a toothpick. Stick it in the center of a muffin. If it comes out clean or with a few crumbs, your muffins are done. This simple test ensures you don’t overbake.
Enhancing Flavor
Tip on chocolate choices
Choose your chocolate wisely. Dark chocolate gives a rich flavor, while milk chocolate adds sweetness. You can even mix both for a fun twist! The type of chocolate you pick changes the taste of your muffins.
Suggestions for additional mix-ins
Want to jazz up your muffins? Add some chopped walnuts for crunch. You can also try adding spices like cinnamon or nutmeg for warmth. Dried fruit, like raisins or cranberries, can add a juicy burst of flavor too!
Variations
Healthier Alternates
You can make small changes to turn these muffins into healthier treats. First, you can swap all-purpose flour for whole wheat flour. This adds fiber and nutrients. Whole wheat flour gives a heartier taste.
Next, consider reducing the sugar content. You can cut the brown sugar by a third. If you want, try using mashed banana as a natural sweetener. This will keep the muffins tasty without all the sugar.
Flavor Additions
Adding spices can lift the flavor of your muffins. Try a teaspoon of cinnamon for warmth. A pinch of nutmeg gives a nice twist too. These spices make the muffins extra cozy.
If you want to change the nuts, you can use pecans or almonds instead of walnuts. Both give a different texture and taste. Pecans are buttery, while almonds add a nice crunch. Mixing and matching keeps your muffins exciting!
Storage Info
Cooling and Storing
After baking, let the muffins cool for five minutes in the tin. Then, move them to a wire rack. This step allows air to circulate around the muffins, helping them stay moist. Once they cool completely, store them in an airtight container. This keeps them fresh for up to three days at room temperature. If you want to keep them longer, freezing is a great option.
Freezing Muffins
To freeze your muffins, first, let them cool fully. Then, wrap each muffin in plastic wrap. Place the wrapped muffins in a freezer-safe bag or container. This helps protect them from freezer burn. You can freeze them for up to three months.
When you’re ready to enjoy a muffin, take it out and let it thaw. For the best texture, thaw it overnight in the fridge. You can also warm it in the microwave for a few seconds. This makes the muffin soft and tasty, just like fresh-baked!
FAQs
Common Questions About Chocolate Chip Banana Bread Muffins
Can I use frozen bananas?
Yes, you can use frozen bananas. Just thaw them first. They should be soft and mushy. This adds great flavor and moisture to your muffins.
What can I substitute for eggs?
If you need an egg substitute, try using flaxseed meal or applesauce. Use 1/4 cup of applesauce or 1 tablespoon of flaxseed mixed with 3 tablespoons of water for each egg.
How do I know when my muffins are done?
Check your muffins after 18 minutes. Insert a toothpick into a muffin’s center. If it comes out clean or with a few moist crumbs, they are done.
Can I make mini muffins instead?
Yes, you can make mini muffins! Just reduce the baking time to about 10-15 minutes. Keep an eye on them to avoid overbaking.
How long do these muffins last?
These muffins last about 3-4 days at room temperature. Store them in an airtight container to keep them fresh. You can also freeze them for longer storage.
You learned how to make delicious chocolate chip banana muffins. We covered important ingredients like ripe bananas and coconut oil. I shared a step-by-step guide to prepare and bake these treats. You also got tips for perfect texture and flavor enhancements. Finally, we explored variations for health and taste.
In the end, baking is fun and worthwhile. Enjoy these muffins fresh, or save some for later. Happy baking!