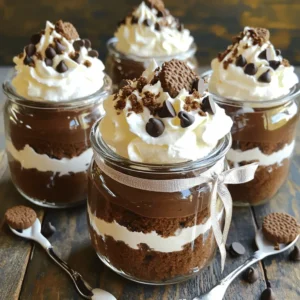
Craving a simple yet delightful dessert? Let’s dive into the world of Cookies and Cream Cake Jars! This treat layers rich chocolate cake, creamy filling, and crunchy cookie goodness, all in a jar. Perfect for any occasion, I’ll guide you through fun ingredient swaps, step-by-step instructions, and tips for beautiful layers. Get ready to impress your friends and family with this easy, delicious recipe!
Ingredients
List of Required Ingredients
– 1 cup chocolate cake crumbs
– 1 cup crushed chocolate sandwich cookies (such as Oreos)
– 1 cup heavy whipping cream
– 1/2 cup powdered sugar
– 1 teaspoon vanilla extract
– 1/4 cup cream cheese, softened
– 1/2 cup mini chocolate chips
– Extra crushed cookies for garnish
Ingredient Substitutions
– You can use coconut cream instead of heavy whipping cream. It gives a nice flavor.
– For gluten-free options, choose gluten-free cookies and a gluten-free cake mix.
– If you want lower sugar, try using a sugar substitute in the whipped cream.
These ingredient options make it easy for everyone to enjoy the cookies and cream cake jar. You can pick what suits your needs best. Remember, the key is to keep the layers balanced and delicious. Enjoy making this sweet treat!
Step-by-Step Instructions
Preparing the Chocolate Cake
To start, you need chocolate cake crumbs. You can bake a cake from scratch or use a mix. If you bake your cake, let it cool completely first. This step is key for a moist cake. Once cool, crumble the cake into fine pieces. Aim for about 1 cup of crumbs. This will give you a great base for your jar.
Making the Whipped Cream
Next, it’s time to make the whipped cream. In a medium bowl, mix heavy cream, powdered sugar, and vanilla extract. Use a hand mixer or stand mixer on medium speed. Beat the mixture until soft peaks form, which takes about 3-5 minutes.
Now, gently fold in the softened cream cheese. This step is important as it adds a rich flavor. Be careful not to overmix; you want to keep that light and airy texture.
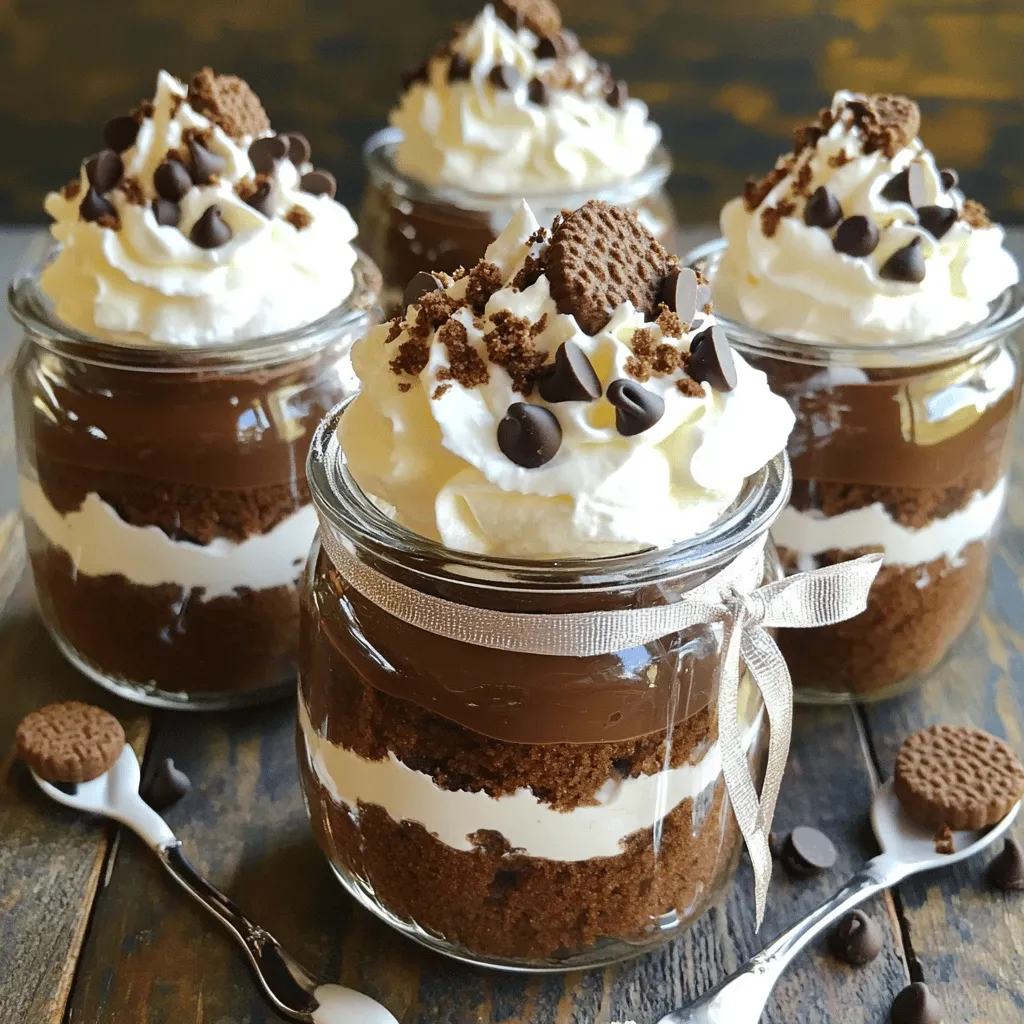
Layering the Cake Jar
Now for the fun part: layering your cake jar. Choose clear glass jars or cups. Start with a layer of chocolate cake crumbs at the bottom. This gives a solid base.
Next, spoon a layer of whipped cream over the crumbs. Use the back of a spoon to smooth it out evenly. Aim to fill about 1/4 of the jar with this layer.
Then, sprinkle a generous amount of crushed cookies on top. This adds great flavor and texture. Repeat these layers until the jars are full. Make sure the last layer is whipped cream for a clean finish.
Garnish the top with mini chocolate chips and extra crushed cookies. This adds a nice touch and makes your dessert look appealing.
Finally, cover the jars and refrigerate for at least 2 hours. This chill time helps the flavors mix well together. For the full recipe, check the earlier section.
Tips & Tricks
How to Achieve the Best Texture
To get smooth whipped cream, use chilled heavy cream. Chill your mixing bowl too. Start mixing slowly, then increase speed. Stop when you see soft peaks. This takes about 3 to 5 minutes.
To avoid soggy cake layers, use only the recommended amount of whipped cream. Make sure the cake crumbs are dry. Layer carefully, letting each layer rest before adding the next. This keeps everything light and fluffy.
Serving Suggestions
Cookies and cream cake jars are great for parties and birthdays. They work well for picnics too. You can enjoy them at family gatherings or movie nights.
For drinks, pair these jars with milk or coffee. Chocolate milk complements the cookies well. Lemonade offers a nice contrast for a summer treat.
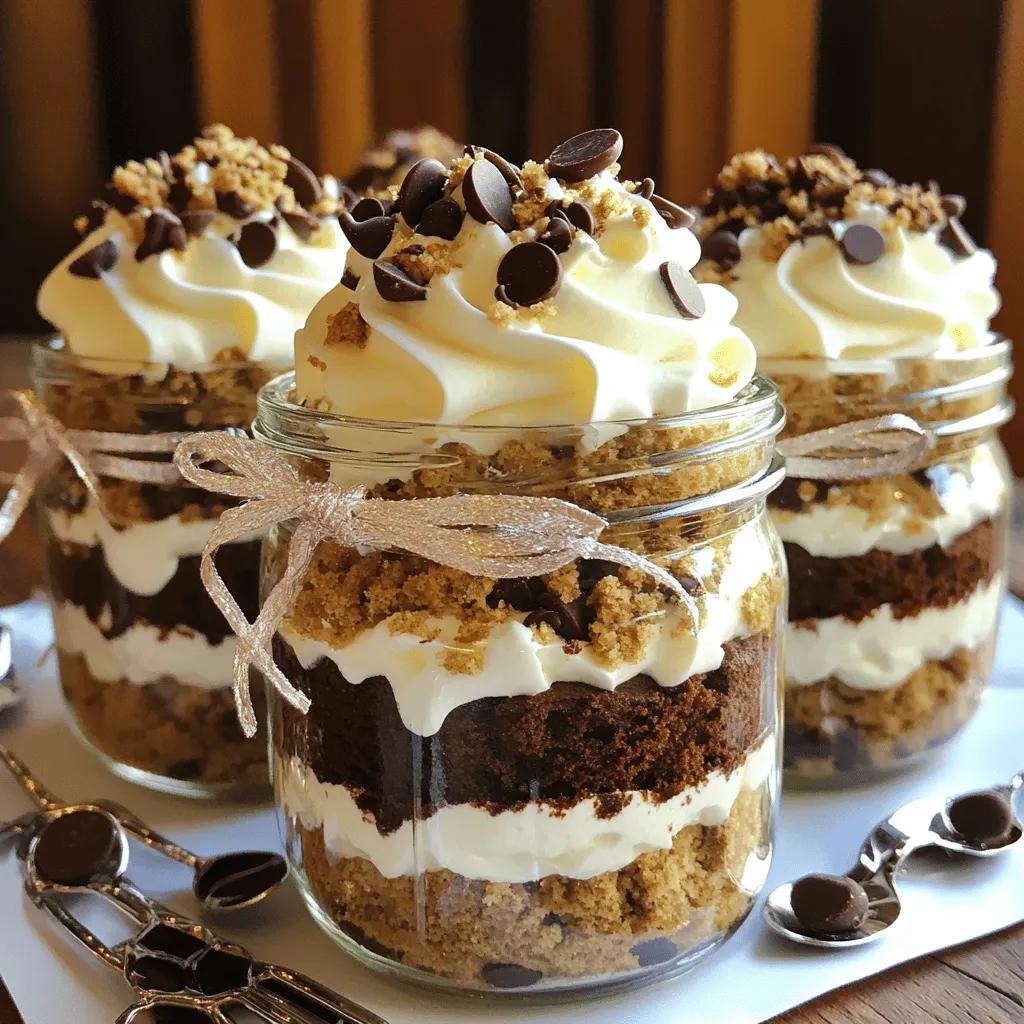
Visual Presentation Tips
Garnishing makes your cake jars pop. Use mini chocolate chips and crushed cookies on top. A sprig of mint can add color too.
For special events, choose themed jars. Use festive colors for holidays. Label each jar with a cute tag for guests. This adds a personal touch and makes your dessert stand out.
Variations
Flavor Variations
You can easily change the cookies and cream cake jar’s flavor. Try adding mint extract for a fresh twist. Just a few drops will make a big difference. You can also layer in some fruit. Berries add a sweet and tart flavor that pairs well with the creamy layers. Strawberries or raspberries work best.
Dietary Modifications
If you want a vegan version, swap the cream and cheese for plant-based choices. Use coconut cream instead of heavy cream. Look for vegan cream cheese to keep the texture. For nut allergies, ensure the cookies are nut-free. You can use graham crackers instead of chocolate cookies. This makes a safe and tasty treat for everyone.
Different Container Options
While jars are fun, you can get creative with serving. Use clear cups or bowls for a change. This lets you show off the pretty layers. You can also use small glasses for a more elegant look. Another idea is to layer the mix in a large dish. Guests can scoop their servings. This way, everyone enjoys the treat in their own way.
Storage Info
Refrigeration Tips
To keep your Cookies and Cream Cake Jars fresh, store them in the fridge. Here are my best practices:
– Use airtight containers or lids on your jars. This prevents drying out.
– Keep the jars away from strong-smelling foods to avoid flavor transfer.
– Layering the ingredients properly helps keep them fresh longer.
The shelf life of prepared jars is about 3-5 days in the fridge. However, the texture may change over time. I recommend enjoying them within this window for the best taste.
Freezing Instructions
If you want to save some jars for later, freezing is a great option. Here’s how to freeze and thaw them successfully:
– Freeze the jars without the whipped cream layer for better texture. The cake can get soggy if frozen with the cream.
– Wrap the jars tightly with plastic wrap or foil. This prevents freezer burn.
When you’re ready to enjoy them, thaw the jars in the fridge overnight. This keeps the texture nice and smooth. Here are tips for maintaining texture after freezing:
– Avoid refreezing once thawed. This can change the quality.
– If the whipped cream seems a bit runny after thawing, give it a gentle whip to restore its fluffiness.
With these storage tips, you can always have a delightful Cookies and Cream Cake Jar ready!
FAQs
How long can Cookies and Cream Cake Jars be stored?
You can keep Cookies and Cream Cake Jars in the fridge for up to four days. Make sure to cover them well. If you want to store them longer, you can freeze them. In the freezer, they stay good for about two months. Just make sure to let them thaw in the fridge before you enjoy them.
Can I make these jars in advance?
Yes, you can make these jars ahead of time! I recommend preparing them the day before your event. This allows the flavors to blend nicely. Just remember to chill them for at least two hours before serving. If you make them in advance, they will taste even better!
What can I substitute for heavy whipping cream?
If you need a non-dairy option, you can use coconut cream. It has a rich flavor and works well. You can also try almond milk cream or soy cream. Both can be whipped to create a nice texture. These substitutes will still give you that creamy layer in the cake jar.
You learned how to create delicious Cookies and Cream Cake Jars. I shared the main ingredients, like chocolate cake crumbs and cream cheese. We explored substitutes for different diets and gave you step-by-step instructions for preparing and layering.
Remember to garnish your jars for a fun touch. With these tips, you can impress anyone with your tasty treats. Now, get ready to enjoy your cake jars at your next event!