WANT TO SAVE THIS RECIPE?
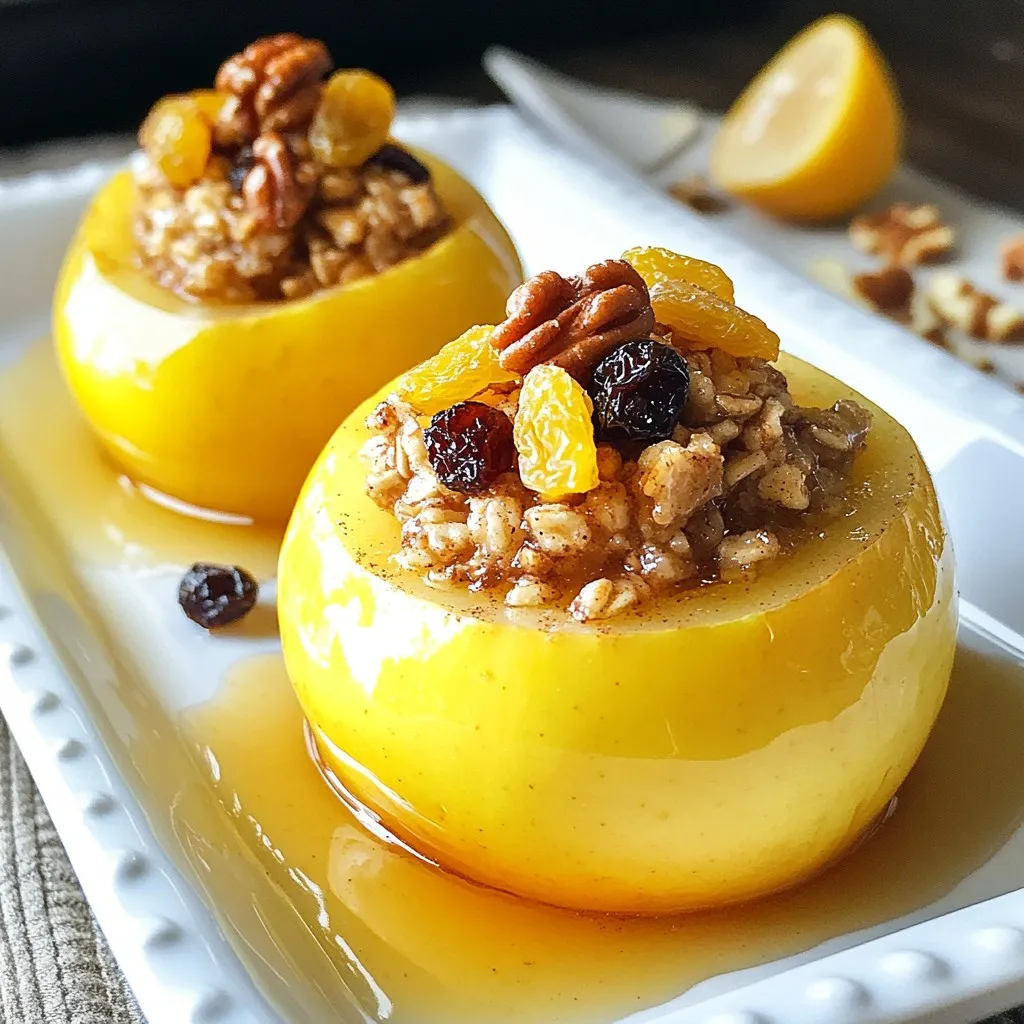
Craving a simple yet delicious dessert? Let me introduce you to my Easy Baked Apples. With just a few ingredients like Granny Smith apples, cinnamon, and nuts, you can create a warm treat that will impress everyone. This delightful dessert is perfect for any occasion. In this post, I’ll guide you step-by-step, sharing tips to make your baked apples turn out amazing every time. Let’s dive in!
Why I Love This Recipe
- Deliciously Sweet: The combination of tender baked apples and a sweet, crunchy filling creates a heavenly dessert that satisfies any sweet tooth.
- Easy to Make: This recipe requires minimal prep time and simple ingredients, making it perfect for both novice and experienced bakers.
- Customizable: Feel free to experiment with different nuts, dried fruits, or spices to tailor the filling to your taste preferences.
- Perfect for Sharing: These baked apples are a charming dessert to serve at gatherings, bringing warmth and comfort to any occasion.
Ingredients
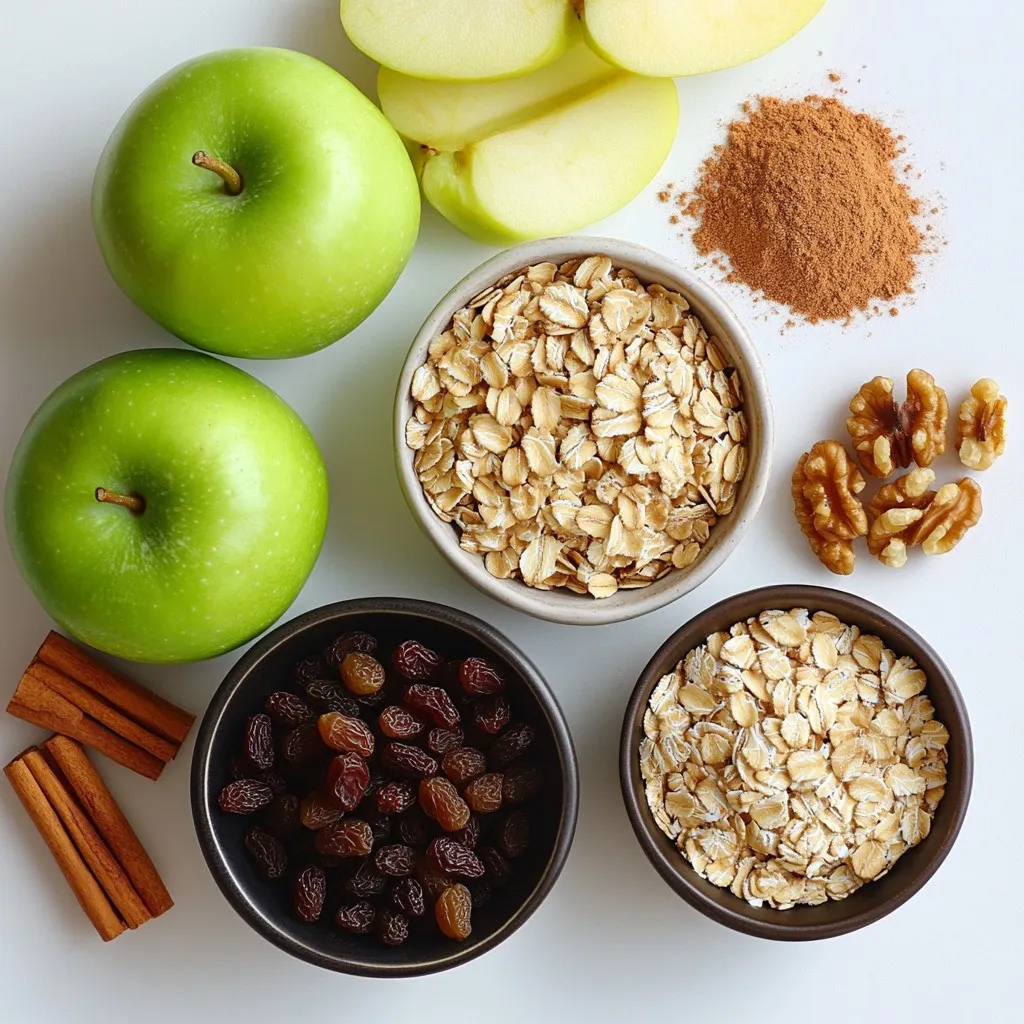
List of Ingredients for Easy Baked Apples
– 4 medium-sized Granny Smith apples
– 1/2 cup rolled oats
– 1/4 cup brown sugar
– 1 teaspoon ground cinnamon
– 1/4 cup chopped walnuts (or pecans)
– 1/4 cup raisins (or dried cranberries)
– 1/4 cup unsalted butter, melted
– 1/2 cup apple juice or water
– A pinch of salt
Gathering the right ingredients is key to making these baked apples shine. I love Granny Smith apples for their tartness. They hold up well when baked. The rolled oats give a nice crunch, while the brown sugar adds sweetness. Ground cinnamon brings warmth and spice to the dish.
Adding chopped walnuts or pecans gives a nutty flavor. You can swap in raisins or dried cranberries for extra sweetness. The unsalted butter adds richness to the filling. Using apple juice or water creates steam, which helps the apples bake evenly. Finally, a pinch of salt balances all the flavors.
When you have all these ingredients ready, you can create a delightful dessert that fills your kitchen with a warm, cinnamon aroma.
Step-by-Step Instructions
Preheat the Oven
Set your oven to 350°F (175°C). Preheating is key. It helps the apples cook evenly. If you skip this step, the apples may not bake right.
Prepare the Apples
Core the apples carefully. Use an apple corer or a knife. Make sure to leave the bottom intact. This keeps the filling inside and makes for a better treat.
Make the Filling
In a bowl, mix the rolled oats, brown sugar, and ground cinnamon. Add chopped walnuts and raisins, then pour in melted butter. Finally, add a pinch of salt. Stir well until everything is combined. This mix gives your apples a sweet, crunchy filling.
Stuff the Apples
Spoon the filling into each apple. Pack it tightly to keep it from spilling out. Don’t worry if some spills over; it adds flavor as it cooks.
Prepare for Baking
Place the stuffed apples upright in a baking dish. Pour apple juice or water into the dish. This liquid creates steam and keeps the apples moist while they bake.
Bake
Cover the dish with aluminum foil. Bake for 25 minutes. Then, remove the foil and bake for another 15-20 minutes. Check for tenderness. The apples should be soft but not mushy.
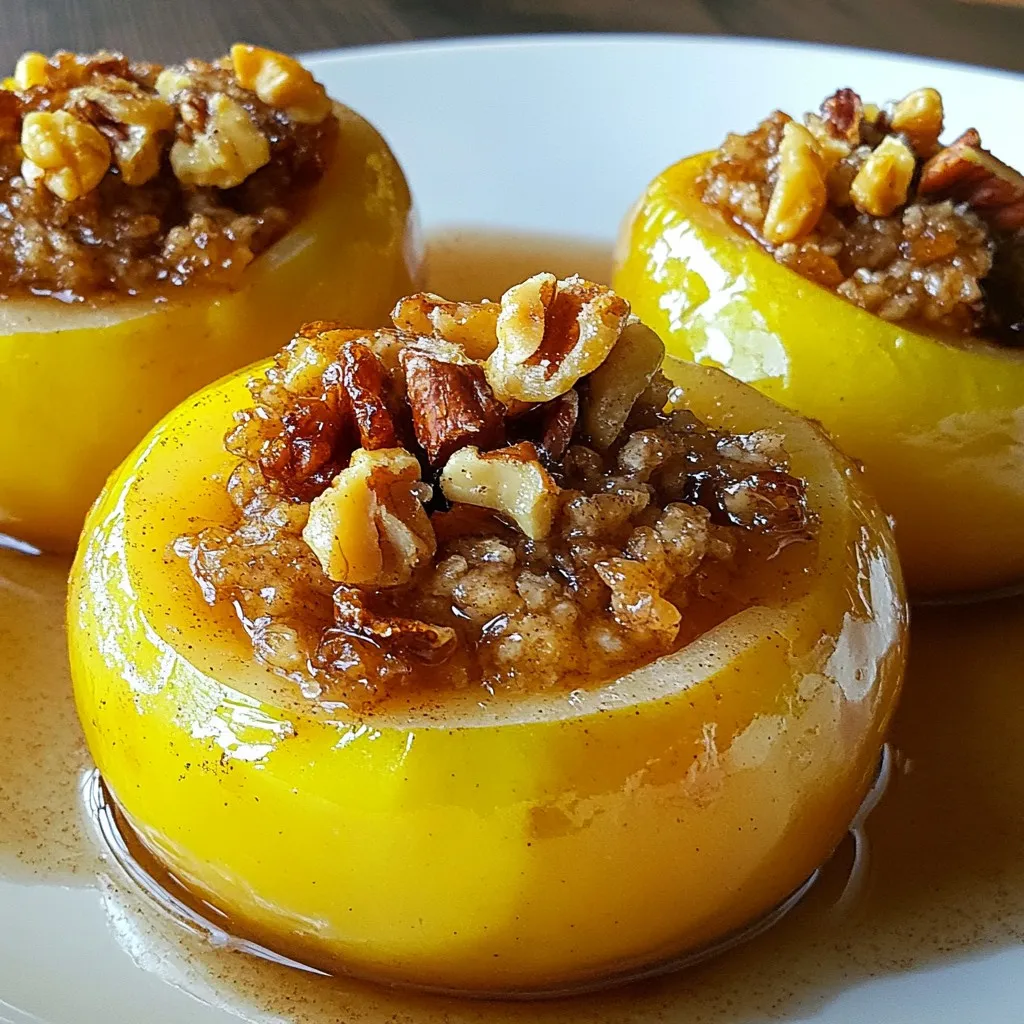
Let Cool
Once baked, let the apples cool a bit. This makes them easier to serve. Try serving them warm on a plate. You can drizzle the juices on top and add ice cream or whipped cream for a special touch. Enjoy!
Tips & Tricks
Perfecting the Baking Process
To achieve the best tender baked apples, check them often. Every apple bakes differently. After about 25 minutes, peek under the foil. You want them soft but not mushy. If they aren’t ready, check again in five minutes.
Different apple sizes need different bake times. Smaller apples might need less time, while larger ones may require more. Adjust the total baking time as needed.
Enhancing Flavor
For a flavor twist, try adding nutmeg or ginger to the filling. A dash of vanilla extract can bring a nice touch, too. You can also mix in chopped dried apricots or figs for added sweetness.
When serving, top your baked apples with ice cream or whipped cream. A sprinkle of cinnamon on top adds a nice pop of flavor. You can drizzle caramel sauce for extra sweetness.
Presentation Ideas
For a fun serving idea, place the baked apples on a colorful plate. Drizzle the juices from the baking dish over them. Add a scoop of vanilla ice cream beside each apple for contrast.
Garnish with mint leaves for a fresh touch. You can also use a dusting of powdered sugar on top for a classic look. These little details make your dish shine!
Pro Tips
- Choose the Right Apples: Granny Smith apples are tart and hold their shape well when baked, making them perfect for this recipe. You can also experiment with other varieties like Honeycrisp for added sweetness.
- Enhance the Flavor: Add a splash of vanilla extract or a pinch of nutmeg to the filling for an extra layer of flavor. This will elevate the taste of your baked apples.
- Serve with Style: For an elegant presentation, sprinkle some chopped nuts and a drizzle of honey or maple syrup over the baked apples just before serving.
- Storage Tips: If you have leftovers, store them in an airtight container in the refrigerator for up to 3 days. Reheat in the oven or microwave before serving.
Variations
Alternative Sweeteners
You can switch out brown sugar for honey or maple syrup. Both sweeteners add a unique taste. Honey will give a floral note, while maple syrup adds a rich, earthy flavor. Use the same amount as the brown sugar. This change will make the baked apples even more delicious!
Different Fruit Options
While Granny Smith apples work great, you can try other apple types. Fuji or Honeycrisp apples add a sweeter taste. You can even mix in other fruits. Pears, for example, create a lovely blend with apples. Just chop them up and add to your filling for extra flavor.
Vegan and Gluten-Free Options
If you want a vegan version, substitute the butter. Use coconut oil or a vegan butter spread instead. For a gluten-free dish, ensure your oats are certified gluten-free. These small changes keep the dish tasty and friendly for all diets. Enjoy a dessert everyone can love!
Storage Info
Storing Leftover Baked Apples
To store leftover baked apples, let them cool first. Place them in an airtight container. This keeps them fresh. You can put them in the fridge. They last about 3 to 5 days this way. If you want to keep them longer, consider freezing them. They can stay in the freezer for up to 3 months. Just remember to wrap them well to prevent freezer burn.
Reheating Tips
When you want to enjoy your baked apples again, reheat them gently. The best way to do this is in the oven. Preheat your oven to 350°F (175°C). Place the apples in a baking dish and cover them with foil. Heat for about 10-15 minutes. You can also use a microwave. Just place them in a microwave-safe dish and heat for 1-2 minutes. Be careful not to overheat. This can make the apples mushy. Enjoy your warm, sweet treat!
FAQs
How long do I bake the apples?
Bake the apples for about 40 to 45 minutes. I start by covering the dish with foil and baking for 25 minutes. Then, I remove the foil and bake for another 15 to 20 minutes. This timing helps the apples get soft. If you like them firmer, check them sooner.
Can I use other types of apples?
Yes, you can use different apple types. Some great options are Honeycrisp, Fuji, or Braeburn. Each type changes the flavor and texture. Granny Smith apples are tart and hold their shape well. Try mixing different apples for a fun twist.
What can I serve with baked apples?
Baked apples pair well with many treats. A scoop of vanilla ice cream is a classic choice. You can also serve them with whipped cream or yogurt. For a crunch, add granola on top. Each adds a new layer of flavor and fun.
Are baked apples healthy?
Baked apples can be a healthy dessert. They are full of fiber, vitamins, and minerals. Each apple has natural sugars, which are better than processed sugars. The oats and nuts add protein and healthy fats. Enjoy in moderation for a sweet treat.
Can I make baked apples in advance?
Yes, you can prep baked apples ahead of time. Core and fill the apples, then cover and refrigerate them. They can stay fresh for a day. When ready to bake, just add a few extra minutes to the cooking time. This makes it easy for gatherings or busy nights.
Easy baked apples are a delightful treat made from simple ingredients. You learned how to prepare and stuff the apples, bake them, and serve them perfectly. Don’t forget to explore variations, like using other fruits or sweeteners. Proper storage and reheating can keep your dish fresh.
Enjoy experimenting with toppings and presentation ideas. You have everything you need to create a warm, tasty dessert. Your baked apples can impress family and friends. Enjoy the journey to your delicious outcom
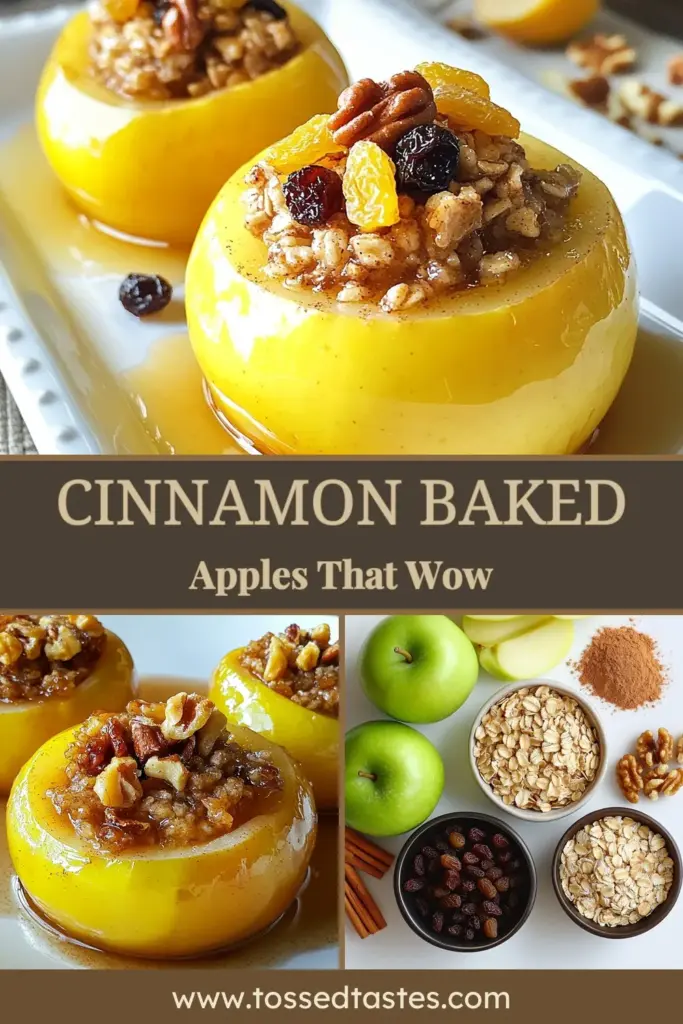
Sweet Cinnamon Delight Baked Apples
Delicious baked apples stuffed with a sweet cinnamon oat filling.
Course Dessert
Cuisine American
Servings 4
Calories 200 kcal
- 4 medium-sized Granny Smith apples
- 0.5 cup rolled oats
- 0.25 cup brown sugar
- 1 teaspoon ground cinnamon
- 0.25 cup chopped walnuts (or pecans)
- 0.25 cup raisins (or dried cranberries)
- 0.25 cup unsalted butter, melted
- 0.5 cup apple juice or water (for baking)
- 1 pinch salt
Preheat your oven to 350°F (175°C).
Core the apples, making sure to leave the bottom intact for stuffing.
In a mixing bowl, combine the rolled oats, brown sugar, cinnamon, chopped walnuts, raisins, melted butter, and a pinch of salt. Mix everything together until well combined.
Spoon the filling mixture into each apple, packing it tightly.
Place the stuffed apples upright in a baking dish. Pour apple juice or water into the bottom of the dish to create steam while baking.
Cover the baking dish with aluminum foil and bake in the preheated oven for 25 minutes. Then, remove the foil and bake for an additional 15-20 minutes until the apples are tender and the filling is golden.
Once baked, let the apples cool slightly before serving.
Serve warm with vanilla ice cream or whipped cream.
Keyword baked apples, cinnamon, dessert
WANT TO SAVE THIS RECIPE?