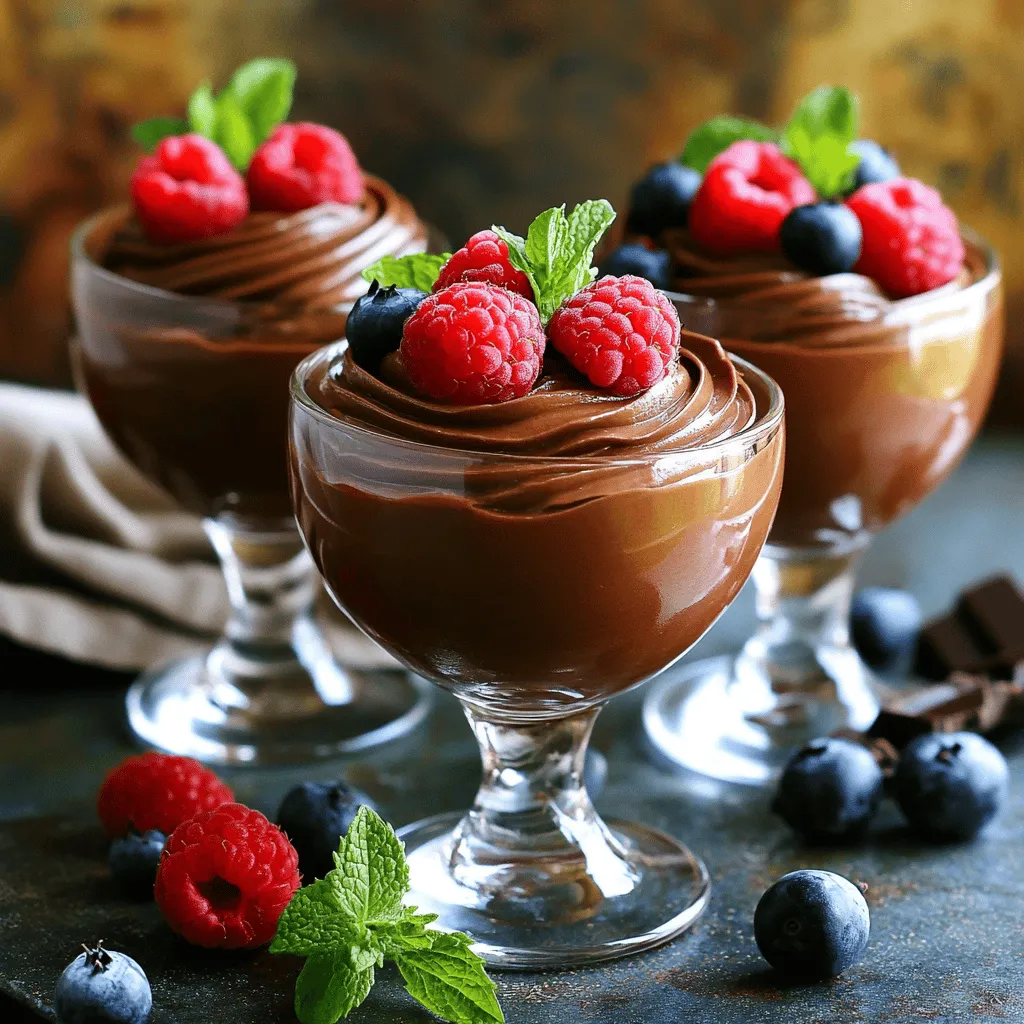
Indulging in rich chocolate mousse doesn’t have to be hard. With my easy recipe for Chocolate Mousse Cups, you can create a luxurious dessert in no time! Perfect for any occasion, these cups are not only simple but also delightful. Grab your ingredients and let’s dive into the world of creamy chocolate bliss. Your sweet tooth will thank you!
Ingredients
List of Ingredients
To make these easy chocolate mousse cups, gather these simple items:
– 1 cup heavy whipping cream
– 1/2 cup semi-sweet chocolate chips
– 2 tablespoons powdered sugar
– 1 teaspoon pure vanilla extract
– Pinch of sea salt
– Fresh berries (like raspberries or strawberries) for garnish (optional)
– Fresh mint leaves for garnish (optional)
Measuring Tips
Accurate measuring makes a big difference in baking. Use a liquid measuring cup for cream. Look for the meniscus, or curve, at the top of the liquid. For dry ingredients like sugar, use a dry measuring cup. Fill it and level it off with a straight edge. This keeps your amounts correct.
Substitutions for Ingredients
You can swap some ingredients if you need. For a lighter version, use light whipping cream instead of heavy cream. If you want a different flavor, try dark chocolate instead of semi-sweet chocolate. For a vegan option, use coconut cream and dairy-free chocolate chips. This way, everyone can enjoy these mousse cups!
Step-by-Step Instructions
How to Melt the Chocolate
To melt the chocolate, start with a microwave-safe bowl. Place 1/2 cup of semi-sweet chocolate chips in the bowl. Microwave it in 30-second bursts. Stir the chocolate well after each burst. This keeps it smooth and prevents burning. Once melted, let it cool a bit. You want it warm, not hot.
Whipping the Cream to Perfection
Next, grab a large mixing bowl. Pour in 1 cup of heavy whipping cream. Use a hand mixer or a stand mixer with a whisk. Start whipping the cream on medium speed. Watch for soft peaks to form. This takes a few minutes. Slowly add 2 tablespoons of powdered sugar and 1 teaspoon of vanilla extract. Add a pinch of sea salt, too. Keep whipping until you see stiff peaks. This means the cream holds its shape well.
Combining Ingredients
Now it’s time to combine the melted chocolate and whipped cream. Take about one-third of the whipped cream. Gently fold it into the cooled chocolate with a spatula. This lightens the chocolate. Next, fold in the rest of the whipped cream in two parts. Be careful to keep the mix airy and fluffy. You want a smooth, light chocolate mousse.
This mixture is the heart of your Easy Chocolate Mousse Cups. For the full recipe, refer to the previous section.
Tips & Tricks
Ensuring a Light and Fluffy Texture
To make sure your mousse is light and fluffy, focus on whipping the cream correctly. Start with cold heavy whipping cream. This helps create more air in the cream. As you whip, stop when soft peaks form. This means the cream holds its shape but is not too stiff. When you fold the whipped cream into the chocolate, do it gently. This keeps the air in the mixture and helps it stay fluffy.
Perfecting the Chill Time
Chill time is key for the best mousse. After you mix the chocolate and cream, scoop it into cups. Cover them with plastic wrap and place them in the fridge. Let them chill for at least one hour. This helps the mousse set properly. If you can, chill them longer. The longer they sit, the better the flavors blend.
Serving Suggestions
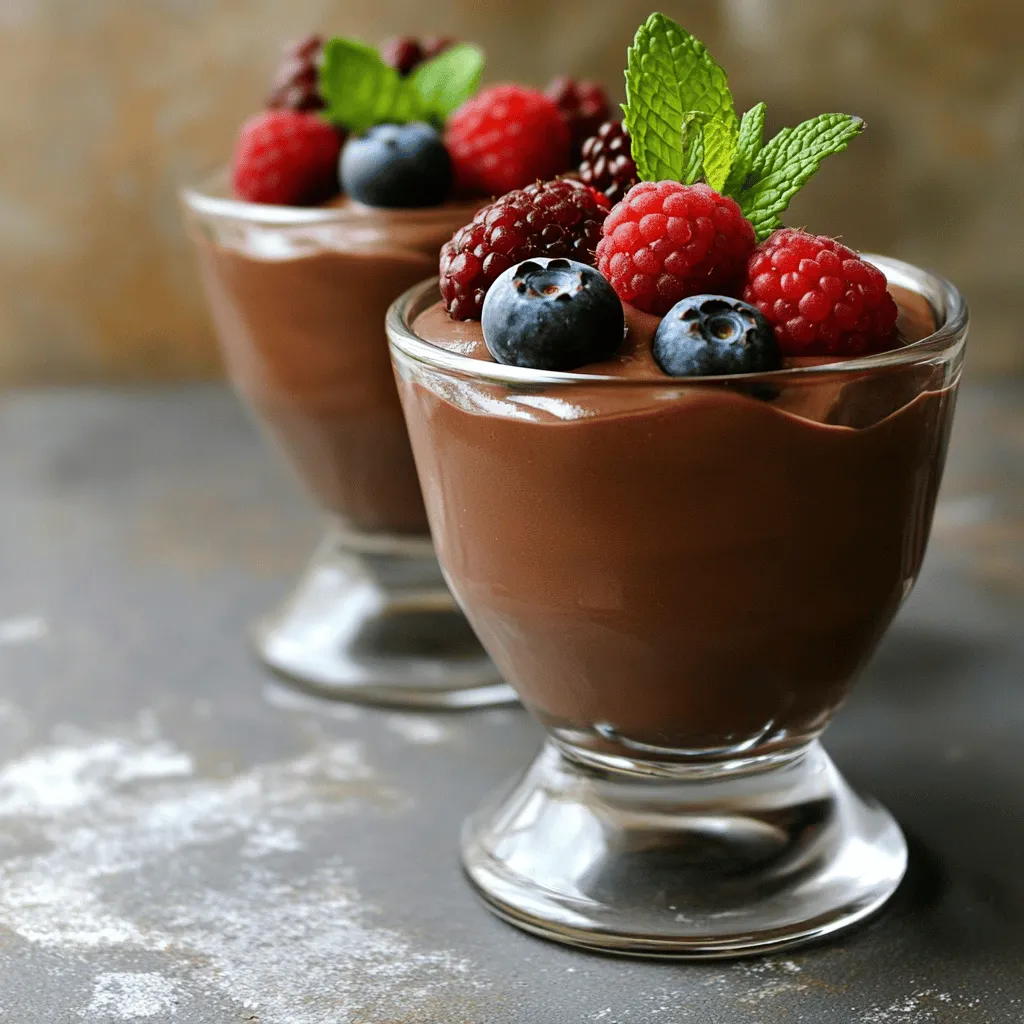
For a beautiful touch, add garnishes to your mousse cups. Fresh berries like raspberries or strawberries add color and taste. A sprig of mint also looks nice and adds freshness. You can even drizzle some melted chocolate over the top for extra flair. Remember, the way you serve your mousse can make it even more special.
For the full recipe, check out the Decadent Chocolate Mousse Cups!
Variations
Adding Flavors
You can make your chocolate mousse cups even better. Try adding flavors like coffee or mint. For coffee, mix in one tablespoon of instant coffee granules when melting the chocolate. This gives a nice depth. If you love mint, add a few drops of mint extract to the cream before whipping. This adds a fresh twist.
Dairy-Free Alternatives
Want a dairy-free treat? You can replace heavy cream with coconut cream. Chill a can of coconut milk overnight. Scoop out the thick cream and whip it just like you would with regular cream. Use dairy-free chocolate chips for a creamy texture. This option keeps it rich and tasty without dairy.
Unique Garnishing Ideas
Garnishing makes your mousse cups stand out. Use chopped nuts like almonds or hazelnuts for a crunchy bite. Sprinkle chocolate shavings on top for a classy look. Fresh berries, like raspberries or strawberries, add color and flavor. You can also add a mint leaf for a fresh touch. Get creative with your garnishes to enhance both the taste and look of your dessert.
Storage Info
How to Properly Store Chocolate Mousse Cups
To keep your chocolate mousse cups fresh, you need to store them right. First, cover each cup with plastic wrap. This will help keep air out and prevent drying. You can also use a tight lid if you have containers. Make sure the mousse stays cold in the fridge.
Shelf Life and Freezing Options
Chocolate mousse cups last about 3 days in the fridge. After that, the texture may change. If you want to keep them longer, you can freeze the mousse. Just scoop it into freezer-safe containers. It can last up to 1 month in the freezer. When you are ready to eat them, thaw them in the fridge overnight.
Best Containers for Storage
Use small glass jars or plastic cups to store your mousse. They should have lids to seal in freshness. Clear containers let you see the layers, making them look nice. If you don’t have small jars, regular bowls work too. Just remember to cover them well. The right container keeps your treats tasty and beautiful.
FAQs
Can I make chocolate mousse ahead of time?
Yes, you can make chocolate mousse ahead of time. This treat stays fresh in the fridge for up to three days. Just prepare it, chill it, and store it in airtight containers. This allows the flavors to deepen and the texture to set nicely. You can impress your guests by making it the day before your event. Just remember to add fresh toppings just before serving for the best look.
What can I do if my mousse is too runny?
If your mousse is too runny, don’t worry! You can fix it with a few simple steps. First, check if you whipped the cream enough. It should form stiff peaks. If it’s still runny, you can try to fold in more whipped cream. Make sure to fold gently to keep the air in. If it still doesn’t set, you can chill it longer. The cold helps thicken it up nicely.
How to achieve the best chocolate flavor?
To achieve the best chocolate flavor, use high-quality chocolate. I recommend semi-sweet chocolate chips for a rich taste. Melt them gently to keep their flavor intact. Also, adding a pinch of sea salt enhances the chocolate’s taste. Don’t skip the vanilla extract; it adds depth to the flavor. You can also consider adding a dash of coffee for a delicious twist. For the full recipe, check the section above.
This post covered how to make delicious chocolate mousse. We explored key ingredients and tips for perfect measurements. I shared step-by-step instructions to melt chocolate and whip cream. We also discussed ensuring a light texture and the best chill time. You can even add flavors and find great storage tips.
Remember, practice makes perfect. Enjoy making mousse your way!