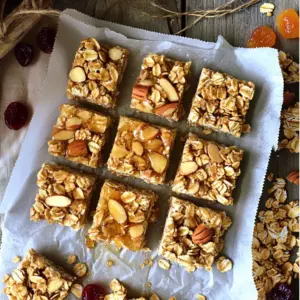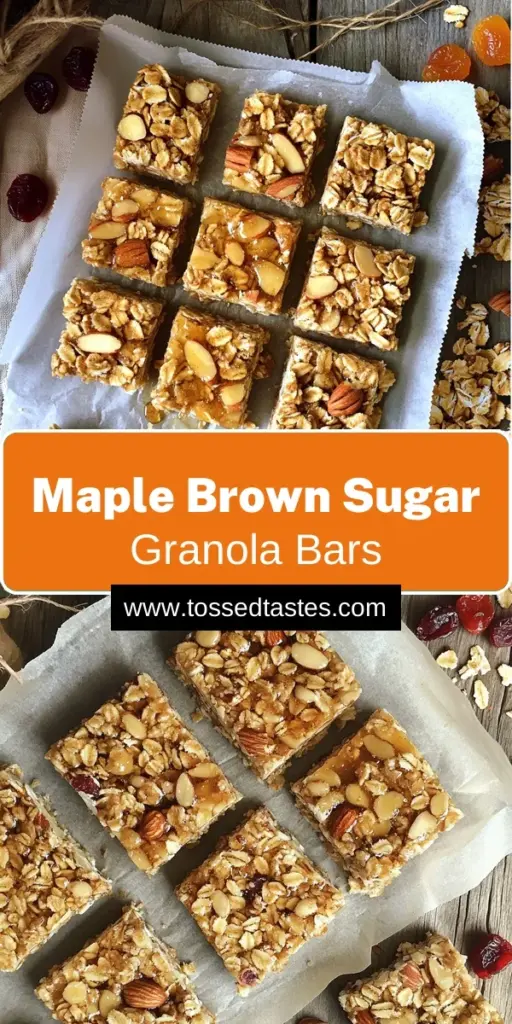
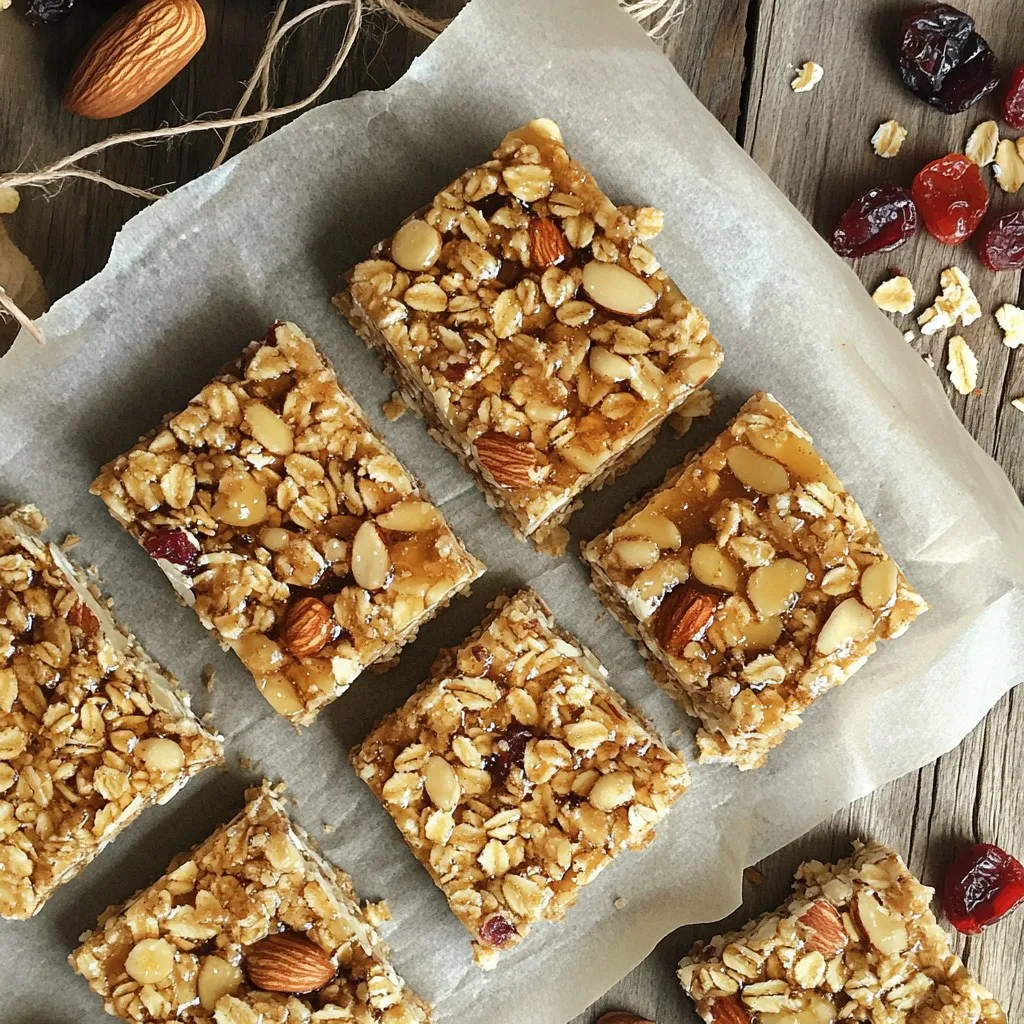
If you’re looking for a tasty and nutritious snack, you’ve landed in the right place! Today, I’m sharing my recipe for Maple Brown Sugar Granola Bars. These bars are packed with wholesome ingredients like oats, nuts, and maple syrup, making them perfect for a quick boost anytime. Whether you need an energy lift for your day or a sweet treat, these granola bars will hit the spot. Let’s dive into the delicious details!
Ingredients
Main Ingredients
– 2 cups rolled oats
– 1 cup mixed nuts (almonds, walnuts, and pecans)
– 1/2 cup honey
– 1/2 cup pure maple syrup
Additional Ingredients
– 1/4 cup packed brown sugar
– 1/4 cup nut butter (almond or peanut butter)
– 1 teaspoon vanilla extract
– 1/2 teaspoon ground cinnamon
– 1/4 teaspoon sea salt
– 1/2 cup dried fruits (optional)
Nutritional Information
Each serving has about 150 calories. It contains 7 grams of fat, 10 grams of sugars, and 4 grams of protein. The bars provide a good balance of nutrients. The nuts give healthy fats, while oats offer fiber. Adding dried fruits boosts vitamins. This snack is filling and tasty!
Step-by-Step Instructions
Preparation Steps
1. Preheat your oven to 350°F (175°C).
2. Line an 8×8-inch baking dish with parchment paper. Leave some overhang for easy removal.
3. In a large bowl, mix together:
– 2 cups rolled oats
– 1 cup mixed nuts (almonds, walnuts, and pecans), finely chopped
– 1/2 teaspoon ground cinnamon
– 1/4 teaspoon sea salt
Mixing and Baking
4. In a small saucepan, combine:
– 1/2 cup honey
– 1/2 cup pure maple syrup
– 1/4 cup packed brown sugar
– 1/4 cup nut butter (almond or peanut butter)
5. Heat this mixture over medium heat. Stir continuously until it bubbles and the sugar dissolves. This takes about 3-4 minutes.
6. Remove from heat and stir in:
– 1 teaspoon vanilla extract
7. Pour this warm syrup over the oat mixture. If using dried fruits, fold them in now. Stir until all is coated.
Baking and Cooling
8. Transfer the mixture to the lined baking dish. Press it down firmly using your hands or a spatula.
9. Bake for 20-25 minutes. Look for the edges to turn golden brown.
10. Let the pan cool on a wire rack. Once cool, lift the bars out using the parchment. Cut into squares or bars.
11. Store in an airtight container at room temperature for up to one week. Refrigeration can help them last longer.
Tips & Tricks
Perfecting Texture
To pack the mixture correctly, press it down firmly in the baking dish. Use your hands or a spatula. This helps the bars hold together. Look for a golden brown edge when baking. This shows they are toasting nicely, making a great texture.
Flavor Enhancements
You can add spices to boost flavor. Consider cinnamon, nutmeg, or even ginger. These spices work well with maple and brown sugar. If you want to switch nut butter, try almond butter or sunflower seed butter. Each brings a unique taste.
Presentation Tips
Wrap each bar in parchment paper for gifts. Tie them with twine for a rustic look. This makes them perfect for sharing. For gatherings, arrange the bars on a platter. They look great and are easy for guests to grab.
Variations
Nut-Free Options
If you want to skip nuts, you can use seeds instead. Sunflower seeds work well, and pumpkin seeds add a nice crunch. Both options give a boost of nutrition without nuts. You can replace the 1 cup of mixed nuts with 1 cup of seeds. This keeps the bars tasty and safe for those with nut allergies.
Sweetener Alternatives
Not a fan of honey? You can use agave syrup or coconut sugar. Agave gives a similar sweetness but with a lower glycemic index. If you use coconut sugar, you might need to adjust how much you add. Start with 1/3 cup and taste. You can always add more if needed.
Flavor Variations
Want to mix things up? Try adding chocolate chips for a sweet twist. Dark chocolate adds richness, while milk chocolate is a classic favorite. Coconut flakes can also bring a tropical vibe. For seasonal flavors, consider adding dried fruits like apple or pumpkin puree in the fall. These simple tweaks can make your bars exciting and new!
Storage Info
Short-Term Storage
To keep your maple brown sugar granola bars fresh, store them in an airtight container. This container protects the bars from air and moisture. You can keep them at room temperature for up to one week. If you want them to stay fresh longer, place them in the refrigerator. The cool air helps maintain their flavor and texture.
Long-Term Storage
If you want to save your granola bars for a longer time, freezing is a great option. Wrap each bar in plastic wrap or parchment paper. Then, place them in a freezer-safe bag or container. They can last up to three months in the freezer. When you’re ready to eat them, take out the number you want. Let them thaw at room temperature or pop them in the microwave for a few seconds. This will keep them tasting fresh.
Signs of Spoilage
It’s essential to check your granola bars for spoilage. If they smell off or have a strange taste, it’s best to throw them away. Look for any signs of mold or an unusual texture. If the bars feel too hard or crumbly, they may not be good anymore. Always trust your senses when determining if food is still safe to eat.
FAQs
How long do homemade granola bars last?
Homemade granola bars can last about one week at room temperature. Store them in an airtight container to keep them fresh. If you want them to last longer, refrigerate them. In the fridge, they can stay good for up to two weeks. Always check for any signs of spoilage before eating.
Can I make these bars vegan?
Yes, you can make these bars vegan! Instead of honey, use maple syrup or agave nectar. Both options work well and add sweetness. For the nut butter, use almond or peanut butter as they are naturally vegan. Just ensure any added ingredients, like dried fruits, are also vegan.
What other nuts can I use?
Feel free to mix and match nuts! You can use cashews, hazelnuts, or pecans. Each nut brings a different flavor and crunch. Just chop them finely before adding to the mix. This way, every bite is packed with goodness.
How to cut granola bars neatly?
To cut granola bars neatly, let them cool completely first. Use a sharp knife for clean edges. Lightly score the bars before cutting all the way through. This helps guide your cuts and prevents crumbling. For a smoother finish, warm the knife slightly before cutting.
You can now create delicious homemade granola bars with simple ingredients. We covered the main and additional ingredients, step-by-step instructions, and storage tips. Remember to adjust flavors to suit your taste. Don’t forget about variations for nut-free or vegan options. These granola bars are great for snacks or gifts. With some thoughtful prep, you’ll impress others while enjoying a tasty treat. Make your own healthy snacks to fit your needs!