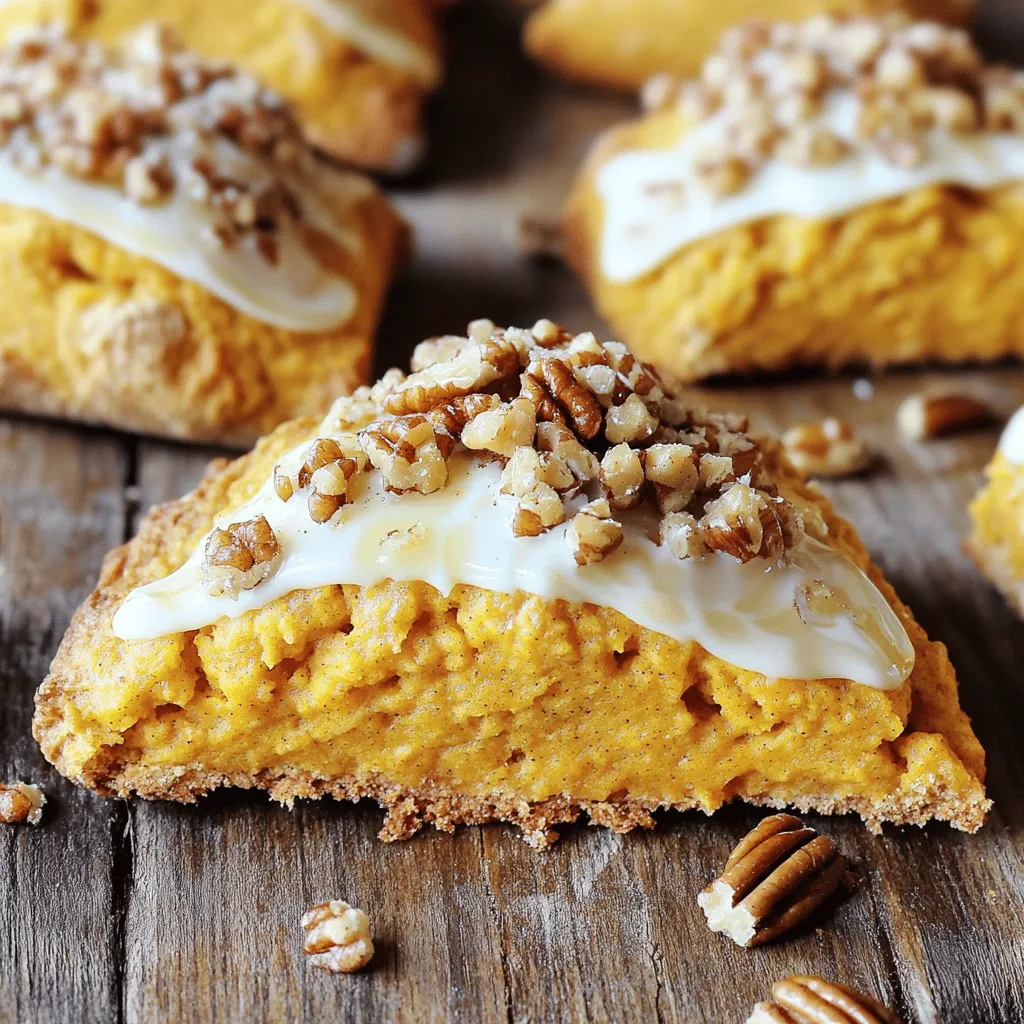
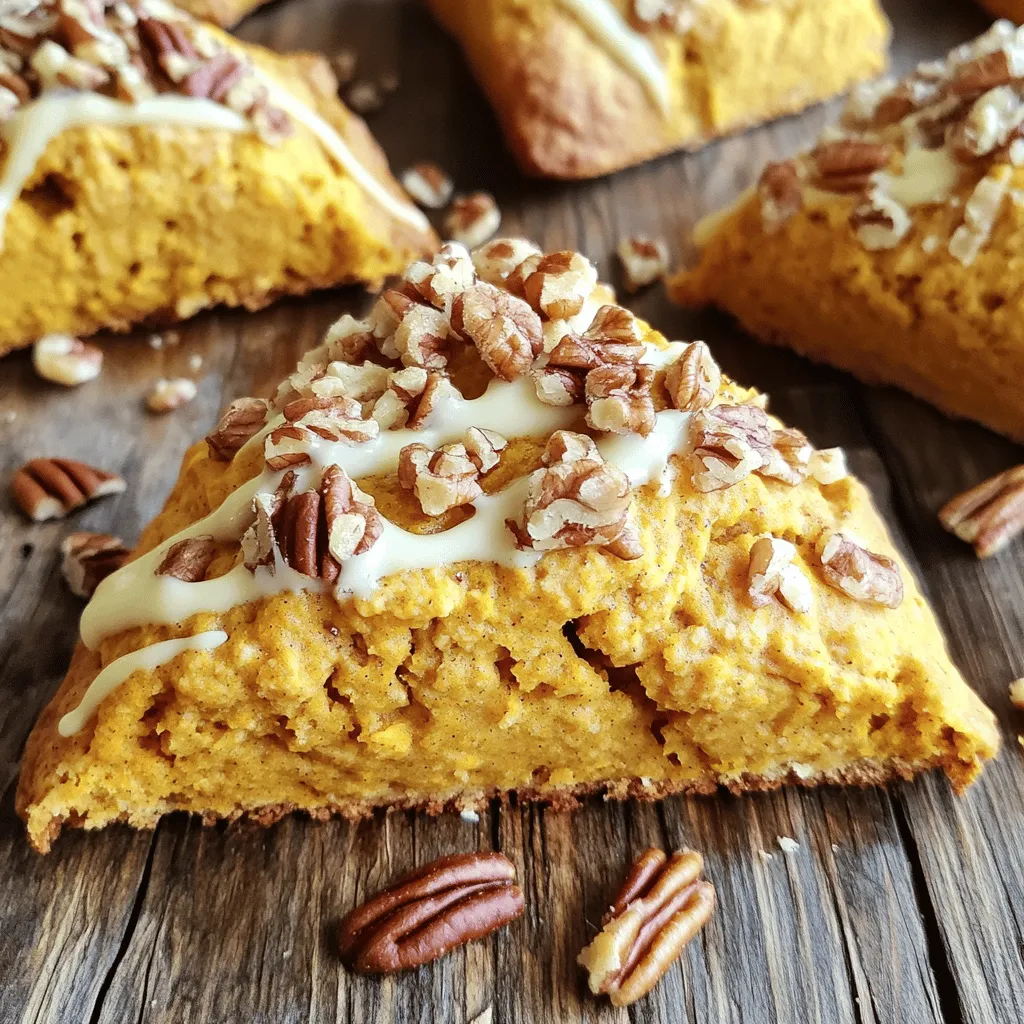
Fall is here, and there’s no better way to celebrate than with warm Maple Pecan Pumpkin Scones! These scones blend the rich flavors of pumpkin, maple syrup, and spices, creating a delightful treat for any autumn gathering. Whether you’re enjoying them with coffee or serving them at a holiday brunch, these scones are sure to impress. Let me guide you through this simple recipe that will fill your kitchen with cozy scents and delicious flavors!
Ingredients
To make Maple Pecan Pumpkin Scones, you need a few simple ingredients. Each one adds great flavor to this fall treat.
List of Ingredients
– 2 cups all-purpose flour
– 1/2 cup brown sugar, packed
– 2 teaspoons baking powder
– 1/2 teaspoon baking soda
– 1/4 teaspoon salt
– 1 teaspoon ground cinnamon
– 1/2 teaspoon ground nutmeg
– 1/4 teaspoon ground ginger
– 1/2 cup unsalted butter, chilled and cubed
– 1/2 cup pumpkin puree
– 1/4 cup pure maple syrup
– 1 large egg, beaten
– 1/2 cup pecans, rough chopped
– 1/4 cup heavy cream (for brushing)
– Extra chopped pecans (for topping)
Each ingredient plays a key role. The flour forms the base, while brown sugar adds sweetness. Baking powder and baking soda help the scones rise.
Spices like cinnamon, nutmeg, and ginger bring warmth and comfort to each bite. Pumpkin puree gives a rich texture and flavor. Maple syrup sweetens the mix and adds a touch of fall.
Chilled butter creates a flaky texture, while the egg binds the dough. Chopped pecans add crunch and nutty flavor. Finally, the heavy cream gives a golden finish when brushed on top.
Gather these ingredients, and you will create a delightful fall treat perfect for sharing.
Step-by-Step Instructions
Preparing the Oven and Baking Sheet
– Preheat your oven to 400°F (200°C).
– Line a baking sheet with parchment paper to stop sticking.
Mixing Dry Ingredients
– In a large bowl, combine the flour, brown sugar, baking powder, baking soda, salt, and spices.
– Whisk until everything is evenly mixed. This ensures even flavor.
Incorporating Butter
– Add the chilled, cubed butter to the dry mix.
– Use your fingers or a pastry cutter to work the butter in. Stop when it looks like coarse crumbs.
Making the Wet Mixture
– In a separate bowl, whisk together the pumpkin puree, maple syrup, and egg.
– Make sure this mixture is smooth and well combined.
Combining the Mixtures
– Pour the wet mixture into the dry ingredients.
– Gently fold them together. Don’t overmix; it’s okay if some lumps remain.
Shaping and Baking Scones
– Lightly flour a clean surface and place your dough on it.
– Pat the dough into a circle, about 1 inch thick. Cut it into 8 triangles.
– Move the scones to your baking sheet, leaving space between them.
– Brush the tops with cream and sprinkle chopped pecans on each one.
– Bake for 15-18 minutes. Look for a golden brown color. A toothpick should come out clean when inserted in the center.
Tips & Tricks
Perfecting the Texture
To get the best scone texture, you need coarse crumbs. Start by adding chilled, cubed butter to your dry mix. Use your fingertips or a pastry cutter to blend the butter. This method breaks the butter into small pieces. You want small, pea-sized lumps to remain. This creates a flaky scone when baked.
Avoiding Overmixing
Overmixing can ruin your scones. When you combine the wet and dry ingredients, stir gently. You should see some lumps in the dough. These lumps mean you have not overworked it. Keeping some lumps helps the scones rise and stay tender.
Baking Techniques
Brushing the scones with cream is key. It gives them a lovely golden color. Use heavy cream and brush it on the tops right before baking. This small step improves their look and taste.
Make sure to space the scones on the baking sheet. They need room to spread. If they are too close, they can stick together. Proper spacing allows for even baking and a nice rise.
Variations
Flavor Enhancements
You can take your Maple Pecan Pumpkin Scones to the next level. Adding chocolate chips adds a sweet touch. Try using semi-sweet or dark chocolate chips for a rich flavor. Dried fruit, like cranberries or raisins, also works well. These additions give the scones more texture and taste. Mix in about half a cup of your favorite choice when you fold in the pecans.
Gluten-Free Options
For those who need gluten-free scones, don’t worry! You can swap out all-purpose flour for gluten-free flour. Look for a blend that works well in baking. I recommend using a 1:1 gluten-free flour mix. This choice keeps the scone texture light and fluffy. Follow the same steps in the recipe, and enjoy a gluten-free treat!
Vegan Alternatives
If you want a vegan version, it’s easy to adjust. Start by using plant-based butter instead of regular butter. For the egg, use a flaxseed egg. This is made by mixing one tablespoon of ground flaxseed with three tablespoons of water. Let it sit for a few minutes until it thickens. These swaps keep the scones moist and delicious while being vegan-friendly. Enjoy your tasty, plant-based Maple Pecan Pumpkin Scones!
Storage Info
Storing Leftover Scones
To keep your leftover scones fresh, store them in an airtight container. This will help prevent them from drying out. You can leave them at room temperature for up to two days. If you want to keep them longer, consider refrigeration. Just remember, refrigerating can change the texture slightly.
Reheating Recommendations
To reheat scones, use your oven for the best results. Preheat your oven to 350°F (175°C). Place the scones on a baking sheet. Heat them for about 5 to 10 minutes. This will warm them up and restore their texture. You can also microwave them, but be cautious. Microwaving too long can make them tough.
Freezing Scones
Freezing scones is easy and a great way to save them for later. Start by letting the baked scones cool completely. Then, wrap each scone tightly in plastic wrap. Place them in a freezer bag or container. They can last in the freezer for up to three months. When you are ready to eat, just thaw them in the fridge overnight before reheating.
FAQs
Can I use canned pumpkin puree?
Yes, it’s a convenient option. Canned pumpkin puree saves time and effort. It also provides a rich, smooth flavor. Just make sure to choose pure pumpkin, not pie filling. This way, you avoid added sugars and spices. Canned puree works great in scones. It keeps them moist and tasty.
How long will the scones stay fresh?
The scones will stay fresh for about 2-3 days. Store them in an airtight container at room temperature. To keep them longer, you can freeze them. Wrap each scone in plastic wrap, then place them in a freezer bag. They can last up to 3 months in the freezer. When ready to enjoy, thaw at room temperature or reheat in the oven.
Can I prepare the dough in advance?
Yes, you can prepare the dough ahead of time. Make the dough, then wrap it tightly in plastic wrap. Refrigerate for up to 24 hours before baking. This allows the flavors to meld. If you want to freeze it, shape the scones first. Place them on a tray, freeze, then transfer to a bag. Bake directly from frozen, just add a few minutes to the baking time.
We explored the key ingredients for making delicious scones, including flour, brown sugar, and spices. I shared step-by-step instructions, from mixing dough to baking perfectly golden scones. Remember, avoid overmixing for the finest texture. You can even try variations like gluten-free or vegan options. Lastly, I covered storage tips to keep your scones fresh. With these guidelines, you can enjoy a tasty treat any time. Happy baking!
