
Craving a sweet treat that’s both easy and delicious? No-Bake Biscoff Truffle Balls are your answer! I’ll show you how to make these delightful dessert bites with just a few simple ingredients. These truffles are rich, creamy, and perfect for any occasion. Whether you’re a seasoned baker or a beginner, you’ll love this no-fuss recipe that packs a flavor punch. Let’s dive in and create something special together!
Ingredients
Main Ingredients for No-Bake Biscoff Truffle Balls
– 1 cup Biscoff cookies, finely crushed
– 1/2 cup cream cheese, softened to room temperature
– 1/4 cup Biscoff spread (cookie butter)
– 1/2 cup powdered sugar
– 1 teaspoon pure vanilla extract
– 1/2 cup semi-sweet chocolate chips
– 1 tablespoon coconut oil (for melting)
The main ingredients bring rich, sweet flavors. The Biscoff cookies add a delightful crunch. Cream cheese makes the truffles creamy and smooth. The Biscoff spread deepens the cookie taste.
Optional Coating Ingredients
– Additional crushed Biscoff cookies for coating
You can roll the truffles in extra crushed cookies. This adds a fun texture and boosts flavor. It also makes them look fancy!
Suggested Tools and Equipment
– Mixing bowl
– Spatula or hands for kneading
– Baking sheet
– Parchment paper
– Microwave-safe bowl for melting chocolate
– Fork for dipping
Using the right tools makes your work easier and faster. A mixing bowl helps combine all the ingredients smoothly. The spatula or your hands will help you knead well. Parchment paper keeps your truffles from sticking.
Step-by-Step Instructions
Mixing the Ingredients
Start by gathering all your ingredients. You will need Biscoff cookies, cream cheese, Biscoff spread, powdered sugar, and vanilla extract. In a big bowl, combine 1 cup of finely crushed Biscoff cookies, 1/2 cup of softened cream cheese, and 1/4 cup of Biscoff spread. Add 1/2 cup of powdered sugar and 1 teaspoon of vanilla extract. Use a spatula or your hands to mix everything together until smooth. Make sure there are no lumps and the mixture is fully blended.
Forming the Truffle Balls
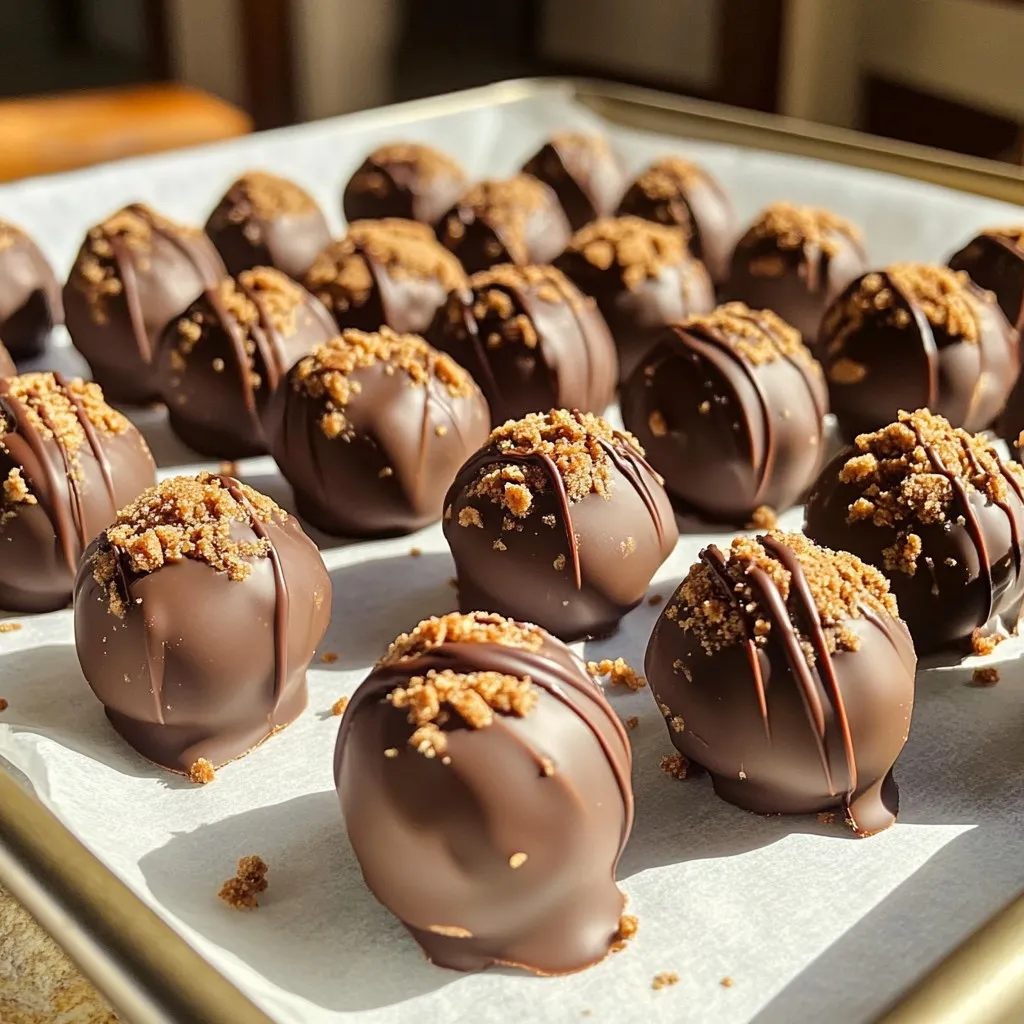
Once your mixture is smooth, it’s time to shape it. Take about a tablespoon of the dough. Roll it into a ball with your hands. Repeat this for the rest of the mixture. Place each ball on a baking sheet lined with parchment paper. You should have about 12 to 15 truffles.
Chilling the Truffles and Melting Chocolate
Now, pop the baking sheet into the freezer. Let the truffles chill for about 30 minutes. This helps them firm up and makes them easier to coat. While they chill, prepare the chocolate. In a microwave-safe bowl, add 1/2 cup of semi-sweet chocolate chips and 1 tablespoon of coconut oil. Heat in the microwave in 20-second bursts. Stir after each interval until the chocolate is smooth.
Dipping and Coating the Truffles
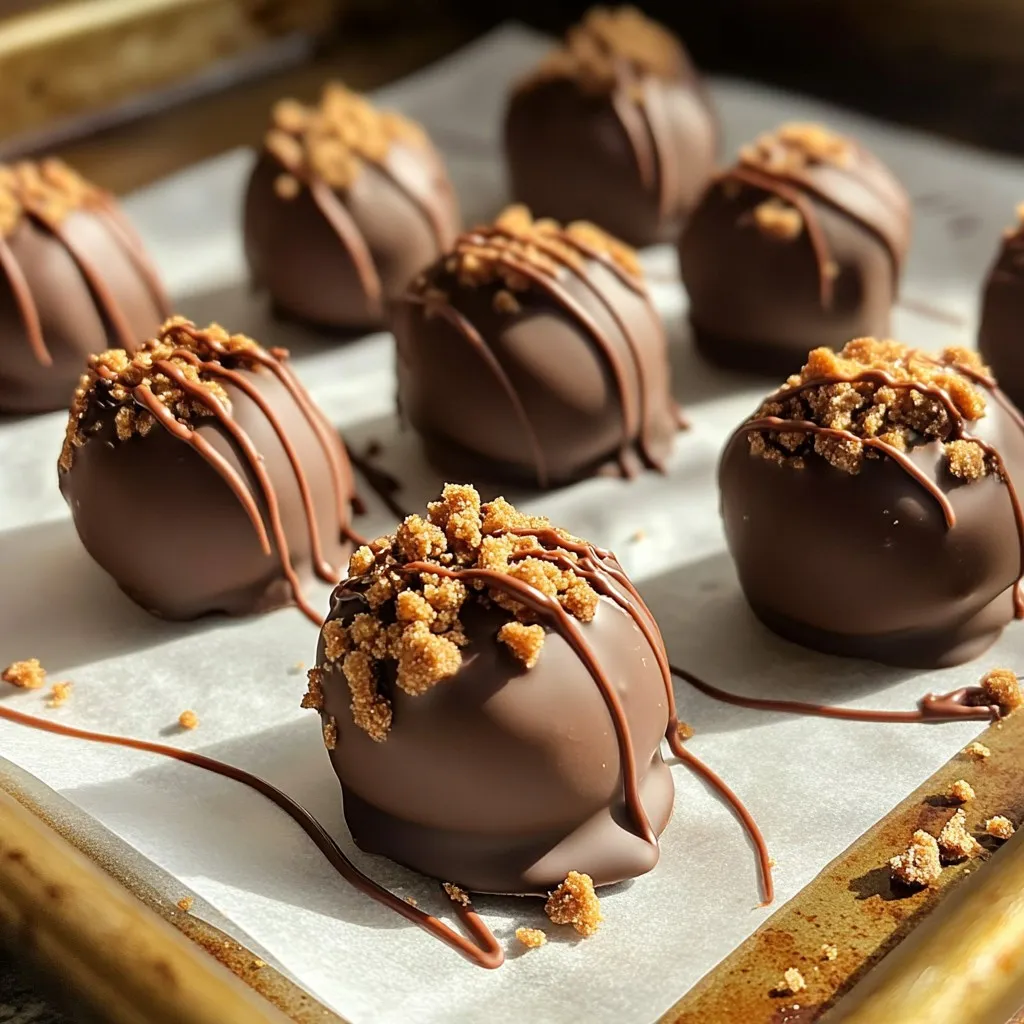
After the truffles have chilled, take them out of the freezer. Dip each truffle into the melted chocolate. Make sure they are fully coated. Use a fork to lift them out and tap gently to remove any extra chocolate. For a tasty finish, roll each truffle in extra crushed Biscoff cookies right after dipping. Place the coated truffles back on the parchment sheet. Let them sit at room temperature or pop them in the fridge for 15-20 minutes to let the chocolate set.
Tips & Tricks
Ensuring Proper Consistency
To get the best texture for your Biscoff truffles, aim for a smooth dough. Mix the Biscoff cookies, cream cheese, and other ingredients well. If the dough feels too dry, add a tiny bit more Biscoff spread. If too wet, add a bit more powdered sugar. The right mix makes rolling easy.
Best Practices for Melting Chocolate
Melting chocolate can be tricky, but I have a few tips. Use a microwave-safe bowl. Combine the chocolate chips and coconut oil. Heat in 20-second bursts. Stir between each burst until smooth. Avoid overheating, as it can burn the chocolate. A smooth mix coats the truffles perfectly.
Serving Suggestions
For a fun presentation, serve your truffles on a colorful plate. You can also place them in a decorative box. Consider garnishing with whole Biscoff cookies or drizzling extra chocolate on top. This adds a nice touch and makes them look fancy. Enjoy sharing these treats with friends and family!
Variations
Flavor Variations
You can make No-Bake Biscoff Truffle Balls even more exciting by adding flavors. Try mixing in chopped nuts like almonds or hazelnuts for a crunchy twist. You can also add spices like cinnamon or nutmeg to enhance the warmth of Biscoff. Want a little zing? Add a pinch of sea salt to balance the sweetness. Each variation can give a new taste to this delicious treat.
Dietary Adjustments
If you want to make these truffles vegan, it’s easy! Swap the cream cheese with a vegan cream cheese. Use maple syrup instead of powdered sugar for sweetness. You can also choose dairy-free chocolate chips for the coating. These changes keep the flavor but fit a vegan diet perfectly.
Presentation Ideas
How you serve the truffles makes a big difference. Arrange them on a pretty plate or in a decorative box. For a fun touch, garnish with whole Biscoff cookies. You can even drizzle some melted chocolate on top for a fancy look. Use colorful cupcake liners for each truffle to make them pop. A great presentation makes these treats even more special!
Storage Info
How to Store No-Bake Biscoff Truffle Balls
Store your No-Bake Biscoff Truffle Balls in an airtight container. This keeps them fresh and tasty. Place a layer of parchment paper between the truffles to prevent sticking. You can keep them in the fridge or at room temperature. If it’s warm, the fridge is best.
Shelf Life and Freezing Tips
These truffles last up to one week in the fridge. For longer storage, you can freeze them. Place the truffles in a single layer on a baking sheet. Freeze them for about an hour, then transfer them to a freezer-safe bag. They can stay frozen for up to three months. Remember to label the bag with the date.
Reheating or Refreshing Tips
You don’t need to reheat No-Bake Biscoff Truffle Balls. If they feel a bit soft, just chill them in the fridge for 15 minutes. This firms them up. For the best taste, enjoy them straight from the fridge.
FAQs
Can I use other cookie flavors instead of Biscoff?
Yes, you can! Feel free to use any crunchy cookie you enjoy. Oreos or ginger snaps work well. Just make sure to adjust the spread type if needed. Each cookie will give a different taste. Experiment to find your favorite!
How long do these truffles last?
These truffles last about one week in the fridge. If you freeze them, they can last up to three months. Just store them in an airtight container. This keeps them fresh and tasty for longer.
Can I make these truffles in advance?
Absolutely! You can make these truffles a day or two ahead. Just chill them in the fridge until you are ready to serve. They taste great when made in advance, as the flavors blend more over time.
You can make delightful No-Bake Biscoff Truffle Balls with simple steps. We covered the key ingredients and tools, plus ways to mix, form, and chill the truffles. You can customize flavors and make dietary changes, too. Storing them is easy, and we answered common questions.
Enjoy these sweet bites with friends or family. Experiment and have fun creating your perfect treat!
