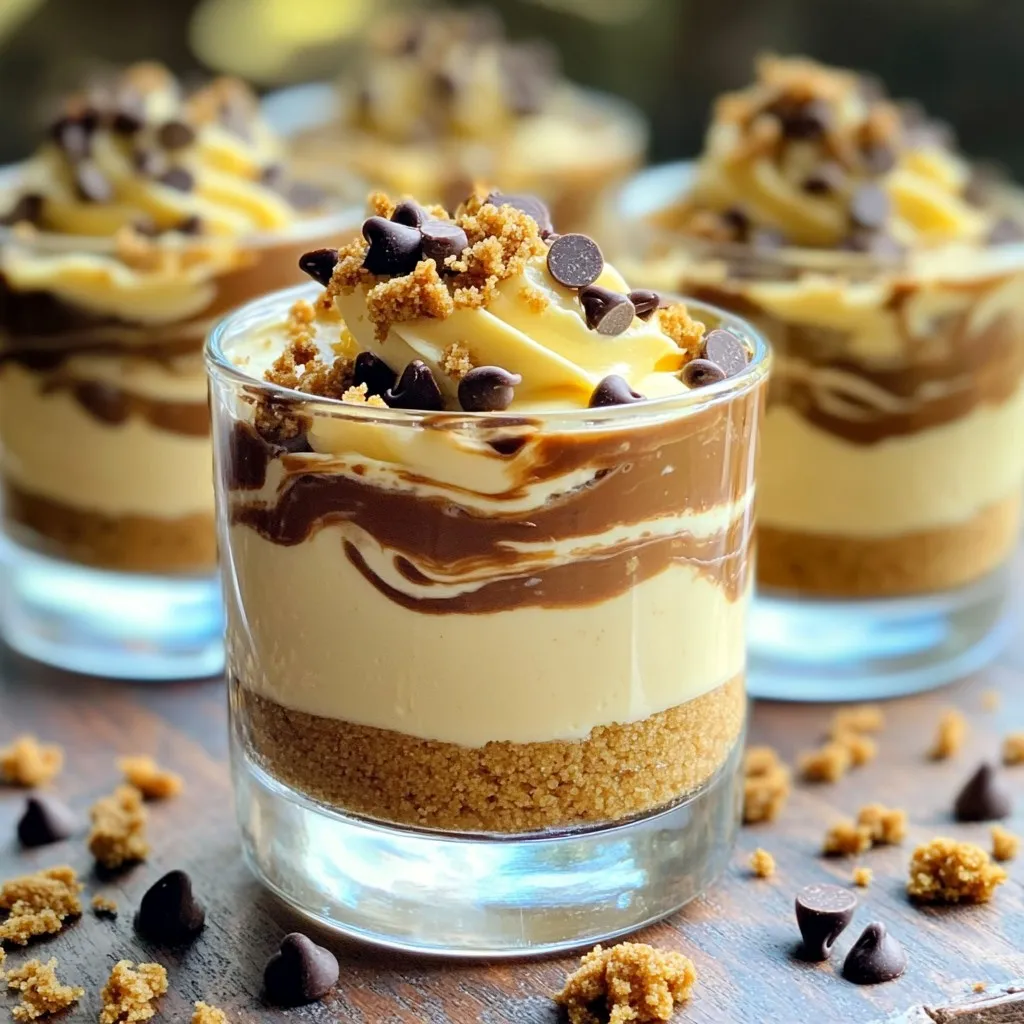
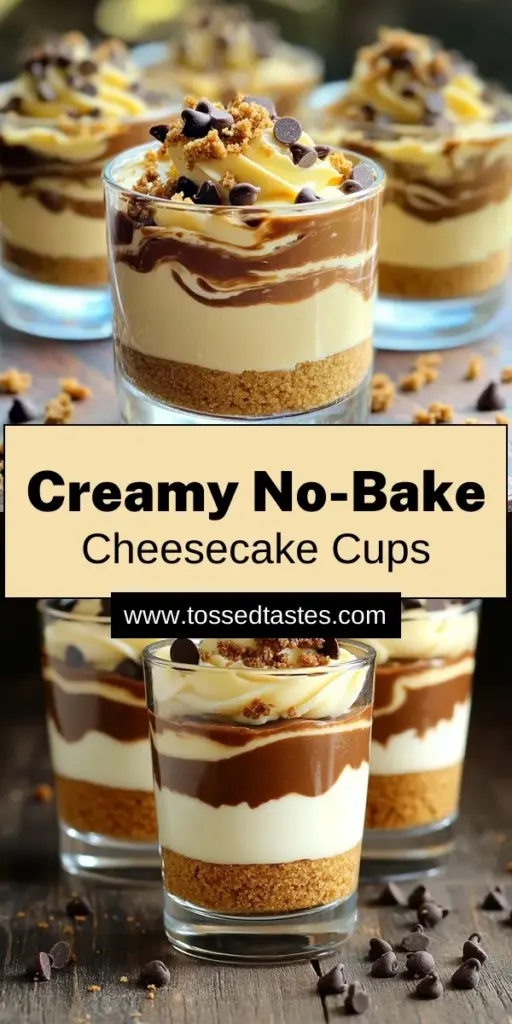
Looking for a sweet treat that’s easy and fun to make? You’re in the right place! These No-Bake Cookie Butter Cheesecake Cups are a delightful way to satisfy your cravings. With a creamy filling and a crunchy crust, they’re the perfect dessert for any occasion. Ready to impress your friends and family with this simple recipe? Let’s dive into the ingredients and get started on this tasty journey!
Ingredients
To make the No-Bake Cookie Butter Cheesecake Cups, you will need the following ingredients:
– 1 cup smooth cookie butter
– 1 package (8 oz) cream cheese, softened to room temperature
– 1/2 cup powdered sugar
– 1 teaspoon pure vanilla extract
– 1 cup heavy whipped cream (store-bought or homemade)
– 1 cup finely crushed graham crackers
– 1/4 cup unsalted butter, melted
– Chocolate chips (for garnish)
– Crushed cookies (for garnish, such as Oreos or Biscoff cookies)
These ingredients create a rich and creamy dessert. The smooth cookie butter gives it a unique flavor. Cream cheese adds a nice tang. The whipped cream makes it light and fluffy. The graham cracker base gives a crunchy texture that pairs well with the creamy filling.
Using high-quality ingredients makes a big difference. Choose a good cookie butter for the best taste. Make sure your cream cheese is at room temperature. This helps it blend smoothly. You can use store-bought whipped cream or make your own. Making it fresh adds to the flavor.
When you gather your ingredients, you’re ready to create a dessert that will impress your friends and family. Enjoy the process of making these delightful cheesecake cups!
Step-by-Step Instructions
Preparing the Graham Cracker Base
1. In a medium bowl, combine 1/4 cup melted butter with 1 cup crushed graham crackers.
2. Mix until the texture looks like wet sand.
3. Use about 2 tablespoons of this mixture for each serving glass.
4. Press down lightly with a spoon to form a firm base.
Making the Cheesecake Filling
1. In a large bowl, blend 1 package (8 oz) softened cream cheese with 1 cup cookie butter until smooth.
2. Add 1/2 cup powdered sugar and 1 teaspoon vanilla extract. Mix until well combined.
3. Gently fold in 1 cup heavy whipped cream using a spatula. Be careful not to deflate the whipped cream.
Assembling the Cheesecake Cups
1. Spoon the creamy filling over the graham cracker crusts in each glass.
2. Fill the glasses to the top with the cheesecake mixture.
3. Cover the glasses with plastic wrap. Refrigerate for at least 2 hours to set.
4. Before serving, top with chocolate chips and crushed cookies for a fun garnish.
Tips & Tricks
Perfecting the Texture
To keep your filling light and airy, fold the whipped cream gently. This helps keep the air inside. Start by mixing the cream cheese and cookie butter until smooth. Then, add the powdered sugar and vanilla. Blend well, but don’t overmix.
To avoid lumps in your cream cheese, make sure it’s soft. Leave it out at room temperature for about 30 minutes. Mix it with the cookie butter until it is fully smooth. If you still see lumps, keep blending until it’s creamy.
Serving Suggestions
Garnish your cheesecake cups with chocolate chips and crushed cookies. This adds a fun crunch and makes it look pretty. Use a spoon to sprinkle the toppings on just before you serve.
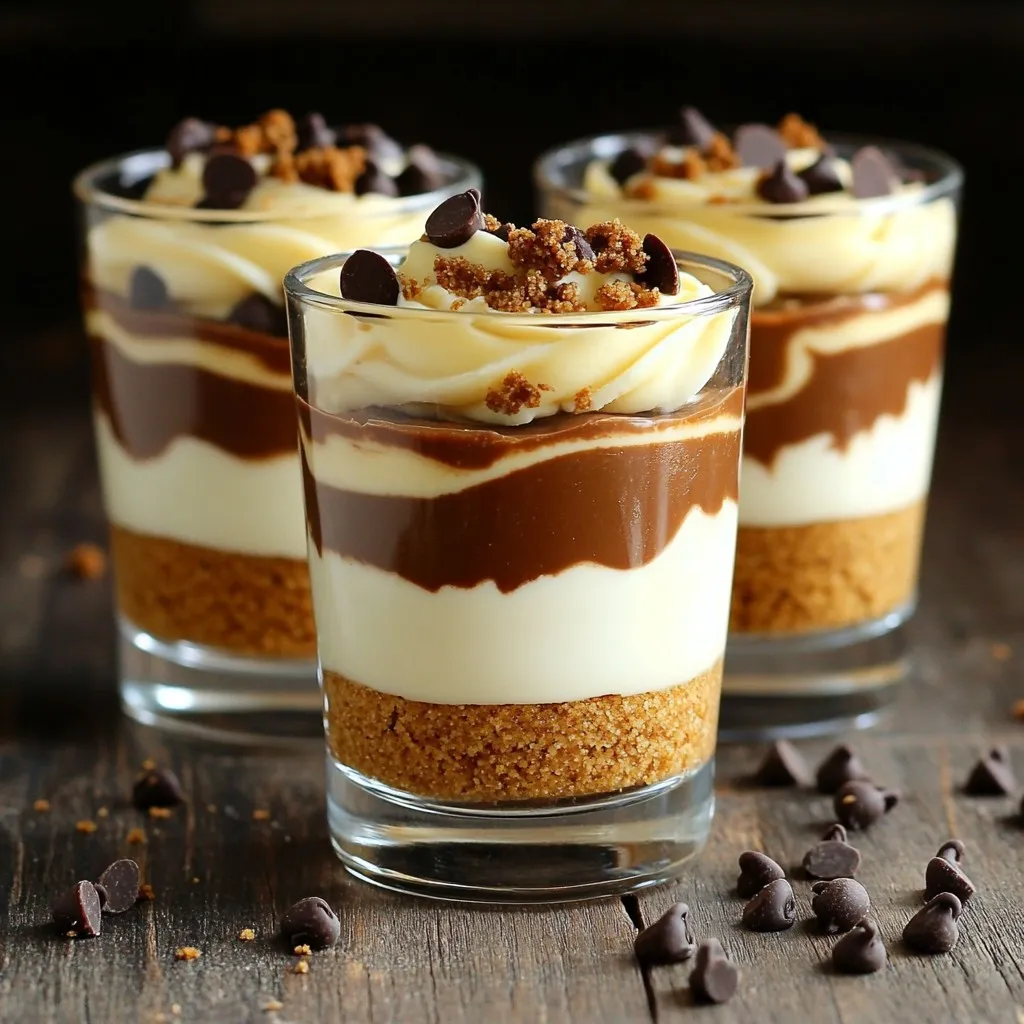
For presentation, clear glasses show off the layers well. You can place the cups on a nice platter. Add whole cookies next to the cups for a fun touch. This makes your dessert table look inviting.
Adjusting Sweetness
If you want to change the sweetness, you can. To reduce sugar, cut back on the powdered sugar by a couple of tablespoons. Taste the filling as you go.
For sweeteners, you can use honey or maple syrup. They add a different flavor, but work well. Just remember, these may change the texture slightly, so mix well.
Variations
Flavor Variations
You can switch up the flavor of your cheesecake cups. Try using different butters. Instead of cookie butter, use:
– Almond butter
– Peanut butter
– Sunflower seed butter
Each choice brings a unique taste. You can also add chocolate or caramel layers. Drizzle melted chocolate or caramel between layers for a rich twist.
Dietary Adjustments
If you need gluten-free options, swap regular graham crackers for gluten-free ones. Look for brands made from rice or almond flour. For a dairy-free version, use these:
– Vegan cream cheese
– Coconut whipped cream
These swaps keep the taste amazing while meeting dietary needs.
Serving Size Adjustments
You can easily scale this recipe up or down. For a larger crowd, double the ingredients. For a small treat, halve the recipe. For bite-sized servings, use mini cups. This way, everyone can enjoy a small taste without too much sweetness.
Storage Info
Best Storage Practices
To store your cheesecake cups, place them in the fridge. Use a tight container to keep them fresh. If you use plastic wrap, make sure it touches the surface of the dessert. This helps prevent drying out. I recommend using glass jars or airtight plastic containers. Both options help keep flavors intact and maintain the right texture.
Freezing Instructions
If you want to freeze the cheesecake cups, first let them set in the fridge for at least two hours. Then, cover each cup with plastic wrap. After that, place them in a freezer-safe container. To thaw, move the cups to the fridge overnight. This keeps them creamy and prevents ice crystals. Avoid thawing at room temperature, as it can change the texture.
FAQs
How can I make the cheesecake cups without cookie butter?
You can use other nut butters. Almond butter or peanut butter works well. You can also try speculoos spread for a similar taste. Each option gives a unique flavor to the cheesecake cups.
What can I use instead of cream cheese?
If you want a dairy-free option, try using cashew cream. To make cashew cream, soak cashews in water, then blend until smooth. Greek yogurt is another great substitute. It adds a nice tang while keeping the texture creamy.
How long do the cheesecake cups last in the fridge?
The cheesecake cups stay fresh for about 3 to 4 days in the fridge. Store them in airtight containers to keep them tasting great. If you notice any changes in texture or smell, it’s best to toss them.
This blog post gave you a full guide to making delicious cheesecake cups. You learned about the ingredients, step-by-step instructions, and tips for perfecting texture. You explored flavor variations and dietary adjustments to suit your needs. Finally, I shared storage tips to keep them fresh. With these easy steps, you can create something tasty and fun. Enjoy crafting these treats for any occasion!
