WANT TO SAVE THIS RECIPE?
Craving a simple and tasty treat? Try my No Bake Oreo Cheesecake Bars! They’re creamy and delicious, and you won’t need to turn on the oven. In this guide, I’ll show you how to make them step-by-step, share tips to avoid common mistakes, and explore fun flavor twists. Whether you’re a baking pro or a kitchen newbie, you’ll impress everyone with these easy dessert bars! Ready to get started?
Why I Love This Recipe
- Decadent Flavor: The combination of creamy cheesecake and crunchy Oreo cookies creates a delightful contrast that is simply irresistible.
- No-Bake Convenience: This recipe is perfect for warm weather, as it requires no baking, saving you time and keeping your kitchen cool.
- Easy to Make: With just a few simple steps, you can whip up these cheesecake bars in no time, making it a great choice for beginner bakers.
- Customizable Topping: You can personalize your bars with extra Oreos or other toppings, giving it your own unique twist each time you make it.
Ingredients
Main Ingredients for No Bake Oreo Cheesecake Bars
To make these tasty bars, you need a few key items. Here’s what you’ll need:
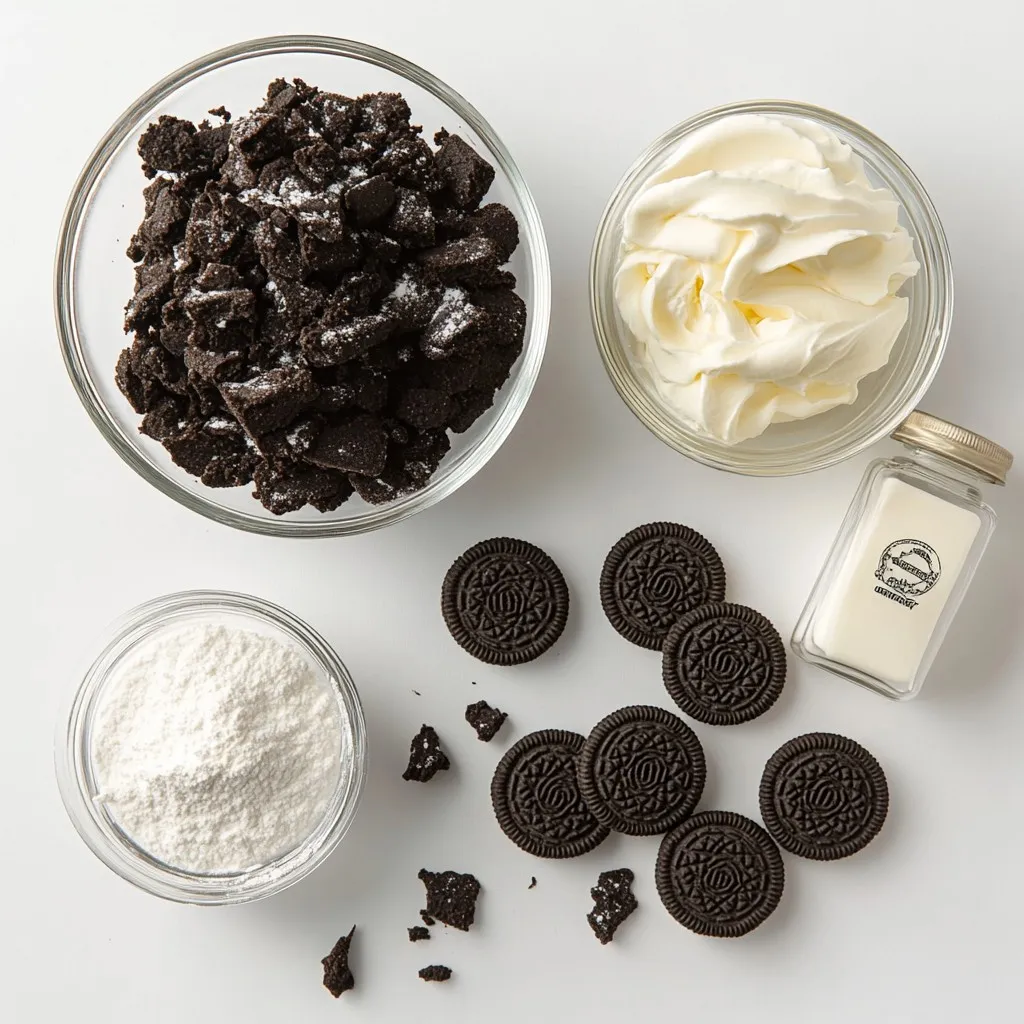
– 24 Oreo cookies, crushed
– 4 tablespoons unsalted butter, melted
– 16 oz cream cheese, softened
– 1 cup powdered sugar
– 1 teaspoon vanilla extract
– 2 cups whipped cream (or 1 tub of store-bought whipped topping)
These ingredients create a creamy and rich cheesecake flavor that pairs perfectly with the crunched Oreos.
Optional Toppings and Garnishes
You can add some fun toppings to make your bars even better. Here are some ideas:
– Extra Oreo cookies for topping
– A dollop of whipped cream
– Chocolate syrup drizzle
– Sprinkles for color
These toppings add a nice touch and make the bars look even more appealing.
Necessary Tools and Equipment
Having the right tools can make your baking easier. Here’s what you’ll need:
– A medium bowl for mixing the crust
– A large mixing bowl for the filling
– An electric mixer to beat the cream cheese
– An 8×8 inch baking dish
– Parchment paper for easy removal
– A spatula for spreading the filling
With these tools, you can prepare everything smoothly and efficiently.
Step-by-Step Instructions
Preparing the Oreo Crust
To start, gather your ingredients. You need 24 crushed Oreo cookies and 4 tablespoons of melted butter. In a medium bowl, mix the crushed cookies and melted butter together. Make sure all the crumbs are well coated. Next, line an 8×8 inch baking dish with parchment paper. This helps with easy removal later. Press the cookie mixture evenly into the bottom of the dish. This will be your crust. Once it’s compact and even, set it aside to prepare the filling.
Making the Cream Cheese Filling
Now, let’s make the cream cheese filling. Take 16 ounces of softened cream cheese and place it in a large mixing bowl. Use an electric mixer to beat it until it’s smooth and creamy. Gradually add 1 cup of powdered sugar and 1 teaspoon of vanilla extract. Mix these until they are well combined. After that, gently fold in 2 cups of whipped cream. Keep folding until you see no streaks. This creates a light and fluffy filling that is perfect for your cheesecake bars.
Assembling and Chilling the Bars
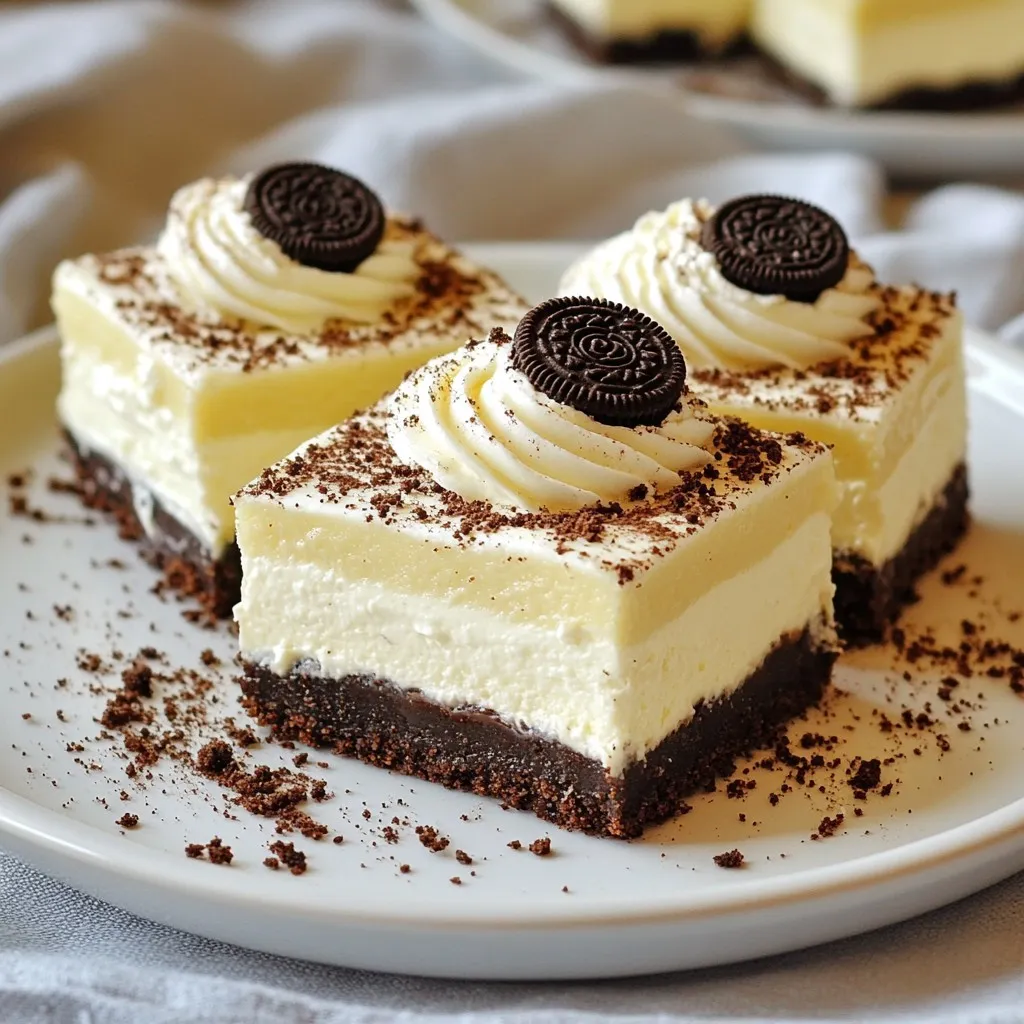
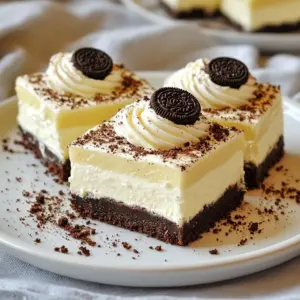
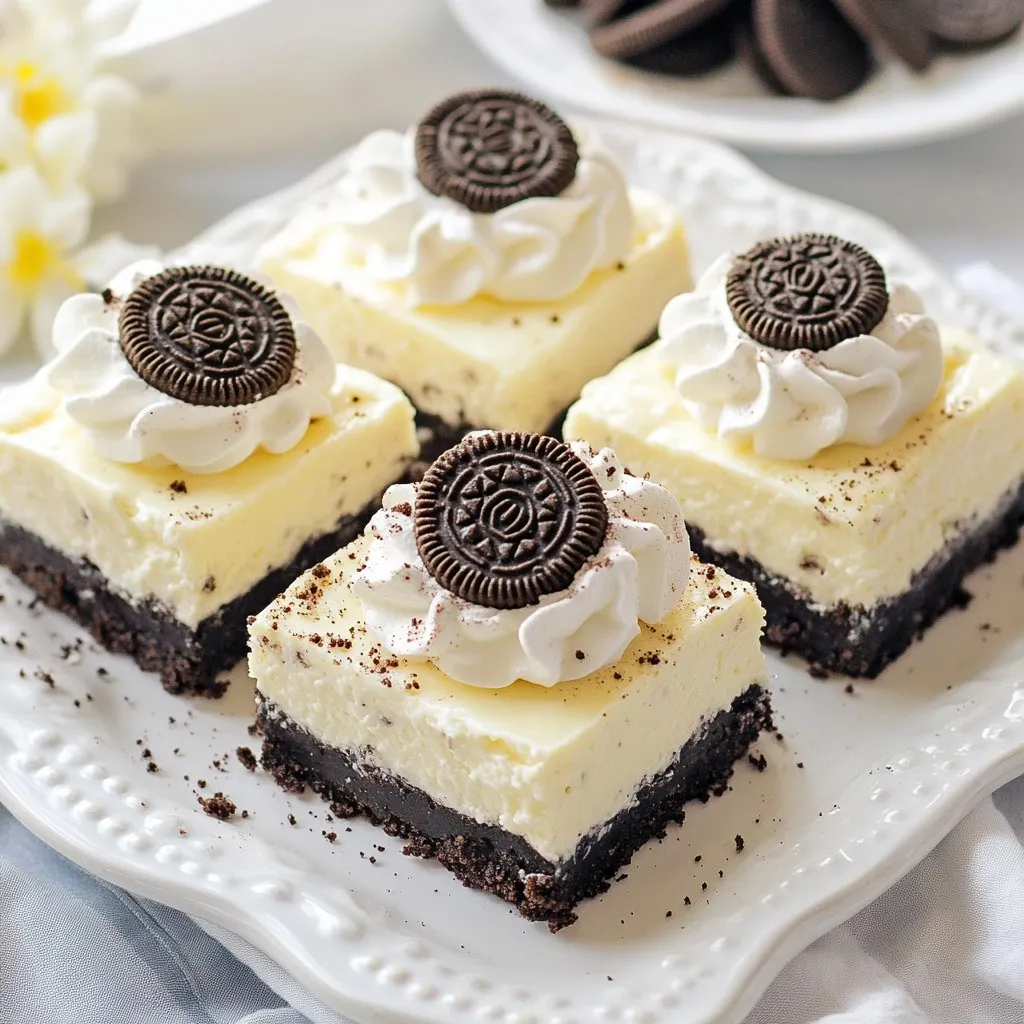
It’s time to put everything together. Pour the creamy filling over the prepared Oreo crust. Use a spatula to smooth it out evenly. Once it looks nice, cover the dish with plastic wrap. Place it in the refrigerator for at least 4 hours. This allows the cheesecake to set properly. After chilling, lift the cheesecake out using the parchment paper. Place it on a cutting board and cut it into bars. If you like, top with extra crushed Oreos for a tasty finish!
Tips & Tricks
Achieving the Perfect Texture
To get that creamy texture, mix the cream cheese until smooth. If it’s too cold, it will lump. Softened cream cheese blends better. When you fold in the whipped cream, do it gently. This keeps the filling light and airy. You want it to feel fluffy, not dense.
Common Mistakes to Avoid
One big mistake is not chilling long enough. If you serve it too soon, the bars will fall apart. Always let it chill for at least four hours. Another mistake is overmixing the whipped cream. This can turn it grainy. Mix just until you see no streaks.
How to Get Clean Cuts for Serving
For clean cuts, use a sharp knife. Dip the knife in hot water, then wipe it dry. This helps the knife glide through the bars. Cut slowly and gently for neat edges. If you want, you can also freeze the bars for about 30 minutes before cutting. This makes slicing even easier.
Pro Tips
- Chill the Ingredients: Before starting, make sure your cream cheese is softened at room temperature for easier blending. Also, chilling the whipped cream before folding it in helps keep the mixture light and airy.
- Use High-Quality Cream Cheese: For the best flavor and texture, opt for a high-quality cream cheese. Avoid low-fat versions as they may result in a less creamy filling.
- Adjust Sweetness to Taste: Depending on your preference, you can adjust the amount of powdered sugar in the filling. Taste as you mix to find the perfect balance.
- Experiment with Toppings: Feel free to get creative with toppings. Besides crushed Oreos, you can also add chocolate sauce, caramel drizzle, or fresh berries for a delicious twist!
Variations
Different Cookie Crust Options
You can switch up the crust for your No Bake Oreo Cheesecake Bars. While Oreos are classic, try using different cookies. Graham crackers give a nice crunch. You can even use chocolate wafer cookies for a richer flavor. Just crush them and mix with melted butter as you did with the Oreos. The choice is yours!
Flavor Enhancements (e.g., Chocolate or Mint)
Want to jazz up your cheesecake? Add flavor! For a chocolate twist, mix in cocoa powder. Start with about 1/4 cup, but taste as you go. If you love mint, use mint Oreos or add mint extract. Just a few drops can give your bars a fresh taste. This keeps your dessert exciting and new!
Dairy-Free or Vegan Alternatives
You can make these bars dairy-free or vegan! Use vegan cream cheese instead of regular cream cheese. Look for brands that are nut-based or soy-based. For whipped cream, use coconut cream or a dairy-free topping. This way, everyone can enjoy the creamy goodness of these cheesecake bars!
Storage Info
Best Methods for Storing Leftovers
Keep your no bake Oreo cheesecake bars in an airtight container. This helps keep them fresh. You can also cover the dish with plastic wrap. Make sure the wrap touches the surface to avoid air. Store the bars in the fridge for the best taste.
How Long Can You Keep No Bake Cheesecake Bars?
You can enjoy the cheesecake bars for up to five days in the fridge. After that, they might lose their creamy texture. Always check for any signs of spoilage before eating. If they look or smell off, it’s best to throw them away.
Freezing Tips for Extended Shelf Life
You can freeze these cheesecake bars for up to three months. Cut the bars into pieces and wrap each one in plastic wrap. Then place them in a freezer-safe container or bag. When you’re ready to enjoy them, let them thaw in the fridge overnight. This keeps the texture soft and creamy.
FAQs
Can I make No Bake Oreo Cheesecake Bars in advance?
Yes, you can make these bars ahead of time. They are great for meal prep. I often make them a day before serving. This gives them time to chill and set well. Just cover them tightly with plastic wrap. This keeps them fresh and tasty. The flavors blend nicely when they sit.
What can I use instead of cream cheese?
If you want a different option, try mascarpone cheese. It has a similar texture. You can also use Greek yogurt for a lighter version. Just note that the taste will be slightly different. Some people use silken tofu for a dairy-free option. Blend it well to get a smooth texture.
How do I know when the cheesecake is set?
You know the cheesecake is set when it is firm to the touch. Gently press the top with your finger. If it springs back, it’s ready. You can also check the edges. They should look firm but not dry. Chilling for at least four hours helps it set better. If you want to be sure, leave it in the fridge overnight.
You now have all the tools to make No Bake Oreo Cheesecake Bars. We covered ingredients, tools, and step-by-step instructions. I shared tips for the best texture and ways to avoid common mistakes. You can also try different cookie crusts or flavors. Lastly, I explained how to store and serve these treats. Enjoy your cheesecake bars, share them with friends, and experiment with your favorite flavors! Happy bakin
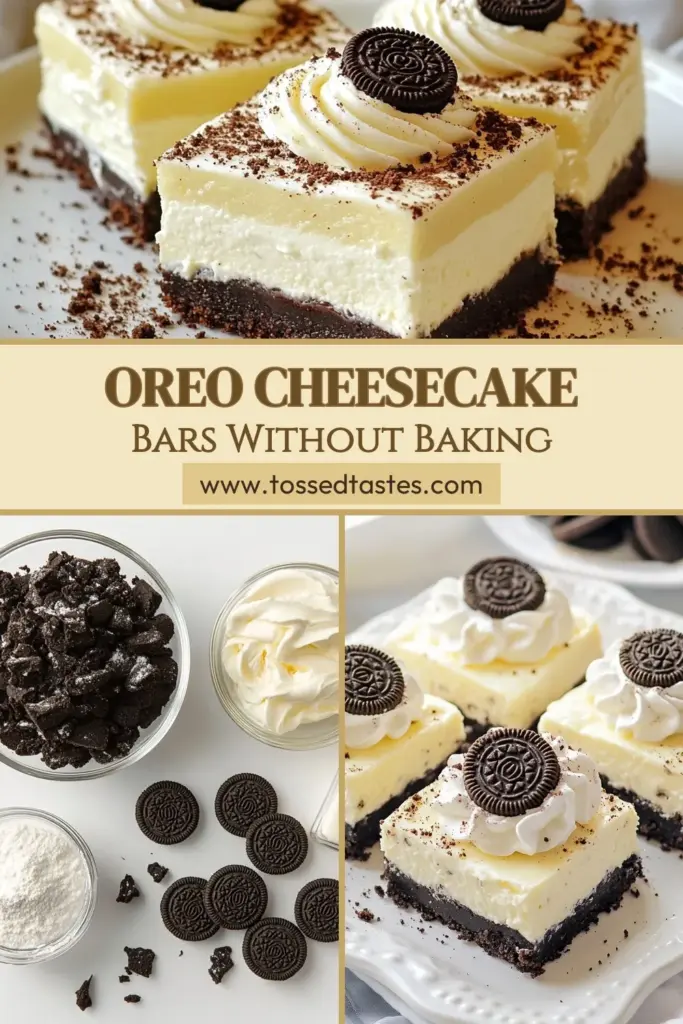
Oreo Bliss No-Bake Cheesecake Bars
Delicious no-bake cheesecake bars made with Oreo cookies and whipped cream.
Course Dessert
Cuisine American
Servings 12
Calories 250 kcal
- 24 cookies Oreo cookies, crushed
- 4 tablespoons unsalted butter, melted
- 16 oz cream cheese, softened
- 1 cup powdered sugar
- 1 teaspoon vanilla extract
- 2 cups whipped cream (or 1 tub of store-bought whipped topping)
- Extra cookies Oreo cookies for topping (optional)
Prepare the Crust: In a medium bowl, combine the crushed Oreo cookies and melted butter. Mix until the crumbs are well coated.
Press the Crust: Line an 8x8 inch baking dish with parchment paper for easy removal. Press the Oreo mixture evenly into the bottom of the dish to create the crust. Set aside.
Make the Cheesecake Filling: In a large mixing bowl, beat the softened cream cheese with an electric mixer until smooth and creamy.
Add Sugar and Vanilla: Gradually add in the powdered sugar and vanilla extract, mixing until combined.
Incorporate Whipped Cream: Gently fold in the whipped cream until there are no streaks visible, creating a light and fluffy filling.
Layer the Filling: Pour the cheesecake filling over the prepared Oreo crust, smoothing it out with a spatula.
Chill: Cover the dish with plastic wrap and refrigerate for at least 4 hours, or until the cheesecake is set.
Serve: Once set, lift the cheesecake out of the dish using the parchment paper and place it on a cutting board. Cut into bars and top with additional crushed Oreos if desired.
Serve the bars on a beautiful platter, garnished with a dollop of whipped cream and a sprinkle of crushed Oreos for added flair!
Keyword cheesecake, dessert, no-bake, Oreo
WANT TO SAVE THIS RECIPE?