Craving a tasty snack that’s easy to make? Look no further! My No-Bake Pumpkin Chocolate Chip Energy Balls combine wholesome ingredients and delicious flavors. With just a few steps, you’ll have a nutritious treat perfect for on-the-go energy or a guilt-free dessert. Whether you’re a busy parent or a health-conscious foodie, this recipe is for you. Let’s dive into making these delightful bites!
Ingredients
Main Ingredients for Energy Balls
– 1 cup rolled oats
– 1/2 cup pumpkin puree
– 1/4 cup honey or maple syrup
– 1/4 cup almond butter or peanut butter
– 1/2 teaspoon vanilla extract
These main ingredients form the base of your energy balls. Rolled oats give a hearty texture. Pumpkin puree adds moisture and flavor. Honey or maple syrup acts as a sweetener. Almond or peanut butter binds everything together. Vanilla extract enhances the overall taste.
Seasonings and Add-ins
– 1 teaspoon ground cinnamon
– 1/2 teaspoon ground nutmeg
– 1/4 teaspoon sea salt
– 1/2 cup mini chocolate chips
– 1/4 cup chopped walnuts or pecans (optional)
The seasonings bring warmth and depth to your energy balls. Cinnamon and nutmeg create a cozy fall flavor. Sea salt balances the sweetness. Mini chocolate chips add a fun burst of chocolate. Chopped walnuts or pecans give a nice crunch and extra nutrients. Feel free to mix and match as you like!
Step-by-Step Instructions
Preparation Process
Step 1: Combine base ingredients in a mixing bowl
Start by taking a large mixing bowl. Add 1 cup of rolled oats, 1/2 cup of pumpkin puree, 1/4 cup of honey or maple syrup, and 1/4 cup of almond butter. Pour in 1/2 teaspoon of pure vanilla extract. Use a spatula or wooden spoon to mix everything well until it’s smooth.
Step 2: Mix in seasonings and spices
Next, sprinkle in 1 teaspoon of ground cinnamon, 1/2 teaspoon of ground nutmeg, and 1/4 teaspoon of sea salt. Stir the mixture again. Make sure the spices spread evenly for the best flavor.
Step 3: Fold in chocolate chips and nuts
Now, gently fold in 1/2 cup of mini chocolate chips. If you want a crunchy texture, add 1/4 cup of chopped walnuts or pecans. Mix until all ingredients blend together nicely.
Forming the Energy Balls
Step 4: Scoop and roll into balls
Using clean hands, scoop out about 1 tablespoon of the mixture. Roll it into a ball shape. Repeat this for the rest of the mixture until you form all the energy balls.
Step 5: Arrange on a lined baking sheet
Place the rolled energy balls on a parchment-lined baking sheet or plate. Make sure they are spaced out a bit for easy handling.
Chilling and Storing
Step 6: Refrigerate to firm up
Put the baking sheet in the refrigerator. Let the energy balls chill for at least 30 minutes. This step helps them become firm and easier to eat.
Store in an airtight container
Once they’re firm, transfer the energy balls to an airtight container. Keep them in the fridge. They will stay fresh for about a week, ready for you to enjoy anytime.
Tips & Tricks
Enhancing Flavor and Texture
To boost flavor, use maple syrup instead of honey. This makes the recipe vegan and adds a unique sweetness. You can also try different nut butters. Almond butter gives a rich taste, while creamy peanut butter offers a classic flavor. Experimenting can lead to fun and tasty variations.
Serving Suggestions
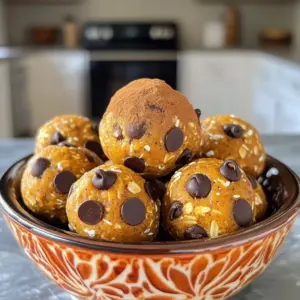
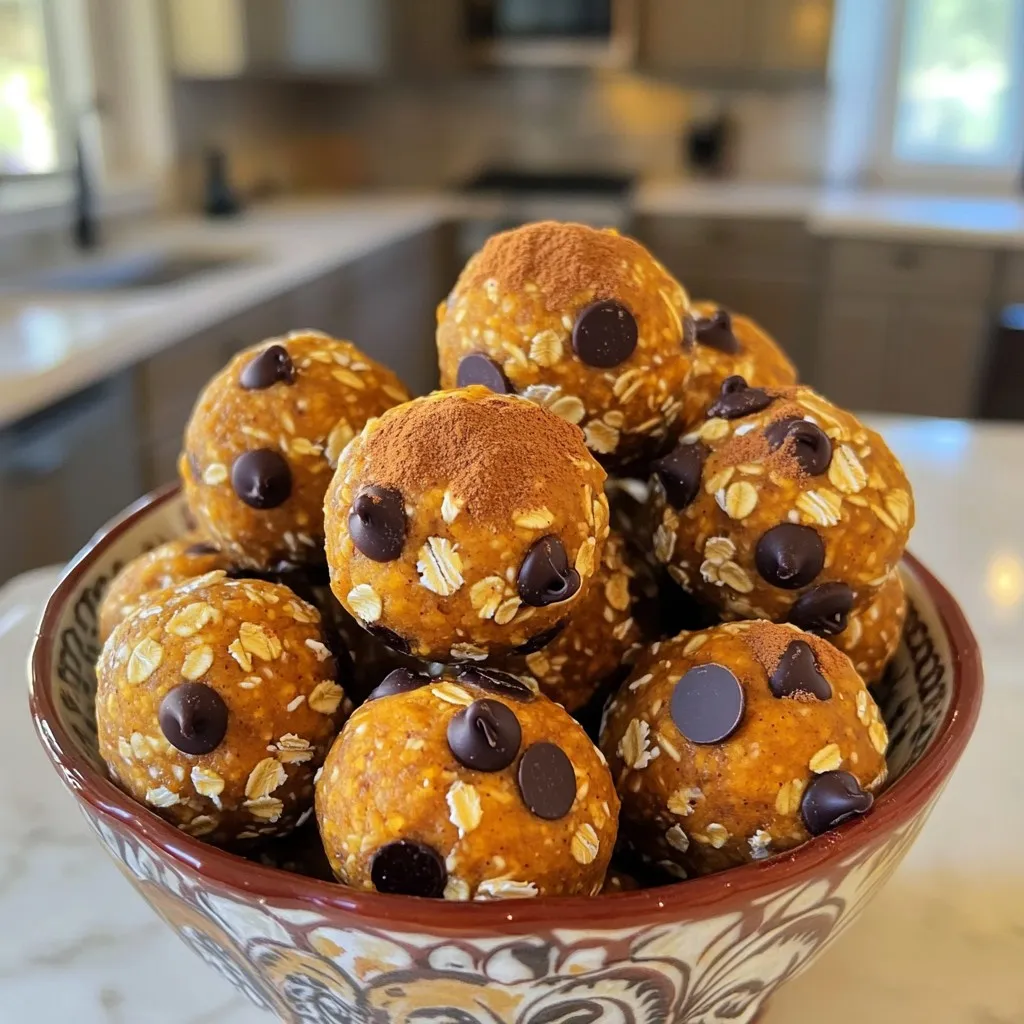
For a fun presentation, serve the energy balls in a cute mason jar or a decorative bowl. You can sprinkle extra chocolate chips on top for an inviting look. These energy balls pair well with almond milk or a warm cup of tea. They make a great snack for parties or family gatherings.
Common Mistakes to Avoid
One common mistake is not chilling the energy balls long enough. They need at least 30 minutes in the fridge to firm up. This step is key for the right texture. Another mistake is overmixing the ingredients. Mix just until combined to keep the balls light and airy.
Variations
Flavor Alternatives
You can change the flavors of your energy balls for fun. Try adding dried fruits like cranberries or raisins. They add sweetness and chewiness. Another option is to swap the pumpkin for sweet potato puree. This switch gives a different taste but keeps the texture creamy.
Dietary Adjustments
If you need gluten-free energy balls, use certified oats. They work just as well as regular oats. For a nut-free option, swap almond butter with sunflower seed butter. This keeps the recipe safe for those with nut allergies while still being tasty.
Portion Size Suggestions
When making these energy balls, think about the size you want. For kids, roll smaller balls. About one teaspoon per ball is great. For adults, you can make larger balls, around one tablespoon each. Adjust the size based on who will eat them. This makes it easy to serve everyone!
Storage Info
How to Store Energy Balls
To keep your energy balls fresh, store them in the fridge. Using an airtight container is key. This helps prevent them from drying out. You can also place parchment paper between layers to avoid sticking.
Freezing Options
If you want to save some for later, freeze them! Place the energy balls in a single layer on a baking sheet. Once frozen, transfer them to a freezer-safe bag. This method helps keep their shape. When you want to eat one, just take it out. Let it thaw in the fridge or at room temperature for about 30 minutes.
Shelf Life
In the fridge, these energy balls last up to a week. After that, they may lose their taste and texture. Look for any off smells or changes in color as signs of spoilage. If they seem dry or hard, it’s best to toss them.
FAQs
How many energy balls does this recipe yield?
This recipe makes about 12 to 15 energy balls. You can adjust the size to get more or less. If you make them smaller, you might get a few extra!
Can I replace pumpkin puree with another ingredient?
Yes, you can! Sweet potato puree is a great substitute. It has a similar texture and sweet flavor. You can also try using applesauce for a fruity twist.
Are these energy balls suitable for meal prep?
Absolutely! These energy balls are perfect for meal prep. You can make a batch on the weekend. Store them in the fridge for quick snacks all week. They are great for breakfast or a pick-me-up during the day.
How to make these energy balls nut-free?
To make these energy balls nut-free, use sunflower seed butter instead of almond or peanut butter. This keeps the recipe safe for those with nut allergies. You can also try tahini for a different taste!
This blog post covered how to make energy balls with simple ingredients. We detailed the main ingredients, added spices, and shaping steps. You learned handy tips for flavor and storage, plus how to avoid common mistakes. Experiment with flavors and make these balls suit your diet.
Energy balls are a great snack to fuel your day. Enjoy making them and share with friends!