WANT TO SAVE THIS RECIPE?
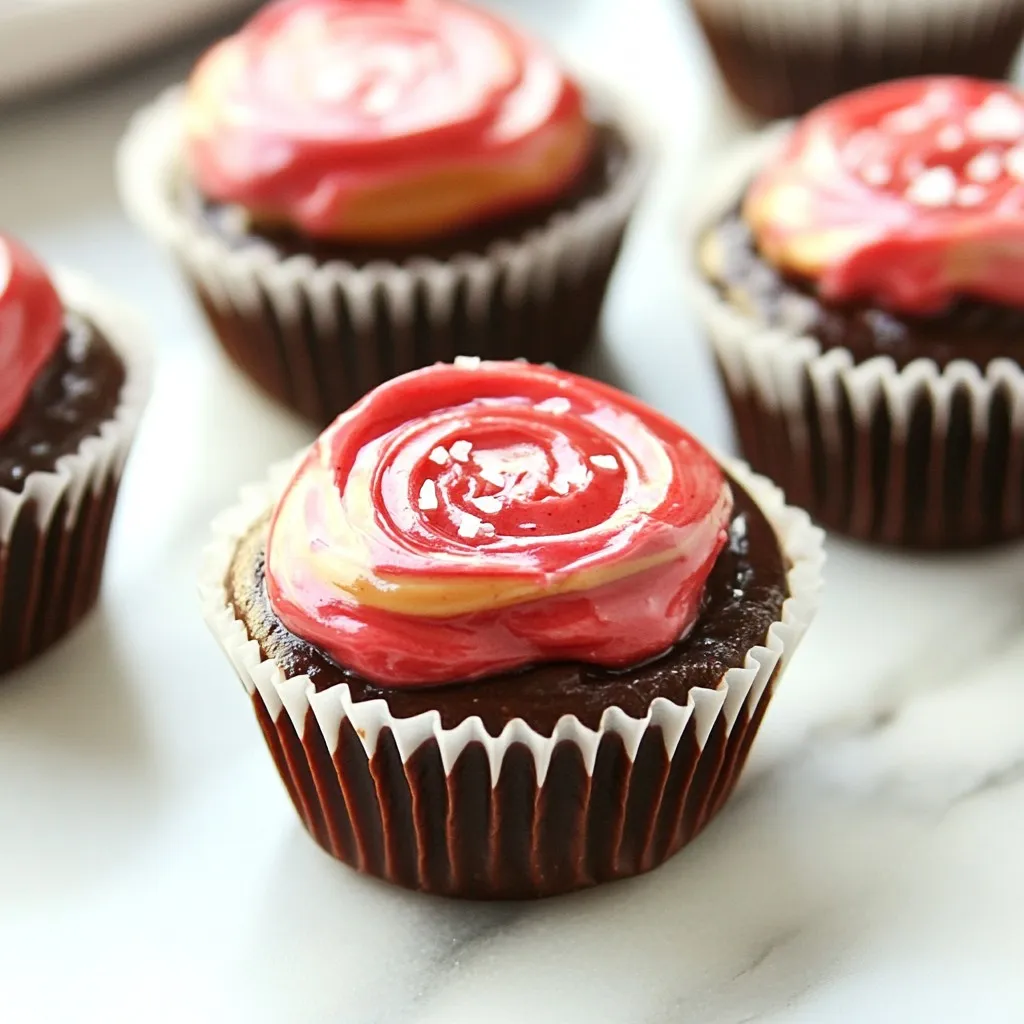
If you love peanut butter and strawberries, you’re in for a treat! These Strawberry Peanut Butter Cups are easy to make at home and taste amazing. With just a few ingredients and simple steps, you can whip up this delicious snack in no time. Perfect for dessert or a quick pick-me-up, this guide will show you how to create your own sweet delights. Let’s get started!
Why I Love This Recipe
- Fresh and Fruity: The combination of strawberries and peanut butter creates a delightful balance of flavors that’s both refreshing and indulgent.
- Healthier Treat: Using natural ingredients like pureed strawberries and dark chocolate makes these cups a guilt-free dessert option.
- Customizable: You can easily modify the sweetness or swap out ingredients to suit your taste, making it versatile for everyone.
- Easy to Make: This recipe comes together quickly and requires minimal effort, perfect for dessert lovers with a busy schedule.
Ingredients
List of Ingredients
To make Strawberry Peanut Butter Cups, you need these simple ingredients:
– 1 cup smooth peanut butter
– 1 cup fresh strawberries, pureed
– 1 cup dark chocolate chips
– 2 tablespoons coconut oil
– 1 tablespoon honey or maple syrup (optional, for sweetness)
– Sea salt, for garnish
These ingredients blend well to create a delicious treat. The peanut butter pairs perfectly with fresh strawberries. The dark chocolate gives a rich flavor that ties it all together.
Optional Sweeteners
You can add sweeteners if you like your treats a bit sweeter. Honey or maple syrup works great. Just one tablespoon gives a nice touch. If you want to keep it simple, you can skip sweeteners. The natural sweetness from strawberries adds flavor.
Equipment Needed
You will need a few kitchen tools to make this recipe:
– Muffin tin
– Cupcake liners
– Medium bowls
– Microwave or double boiler
– Spoon or spatula
– Toothpick (for swirling)
Using these tools makes the process easier and cleaner. The muffin tin helps shape the cups, while the liners let you remove them easily.

Step-by-Step Instructions
Preparation Process
Start by lining a muffin tin with cupcake liners. This step helps you remove the cups easily later. Next, mix 1 cup of smooth peanut butter with honey if you want extra sweetness. Stir until the mix is smooth and creamy. In another bowl, combine 1 cup of dark chocolate chips with 2 tablespoons of coconut oil. Melt them together. You can use a microwave or a double boiler. If using a microwave, heat in 30-second bursts, stirring in between. Once melted, the chocolate should be smooth and shiny.
Melting Chocolate Tips
When melting chocolate, be careful not to overheat it. Too much heat can cause the chocolate to seize and clump. Stir often to keep the heat even. If you’re using a double boiler, ensure that the water does not touch the chocolate bowl. This way, you heat gently. If your chocolate starts to clump, add a bit more coconut oil to help it smooth out.
Layering Technique
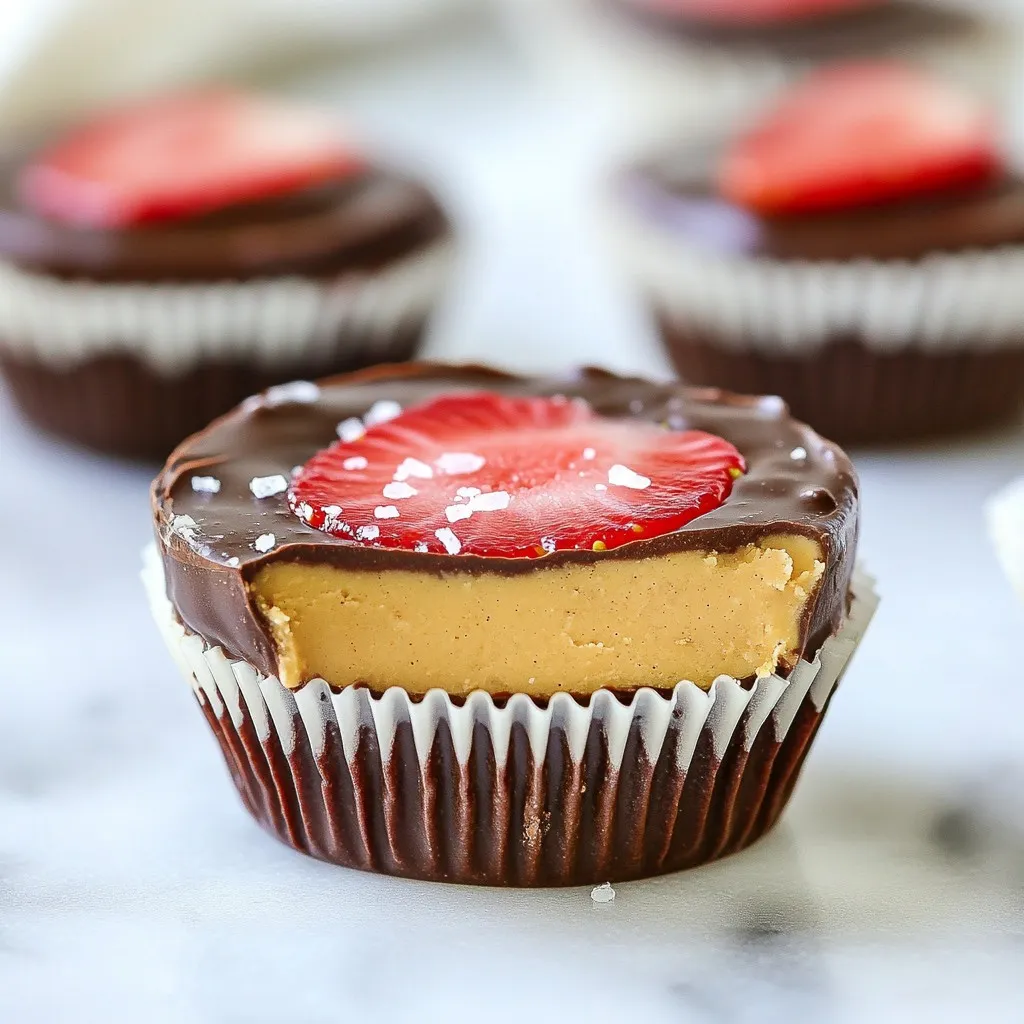
Now, let’s build our cups! Spoon about 1 tablespoon of melted chocolate into each cupcake liner. Spread it evenly to cover the bottom. Freeze the tin for 10 minutes until the chocolate hardens. Then, add 1-2 tablespoons of the peanut butter mix on top. Press it down gently to flatten. Next, drizzle around 1 tablespoon of strawberry puree over the peanut butter. Use a toothpick or spoon to swirl it in. Finally, cover everything with another layer of melted chocolate. Make sure the tops are smooth. Sprinkle a pinch of sea salt on top for extra flavor. Freeze for 30-40 minutes until set, then enjoy your delicious treats!
Tips & Tricks
Best Practices for a Smooth Texture
To make your Strawberry Peanut Butter Cups smooth, use creamy peanut butter. It blends well and creates a nice bite. When mixing, stir the peanut butter and honey until they are well combined. This ensures a silky texture. You can also warm the peanut butter slightly to help it mix better.
How to Avoid Chocolate Seizing
Chocolate can seize if it gets too hot or meets moisture. To avoid this, melt the chocolate slowly. Use a microwave in short bursts or a double boiler. Make sure your bowls and utensils are dry. If your chocolate does seize, add a small amount of coconut oil and stir until it becomes smooth again.
Ideal Storage Conditions
Store your Strawberry Peanut Butter Cups in an airtight container. Keep them in the fridge for best results. If you want to save them longer, you can freeze them. Just make sure to separate layers with parchment paper. They will stay fresh for a few weeks in the fridge or up to three months in the freezer.
Pro Tips
- Use Quality Chocolate: Opt for high-quality dark chocolate chips for a richer flavor. The better the chocolate, the more indulgent your peanut butter cups will taste.
- Chill Between Layers: Ensure each layer is set in the freezer before adding the next. This helps maintain distinct layers and prevents the flavors from bleeding together.
- Experiment with Sweetness: Adjust the sweetness of the peanut butter mixture by adding more or less honey or maple syrup based on your preference. Taste as you go!
- Storage Tips: Store the cups in an airtight container in the refrigerator for up to two weeks. They can also be frozen for longer storage, just let them thaw slightly before enjoying.
Variations
Nut-Free Options
If you want a nut-free option, use sun butter or soy nut butter. These spreads taste great and work well in this recipe. They give you the same creamy texture without nuts. Just swap the peanut butter with your chosen nut-free spread. You will still enjoy a tasty treat!
Different Fruit Combinations
You can change the fruit if you like! Try using raspberries or blueberries instead of strawberries. Just puree the fruit like you would with strawberries. Each fruit brings its own flavor. This lets you create a new taste each time you make the cups!
Healthy Swaps for Ingredients
Want to make your cups a bit healthier? Use dark chocolate chips with a higher cocoa content. This gives you richer flavor with less sugar. You can also skip the honey or maple syrup and let the fruit’s natural sweetness shine through. Another option is to use Greek yogurt instead of peanut butter for a different twist. These swaps keep the fun without all the extra sugar!
Storage Info
How to Store Strawberry Peanut Butter Cups
Store your strawberry peanut butter cups in an airtight container. This keeps them fresh. You can place them in the fridge for up to a week. If you prefer a cold snack, they are great chilled. Just make sure to keep them covered.
Freezing Instructions
To freeze your cups, first let them set completely. Then, place them in a single layer in a freezer-safe container. You can also wrap each cup in plastic wrap for extra protection. These cups will stay fresh in the freezer for up to three months. When you want one, just take it out and let it thaw in the fridge.
Shelf Life and Signs of Spoilage
These treats can last about a week in the fridge. Check for signs of spoilage before eating. If they smell off or have a strange texture, it’s best to toss them. Look for any mold or changes in color. If you see any of these signs, do not eat them. Always trust your senses when it comes to food safety.
FAQs
Can I use crunchy peanut butter?
Yes, you can use crunchy peanut butter. It adds a fun texture to your cups. The chunks of peanuts give each bite extra crunch. If you love the taste of crunchy peanut butter, go for it! Just remember, it will change the texture a bit. Smooth peanut butter makes a creamier filling.
How to make the strawberry puree?
To make strawberry puree, start with fresh strawberries. Wash them well and remove the stems. Place them in a blender or food processor. Blend until smooth. If you want a sweeter puree, you can add a bit of honey or sugar. This puree adds a fruity flavor to your cups. It gives them a nice pink color, too!
Are these cups suitable for a vegan diet?
Yes, you can make these cups vegan! Use vegan chocolate chips instead of regular ones. Also, swap honey for maple syrup. Both options keep the recipe plant-based. Just make sure to check labels. Some chocolate brands add milk. With these changes, you can enjoy a tasty treat that fits a vegan diet!
We covered how to make tasty strawberry peanut butter cups. You learned about key ingredients, including sweeteners and equipment. The step-by-step guide helped with preparation, melting, and layering tips. I shared best practices for smooth texture and how to avoid chocolate issues. We explored nut-free options and healthy swaps. Finally, I explained how to store your treats safely.
Enjoy making these delicious cups and get creative with variation
Strawberry Peanut Butter Cups
Delicious homemade peanut butter cups with a strawberry twist.
Course Dessert
Cuisine American
Servings 12
Calories 150 kcal
- 1 cup smooth peanut butter
- 1 cup fresh strawberries, pureed
- 1 cup dark chocolate chips
- 2 tablespoons coconut oil
- 1 tablespoon honey or maple syrup (optional, for sweetness)
- to taste pinch sea salt, for garnish
Line a muffin tin with cupcake liners. This will make it easy to remove the peanut butter cups later.
In a medium bowl, combine the peanut butter and honey (if using). Mix until smooth and well combined.
In another bowl, melt the dark chocolate chips with the coconut oil. You can do this in a microwave in 30-second intervals or over a double boiler until fully melted and smooth.
Spoon a small amount of the melted chocolate (about 1 tablespoon) into the bottom of each cupcake liner, spreading it evenly to cover. Place the muffin tin in the freezer for about 10 minutes until the chocolate hardens.
Once the chocolate layer is set, add 1-2 tablespoons of the peanut butter mixture on top of the chocolate, pressing down gently to flatten it.
Drizzle about 1 tablespoon of the strawberry puree on top of the peanut butter layer. Use a toothpick or the back of a spoon to swirl the strawberry puree into the peanut butter.
Finally, spoon another layer of melted chocolate over the top to fully cover the peanut butter and strawberry mixture. Ensure that the tops are smooth.
Sprinkle a small pinch of sea salt on top of each cup for an added flavor kick.
Place the muffin tin back in the freezer for another 30-40 minutes or until fully set.
Once set, gently remove the cups from the liners and serve chilled or at room temperature.
Serve chilled for the best flavor.
Keyword chocolate, dessert, peanut butter, strawberry
WANT TO SAVE THIS RECIPE?