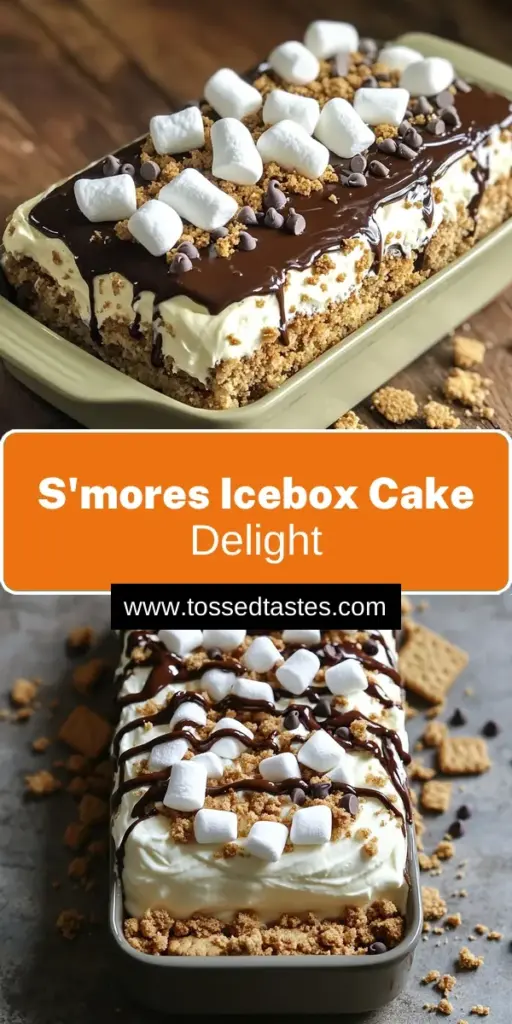
Looking for a tasty treat that’s easy to make? This No-Bake S’mores Icebox Cake is just the thing! You’ll love how simple it is to whip up, using classic s’mores flavors without the fuss of baking. In this guide, I’ll show you all the ingredients, step-by-step instructions, and helpful tips to create a dessert that impresses. Let’s get started on this delicious adventure!
Ingredients
Essential Ingredients for No-Bake S’mores Icebox Cake
To make this tasty treat, gather these key ingredients:
– 2 cups heavy whipping cream
– 1/2 cup powdered sugar
– 1 teaspoon vanilla extract
– 1 cup graham cracker crumbs
– 1 cup mini marshmallows
– 1 cup chocolate ganache
– 1/2 cup chocolate chips (for garnish)
These items create the rich, creamy layers that make this cake a hit. The heavy cream forms the base, while the graham cracker crumbs mimic the classic s’mores crust. Mini marshmallows and chocolate ganache add sweetness and depth.
Optional Garnishes and Decor
While the cake is delightful on its own, you can elevate its look and taste with these optional garnishes:
– Extra graham crackers
– Additional mini marshmallows
Adding these on top makes your cake look fancy. Plus, it gives your guests a fun surprise!
Substitutions for Key Ingredients
If you can’t find some ingredients, here are smart swaps:
– Instead of heavy whipping cream, use coconut cream for a dairy-free option.
– Swap powdered sugar with regular sugar, but it may not dissolve as well.
– For chocolate ganache, you can use store-bought chocolate sauce if you’re short on time.
These substitutions keep the essence of the cake while catering to dietary needs or pantry limitations. Enjoy experimenting!
Step-by-Step Instructions
How to Prepare the Chocolate Ganache
To make the chocolate ganache, you need just two ingredients: semi-sweet chocolate chips and heavy cream. Start by measuring 1 cup of chocolate chips and 1/2 cup of heavy cream. Place them in a microwave-safe bowl. Microwave this mixture in 30-second bursts. Stir well each time until the chocolate melts fully. The ganache should be smooth and glossy. Let it cool a bit at room temperature. This step is key to avoid melting the whipped cream later.
Whipping the Cream
Next, we whip the cream. In a large mixing bowl, combine 2 cups of heavy whipping cream, 1/2 cup of powdered sugar, and 1 teaspoon of vanilla extract. Use an electric mixer to whip this mixture on high speed. Watch closely, as you want soft peaks to form. Stop when they hold shape but are still creamy. Be careful not to over-whip, or the cream may turn grainy.
Layering the Cake Properly
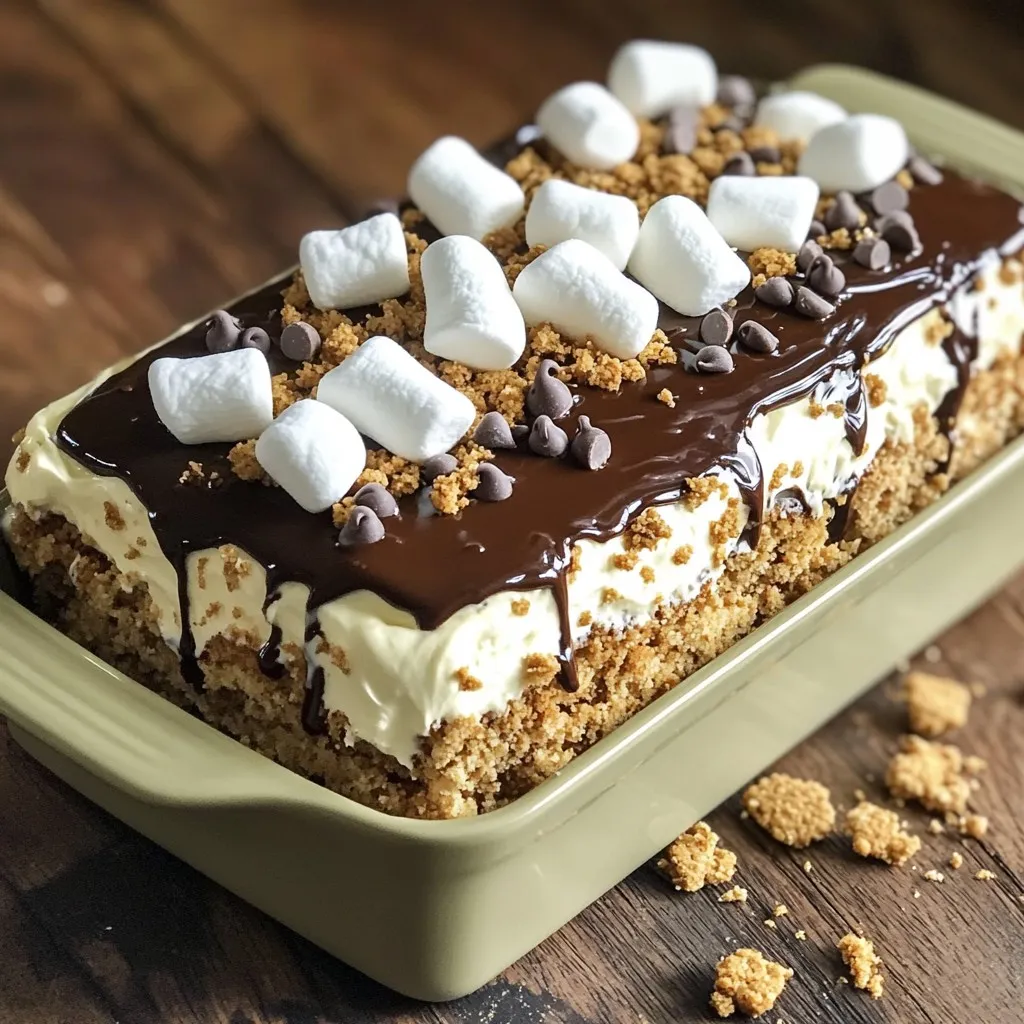
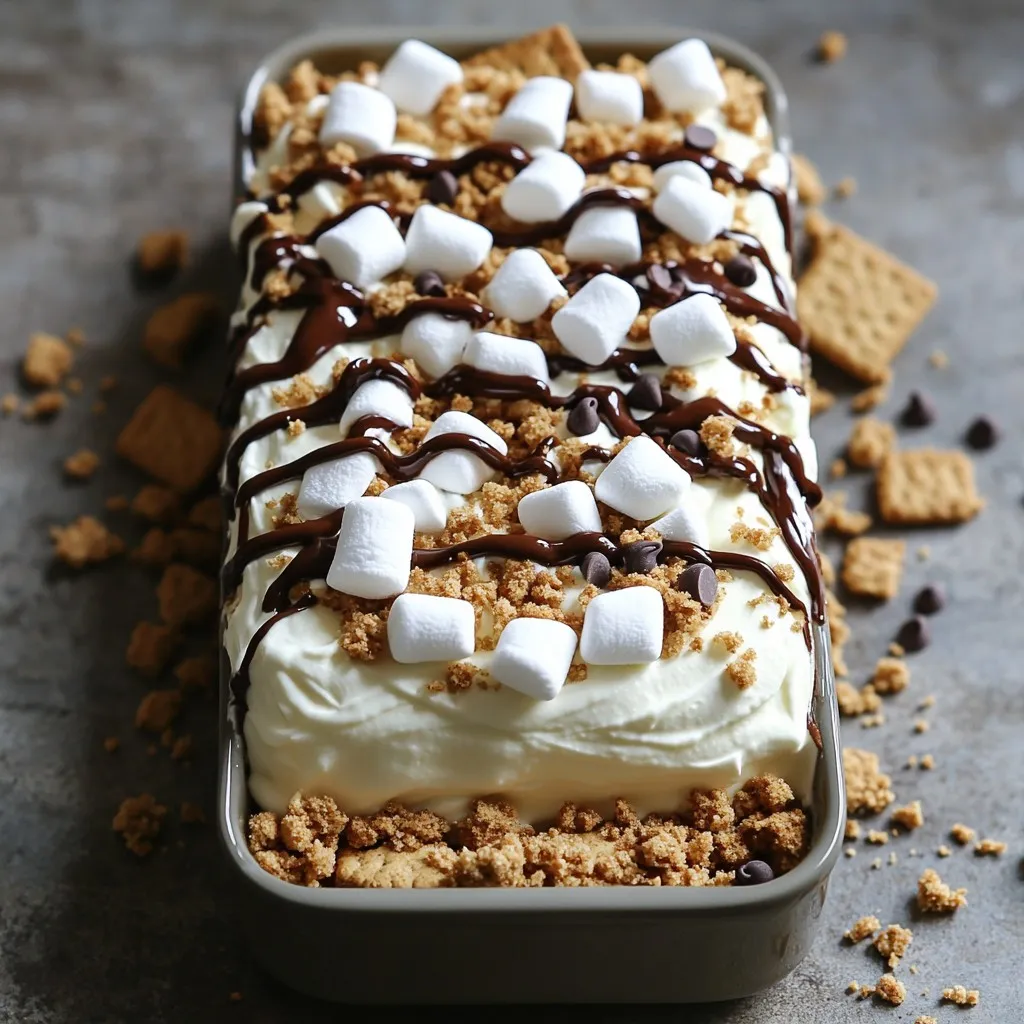
Now for the fun part—layering! Grab a cake pan or a rectangular dish. Start with a thin layer of whipped cream at the bottom. Spread it evenly. Then, sprinkle a layer of graham cracker crumbs on top. Follow this with a generous layer of mini marshmallows. Drizzle some of your chocolate ganache over the marshmallows. Repeat this process. Alternate layers of whipped cream, graham crackers, marshmallows, and ganache. Aim for 3 to 4 layers. Finish with a smooth topping of whipped cream.
Chilling the Cake for Best Results
Once you finish layering, it’s time to chill. Cover the cake with plastic wrap or a lid. Place it in the refrigerator for at least 4 hours. For the best flavor, let it chill overnight. This helps the flavors mix and the cake to set properly. When you’re ready to serve, it will slice beautifully and taste amazing!
Tips & Tricks
How to Achieve Perfect Whipped Cream
To make perfect whipped cream, use cold cream. Start with heavy whipping cream for the best results. Add powdered sugar and vanilla extract to sweeten it. Mix on high speed. Watch for soft peaks; this means it’s ready. Be careful not to over-whip. If it gets too thick, it will turn to butter. Perfect whipped cream is smooth and fluffy.
Recommended Equipment for Making the Cake
Here’s what you need for this cake:
– Mixing bowls
– Electric mixer
– A cake pan or rectangular dish
– Spatula
– Microwave-safe bowl for ganache
These tools make the process easier. Mixing bowls help you combine ingredients well. An electric mixer saves time and effort. A spatula is key for layering. The right dish holds all the layers nicely.
Presentation Tips for Serving
Serving this cake is fun! Use individual plates for each slice. Garnish with mini marshmallows on top. Drizzle some chocolate ganache for an eye-catching look. You can sprinkle extra graham cracker crumbs for texture. This makes your cake look fancy and inviting. Your guests will love the added details!
Variations
Gluten-Free No-Bake S’mores Icebox Cake
To make a gluten-free version, swap regular graham crackers for gluten-free ones. Many brands offer great options that taste similar. This way, you keep the cake’s crunch without gluten. The rest of the recipe stays the same. Remember to check all other ingredients for gluten. This makes the dessert safe for everyone!
Add Fruit for a Twist
Want to add some fruit? Strawberries, raspberries, or bananas work great. Just slice the fruit and layer it between the other ingredients. The fruit adds a fresh taste and a pop of color. You can mix and match fruits to find your favorite combo. This twist makes the cake even more fun and tasty!
Different Chocolate Options
You can switch up the chocolate too! Instead of semi-sweet chocolate, try dark chocolate for a richer taste. Milk chocolate gives a sweeter flavor. For a fun twist, use flavored chocolate, like mint or orange. Each option changes the cake’s taste and keeps it exciting. Choose what you love best for your no-bake s’mores icebox cake!
Storage Info
How to Best Store Your Icebox Cake
To keep your No-Bake S’mores Icebox Cake fresh, wrap it tightly. Use plastic wrap or foil. This helps keep the cake moist and prevents it from absorbing other flavors in the fridge. Store it in an airtight container if you have one. This method works best for short-term storage.
Freezing Instructions for Long-Term Storage
If you want to keep the cake longer, freezing is a great option. Slice the cake into pieces before freezing. Wrap each slice in plastic wrap, then place them in a freezer bag. Make sure to remove as much air as possible. You can freeze it for up to three months. To enjoy, thaw in the fridge overnight before serving.
How Long Will It Last in the Refrigerator?
In the fridge, your No-Bake S’mores Icebox Cake lasts about 3 to 5 days. The flavors will deepen over time, making it even more delicious! Just remember to keep it covered to maintain its taste and texture. Enjoy it while it’s fresh for the best experience!
FAQs
Can I use different types of chocolate?
Yes, you can use different chocolate types! Dark chocolate, milk chocolate, and even white chocolate work well. Each type adds a unique flavor. Dark chocolate gives a rich taste, while milk chocolate is sweeter. White chocolate provides a creamy texture. Choose what you like best!
What can I substitute for heavy whipping cream?
If you need a substitute for heavy whipping cream, try coconut cream. It whips well and adds a nice flavor. You can also use mascarpone cheese mixed with milk. This option will give you a rich and creamy texture. Almond milk or soy cream can work too, but they may not whip as well.
How do I know when the cake is set properly?
To check if your cake is set, gently press the top with your finger. It should feel firm but still soft. You can also look for a slight jiggle in the center. If it holds its shape and feels cool, it’s ready to serve. Always chill it for at least four hours for the best results.
Can I make this cake ahead of time?
Absolutely! This no-bake cake is perfect for making ahead. You can prepare it a day in advance. Just keep it covered in the fridge. This allows the flavors to blend beautifully. It will be ready to serve when you need it!
We explored how to make a no-bake s’mores icebox cake. You learned about essential ingredients, preparation steps, and tips for perfecting it. We discussed storage and variations for special diets. Remember, you can switch ingredients and add your own twists. Whether you serve it at a party or enjoy it solo, this cake brings joy. With these simple steps, you can impress anyone with this delightful dessert. Enjoy creating and sharing your icebox cake!
