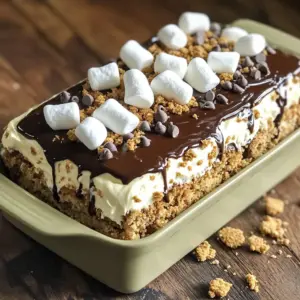
No-Bake S'mores Icebox Cake
Indulge in this delicious No-Bake S'mores Icebox Cake that combines creamy whipped topping, chocolate ganache, and crunchy graham crackers for the ultimate dessert experience! Perfect for any gathering, this simple recipe will have your friends and family coming back for seconds. Follow our easy steps and get ready to chill your way to dessert perfection. Click to discover the full recipe and impress everyone with this sweet treat!