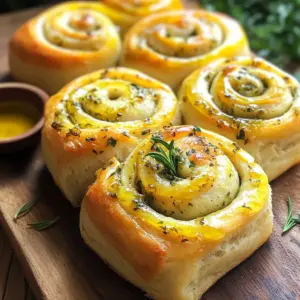
Herb and Garlic Swirl Rolls
Indulge in the delightful taste of Herb and Garlic Swirl Rolls with this easy-to-follow recipe! Learn how to create soft and savory rolls featuring a luscious garlic herb filling that will elevate any meal. Perfect for gatherings or a cozy night in, these rolls are a true crowd-pleaser. Click to discover the full recipe and bring the irresistible aroma of homemade bread to your kitchen today!