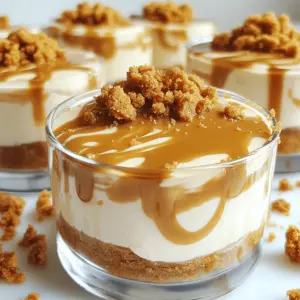
No-Bake Biscoff Cheesecake Cups
Indulge in the ultimate dessert with these No-Bake Biscoff Cheesecake Cups! Discover how to create a delightful combination of creamy cheesecake and crunchy Biscoff cookies with every bite. This easy recipe requires minimal prep and is perfect for any occasion. Ready to impress your friends and family? Click through for step-by-step instructions and tips to make these decadent treats at home. Your taste buds will thank you!