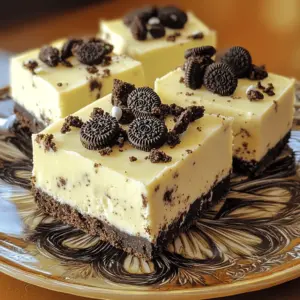
No-Bake Oreo Cheesecake Bars
Indulge in the ultimate dessert with these decadent no-bake Oreo cheesecake bars! Made with a rich cream cheese filling, crushed Oreos, and a buttery crust, these treats are incredibly easy to make and perfect for any occasion. With just a few simple ingredients and minimal prep time, you can create a stunning dessert that will impress everyone. Click through to discover the full recipe and make your sweet dreams come true!