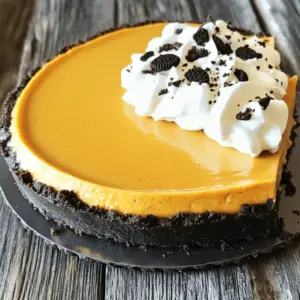
No-Bake Oreo Pumpkin Cheesecake
Indulge in a slice of autumn bliss with this No-Bake Oreo Pumpkin Cheesecake! Combining the rich flavors of cream cheese and pumpkin with a crunchy Oreo crust, this dessert is both easy to make and irresistibly delicious. Perfect for fall gatherings or cozy nights in, this recipe is a must-try. Click to explore the full recipe and elevate your dessert game with this delightful treat!