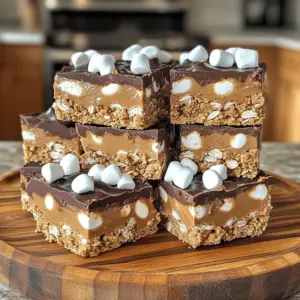
No Bake S'mores Peanut Butter Bars
Indulge in a sweet treat with these No Bake S'mores Peanut Butter Bars that combine creamy peanut butter, chocolate, and marshmallows for the ultimate dessert experience. This easy recipe requires no baking and only 15 minutes of prep time. Perfect for satisfying your cravings or impressing guests. Click through to discover how to make these delicious bars and bring a taste of summer to your kitchen!